Распиновка Разъем кабеля Apple iPhone (1G, 3G, 3GS, 4, 4S)
| Pin | Signal | Description |
| 1 | GND | Ground (-), internally connected with Pin 2 on iPhone motherboard |
| 2 | GND | Audio & Video ground (-), internally connected with Pin 1 on iPod motherboard |
| 3 | Right | Line Out — R (+) (Audio output, right channel) . See also Apple iPhone headset connector pinout |
| 4 | Left | Line Out — L(+) (Audio output, left channel) |
| 5 | Right In | Line In — R (+) |
| 6 | Left In | Line In — L (+) |
| 8 | ||
| 9 | ||
| 10 | ||
| 11 | GND | If connected to GND the iPhone sends audio signals through pin 3-4, otherwise it uses onboard speaker. |
| 12 | Tx | iPhone sending line, Serial TxD |
| 13 | Rx | |
| 14 | RSVD | Reserved |
| 15 | GND | Ground (-), internally connected with pin 16 on iPhone motherboard |
| 16 | GND | USB GND (-), internally connected with pin 15 on iPhone motherboard |
| 17 | RSVD | Reserved |
| 18 | 3.3V | 3.3V Power (+) ? |
| 19,20 | +12V | Firewire Power 12 VDC (+) |
| 21 | Accessory Indicator/Serial enable | |
| 22 | TPA (-) | FireWire Data TPA (-) |
| 23 | 5 VDC (+) | USB Power 5 VDC (+) |
| 24 | TPA (+) | FireWire Data TPA (+) |
| 25 | Data (-) | USB Data (-) |
| 26 | TPB (-) | FireWire Data TPB (-) |
| 27 | Data (+) | |
| 28 | TPB (+) | FireWire Data TPB (+) |
| 29,30 | GND | FireWire Ground (-) |
Pins 1,2 connected on motherboard.
Pins 15,16 connected on motherboard.
Pins 19,20 connected on motherboard.
Pins 29,30 connected on motherboard.
If you disassemble the original Apple iPhone dock connector cable and look at the connector itself, on the back side, where it is soldered, you can see the number 1 and 30 (e.g. pin 1 and 30). In this description NUMBERING is INVERSED: pin 1 is pin 30 and pin 29 is pin 2, so, don’t look at numbers on connector.
This device may be connected to the firewire computer port by straight cable (TPB+/-, TPA +/- should be twisted pairs in cable). It seems there are no file transfer allowed, but it can charge via this interface.
На распиновку Разъем кабеля Apple iPhone (1G, 3G, 3GS, 4, 4S) есть 15 отзыв(а): 15 положительных и 0 отрицательных.
Источник
Распиновка Apple iPod, iPhone (2g, 3g), iPad разъем док-станции
| Pin | Signal | Description | Apple pin numbering* |
| 1 | GND | Ground (-), internally connected with Pin 2 on iPod motherboard | 30 |
| 2 | GND | Audio & Video ground (-), internally connected with Pin 1 on iPod motherboard | 29 |
| 3 | Right | Line Out — R (+) (Audio output, right channel) | 28 |
| 4 | Left | Line Out — L(+) (Audio output, left channel) | 27 |
| 5 | Right In | Line In — R (+) | 26 |
| 6 | Line In — L (+) | 25 | |
| 7 | ? | 24 | |
| 8 | Video Out | 23 | |
| 9 | S-Video Chrominance output | 22 | |
| 10 | S-Video Luminance output | 21 | |
| 11 | AUDIO_SW | If connected to GND the iPhone sends audio signals through pin 3-4, otherwise it uses onboard speaker. | 20 |
| 12 | Tx | ipod sending line, Serial TxD | 19 |
| 13 | Rx | 18 | |
| 14 | RSVD | Reserved | 17 |
| 15 | GND | Ground (-), internally connected with pin 16 on iPod motherboard | 16 |
| 16 | GND | USB GND (-), internally connected with pin 15 on iPod motherboard | 15 |
| 17 | RSVD | Reserved | 14 |
| 18 | 3.3V | 3.3V Power (+) Stepped up to provide +5 VDC to USB on iPod Camera Connector. If iPod is put to sleep while Camera Connector is present, +5 VDC at this pin slowly drains back to 0 VDC. | 13 |
| 19,20 | +12V | Firewire Power 12 VDC (+) | 11,12 |
| 21 | Accessory Indicator/Serial enable | 10 | |
| 22 | TPA (-) | FireWire Data TPA (-) | 9 |
| 23 | 5 VDC (+) | USB Power 5 VDC (+) | 8 |
| 24 | TPA (+) | FireWire Data TPA (+) | 7 |
| 25 | Data (-) | USB Data (-) | 6 |
| 26 | TPB (-) | FireWire Data TPB (-) | 5 |
| 27 | Data (+) | 4 | |
| 28 | TPB (+) | FireWire Data TPB (+) | 3 |
| 29,30 | GND | FireWire Ground (-) | 1,2 |
*There are two pins numbering schemes for this connector, this one (on right column) is from Apple manual.
It is become available after publishing of most pinouts and not used on this site.
Pins 1, 2 connected on motherboard.
Pins 15, 16 connected on motherboard.
Pins 19, 20 connected on motherboard.
Pins 29, 30 connected on motherboard.
If you disassemble the original apple-ipod-dock-connector-cable and look at the connector itself, on the back side, where it is soldered, you can see the number 1 and 30 (e.g. Pins 1 and 30). In this description the NUMBERING is INVERSED: Pin 1 is Pin 30 and Pin 29 is Pin 2. So, don’t look at the numbers on the connector.
The remote control, iTalk and other serial devices use the Apple Accessory Protocol for communication with the iPod. This protocol was introduced with the 3rd generation iPods, and is also compatible with the 4th generation iPods and mini iPods. The connections uses a standard 8N1 (one startbit. 8 data bits, one stop bit) serial protocol, 19200 baud (higher rates up to 57600 are also possible, but speeds faster than 38400 may cause problems with large amounts of data), with a delay of 12 microseconds inserted between the end of the stopbit and the beginning of the next startbit (also works without this delay).
Electrical: high +3.3V low 0V
Default line state: high. Codes used for communication with peripherals are here
This device may be connected to the firewire computer port by straight cable (±TPB, ±TPA should be twisted pairs).
The iPod Nano 4th Gen no longer charges from the 12 V supply on the Firewire pins. If you tie Pins 25 and 27 together and then connect a 10 kOhm resistor to ±5 volts to pins 23 and 15 (or 16), it will charge. If you don’t tie Pins 25 and 27 together, it won’t charge.
The iPod Touch 3G: may also require for Pins 1 and 2 (GND and audio out GND) to be connected in order to output audio (Pin 11 to GND). Works with appr. 500 kOhm between pin 21 and GND.
The iPod Touch 2G requires Pin 11 to be connected to Pins 15/16; then connect that to Pin 21 with a 68 kOhm resistor to use the audio line out. This is because the device needs to be told to redirect the signal to the Line Out pins rather than to the built-in speaker. This explains why certain accessories won’t work with the iPod Touch 2G and maybe even the iPod Touch 3G. The iPod nano 5G will require the Pin 11 connection but not the 68 kOhm resistor for redirecting audio. Nano 5G: connecting the 68 kOhm resistor to ground will disable the audio redirection accomplished by connecting Pin 11 to ground.
You may need to ensure that Pins 1 and 2 are connected to GND for proper charging to occur.
На распиновку Apple iPod, iPhone (2g, 3g), iPad разъем док-станции есть 46 отзыв(а): 32 положительных и 10 отрицательных.
Источник
Меняем разъем на кабеле Lightning для техники Apple
Обычно, поврежденные кабели с треснутой изоляцией, сломанными разъемами или просто не работающие, я выкидывают, но тут на глаза попался интересный — «ремкомплект» для кабелей Lightning, который позволяет полностью заменить данный разъем. Я решил проверить работает ли данная затея.
Как Вы знаете, Apple всегда идет своим путем и, в 2012 году, внедрила в кабели специальные чипы с целью усложнить жизнь пользователям и заодно срубить дополнительных денег с производителей для получения ими лицензий MFI (Made For iPhone/iPod/iPad). Крупняки, типа UGREEN, ORICO, ANKER итд, вроде как получили данные сертификаты, но подавляющее большинство «дешман»-кабелей с Aliexpress ее не имеют, но и стоят дешевле. Срок жизни у них не долог (хотя, встречаются исключения), бывает что, либо переламываются тонкие жилы, либо ломаются разъемы, а бывает вроде бы все цело, но просто не работает.
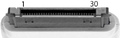
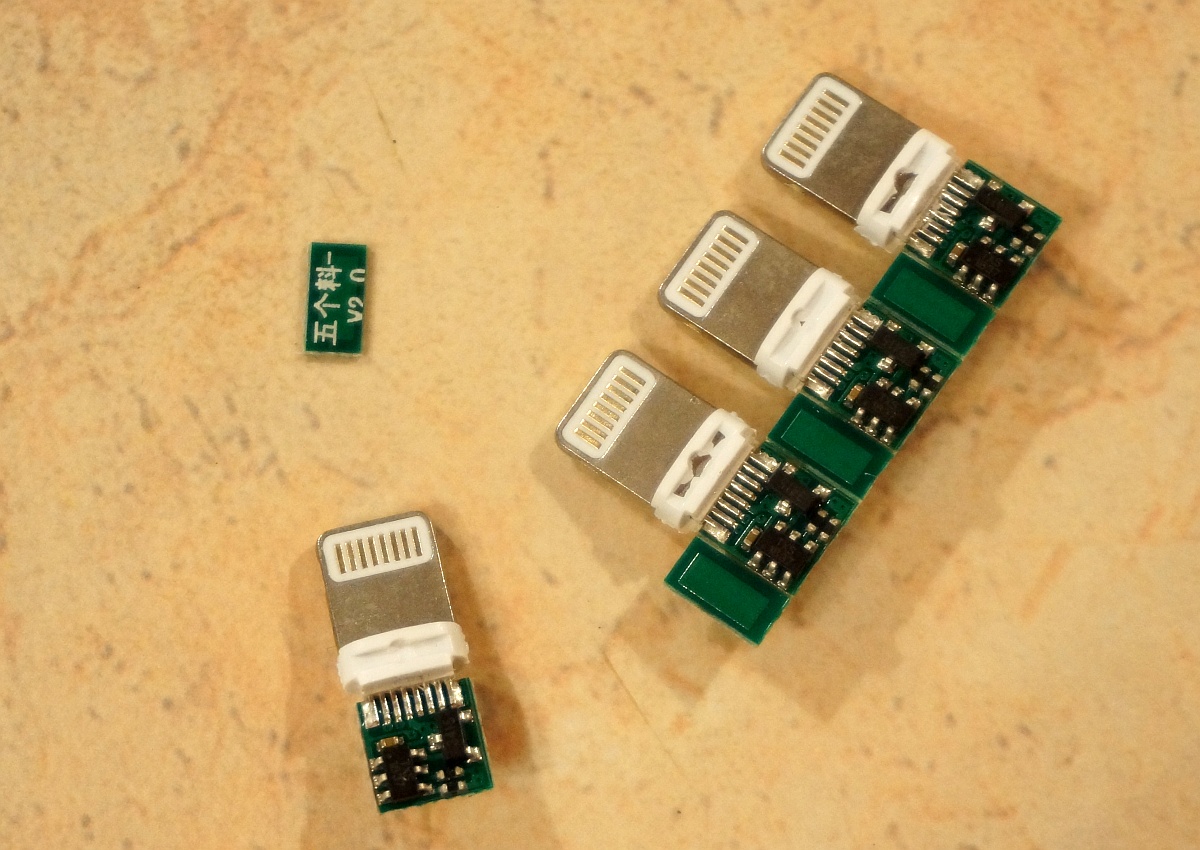
Вот и решил я, чисто из спортивного интереса, заказать платку с четырьмя разъемами и корпусами. Цена смешная, за разъем выходит около 26 руб. (0.4$). Упаковка простой пакетик. Внутри 4 комплекта разъемов: платы на одной подложке, корпуса и резиновые защитные трубки.

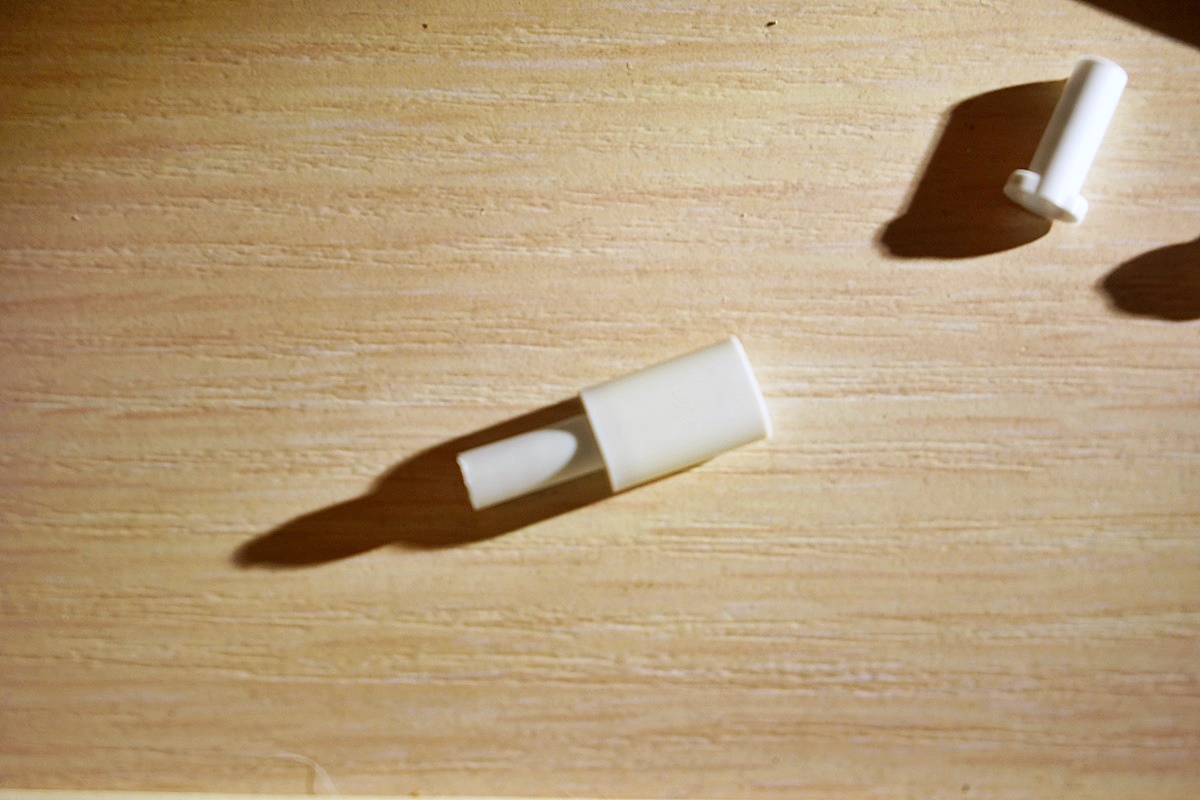
Трубочки и корпуса:
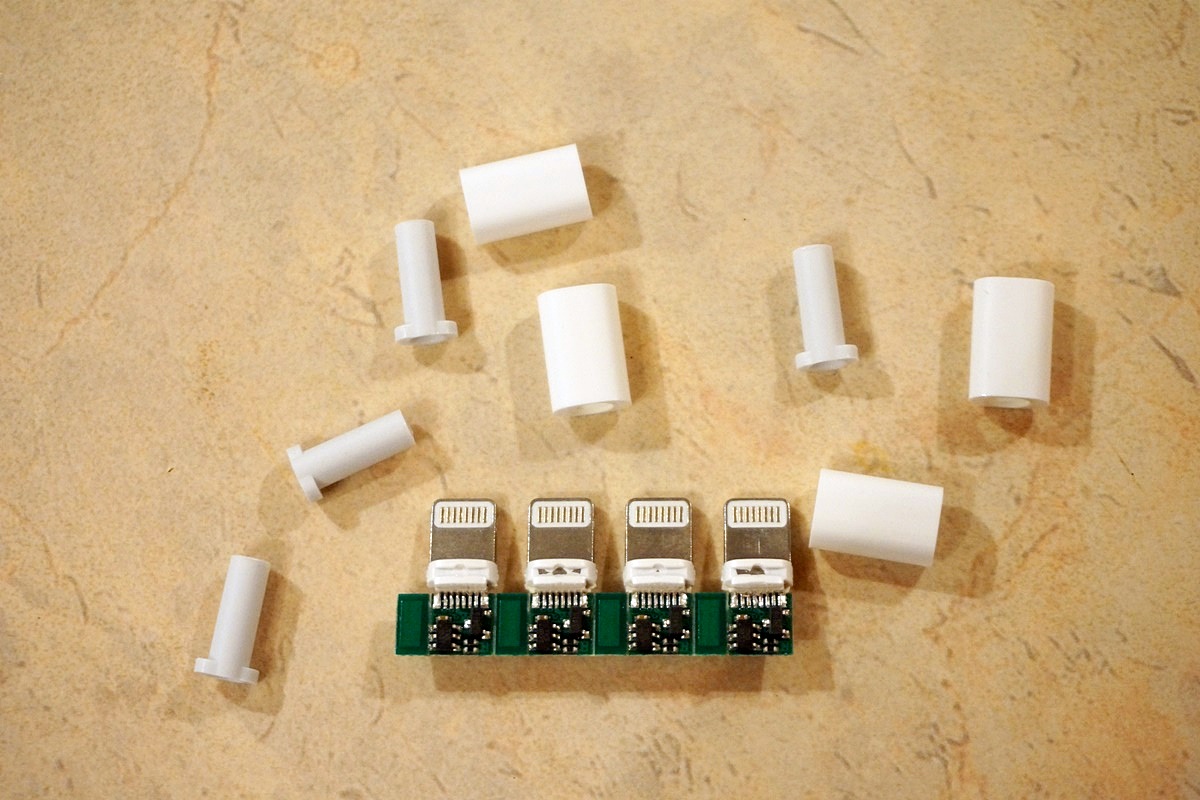
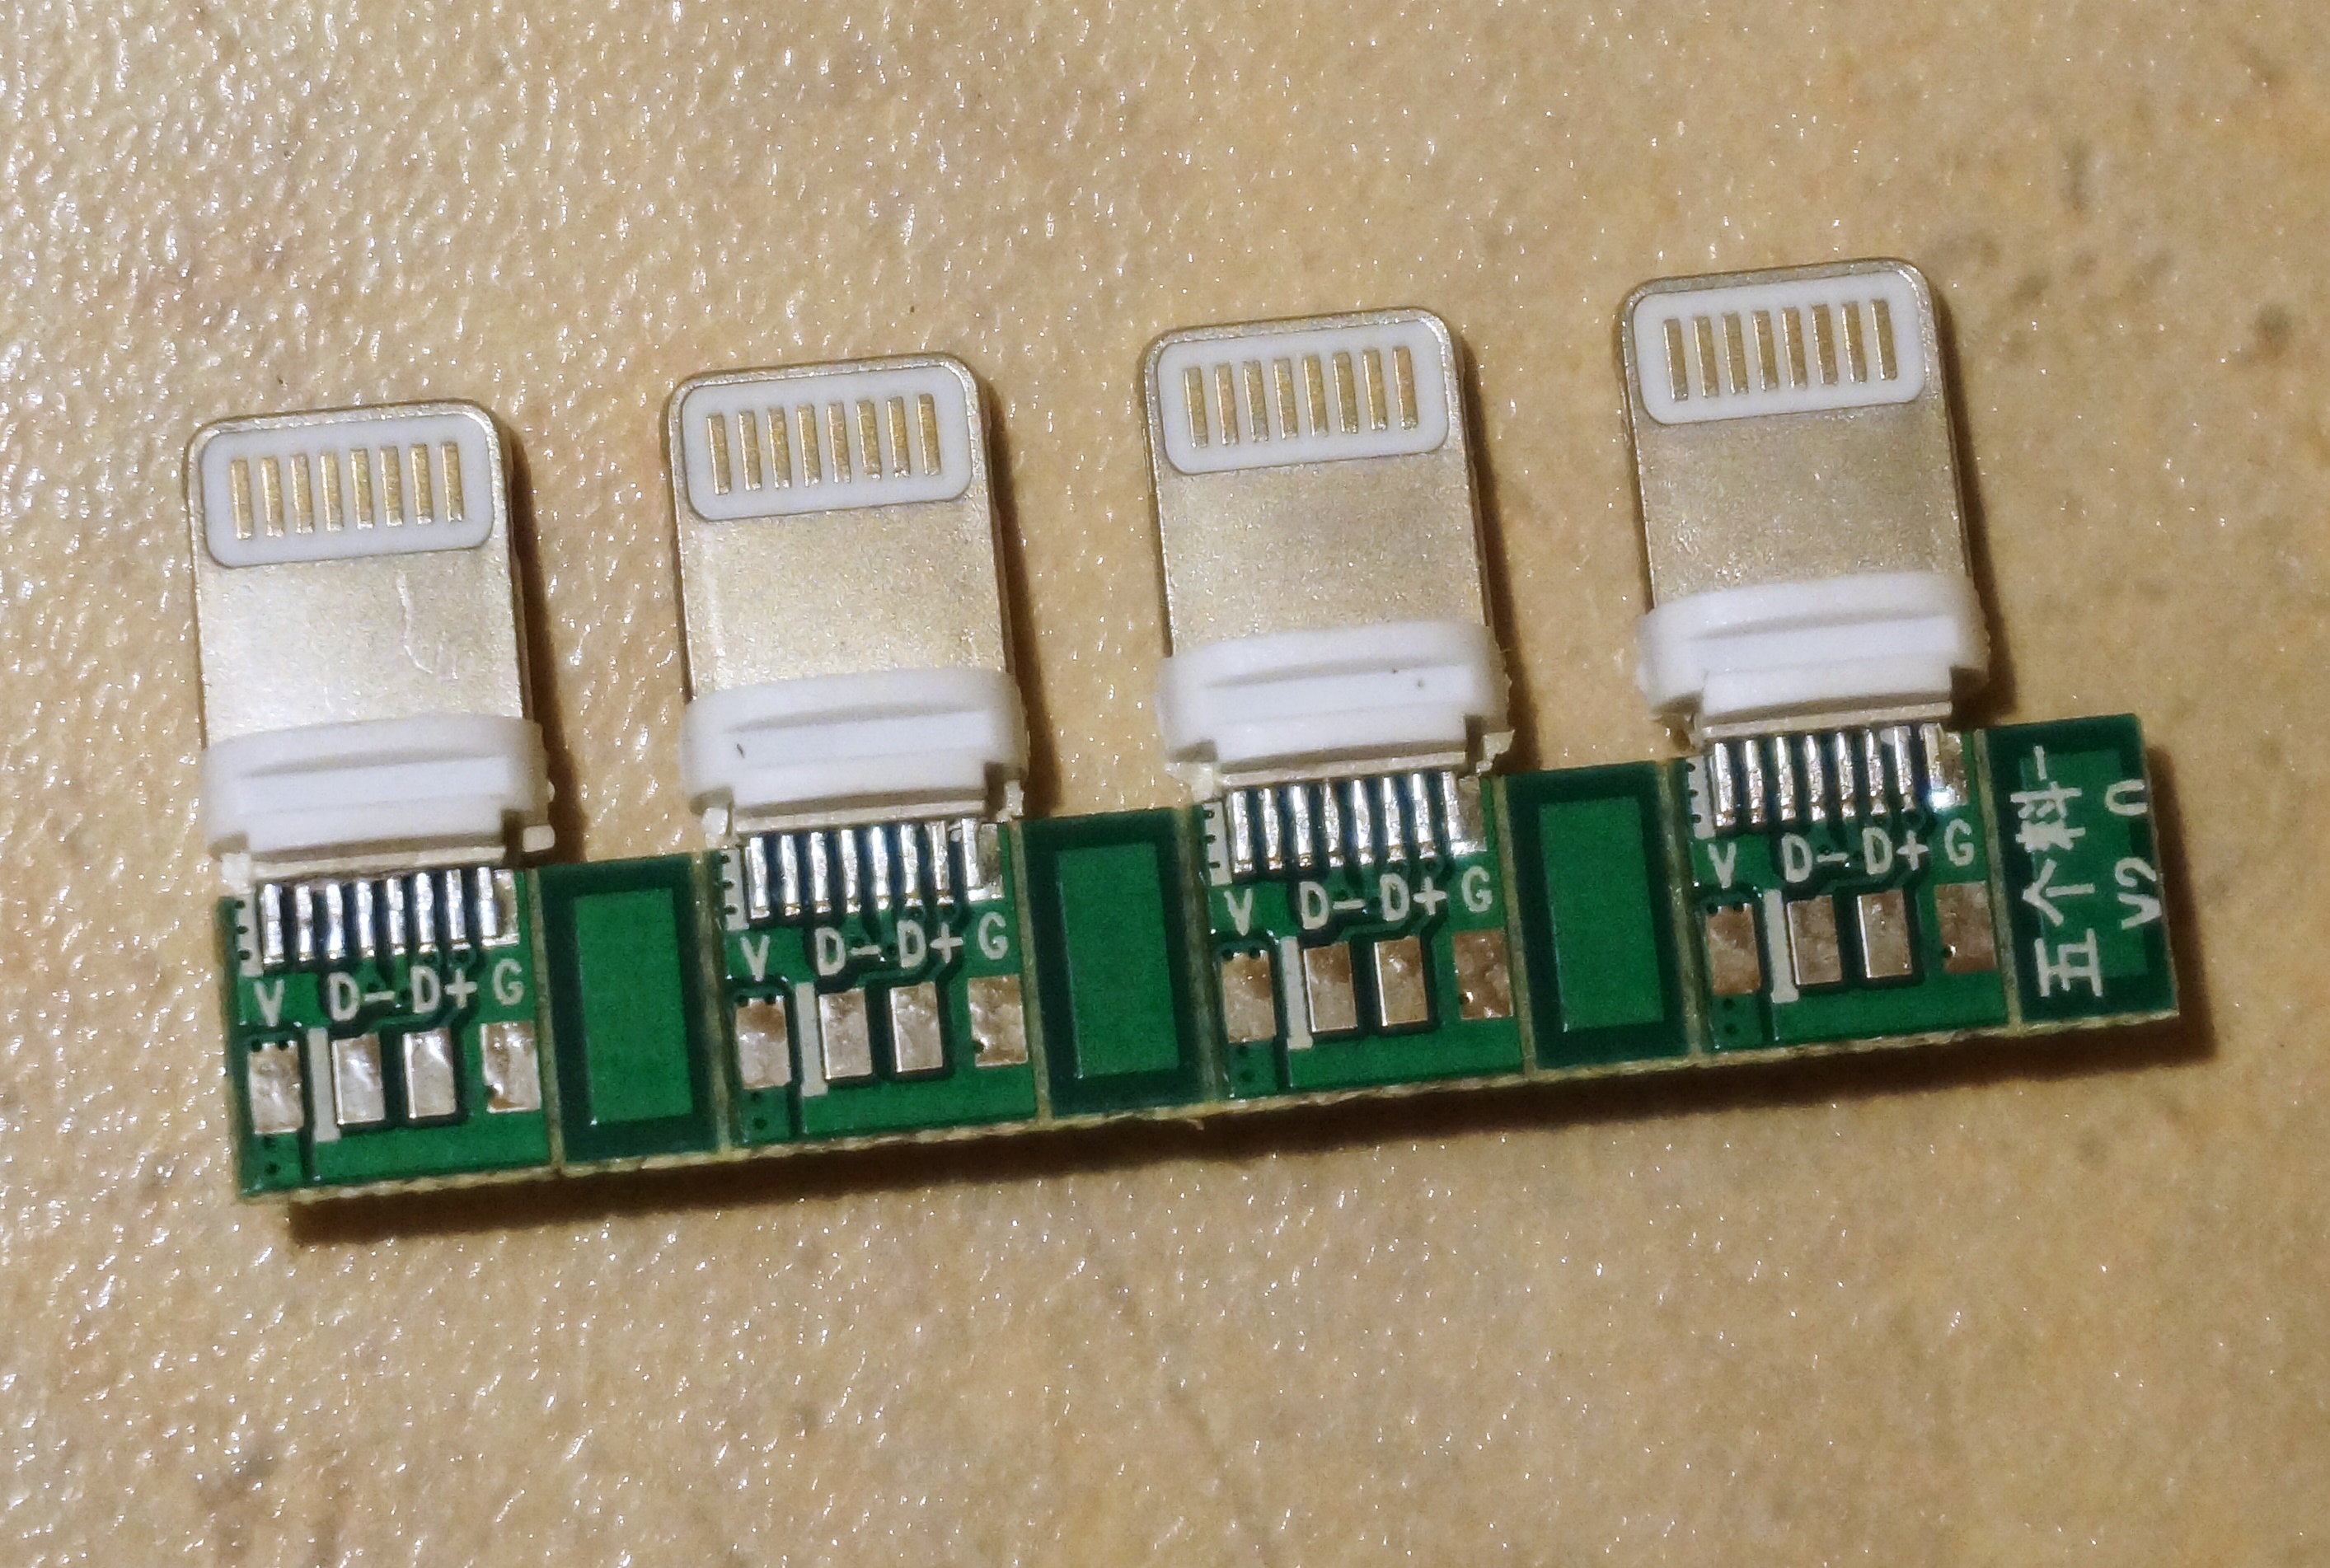
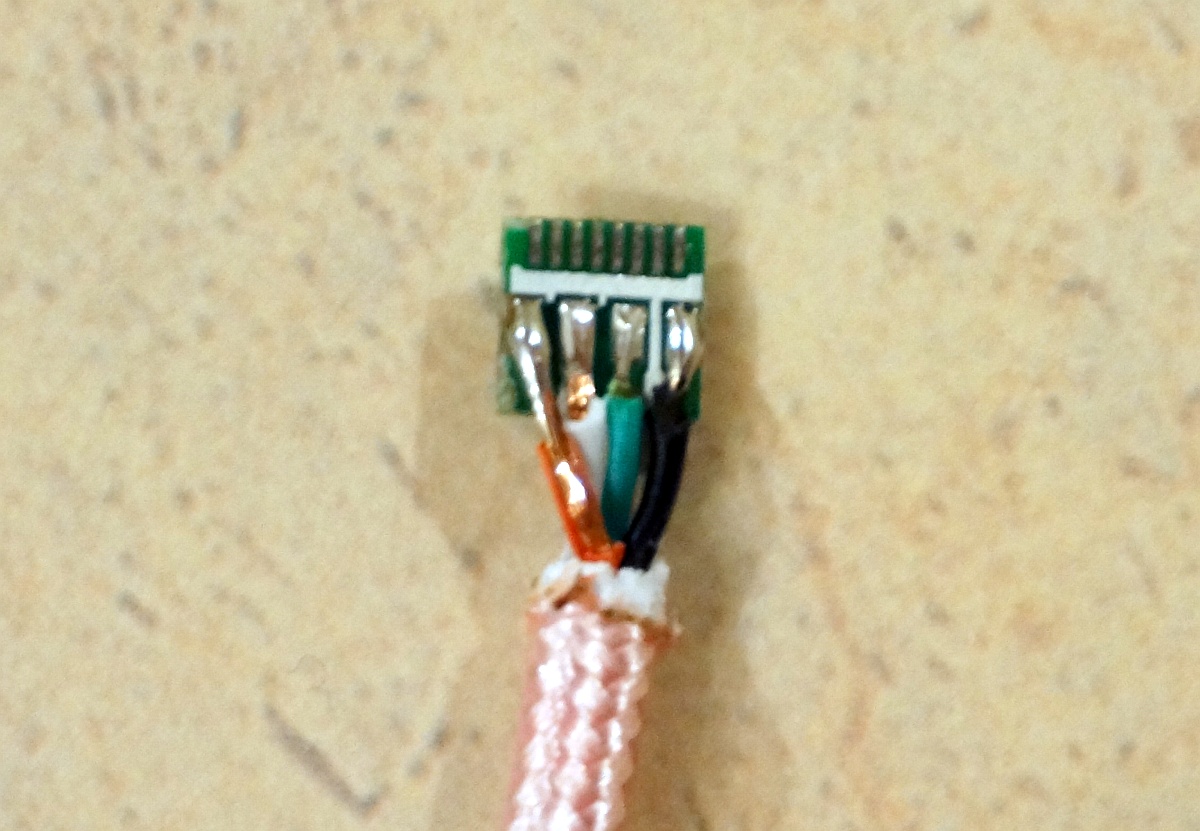
На плате есть маркировка, контакты залужены, на пластиковых частях есть проточки для фиксации корпусов разъемов:
Разъемы разделяются без усилий:
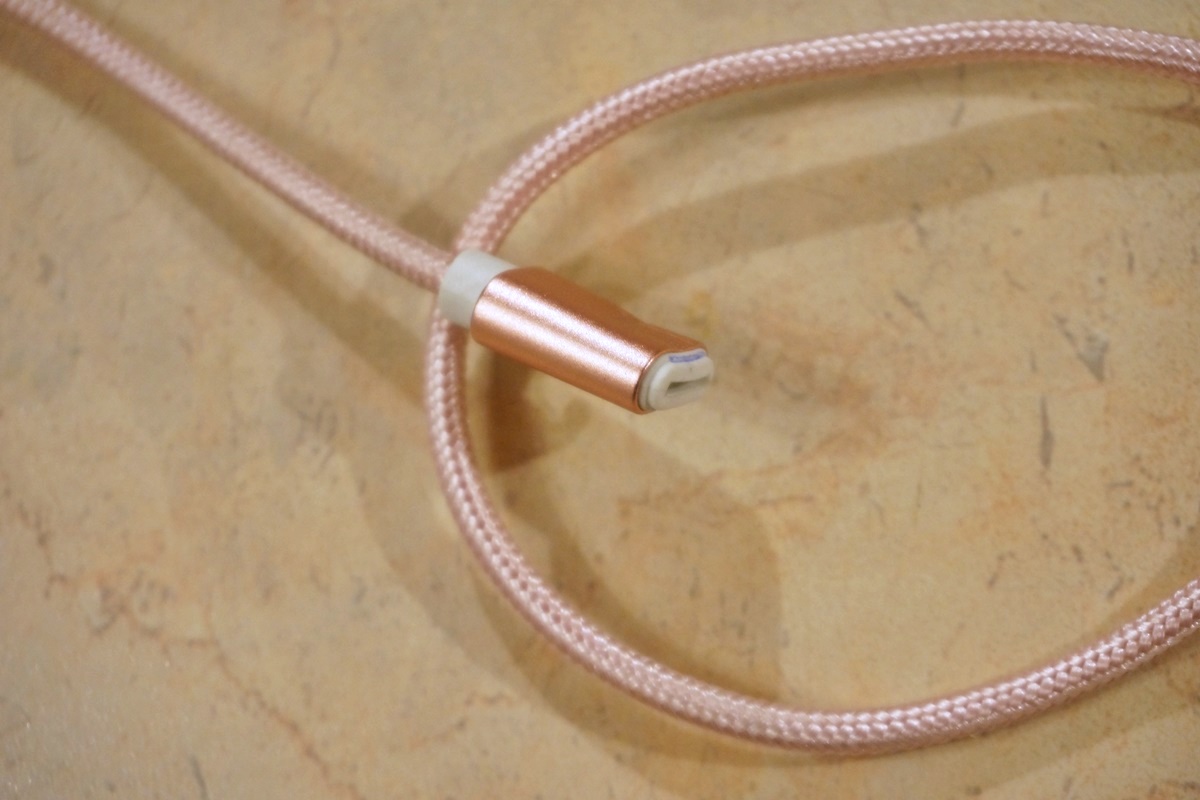
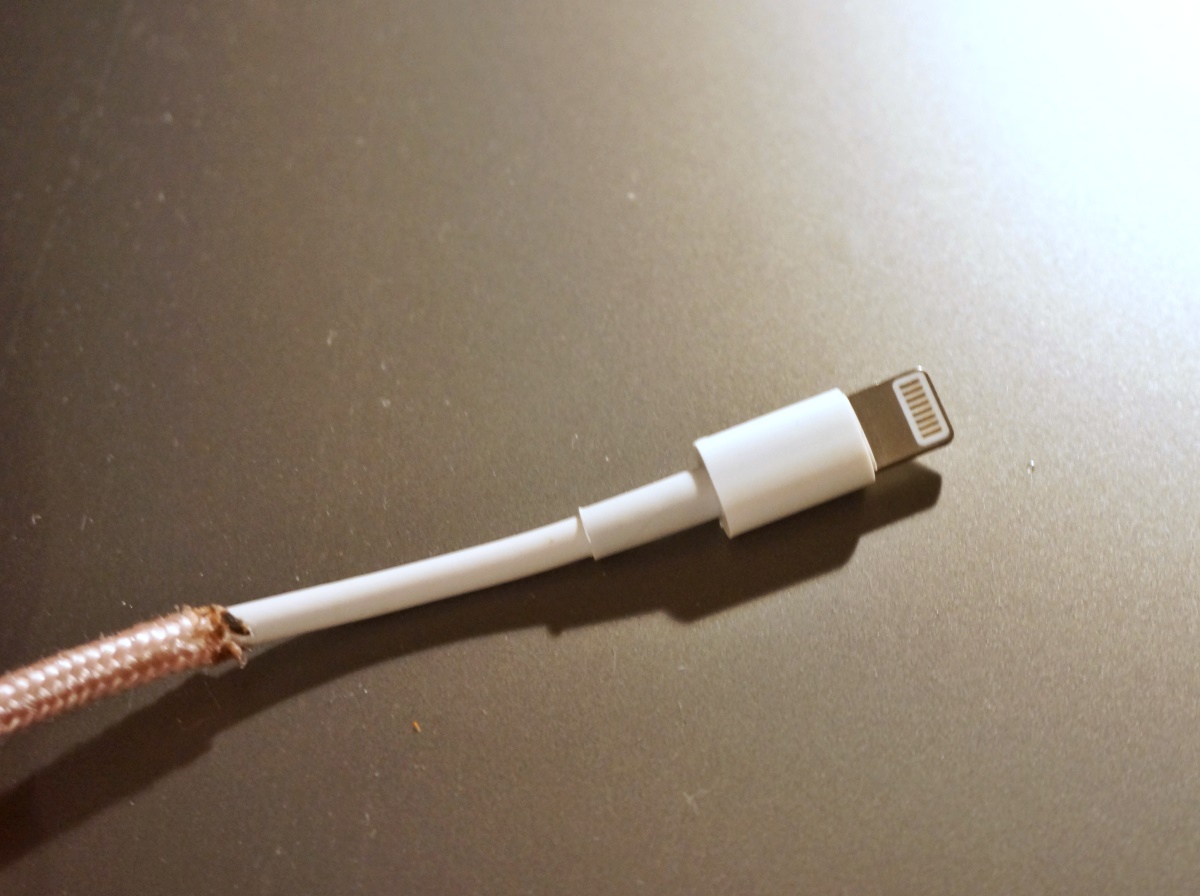
Ну а теперь к ремонту. Кабель с неисправным разъемом:

Выход из строя классический — сначала кабель стал заряжать технику через раз, дальше хуже — работал только, если прижимать разъем вбок. Не помогла даже металлическая трубка на корпусе разъема. В итоге совсем перестал работать, а разъем, в итоге, был выломан:
Срезав резиновую оплетку становится ясно в чем проблема, просто отвалился чип, «впаявшийся» в нее:
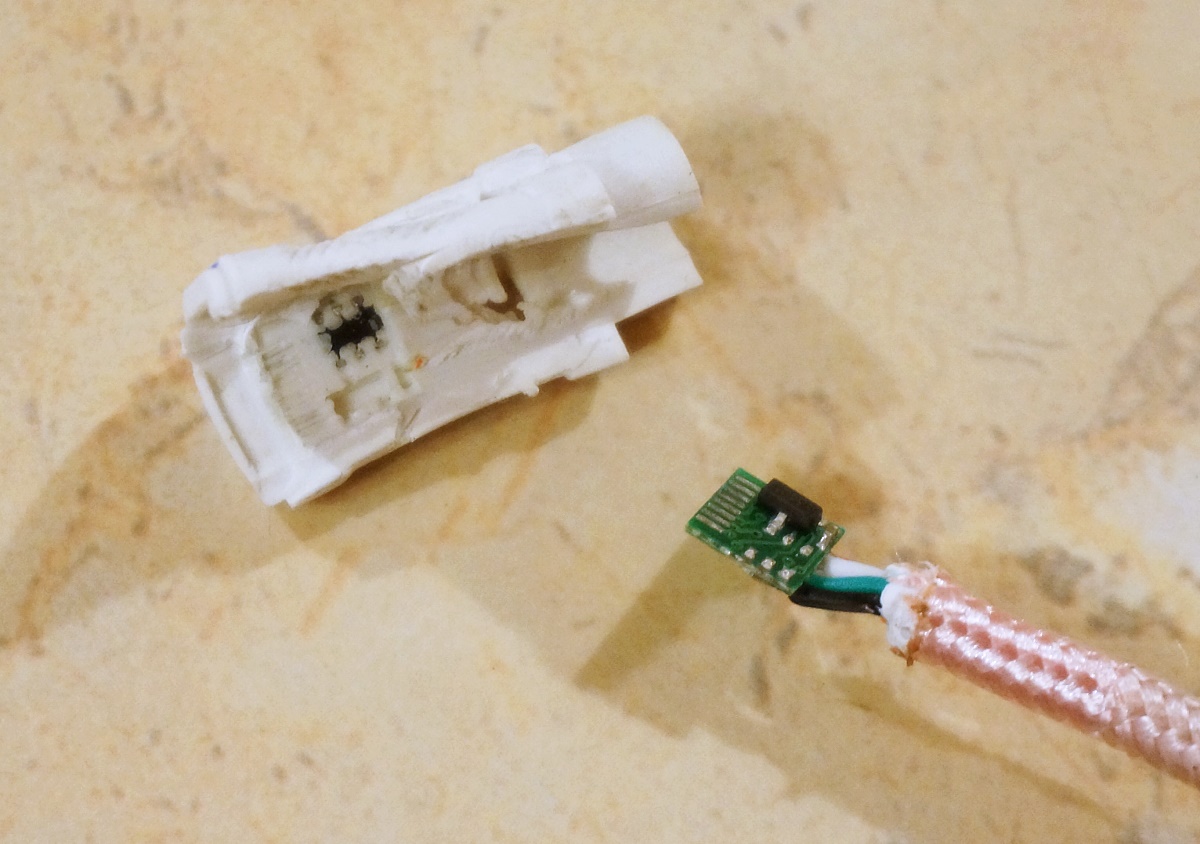
Сам кабель достаточно добротный: оплетка, толстая изоляция, неплохие жилы и пайка:
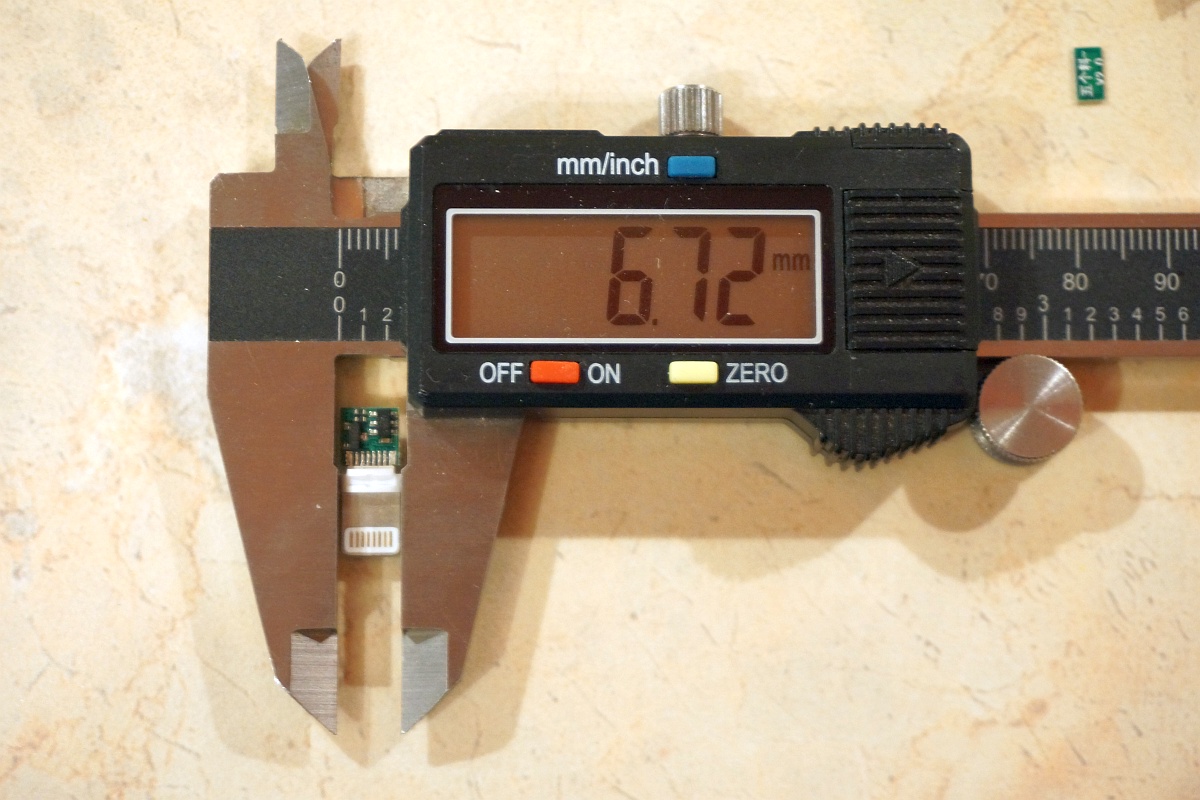
Отмечу важный момент, толщина кабеля на который устанавливается новый разъем, должна быть не более 3мм (т.е. похож на классический родной айфоновский), иначе резиновая трубка разъема просто не сможет выйти с обратной стороны корпуса и застрянет, т.е. сделать вот так, закрыв трубкой и оплетку и изоляцию на данном кабеле не получается. Пришлось брать новую резиновую трубку, т.к. первая растянулась и уже не вылезала из корпуса разъема:

Лучше сразу делать, чтобы трубка и корпус разъема на кабеле находились в таком виде:
Если нет опыта пайки и паяльника с тонким жалом, лучше за эту тему не браться, разъем достаточно мелкий и контактные площадки близко. В итоге получилось так:

Оплетку можно было совсем снять, смысла от нее никакого 🙂
Корпус с некоторым усилием заходит на разъем и защелкивается на нем:
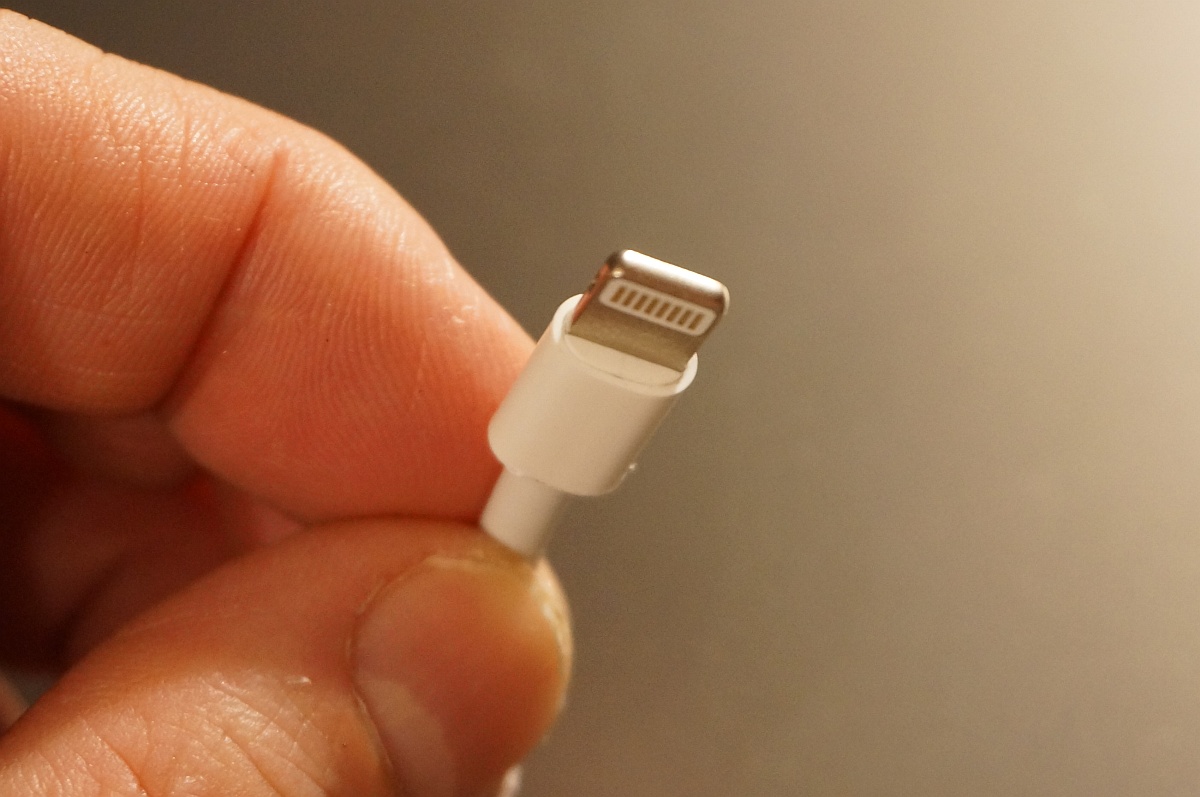
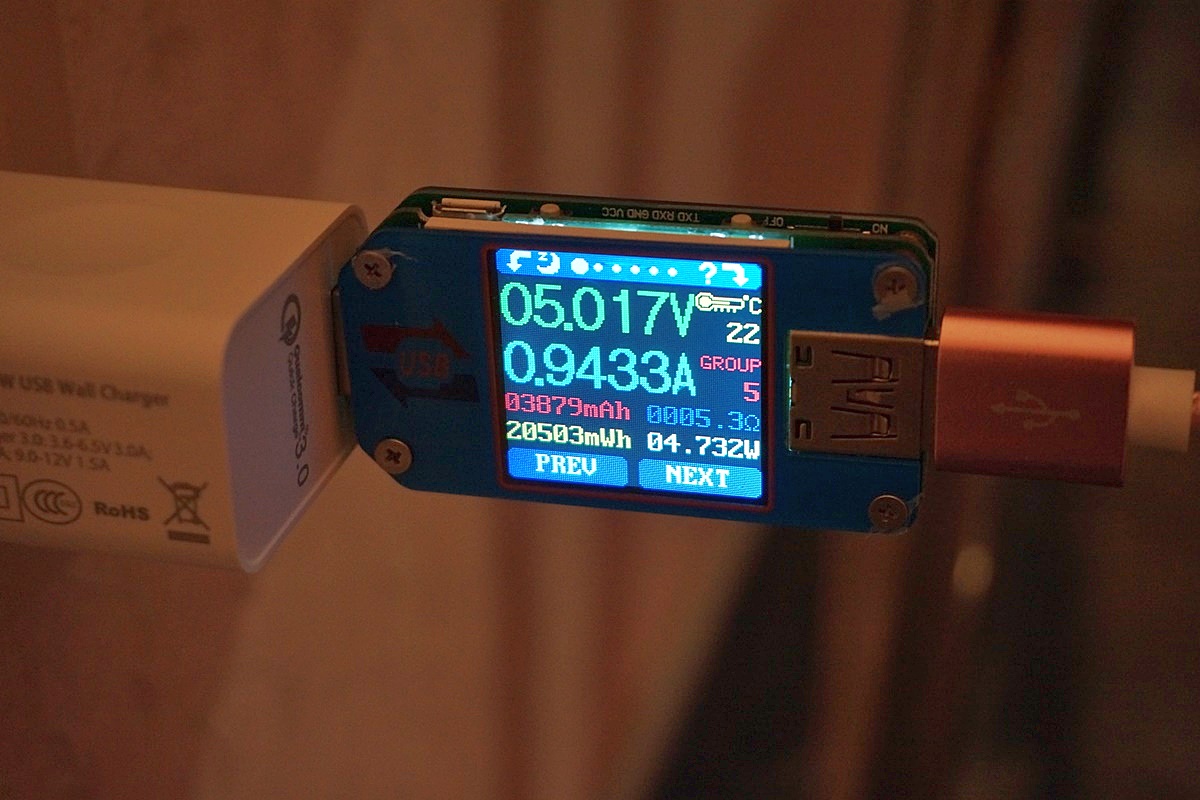
Проверка работы — зарядка идет (как дата-кабель, также, работает):
В общем, данная забава для меня была просто интересным опытом «заработает или нет», экономическая целесообразность туманна, учитывая, что на распродажах можно часто поймать качественные кабели за цену меньше доллара. Использовать данные платки, вероятно, полезно, либо если надо починить кабель нестандартной длины (длинные или, наоборот, короткие) или, в каких-то, самодельных зарядных станциях. Продаются тут
Источник


