- Using ADB on WiFi for Android Development
- Setting Up the ADB to Connect Over WiFi
- Беспроводная отладка Android 11
- Wireless Debugging through ADB in Android using WiFi
- Step 1 : Connect your adb host computer and your android phone to same network
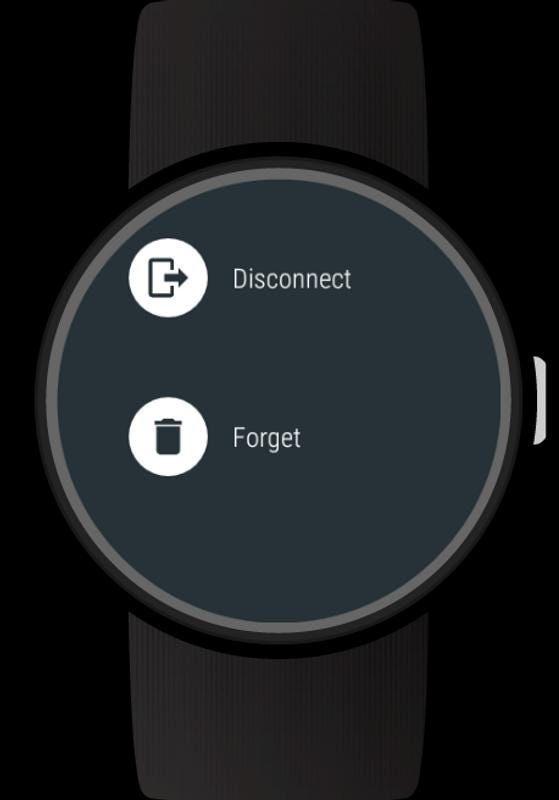
- STEP 2 : If you are connecting to a Wear OS device, turn off Bluetooth on the phone that’s paired with the device.
- STEP 3: Connect the device to the host computer with a USB cable.
- STEP 4: locate your SDK
- STEP 5 : Check whether your device is properly connected
- Step 6 : Set the target device to listen for a TCP/IP connection on port 5555
- STEP 7 : Find the IP address of the Android device.
- STEP 8 : Connect to the device by its IP address.
- STEP 9 : Remove the USB cable
- STEP 10 : Confirm that your host computer is connected to the target device
- You’re now good to go! 🎉
- How to Execute ADB Commands over WiFi without USB or Root
- Prerequisites
- Executing ADB Commands over WiFi
- Things to keep in mind
- ADB Commands Via WiFi when the device is turned on
Using ADB on WiFi for Android Development

I used to struggle a lot when developing an Android application, mostly because the emulator is slow, and when using real device for development, the USB cable needed to connect my phone with my laptop is just as annoying as the slow emulator.
Luckily, ADB supported WiFi to connect the debug bridge between my phone and my laptop. Since then, I only used USB cable for setting up the ADB WiFi connection. Though most of the time I still enjoy using emulator because and the emulator has been made faster.
Setting Up the ADB to Connect Over WiFi
First, you have to connect your phone with your computer using aa USB cable. Make sure that the ADB detected your phone. If not, you might need to update the driver that connects your phone and your computer.
Second, open up a command prompt and navigate to your Android SDK location (on Windows you can find it inside your user folder if you install it on the default location e.g: C:\Users\YOUR-USERNAME\AppData\Local\Android\sdk\platform-tools). You probably want to add this path to your $PATH variable.
Type android devices -l to see list of the connected device. You should see your phone on the list.

Then type adb tcpip 5555 to run the ADB in TCP mode. The number after tcpip is the port you want to attach the ADB server on your phone. I use 5555 because it is easy to remember and no apps should be using that port.

You can now plug off the USB cable from your phone and computer, and then connect to your phone via WiFi by typing adb connect :5555 or any port you set the server to be running on, and try running adb devices -l again to check if the ADB TCP server is working correctly.

Everything should be set, if you press the Run or Debug button on Android Studio, you should see your device on the list of available devices to run your app on.
Say goodbye to USB cables and broken USB port on your phone.
Источник
Беспроводная отладка Android 11
Режим дебага по WiFi теперь доступен, начиная с версии ОС Android 11. Давайте разберемся, как подключить устройство по Wi-Fi и смотреть логи в Logcat.

Нам необходимо убедиться, что у нас имеется все необходимое для соединения, а именно:
- установлен компонент Android SDK Platform-Tools версии не ниже 30.0.0 (April 2020), но естественно необходимо поставить последнюю версию, в которой разработчики пофиксили существующие на данный момент баги;
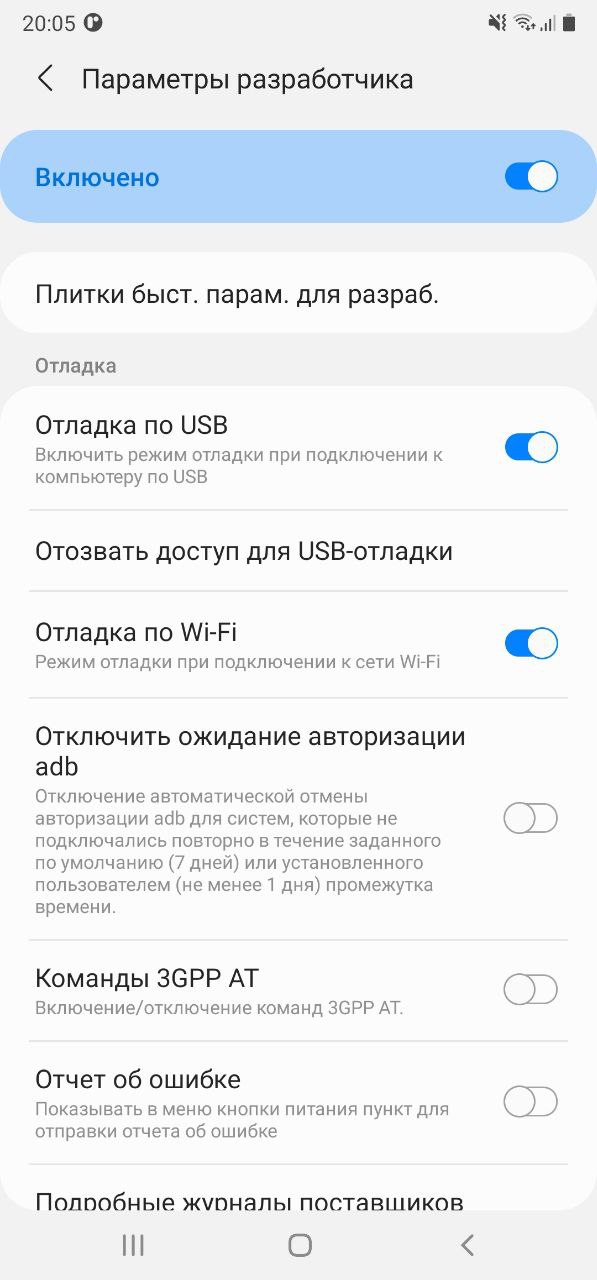
- включенрежим разработчика на вашем устройстве;
- на устройстве версия ОС Android 11.
Переходим в режим разработчика на нашем устройстве и активируем «Отладку по Wi-Fi».
Далее необходимо выбрать раздел «Подключить устройство с помощью кода подключения».
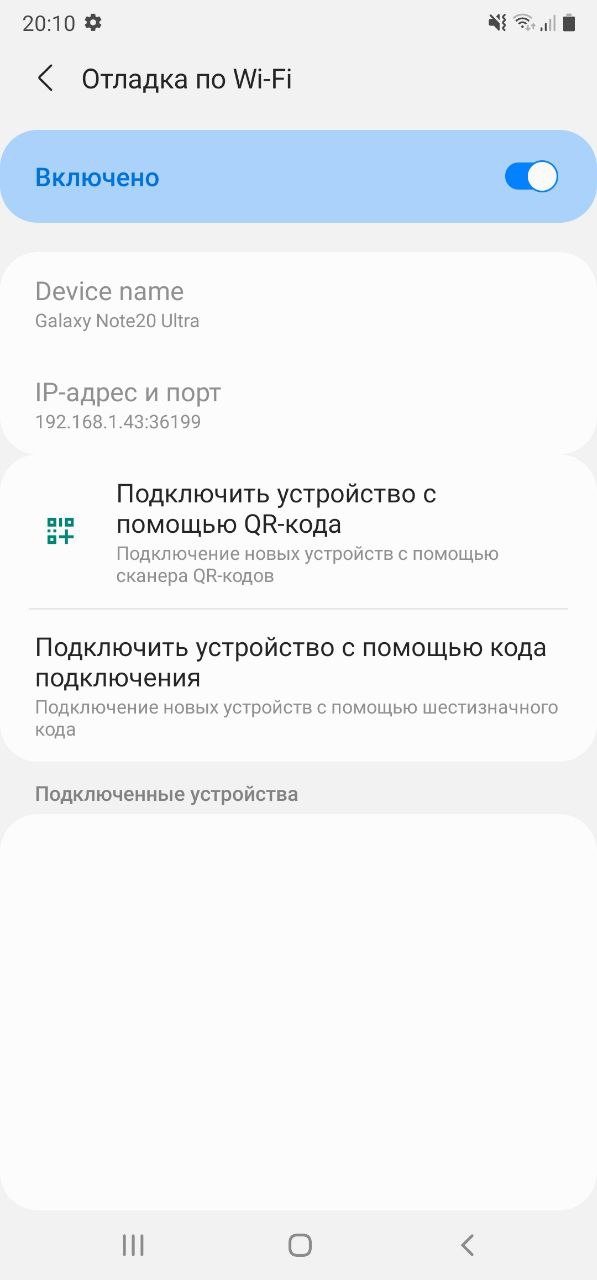
В боттомшите отобразится сам код подключения к устройству и IP-адрес и порт.

Откроем Android Studio, перейдем во вкладку Terminal, далее введем и выполним команду adb pair ipaddr:port где ipaddr и port — данные из боттомшита «Подключение к устройству». Следующим шагом — вводим код подключения и получим push на устройство об успешном подключении.
Перейдем на вкладку Logcat и все, что нам осталось — выбрать наше устройстве из списка подключенных устройств, в конкретном примере это Samsung SM-N985F.
Источник
Wireless Debugging through ADB in Android using WiFi

Jan 4, 2019 · 3 min read

In this article I am going to show you how you can debug your android app over WiFi.
Yes I know it is very hectic to debug your Android app with USB cable if your cable is broken or not functioning or you don’t have a cable and you have borrowed it from someone for few minutes.
It will require only few steps to get this done.
Step 1 : Connect your adb host computer and your android phone to same network
Make sure that your android phone and your host computer are connected on the same network then you will be able to debug your app.
STEP 2 : If you are connecting to a Wear OS device, turn off Bluetooth on the phone that’s paired with the device.
STEP 3: Connect the device to the host computer with a USB cable.
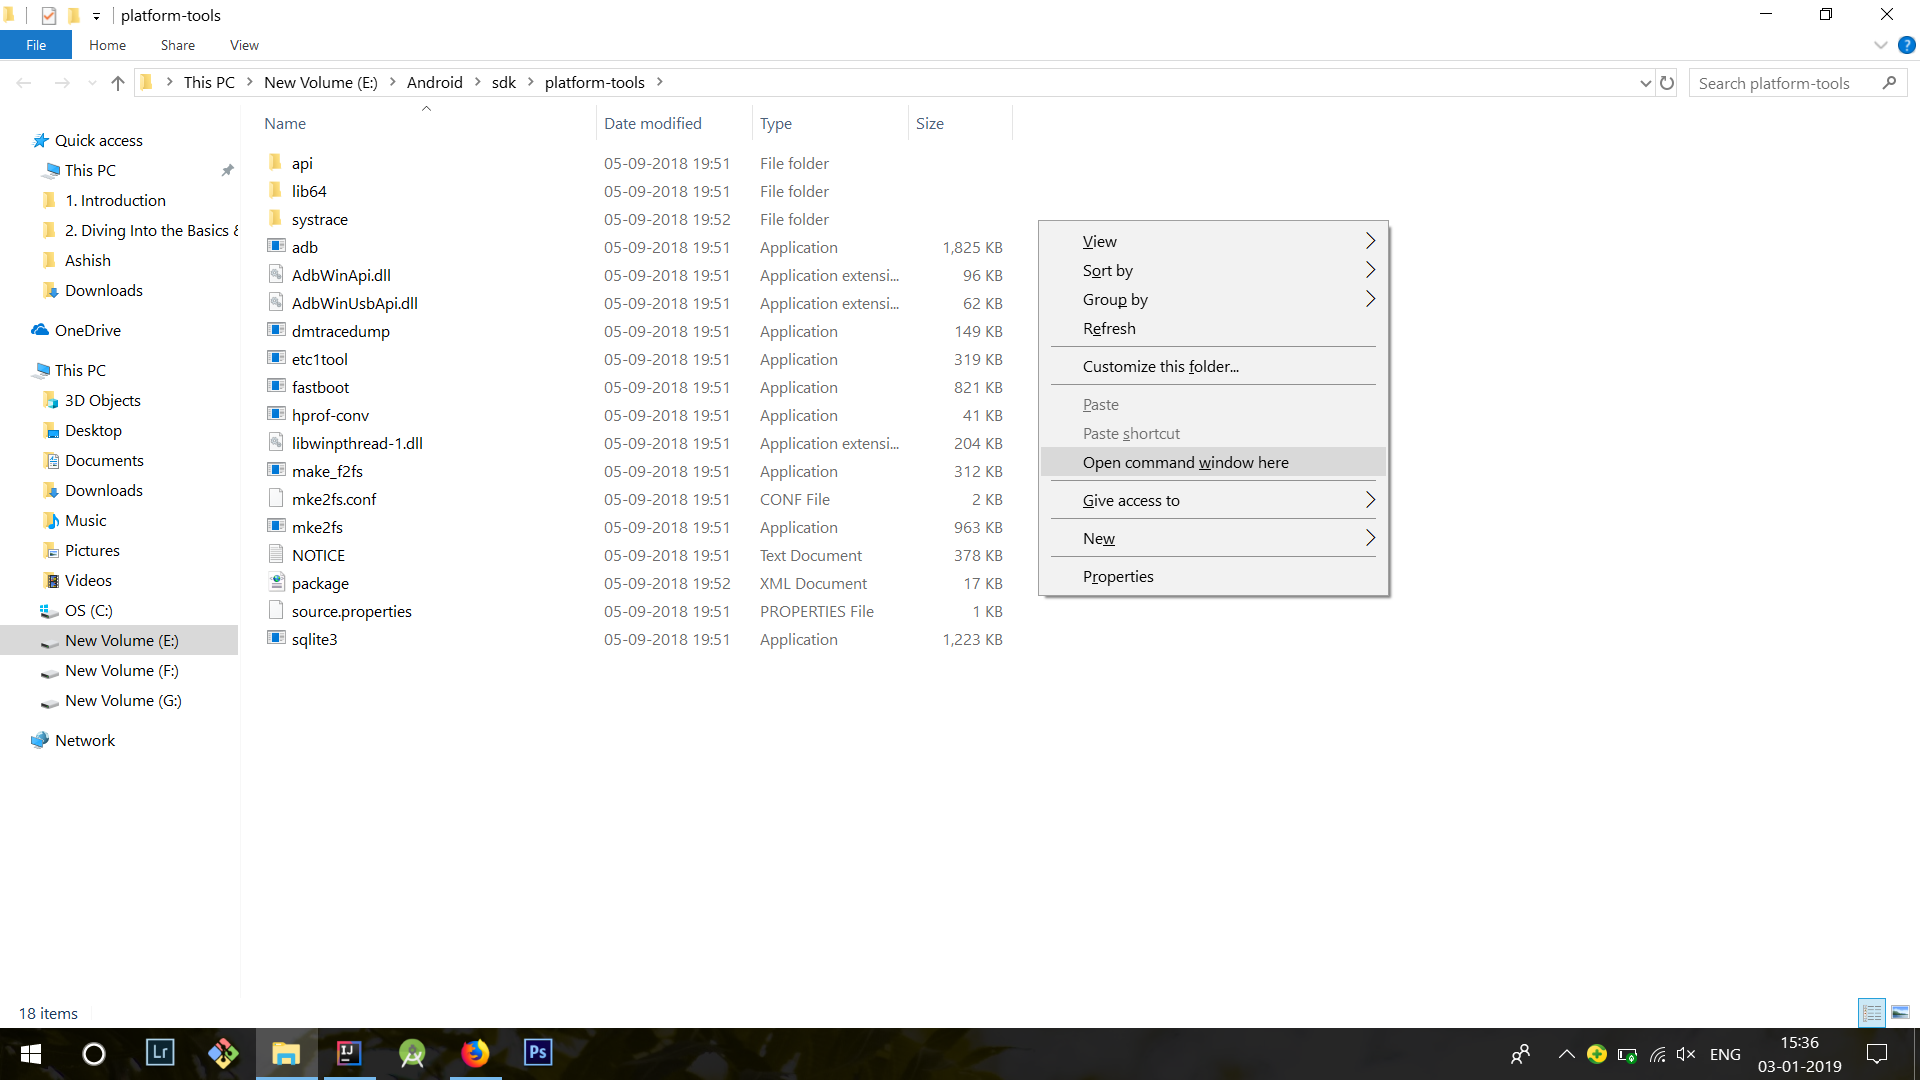
STEP 4: locate your SDK
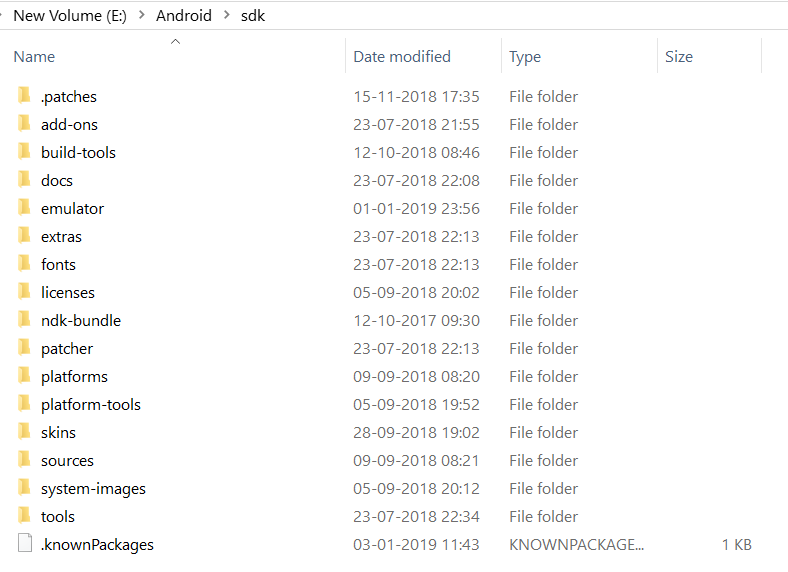
In the SDK you will find platform-tools

S e t this location as path on Command Prompt
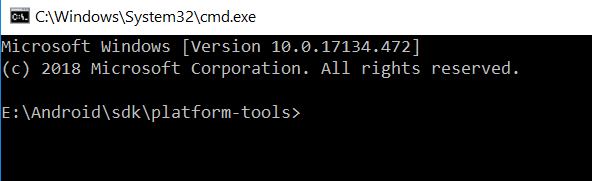
On the platform-tools folder
Select Open Command window here
STEP 5 : Check whether your device is properly connected
This will show all the devices connect through WiFi.
Step 6 : Set the target device to listen for a TCP/IP connection on port 5555

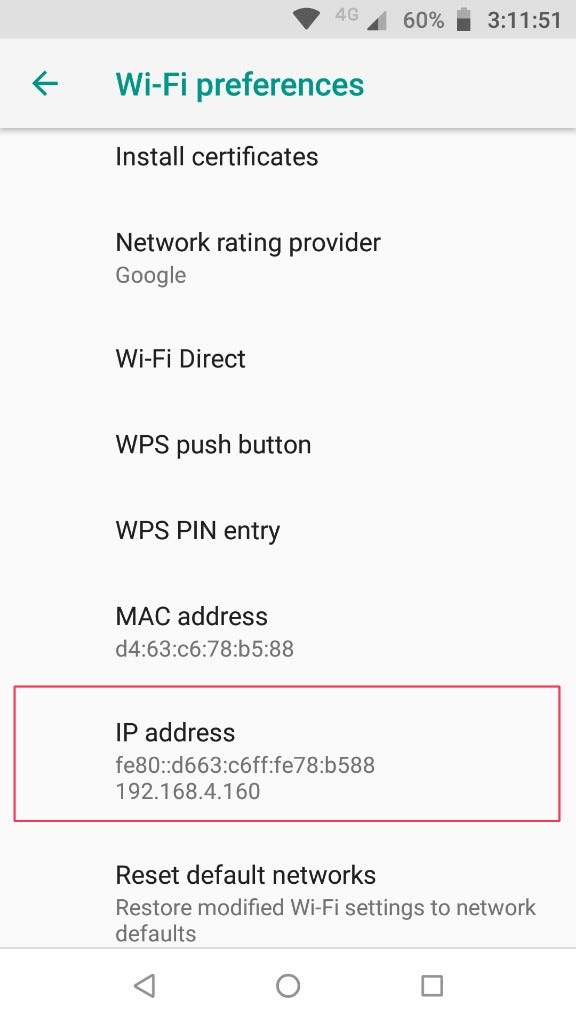
STEP 7 : Find the IP address of the Android device.
you can find the IP address at Settings > Wi-Fi Settings > Advanced > IP address.
STEP 8 : Connect to the device by its IP address.

STEP 9 : Remove the USB cable
Remove the USB cable and you should be connected to your device. If you don’t see it in adb devices then just reconnect using the previous steps command
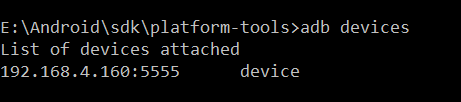
STEP 10 : Confirm that your host computer is connected to the target device
$ adb devices
List of devices attached
device_ip_address:5555 device
You’re now good to go! 🎉
If the adb connection is ever lost:
- Make sure that your host is still connected to the same Wi-Fi network your Android device is.
- Reconnect by executing the adb connect step again.
- Or if that doesn’t work, reset your adb host:
Then start over from the beginning.
Hope this helps you, if you have any query let me know in the comments section.
Источник
How to Execute ADB Commands over WiFi without USB or Root
In this guide, we have covered an amazing trick to execute any ADB command simply over WIFi, without the need of any USB Cable. Android Debugging Bridge, or more popularly known as ADB, is among the most powerful command-line tool for Android devices. Part of the Android SDK and Platform-Tools, it provides for a successful connection between your PC and Android device. Right from booting your device to Fastboot or Recovery Mode, to flashing a custom recovery or sideloading OTA, the possibilities are endless. Keeping that in mind, we already have covered an extensive guide on some of the most powerful ADB commands.
Meanwhile, if you need to perform any of these ADB commands, the basic requirement is a USB cable. Until and unless you connect your device to PC via USB, you cannot carry out any of these ADB commands. Or so is a general notion. But today I found out an impressive hack using which you could execute any ADB command to your device just via WiFi without using any USB cable. But before beginning the same, some important prerequisites are to be kept in mind.
Prerequisites
- Download and install the Android SDK platform-tools on your desktop. If you face any issue while setting it up on Windows 10, you may refer to our guide.
- Enable USB Debugging on your device. Go to Settings >About Phone > Tap on Build Number 7 times > Go back to Settings >Developer options > Toggle on the USB Debugging switch. For further explanation, head over to our guide on how to enable Developer options and USB debugging on Android.
- For this trick to work, your device, as well as PC, needs to be connected on the same Wi-Fi network.
So these were the important requirements to keep in mind. Let us now have a look at how to execute ADB Commands over WiFi without any USB Cable.
Executing ADB Commands over WiFi
For setting up the process, connect your device to USB. This is only a one-time requirement. Moreover, you need to keep a note of your Ip Address on your Android device. If you’re on Android 9.0 Pie or later, go to Settings > Network and Internet > WiFi > Tap on the connected WiFi > Advanced > Note your IP Address.

However, for Android 8.0 Oreo or previous versions, the method is slightly different. Go to Settings > About phone > Status > IP Address. Let’s now begin the process of executing ADB Commands over WiFi without a USB Cable.
-
- Go to the Android SDK and Platform Tools folder. Inside the same folder, type cmd in the address bar.
- This will open the Command Prompt window. You may carry out this procedure in the PowerShell window as well. For that, inside the platform-tools folder, right-click on an empty space while pressing the Shift key. Now click on Open PowerShell window here.
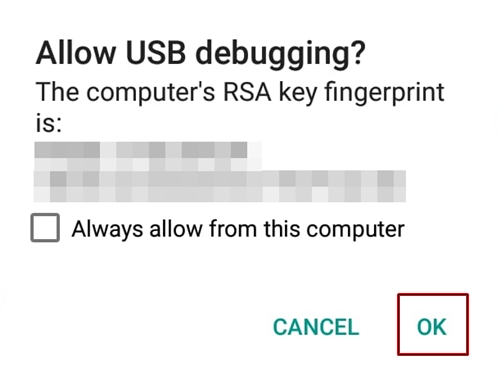
- If this is the first time, you will need to authorize your device for an ADB connection. A dialog box would appear on your device when you connect via USB. Tap on Always allow from this computer.

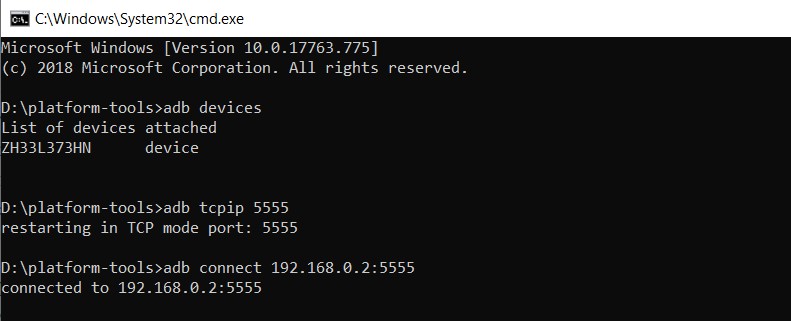
- Now type in the below code to check for a successful ADB connection. if you get an alpha-numeric code, the device is successfully connected:
- Before typing the below adb command, make sure your device and PC are connected to the same Wi-Fi network. Now type the below code:
Next, enter the following code to connect your device to ADB via WiFi without USB cable.
For example, as my IP address is 192.168.0.2, the command in my case will be as follow. You may also have a look at the above image for reference.
- That’s it. You can now execute any ADB command over WiFi without the need for any USB Cable.
Things to keep in mind
If you connect your device via USB cable and type adb devices, you will get two device IDs. One will be in the form of the IP Address, with the :5555 (tcpip) suffix. The other one will be the alpha-numeric code. The latter one is the result of USB cable whereas the former is due to WiFi, as evident from the IP address.
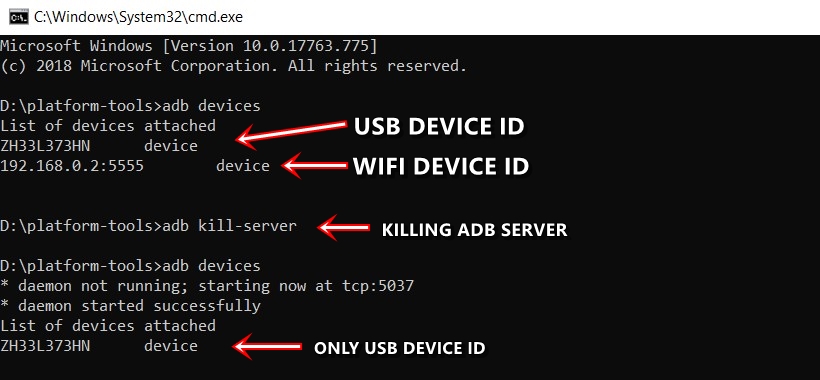
If you wish to remove the WiFi device ID, simply closing and reopening the command shell won’t do any good. For that, you will have to kill the process. Type the below code in the command prompt to remove the same:
ADB Commands Via WiFi when the device is turned on
Till now we have discussed how to execute ADB commands via WiFi, without any USB cable. Now let’s have a look at some of the important ADB Command that could be executed in this wireless mode.
Shows a list of all the devices connected to PC in ADB state.
Used to reboot your Android device
- adb reboot bootloader
To reboot your device to bootloader/fastboot mode, you may use this command.
- adb reboot recovery
To boot your device to stock or custom recovery like TWRP (if installed).
Another useful ADB command that could be executed over WiFi without using a USB cable. It is used to install an APK to your Android device directly from the PC. Just make sure to move the APk file inside the platform-tools folder before executing the below code. If the name of the file is game.apk, then the command will be:
- adb uninstall
Similarly, to uninstall any APK from your Android device, type the below code. To get the ID of any app, search for the desired app on Play Store on Desktop. From the address bar, copy the content next to To uninstall WhatsApp, the code will be:
Pull a file from your device and save it on your desktop. The file would be saved to the platform-tools folder. For example, to pull video.mp4, the command will be
Used to push a file to your device from your PC. Keep the file in the platform-tools folder to push it on your device.
Given above are only some of the adb commands. To get a complete list of all such commands, have a look at the List of ADB and Fastboot Commands for Android .
With this, we conclude the guide on how to execute ADB commands over WiFi without using a USB Cable. Do let us know if you face any issues during the process. Your views are also welcome on this pretty useful trick.
Источник


