- Управление рекламой (android)
- Предисловие
- Возможности библиотеки
- Примеры использования
- Подключение к проекту
- Планы на будущее
- Помощь
- How to block ads on your Android phone
- Block pop up pages and ads in Chrome
- Use Lite mode in Chrome
- Install ad-blocking extensions or use browsers with ad-blocking features
- How to block ads on Android, with root and without root
- Changing the DNS to Block Ads on Android
- AdLock
- AdAway
- How To Block Ads In Android Apps, Games And Browsers
- 1. Adblock Plus (ABP)
- Using Adblock Plus
- Installing And Configuring Adblock Plus
- Adblock Plus – Browser Extension
- Setting Up Adblock Plus (Extension)
- 2. Block Ads using ‘hosts’ file
- What is a ‘hosts’ file?
- Setting Up ‘hosts’ file
- Wrap Up
Управление рекламой (android)
Реклама в приложении — это очень важный момент, а иногда и единственный заработок.
Думаю, многие задавались вопросом о том, какая реклама лучше и где ее лучше размещать. Каждое приложение индивидуально, поэтому нужно экспериментировать.
Выпускать каждый раз обновления приложения с экспериментами? Не вариант. Гораздо лучше все настройки хранить на стороне сервера, а в приложении реализовать логику показа рекламы.
Но все ли так просто?
Цель данного поста:
— внести небольшой вклад в open source (исходники, демка)
— получить адекватную критику
— найти разработчиков, которые готовы поддержать проект
— попиарить приложение Цены в Китае, где используется данный подход
Предисловие
Сразу хочу сказать, что я не очень опытный Android/Java разработчик. Программирую в основном на php (более 5 лет). Это мое первое android приложение, поэтому не судите строго.
Возможности библиотеки
Виды рекламы
— AdMob
— StartAd.mobi
— свой баннер, написанный в виде html
Отображение
— Снизу
— Сверху
— В списке (с заданным шагом)
— Внутри указанного элемента (указываем id элемента)
— Межстраничная реклама (на весь экран)
Примеры использования
AdMob снизу

AdMob smart
Если нужно растянуть на всю ширину экрана
Свой баннер сверху
В списке с шагом 15
В конкретном месте
Межстраничный баннер
Настройки на стороне сервера
Подключение к проекту
На текущий момент это не библиотека, а обычное приложение. Чтобы использовать в своем приложении нужно сделать следующее:
— перенести библиотеки из папки libs
— обновить зависимости в build.gradle
Планы на будущее
— реализовать backend для настроек на сервере. У меня это уже реализовано в проекте, но нужно как-то перенести.
— статистики показов (тоже реализовано) и кликов
— добавить больше типов рекламы
— исправить TODO и FIXME в коде
— оформить в виде библиотеки (а не в виде проекта с копирование файлов в нужные места)
— выложить в maven репозиторий
Помощь
Времени как всегда не хватает, поэтому любая помощь от разработчиков не помешает. Давайте не будем стесняться что-то делать и показывать это другим. Вспомнилась поговорка «Не бойся ошибиться, бойся не попробовать». Я не прошу реализовывать что-то сверхестественное. Просто если вы будете использовать что-то из этого в своем проекте и решите добавить что-новое, или найдете какой-то баг — не поленитесь, пришлите pull request.
Источник
How to block ads on your Android phone
While many websites depend on revenue coming from ad banner impressions and clicks, it’s a fact that some of these ads can be very annoying, and in a few cases, even malicious. Some ads are created by rogue pop-up pages, while others automatically start playing video or audio clips. Many more are guilty of just taking up too much of your phone’s resources with overused animations.
What if you wanted to block ads on Android? Thankfully, there are several ways you can do that, and a couple of them just require that you make a few setting changes in your Chrome web browser.
Editor’s note: We’ve put together these instructions using a Pixel 4a with 5G running Android 12. Keep in mind steps might be different depending on your device and the Android version it’s running.
Block pop up pages and ads in Chrome
If you do use Chrome as your default web browser on your Android phone, and most of you do, you should be aware that in 2018, Google announced that Chrome would block all ads on websites if they use full-page interstitials. Sites would also see ads blocked on Chrome if they unexpectedly play sounds, or if they use a lot of flashing-style animation. However, some sites still use pop-ups to generate ads, and thankfully there’s a way to combat them in Chrome.
- Open up the Chrome browser.
- Tap on the 3-dot menu in the top right corner.
- Tap on Settings.
- Scroll down to the Site Settings selection, and tap on it.
- Go into Pop-ups and redirects.
- Make sure the toggle is turned off.
- Go back to the Site settings section.
- Tap on Ads.
- Make sure the toggle is turned off.
Use Lite mode in Chrome
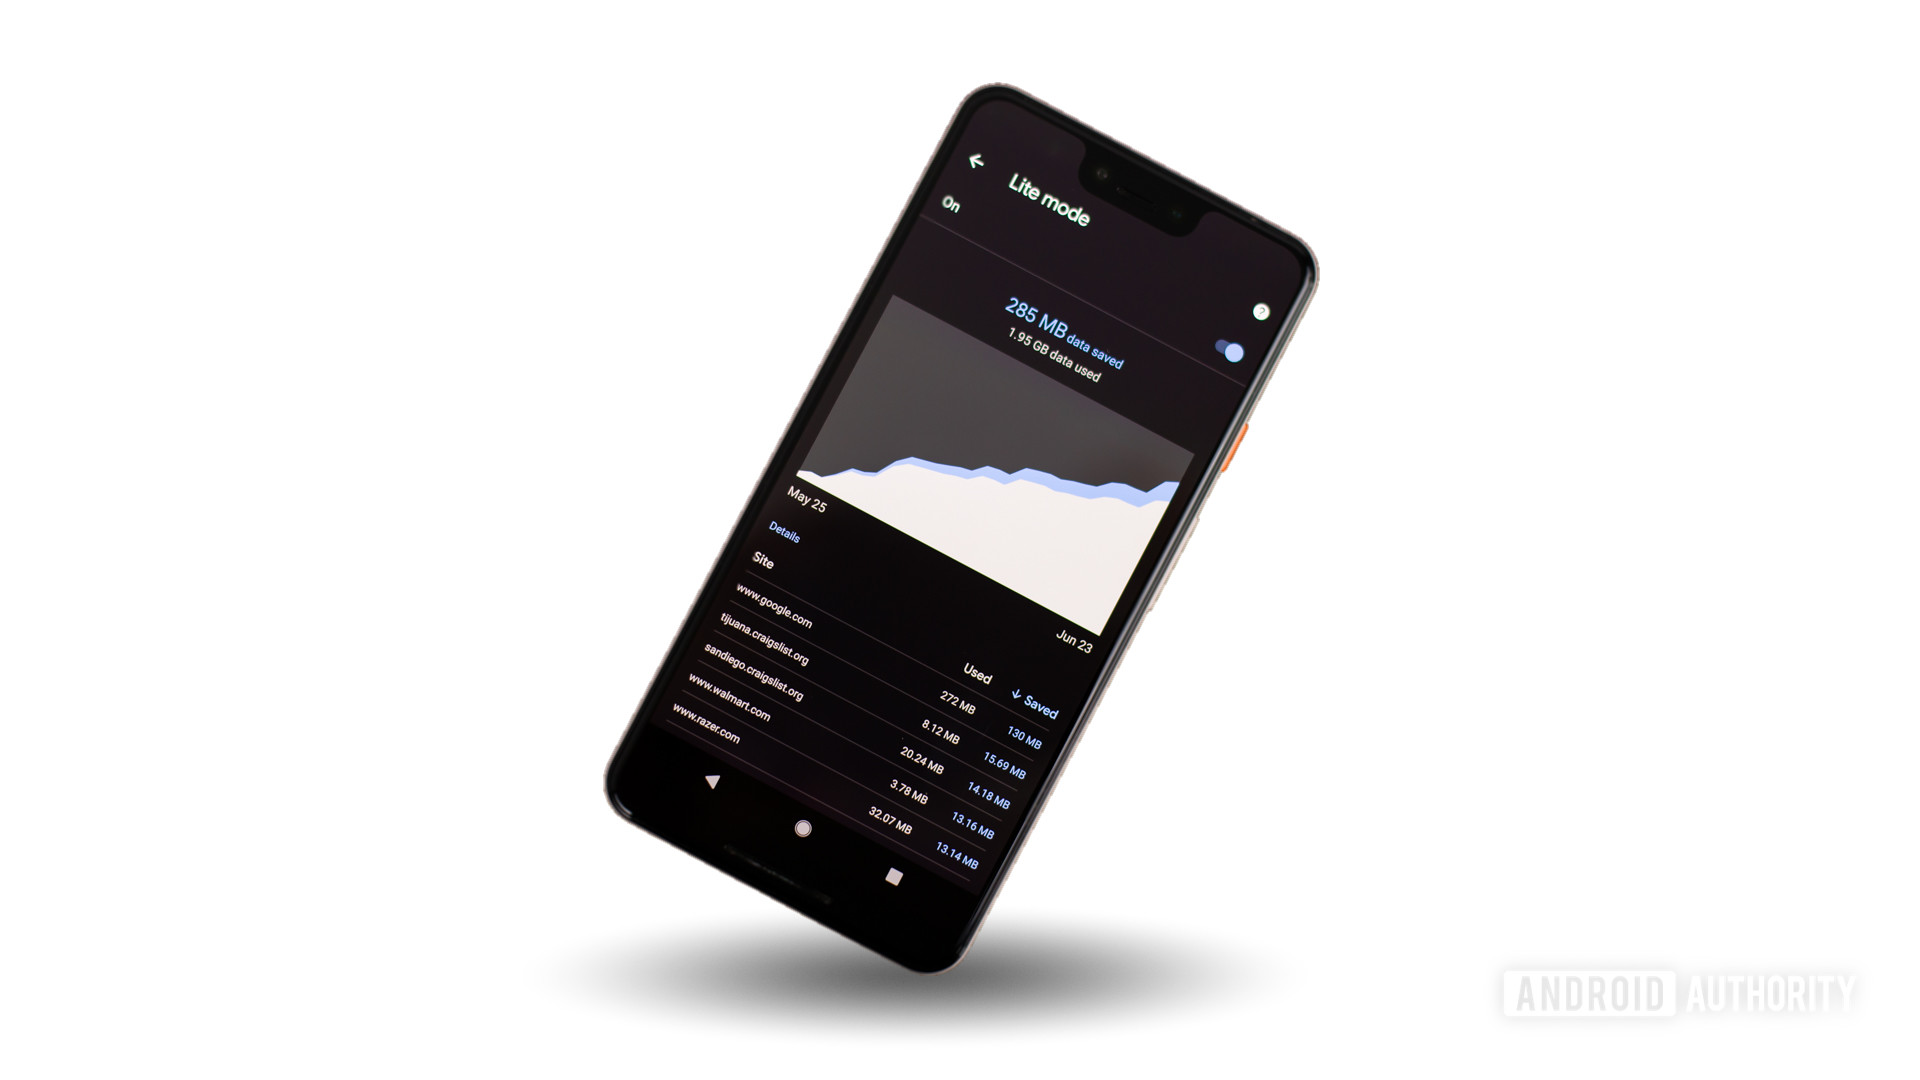
There’s another lesser-known method that could save you from seeing some annoying or malicious ads while using Chrome. Google Chrome’s Lite mode keeps down data usage by accessing Google servers that compress websites before downloading them.
Google’s compression servers are also used by Lite mode to detect and do away with web pages that may have harmful or malicious ads. While the sites may not look the same using Lite mode, they are safer to download and browse versus viewing the sites without this mode turned on. You’ll also save some megabytes, if you care about that.
- Open up the Chrome browser.
- Tap on the 3-dot menu in the top right corner.
- Tap on Settings.
- Go into Lite mode.
- Toggle the feature on.
Install ad-blocking extensions or use browsers with ad-blocking features
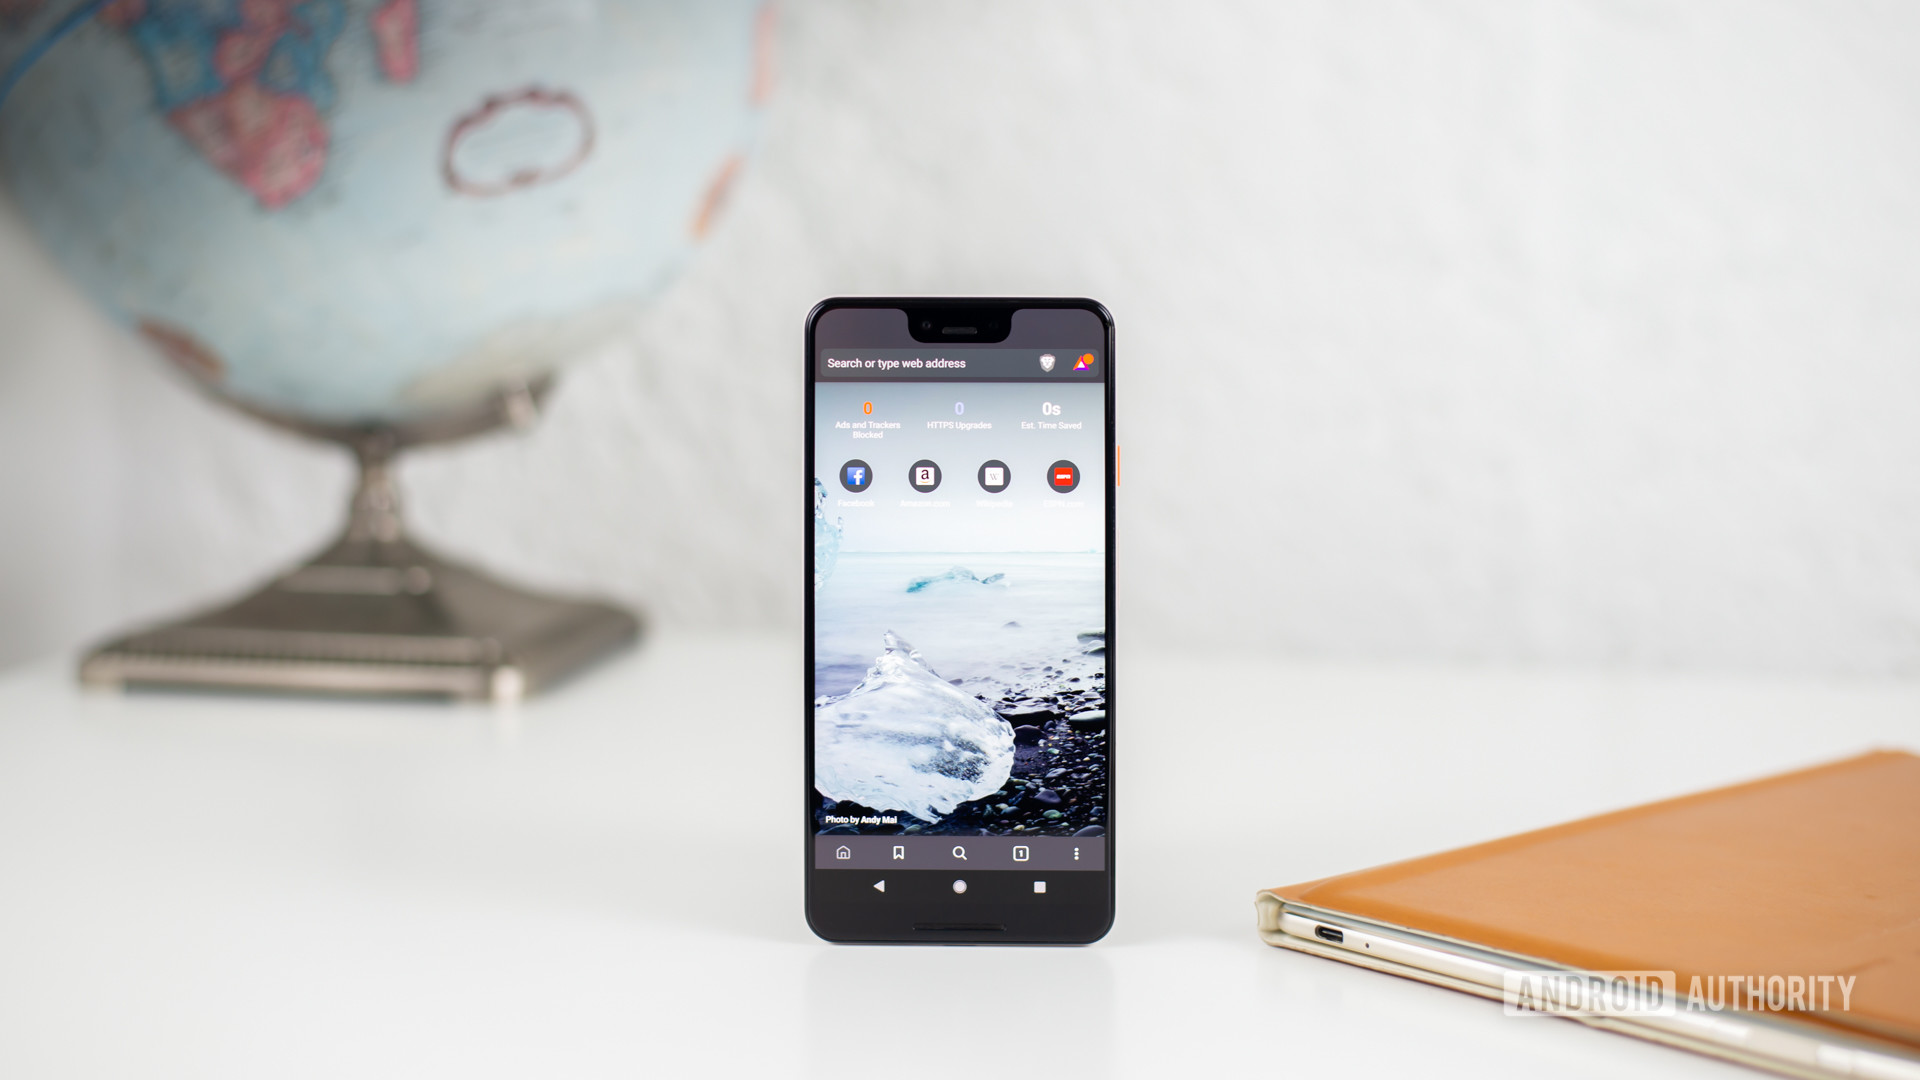
While Chrome now has some ad-blocking features, it’s not perfect. Another solution is to download ad-blocking extensions for Chrome. Of course, this is only an option for computer users. Some of the best ones include AdBlock and Adblock Plus (no relation), and they should do away with more annoying ads more effectively than using Chrome alone.
Another method is to use another web browser with its integrated ad-blocking features. Some of the options available on Android include Brave, Opera, and even Adblock has its stand-alone web browser.
Источник
How to block ads on Android, with root and without root
Nobody likes ads, including your very own, whose livelihood depends on an ad-supported internet experience. Yet, it’s hard to imagine a world without ads. Ads are the reason why we can access many of the most popular websites, services, and apps without paying a single penny. It’s not that ads are fundamentally bad — when done right, ads can be entertaining, engaging, and genuinely useful. It’s just that many websites and apps can be short-sighted at times and engage in shady ad practices to boost their revenue.
We’ve all come across annoying websites that take us on a bumpy redirecting rollercoaster ride without our consent. And those in-app ads covering the entire display of your phone or computer and basically hijacking us by disabling the back button can especially be annoying. It’s practices like these that earn ads a bad name.
While we can’t wipe out these nasty ads from the face of the earth, we can certainly wipe them clean from your Android device. Let us present to you some of the most powerful tools Android users have at their disposal that will make sure you never see the sight of ads.
Removing ads affects the internet ecosystem and the monetization ability of many businesses. If you frequently use certain apps, websites, and services, consider subscribing to their paid services or adding them to a whitelist. Help them continue to be useful to you.
Some of these tools require root access, but you won’t need it at all in most cases. The Android ad-blocking tools come in all shapes and sizes, with each having varying degrees of effectiveness and use case. Let’s review them one by one to help you find the one that works the best for you.
Changing the DNS to Block Ads on Android
One of the easiest ways to block ads on Android smartphones is by changing to an ad-blocking service’s private DNS provider. This method requires no apps, but it only works on Android phones with Android 9 Pie and above, as the Private DNS setting was introduced with this version of the OS.

To change the DNS, go to Settings > Network and Internet > Advanced > Private DNS. Choose the option Private DNS Provider Hostname, and enter “dns.adguard.com” or “us.adhole.org“, and hit Save. That’s it. You’ll no longer see any in-app ad banners, nor any advertisements on web browsers.
On some phones, the path to change the Private DNS may be different. If your phone UX has a search bar, simply search for Private DNS to land on the relevant settings page.
AdLock
AdLock is a blocking solution that has options for PC and Android. It’s an easy way to block in-game ads or browser ads while using your phone. You’ll even have the option to block specific websites and filter all of your traffic through HTTPS secure filtering.


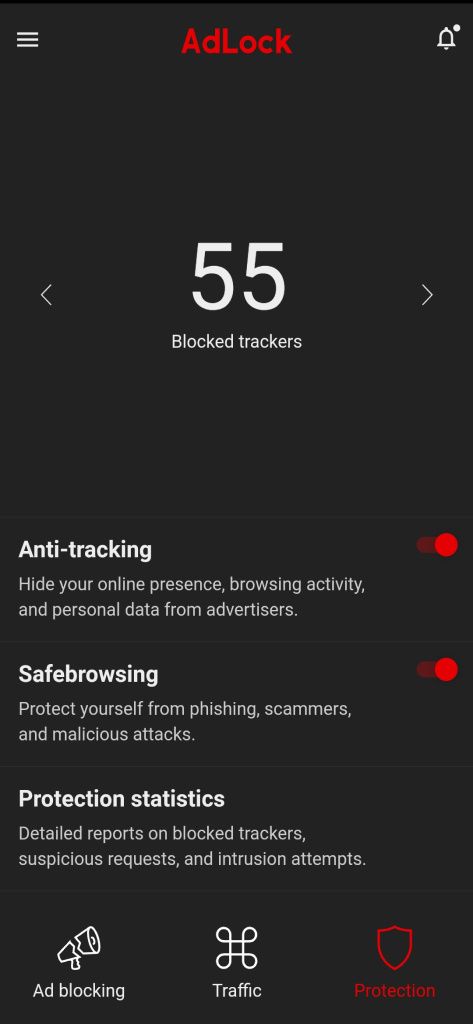
Thanks to AdLock for sponsoring this part of the article.
AdAway
If you have root access, there’s no better solution than AdAway. It has a non-root mode as well, but it works best with root. AdAway uses a hosts file to block ad-serving hostnames. What it essentially does is keep an updated list of ad networks and redirects them to 127.0.0.1 (your own phone), so these requests go nowhere, and no ads can be served. The best part is it blocks out both browser and in-app advertisements. Setting up the service is very straightforward.
![]()
![]()
![]()
The service comes with three sources with over 90,000 user-verified hosts, with new hosts regularly being added to the list. If some ads still seep through, you can use the DNS logging feature to record the outgoing DNS requests and manually add them to the “hosts” file. But even without touching any of these or getting too technical, AdAway effectively blocks out most ads, if not all, across apps and websites.
AdAway is free and open-source and in active development. If you want to give it a try, head over to the project’s GitHub or grab the latest APK from the official XDA thread linked below.
Источник
How To Block Ads In Android Apps, Games And Browsers
Ads are a necessary evil. Many websites and applications are providing you with free service, free content and free software because someone else is paying them to keep them up. Thus, the service provider has to serve ads to you in return for the income that is keeping them in business, and in development. As the user, you reap the benefit of using the product for free.
However, sometimes the ad placements can be really annoying, contributing to not-so-appealing user experience. In this post we will look at methods to block ads from showing up on Android. You can block ads from appearing in apps and games, or only on browsers.
The methods here may work for both rooted and non-rooted devices. It will be specified for each method. Before we begin, you need a File Manager, e.g. Astro File Manager. Any other file manager will work fine.
Disclaimer: Attempt ad-blocking at your own risk. We cannot be held responsible for any effects on your device resulting from these methods.
1. Adblock Plus (ABP)
This method uses ad-blockers (apps) to block all ads in your device, including the ads shown in various apps and games. There are many ad-blockers for Android, thanks to the ever-growing Android developers. The top two would be Adblock Plus (ABP) and AdAway; we wil discuss the former, but you can install AdAway if that’s your preference.
Using Adblock Plus
We’re going with Adblock Plus as it is an open source project and has the option to allow non-intrusive ads. This method works for both rooted and non-rooted devices. Installing an ad-blocker app requires your device to allow applications from unknown sources.
Sideloading is required as Google has removed ad-block apps from Google Play Store. You need to sideload any ad-blocker, i.e. install ad-blockers using its APK file and not from Google Play Store.
Follow the given steps to set this configuration:
- Go to Settings >Applications (or Security on 4.0 and above) on your Android device.
- Navigate to the Unknown sources option.
- If unchecked, tap the checkbox, and then tap OK on the confirmation popup.
Your Android device is ready to install ad-blockers.
Installing And Configuring Adblock Plus
1. Open a browser in your device and download Adblock Plus for Android. Your device will receive the APK file: adblockplusandroid-version.apk.
2. Navigate to where your downloaded files are kept, then tap on the file and install. (If you open the APK file using a file manager, select Open App Manager and then click on Install.)
3.1 On rooted devices: after installing, open Adblock Plus. It will request for super user permissions. Allow super user permissions to Adblock Plus and you are good to go.
3.2 On non-rooted devices: you need a few more steps, to manually set up proxy in your Android. You will need to follow the instructions here as instructions are different for Android versions up to 3.1 and 4.0+.s
Now Adblock Plus will start blocking ads. You can set more options in Adblock Plus like ads filter lists, non-intrusive ads, etc in Settings.
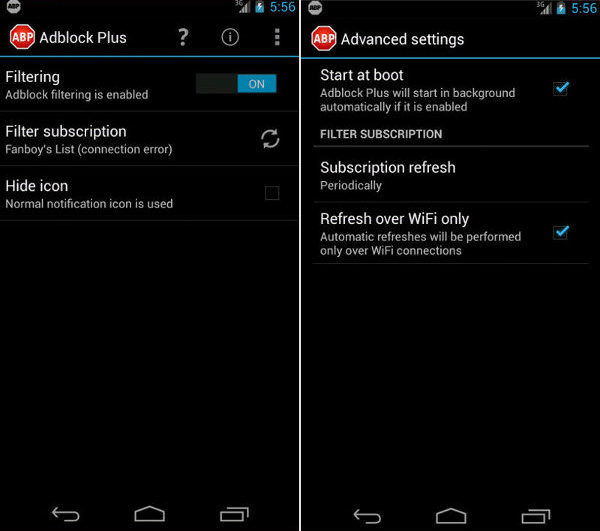
Adblock Plus – Browser Extension
Adblock Plus is also available as a browser extension for Firefox. With this method, only the ads shown on web pages inside the browser are blocked. Ads in apps or games are not affected. This method works for rooted as well as non-rooted devices.
Setting Up Adblock Plus (Extension)
1. If you are not using Firefox as a browser on your Android yet, get it here. Run the browser on your device and go to the Adblock Plus add-on here. Add it to Firefox and Install it.
2. Restart Firefox and browse ad-free. You can set more options in Adblock Plus by going to the Menu > Adblock Plus and going through the options you can configure.
2. Block Ads using ‘hosts’ file
This method uses ‘hosts’ file to block ads. This method blocks all ads in your device, including the ones shown in various apps and games. This method works only for rooted devices.
What is a ‘hosts’ file?
‘hosts’ file is a plain-text file in an operating system to map hostnames (like anything.com) to its IP address. Whenever you try to launch a website using its hostname, the operating system will usually search the ‘hosts’ file to find the corresponding IP address first.
If the search is successful, then its mapped IP address is used; otherwise a query is sent to DNS (Domain Name Service) to find the IP address of that hostname.
Setting Up ‘hosts’ file
1. On the computer, open MVPS (or pgl.yoyo.org or hostfile.mine.nu) on your browser. A plain-text page will open. Save this page as the name hosts in the computer.
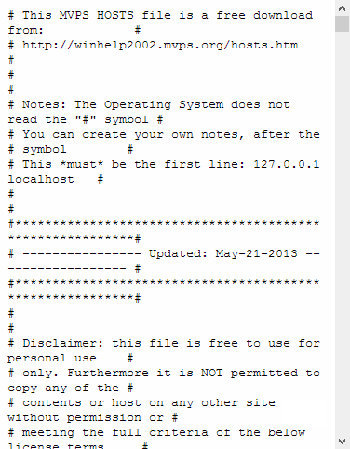
2. Using Bluetooth or a USB connection, copy this hosts file from your computer to your Android device. Note the file path.
3. On your Android, open the file manager in your device and copy the hosts file to /etc or /system/etc. Accessing this location may require you to ‘allow super user permissions’ to the file manager.
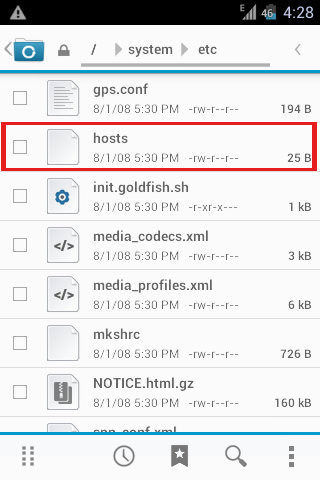
4. Rename the original hosts file (if present) to a .txt or .bak extension. Paste the saved hosts file here. Reboot your Android and your Android is now ad-free.
Wrap Up
Although ads are annoying, they are also a great way to try out new apps, products or sites. Allowing non-intrusive ads is a way to be exposed to these new and sometimes great apps via ads. Alternatively many apps offers you the option to buy an ad-free version of the app, so you can support your favorite apps without being annoyed by the ads.
Источник


