- User Guide of iMyFone AnyTo
- Part 1. Connect Your Device
- Step 1: Connect Your Device
- Step 2: Identify Your Device
- Step 3: Open USB Debugging
- Step 4: Follow the Guide in the Program
- Step 5: Allow USB Debugging
- Step 6: Select the Mode
- Part 2. Gaming Mode
- Step 1: Check the Disclaimer
- Step 2: Select the Mode
- Step 3: You’re All Set!
- Part 3. Social Mode
- Step 1: Select the Mode
- Step 2: Install AnyTo Assistant
- Step 3: Start to Move
- Part 4: Key Features
- Feature 1: Teleport Mode
- Feature 2: Two-spot Mode
- Feature 3: Multi-spot Mode
- Feature 4: Joystick Mode
- Feature 5: Circle Route
- Feature 6: Realistic Mode
- Feature 7: Returns or Loops
- Feature 8: Collect Spots and Routes
- Feature 9: Import/Export GPX file
User Guide of iMyFone AnyTo
iMyFone AnyTo (windows version) V4.x now supports Android devices, with gaming mode and social mode. Here’s the guide for Android users.
Part 1. Connect Your Device
Step 1: Connect Your Device
Install and launch iMyFone AnyTo, and click on»Get Started«.
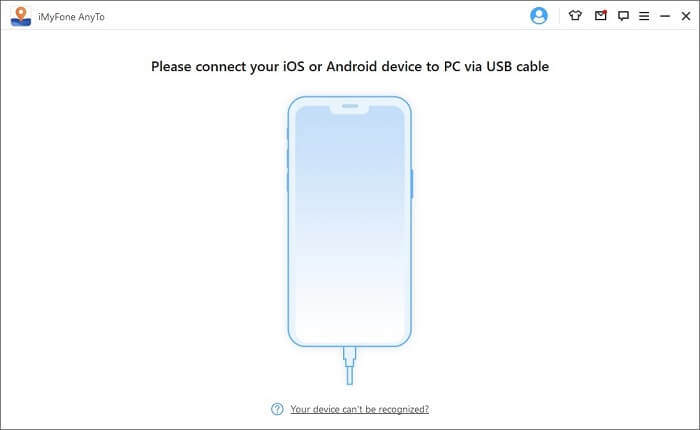
Connect your Android device.
Step 2: Identify Your Device
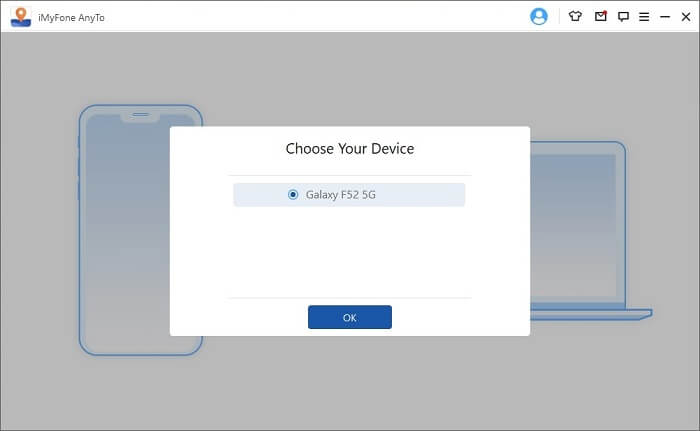
When the system identifies the device, «Choose Your Device» list will appear. Choose the android device you want to connect.
(Later in the connection process, the list may appear multiple times. Each time, please choose the same device.)
Step 3: Open USB Debugging
After choosing the device, please open USB debugging according to the guide in the program.
Ensure that the mobile phone’s USB connection mode is Media Transfer Protocol (for LG mobile phones, it should be set as Picture Transfer Protocol). The steps to set USB connection mode maybe different among different phone brands. Generally speaking, you can fall out of the notification bar, and then find the USB connection mode option.
![]()
Step 4: Follow the Guide in the Program
Tap 7 times «Build Number» (or «System versions») to open the developer mode, and then enter «Developer option«, find and open «USB debugging» (Some Android phones will also need to turn on «Allow to install apps via USB»).

Step 5: Allow USB Debugging
Confirm «Allow USB debugging» on your mobile phone.
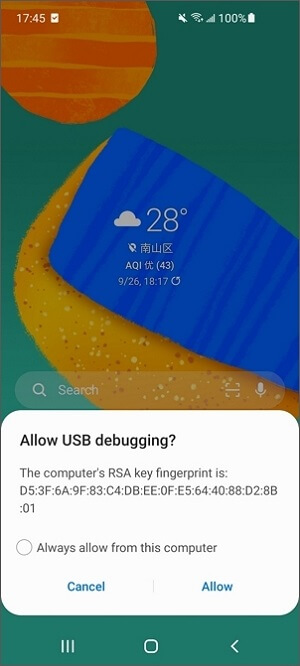
If the popup is not shown on your device, click «Show Again» and you can see it.

Step 6: Select the Mode
After success, you will enter the mode selection interface, and choose you want to use.
Part 2. Gaming Mode
Note: Gaming Mode can only support PokГ©mon GO game accessories.
Step 1: Check the Disclaimer
Check the disclaimer, and then click Gaming Mode entrance into the gaming mode.
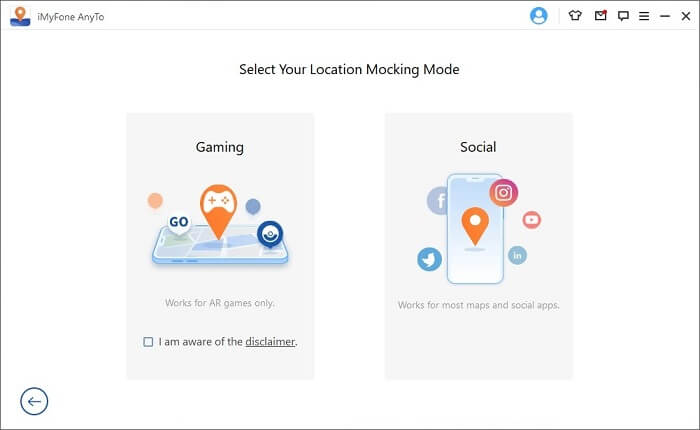
Note: Gaming mode is not always available. When the server is being maintained or updated, users will see a text prompt, and unable to enter Gaming mode. In this case, please wait for a few minutes to several hours, to see it again.
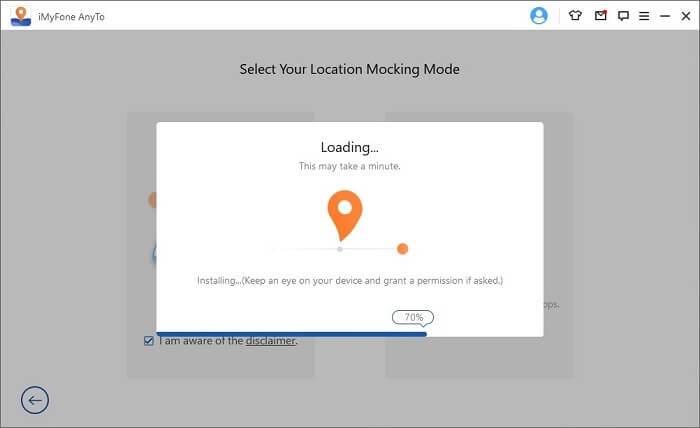
Step 2: Select the Mode
Then the program will start the loading process and provide the progress bar. At this time, please wait for a moment. Some mobile phones need to confirm and give some permissions, so please keep a close watch on your mobile phone.
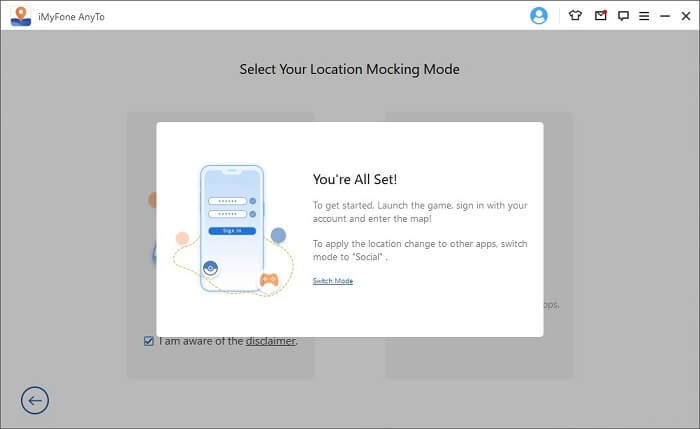
Step 3: You’re All Set!
After the loading is completed, if you see a popup «You’re All Set!» , you may need to login to your game account on your phone. Generally, the popup only appears when you start the game for the first time. And it will disappear automatically when you sign in with your account and enter the map.
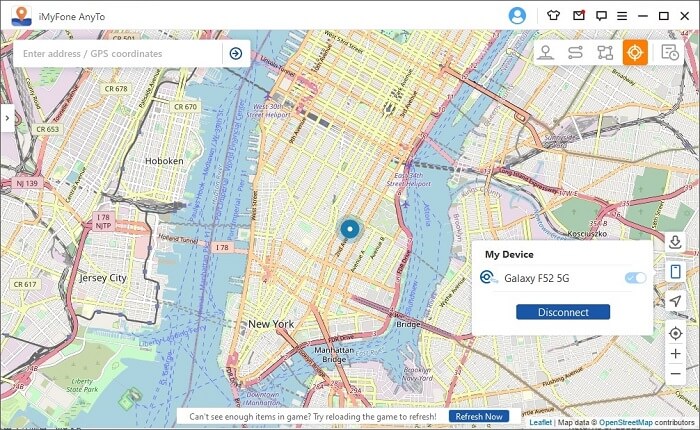
1. In very rare cases, the user may encounter into a map but can’t see any of the items in game. Just click «Refresh Now» below, and directly restart the game.
2. The button on the right side of the map will show the device name and the current mode (gaming or social). Click the icon to the left of your device name, you can switch the mode; Click Disconnect, you can disconnect the device and then another one.
Part 3. Social Mode
Note: Social Mode can work with most location-based apps, such as Google Map, Facebook, WhatsApp, etc.
Step 1: Select the Mode
Click Social Mode entrance into the social mode. This mode does not support the device running android 11 for the moment.

Step 2: Install AnyTo Assistant
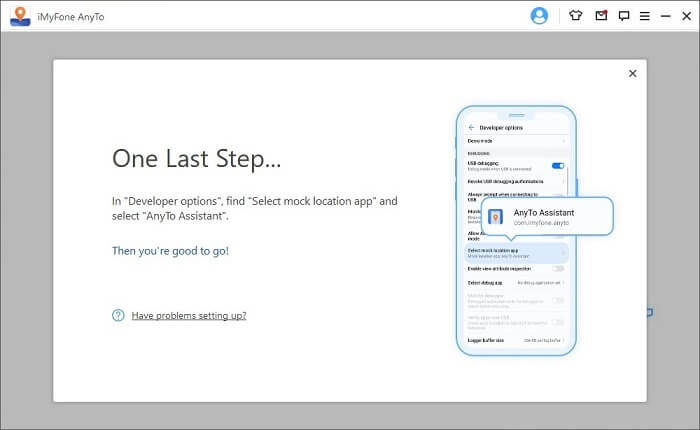
Wait a moment, the program will installed «AnyTo Assistant» on your mobile phones. (AnyTo Assistant will not appear on the mobile phone under Android 10. It doesn’t need to manually start or operate at any time. Just keep on the phone.)
After the installation is completed, find «Select mock location app» in «Developer options», and select «AnyTo Assistant».
Step 3: Start to Move
Then you’re good to go! For your convenience, please keep these permission Settings for next time.
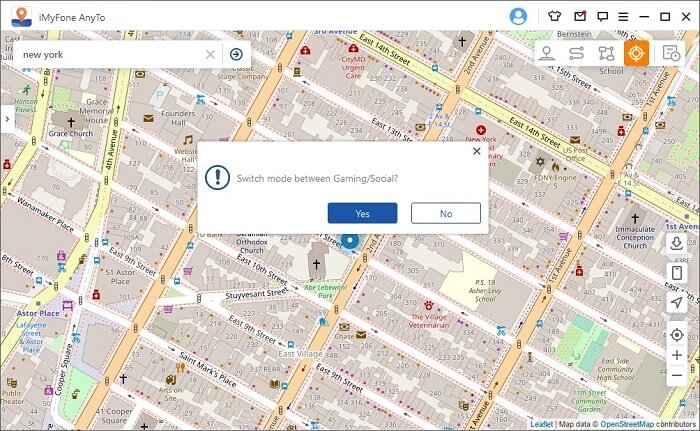
1. If you want to switch to Gaming mode, click the icon to the left of your device name and confirm the switch.
2. When the popup appears, click «Yes» to confirm the switch.
Part 4: Key Features
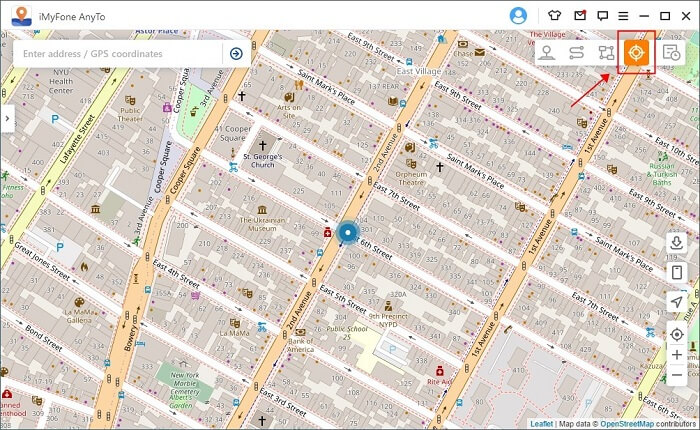
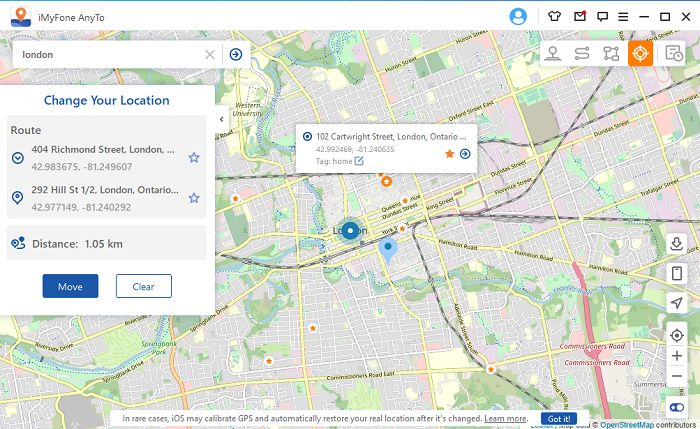
Feature 1: Teleport Mode
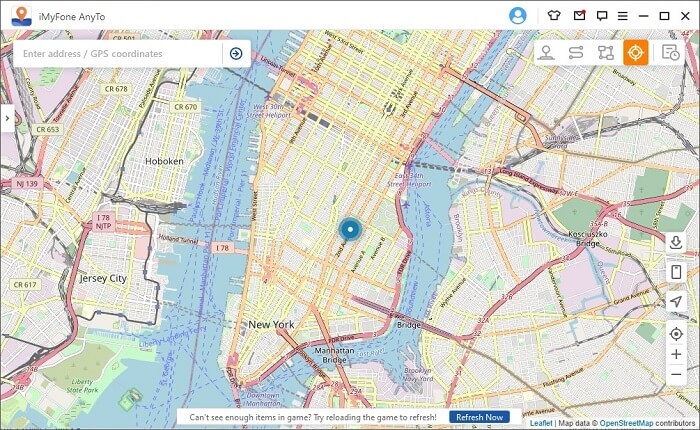
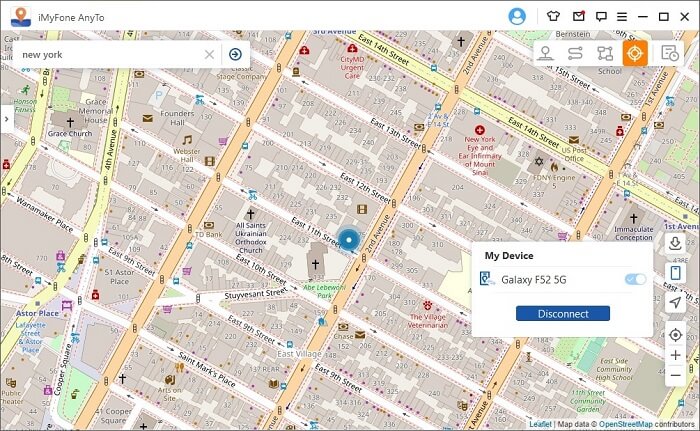
Choose Teleport Mode at the upper right corner (the 4th one).
You can zoom in and out the map by scrolling the mouse, and select a destination. Or you can enter the address/GPS coordinates at the upper left corner to search your destination. Click Move.
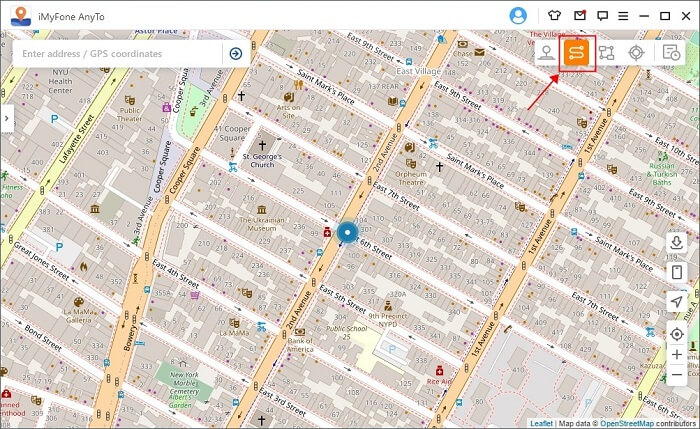
Feature 2: Two-spot Mode
If you want to customize a route, you can select Two-spot Mode at the upper right corner (the 2nd one).
You can now set up the number of Times for the virtual route to move between the two places. Drag the Speed bar to customize your moving speed. Click Move to start simulating the movement.
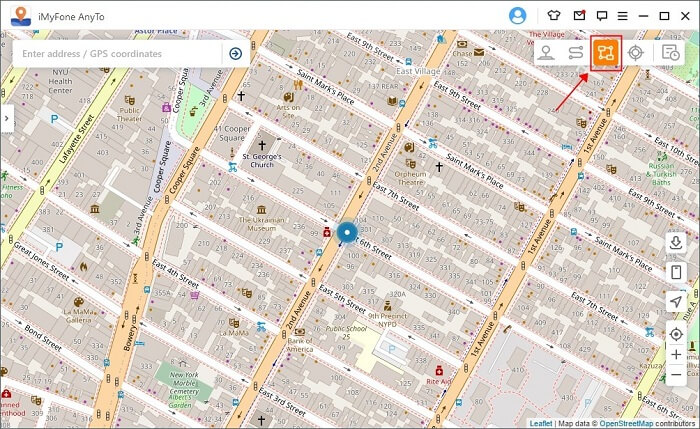
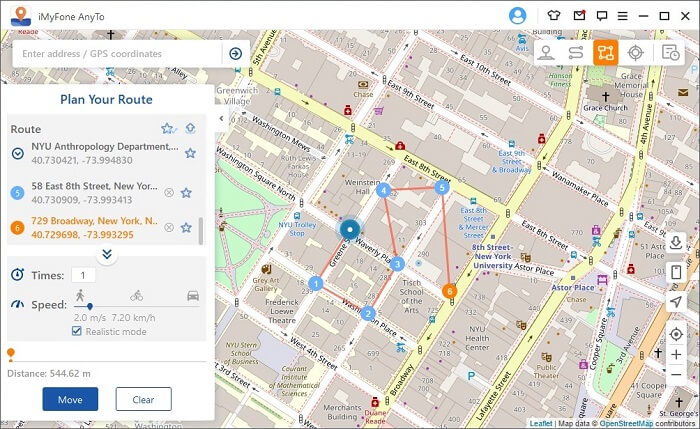
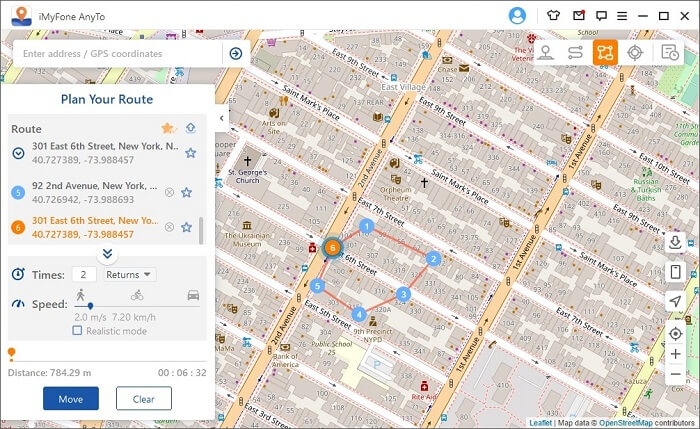
Feature 3: Multi-spot Mode
If you want to plan a route with multiple spots, you can select Multi-spot Mode at the upper right corner (the 3rd one).
Select different spots one by one on the map that you want to pass by. Or enter address/GPS coordinates to set the spots. After the Times and Speed are set up, click Move to start the journey.
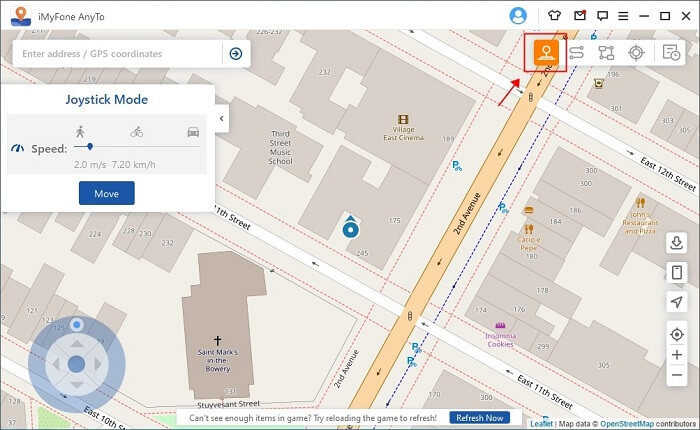
Feature 4: Joystick Mode
If you want to mock your GPS location with joystick, you can select Joystick Mode at the upper right corner (the 1st one).
One click to Move automatically. You can set 360-degree directions, and move forward or reverse by clicking the direction button.
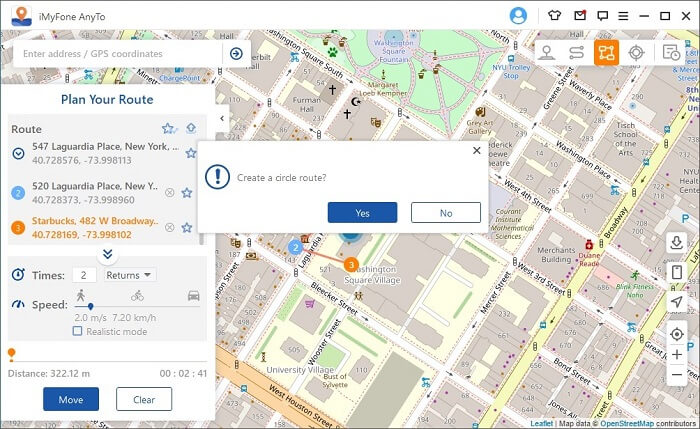
Feature 5: Circle Route
Under Multi-spot mode, when the starting point and the end point are nearby, the program will automatically ask if you need to create a circle route. Click «Yes», it will align the starting point and the end point; click «No», the end point will keep the exact coordinates.
Feature 6: Realistic Mode
Check Realistic Mode, and then moving speed will randomly vary in the upper or lower 30% of selected speed range. The speed varies every 5 seconds.
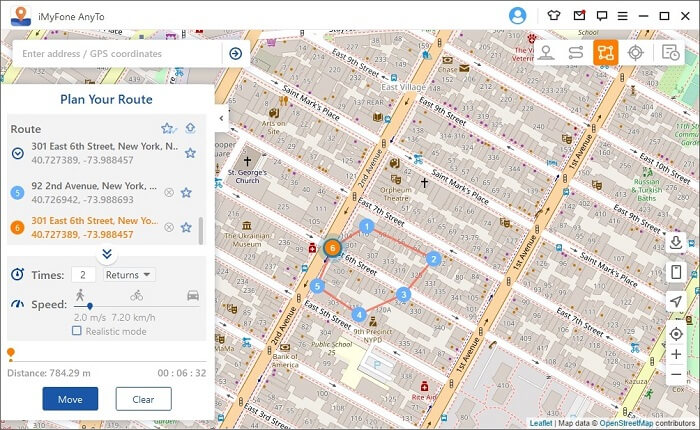
Feature 7: Returns or Loops
When the times are greater than 1, the user can choose to return original road (from start to finish, and then return), or loop (from start to finish, from start to finish again) in the form of a repeat this route.
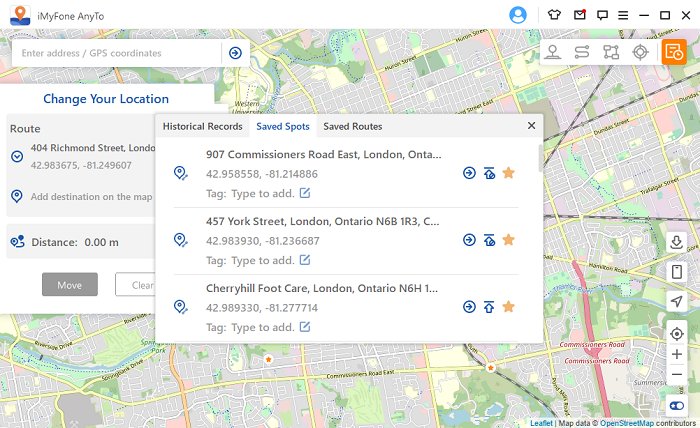
Feature 8: Collect Spots and Routes
When using Teleport Mode and searching for a new spot, you can click on the Star icon to collect this spot. Turn on the Star button in the lower right corner to display your favorite spots on the map.
When creating a multi-spot or two-spot route, you can also click on the Star icon to collect this route.
The collected spots and routes will be shown in the «Saved Spots» and «Saved Routes» panel.
Tap the Top icon to the left of the Star icon to place your favorites at the top.
Feature 9: Import/Export GPX file
iMyFone AnyTo can import/export GPX file of single and multiple paths to save your favorite routes now.
Click on the «down» icon on the right, and you can import the GPX file; click on the «up» icon on the left route panel, and you can export the GPX file.
Источник


