- [Jetpack Compose] LazyColumn: Escape from Recyclerview
- What is an Column?
- LazyColumn🐌
- What is different ScrollableColumn and LazyColumn?
- Lazy Composables in Android Jetpack Compose – Columns, Rows, Grids
- Step by Step Implementation
- Kotlin
- Infinite LazyColumn in Jetpack Compose
- LazyColumn и изменяемый список — как обновить?
- 2 ответа
- Пробуем Jetpack Compose в бою?
- Подключение зависимостей
- Темы и стили. Интеграция с существующими в проекте.
- Accessibility и UI-тесты.
- Основные компоненты и аналоги наследников View.
- Работа со State
[Jetpack Compose] LazyColumn: Escape from Recyclerview
Last month, Jetpack Compose Beta was released!
see Beta Overview
Even if it’s beta, looks cool for some super advantages.
In this posting, I will focus on LazyColumn which will replace RecyclerView .
Now I’m testing Compose Beta on Android Studio Preview(Canary version) on M1 Macbook Pro.
it’s slow as HELL. (normal Android Studio is not much slow)
If you have a good Mac already, it’s not time to buy M1 Mac yet.
What is an Column?
Column is a layout composable that places its children in a vertical sequence.
It places its children like LinearLayout in Android Views.
To make it scrollable, use modifiers like this Column(Modifier.verticalScroll(rememberScrollState()))
LazyColumn🐌
That’s it. You don’t need to make annoying Adapter at all!!
LazyColumn doesn’t recycle its children like RecyclerView . It emits new Composables as you scroll through it and is still performant as emitting Composables is relatively cheap compared to instantiating Android Views.
It’s a basic usage, you can also set items like below .
Parameters of LazyColumn:
modifier — the modifier to apply to this layout.
state — the state object to be used to control or observe the list’s state.
contentPadding — a padding around the whole content. This will add padding for the. content after it has been clipped, which is not possible via modifier param. You can use it to add a padding before the first item or after the last one. If you want to add a spacing between each item use verticalArrangement.
reverseLayout — reverse the direction of scrolling and layout, when true items will be composed from the bottom to the top and LazyListState.firstVisibleItemIndex == 0 will mean we scrolled to the bottom.
verticalArrangement — The vertical arrangement of the layout’s children. This allows to add a spacing between items and specify the arrangement of the items when we have not enough of them to fill the whole minimum size.
horizontalAlignment — the horizontal alignment applied to the items.
flingBehavior — logic describing fling behavior.
content — a block which describes the content. Inside this block you can use methods like LazyListScope.item to add a single item or LazyListScope.items to add a list of items.
What is different ScrollableColumn and LazyColumn?
ScrollableColumn is a wrapper of Column using a verticalScroll modifier. It renders all its children at the same time. Its equivalent in Android Views is ScrollView
LazyColumn renders only the visible items on screen, allowing performance gains when rendering a big list. It’s equivalent in Android Views is RecyclerView
As the list holds thousands of items, which will impact the app’s fluidity when rendered, use LazyColumn to only render the visible elements on the screen rather than all of them.
If there’s a mistake, always welcome your opinion!
Источник
Lazy Composables in Android Jetpack Compose – Columns, Rows, Grids
In Jetpack compose we have Composables like Column and Row but when the app needs to display a large number of items in a row or columns then it’s not efficient if done by Row or Column Composable. Therefore we have Lazy Composables in Jetpack Compose. Mainly we have three kinds of Lazy Composables Row, Column, and Grid. In this article, we are going to look at all three Lazy Composables. We will build a simple app that demonstrates all three composables in action.
Prerequisites:
- Knowledge of Kotlin.
- Knowledge of Jetpack Compose.
Step by Step Implementation
Step 1: Create a New Project (Or use it in the existing Compose project)
To create a new project in the Android Studio Canary version, refer to the article How to Create a new Project in the Android Studio Canary Version with Jetpack Compose.
Step 2 : Add Color (optional)
Open ui > theme > Colors.kt and add
Step 3: Create Row and Column Items that are going to be displayed
Open MainActivity.kt and create two Composables, one for Row Item and One for Column Item
Kotlin
Step 4: Working with Lazy Composables
Unline Column or Row Composable we cannot place composable inside directly inside Lazy Composables. Lazy Composables provides functions to place items in the LazyScope. There is mainly five overloaded functions.
Functionality
Places number of items present same as the size of Array,
Источник
Infinite LazyColumn in Jetpack Compose
Displaying a list of content is one of the most common things that we are required to add to our apps and in my experience the lists are more often than not required to have some sort of pagination. This is a fairly common pattern where we only fetch the items needed at the time. The way we handle that is to show a list with a number of items (say 20) and as the user reaches the end of those first 20 items, we fetch the next 20 items.
In our app we have an implementation of RecyclerView.OnScrollListener where we check if we are close to the end of the list and trigger a loadMore callback. Now that we are moving to compose I wanted to find a way to do the same pattern and came up with this:
Works similar to our old RecyclerView implementation but now in compose! Let me explain what is going on.
First the parameters:
listState: LazyListState as the name implies is the state of the list, which you can get by calling val listState = rememberLazyListState() . This state has all the info that we need to observe to create our infinite loading list. It can also be used to control the list, but we aren’t using that in here. REMEMBER: This same listState needs to be passed to the LazyColumn
buffer: Int = 2 This tells our InfiniteListHandler how many items BEFORE we get to the end of the list to call the onLoadMore function. This is technically not needed, but it makes the infinite loading more seamless, since we can control when to fetch new data and we don’t need to show a loading indicator at the end of the list.
onLoadMore: () -> Unit This function will get called once the user reaches the load more threshold.
Now to our logic. It’s fairly straightforward: we want to call the onLoadMore function when the last visible item on the list is within the threshold of our total items in the list minus our buffer. For example:
If we have a list with 20 items, we have a buffer of 4, and with our test device we can see 6 items at a time. As the user scrolls the last visible item index will keep getting higher and higher until it reaches 16, which is our threshold of the last item index (20) minus our buffer (4). At which point the onLoadMore will get called and we can fetch and load the next 20 items. Then our list will have 40 items and we will fetch more items once the last visible item index reaches 36, totalItems(40) — buffer(4). And so on until we have no more items to show.
We can write this in code like:
Exit fullscreen mode
We use a remembered derived state to minimize unnecessary compositions. See derivedStateOf for more info.
But inside we use the listState to get the totalItemsNumber and the lastVisibleItemIndex which we add 1 to, to make it match the total count. We then check that lastVisibleItemIndex is greater than our totalItemsNumber minus our buffer .
There is one last thing that we need to get this working, and that is that we need to observe changes to the loadMore State . We do that like so:
Exit fullscreen mode
We now have a fully working InfiniteListHandler that will notify you whenever you are at the end of the list, or close to it depending on your buffer. And to use it you can do something like:
Источник
LazyColumn и изменяемый список — как обновить?
Я новичок в Jetpack Compose, и я потратил несколько часов, чтобы узнать, как сделать LazyColumn обновлением того, что я обновляю в своем списке. Я читал, что это должен быть неизменяемый список для обновления LazyColumn, но я не могу заставить его работать.
Код выглядит так:
Я пробовал несколько вещей, и либо список никогда не обновляется при нажатии кнопки обновления, либо обновляется только первый элемент, но не остальные элементы в списке. Я просмотрел документацию, и там написано, но я этого не понимаю:
Вместо использования ненаблюдаемых изменяемых объектов мы рекомендуем использовать наблюдаемый держатель данных, такой как State
и неизменяемый listOf ().
Как обновить список, чтобы обновился LazyColumn?
2 ответа
Используйте SnapshotStateList , список можно изменять. Любое изменение (добавление, удаление, очистка, . ) списка вызовет обновление в LazyColumn .
Подобно mutableListOf() (для MutableList ) существует mutableStateListOf() для создания SnapshotStateList .
Функция расширения swapList() просто объединяет вызовы clear() и addAll() для замены старого списка новым.
Основная идея состоит в том, чтобы составить список как состояние. Теперь, когда вы можете достичь, используя mutableStateOf (initialValue),
Ладно, процесс такой.
Мы создаем переменную, инициализируя ее как изменяемое состояние чего-то
Затем мы назначаем эту переменную ленивому столбцу. Нет необходимости назначать его параметру items столбца, но это наш вариант использования. В противном случае внутри Composable, содержащего ленивый столбец, вы можете просто ввести имя переменной, и даже это будет работать, поскольку все, что мы хотим, это compose, чтобы получить сообщение о том, что эта переменная читается Composable.
Вернемся к вопросу,
Мы создаем переменную, скажем val mList: List by remember
При нажатии кнопки в список добавляется новый номер, который отражается в пользовательском интерфейсе LazyColumn.
Источник
Пробуем Jetpack Compose в бою?
Наконец, настал момент, когда не нужно собирать самостоятельно Android Studio, чтобы попробовать новый декларативный UI framework для Android. Jetpack Compose стал доступен в виде первого Dev Preview в Maven-репозитории Google. С такой новости началось моё утро понедельника. И сразу же возникло желание посмотреть, что из себя представляет набор инструментов, который так ждали.

Своё знакомство я решил начать сразу с попытки внедрения в pet-project, опубликованный в Google Play. Тем более, в нем давно хотелось сделать страницу “О приложении”. В этой статье я расскажу об основных компонентах и этапах подключения Compose:
- Подключение зависимостей
- Темы и стили. Интеграция с существующими в проекте.
- Accessibility и UI-тесты.
- Основные компоненты и аналоги наследников View.
- Работа со State.
Подключение зависимостей
Для начала я обновил студию c 3.5 до 3.5.1 (зря), добавил базовые зависимости. Полный список можно увидеть в статье Кирилла.
И затем пытался всё это собрать из-за разъехавшихся версий Firebase. После чего столкнулся уже с препятствиями Compose:
Да, Compose оказался доступен только с minSdk 21 (Lolipop). Возможно, это временная мера, но от него ожидали поддержки более ранних версий операционки.
Но и это не всё. Compose работает на Reflection, вместо Kotlin Compiler Plugin, как это было заявлено ранее, например, тут. Поэтому, чтобы всё завелось, нужно добавить в зависимости ещё и Kotlin Reflect:
Ну и на сладкое. В Compose dp реализован как extension функции для Int, Long, Float, которые помечены ключевым словом inline. Это может вызвать новую ошибку компиляции:
Для решения нужно явно прописать версию JVM для Kotlin:
Вот, кажется, и всё. Намного легче, чем собирать свою студию)
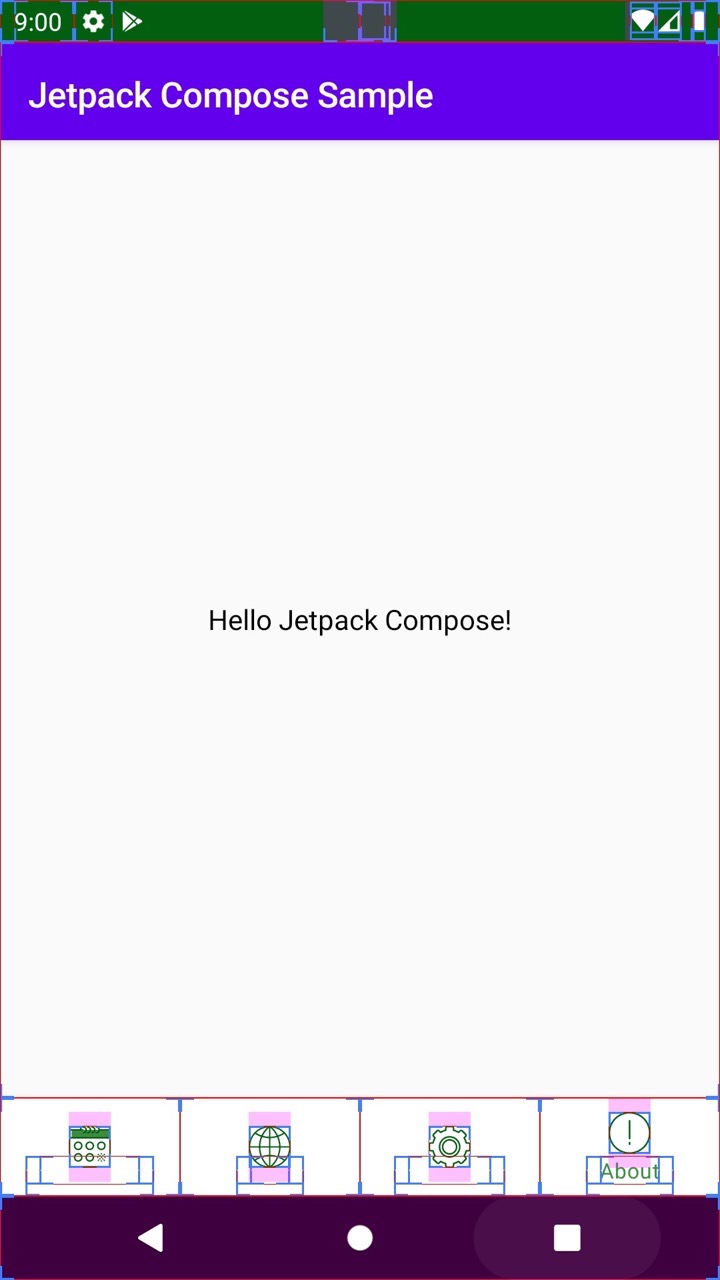
Попробуем запустить Hello World (тоже из статьи Кирилла, но, в отличие от него, добавим Compose внутрь Fragment). Layout для фрагмента представляет собой пустой FrameLayout.
Запускаем, получается следующий экран:
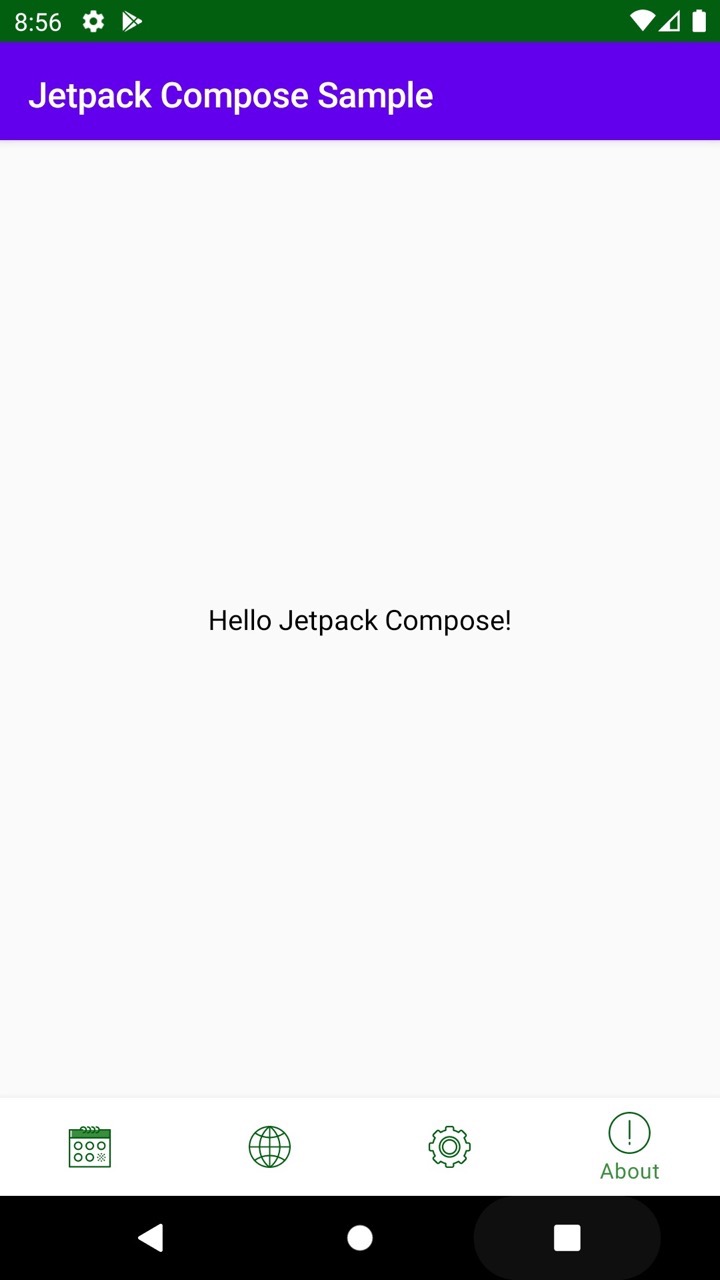
Из-за того, что Composable использует Material-тему по умолчанию, мы получили фиолетовый AppBar. Ну и, как и ожидалось, она совсем не согласуется с темной темой приложения:
Попробуем это решить.
Темы и стили. Интеграция с существующими в проекте.
Для того, чтобы использовать существующие стили внутри Composable, передадим их внутрь конструктора MaterialTheme:
Сама MaterialTheme состоит из двух частей: MaterialColors и MaterialTypography.
Для разрешения цветов я использовал обертку над стилями:
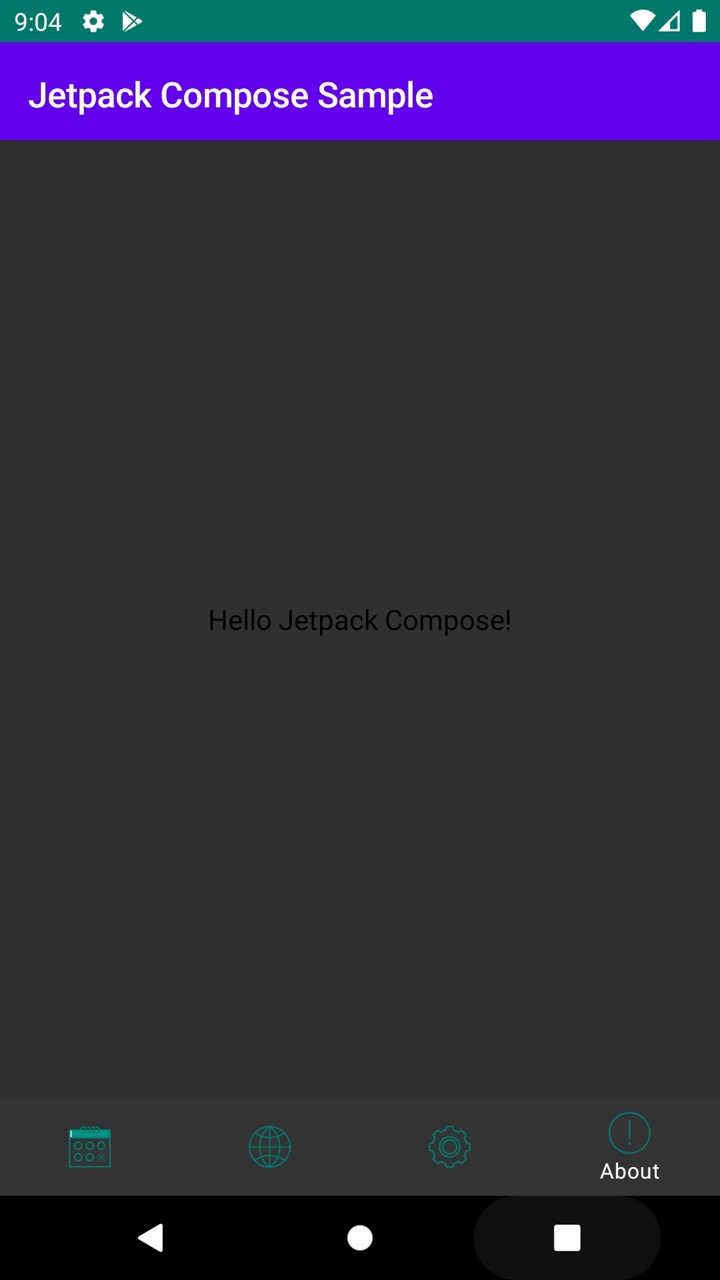
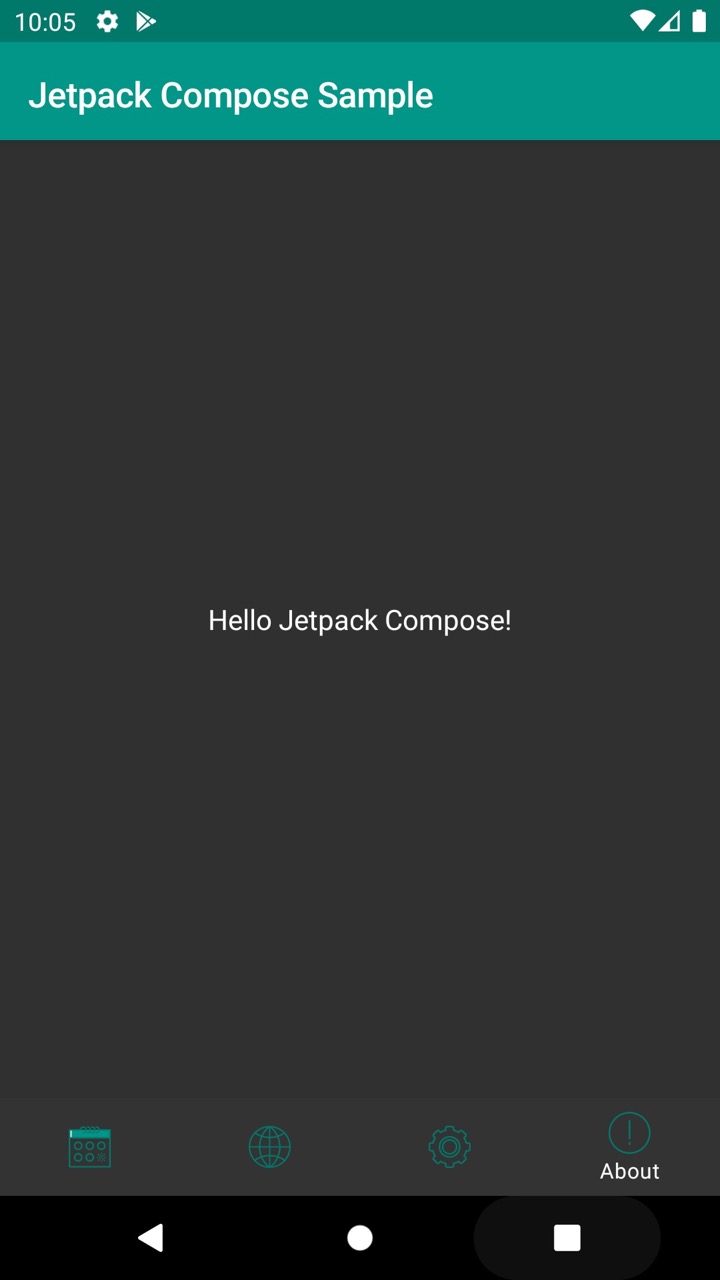
На данном этапе AppBar перекрасится в зеленый цвет. Но для перекраски текста нужно сделать еще одно действие:
Тема к виджету применяется использованием операции унарного плюса. Мы еще увидим её при работе со State.
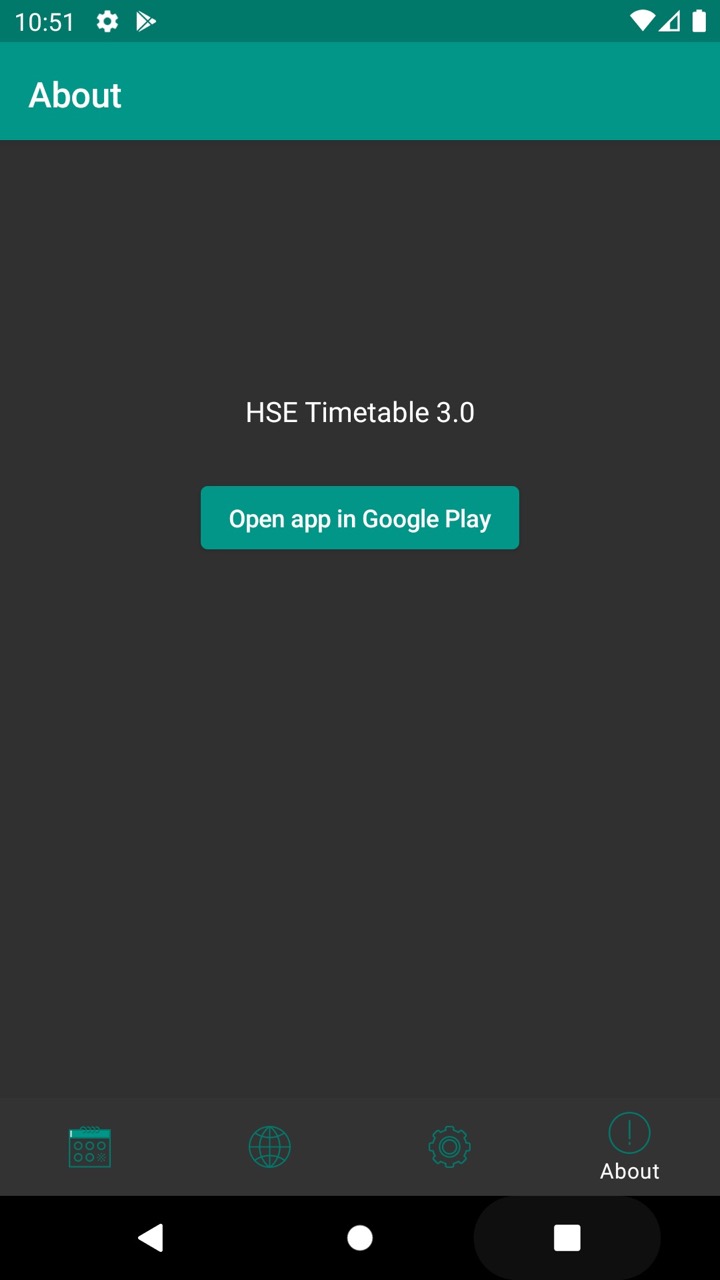
Теперь новый экран выглядит однородно с остальным приложением в обоих вариантах темы:
В источниках Compose нашел также файл DarkTheme.kt, функции из которого можно использовать для определения различных триггеров включения темной темы на Android P и 10.
Accessibility и UI-тесты.
Пока экран не начал разрастаться новыми элементами, давайте посмотрим, как он выглядит в Layout Inspector и со включенным отображением границ элементов в Dev Mode:
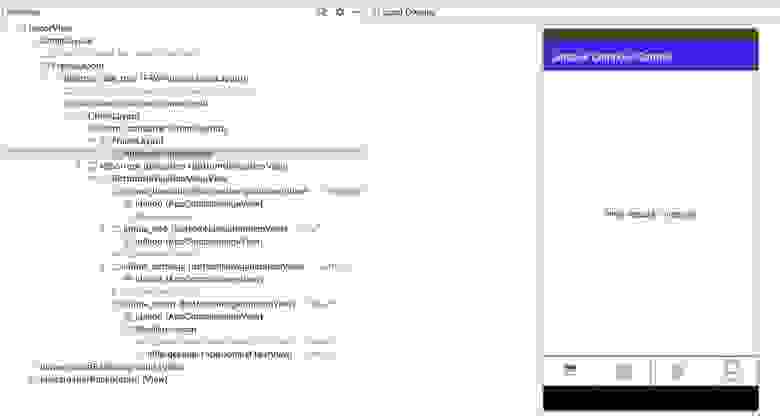
Здесь мы увидим FrameLayout, внутри которого только AndroidComposeView. Существующие инструменты для Accebility и UI-тестирования теперь больше не применимы? Возможно, вместо них теперь будет новая библиотека: androidx.ui:ui-test .
Основные компоненты и аналоги наследников View.
Теперь попробуем сделать экран чуть более информативным. Для начала поменяем текст, добавим кнопку, ведущую на страницу приложения в Google Play, и картинку с логотипом. Сразу покажу код и что получилось:
Основные принципы композиции виджетов не изменились с момента первого появления исходников Compose.
- Функции для отображения отдельных элементов не обязательно помечать аннотацией @Composable.
- Почти все свойства для виджетов превратились в отдельные виджеты (Center вместо android:gravity, Padding вместо android:margin, …)
- Отобразить картинку из drawables мне так и не удалось.
- У кнопки параметр onClick сделан не последним, из-за чего нельзя передать его как лямбду без явного указания названия, что казалось бы логичнее:
Пройдемся теперь по основным существующим ViewGroup и попробуем найти аналоги в Compose.
Вместо FrameLayout можно использовать Stack. Тут всё просто: дочерние виджеты накладываются друг на друга и позиционируются в зависимости от используемой для вложения функции: aligned, positioned или expanded.
LinearLayout заменяется сразу двумя виджетами: Column и Row вместо использования параметра android:orientation. Они же, в свою очередь, содержат внутри себя FlexColumn и FlexRow с прослойкой функции inflexible над вложенным поддеревом. Ну а сами FlexColumn и FlexRow построены на Flex с параметром orientation = LayoutOrientation.Vertical или Horizontal .
Похожая иерархия у виджетов FlowColumn, FlowRow и Flow. Их основное отличие: если контент не помещается в один столбец или строку, рядом отрисуется следующий, и вложенные виджеты “перетекут” туда. Реальное предназначение для этих виджетов мне пока представить сложно.
Эффект ScrollView достигается помещением Column или Row внутрь VerticalScroller или HorizontalScroller. Оба они композируют внутри Scroller, передавая внутрь параметр isVertical = true или false .
В поисках аналога для ConstraintLayout или хотя бы RelativeLayout наткнулся на новый виджет Table. Попытался запустить пример кода у себя в приложении: DataTableSamples.kt. Но, как я не пытался упростить пример, сделать его работающим так и не получилось.

Работа со State
Одним из самых ожидаемых нововведений фреймворка является его готовность из коробки к использованию в однонаправленных архитектурах, построенных на основе единого состояния. И в этом предполагалось введение аннотации @Model для пометки классов, предоставляющих State для отрисовки UI.
Рассмотрим пример:
Здесь создается дата-класс для модели стейта, при этом его не обязательно помечать аннотацией @Model.
Само исходное состояние создаётся внутри @Composable функции с использованием +state.
Видимость диалога определяется свойством visible из модели, полученной вызовом свойства value.
Этому свойству можно также задавать новый неизменяемый объект, как это происходит в onClick обеих кнопок. Первая скрывает саму себя, вторая — закрывает диалог. Диалог можно переоткрыть, нажав на кнопку Ok, определенную внутри той же @Composable функции.
При попытке вынести состояние вне этой функции возникает ошибка:
java.lang.IllegalStateException: Composition requires an active composition context.
Контекст можно получить, присвоив значение функции setContent<> в onCreateView, но как его использовать, например в Presenter или другом классе, отличном от Fragment или Activity, для изменения состояния – пока непонятно.

На этом завершим обзор новой библиотеки Jetpack Compose. Фреймворк архитектурно оправдывает своё название, заменяя всё наследование, которое так сильно доставляло неудобства в иерархии View, композицией. Пока остаётся слишком много вопросов о том, как будут реализованы аналоги более сложных ViewGroup, типа ConstraintLayout и RecyclerView; не хватает документации и превью.
Абсолютно понятно, что Compose не готов к применению даже в маленьких боевых приложениях.
Но это всего лишь первая версия Dev Preview. Будет интересно наблюдать за развитием концепции работы со State и библиотеками от комьюнити на основе Compose.
Если вы нашли более удачные примеры кода, или документации для кейсов, которые у меня не получилось завести – напишите пожалуйста в комментарии.
Источник


