- Как написать свою клавиатуру для Android
- Create a Custom Keyboard on Android
- Premium Option
- 1. Prerequisites
- 2. Create a New Project
- 3. Edit the Manifest
- 4. Create method.xml
- 5. Edit strings.xml
- 6. Define the Keyboard Layout
- 6. Define the Keyboard Keys
- 7. Create a Service Class
- 8. Testing the Keyboard
- Let’s build a custom keyboard for Android
- Layout files. LOTS of layout files
- Designing your keyboard
- At your service
- Testing it out and customization
- Closing comments
Как написать свою клавиатуру для Android
Здравствуйте. В данной статье я постараюсь рассказать и показать основные моменты написания собственной клавиатуры для Android’а. Статья предназначена для разработчиков, которые с этим не сталкивались, но имеют опыт знакомства с Android’ом.
Сразу оговорюсь, что мнение и код автора не являются истинной в последней инстанции, а ваши предложения и критика лишь приветствуются. И если не охота все читать, ссылка на исходники в конце статьи.
Для начала необходимо создать пустой Android проект без Activity. После этого приступим к подготовке .xml файлов, которые будут описывать Android’у нашу клавиатуру.
Базовый layout-файл, keyboard.xml
Содержит в себе View класс Android’а под названием KeyboardView и описывает внешний вид клавиатуры.
- android: keyPreviewHeight — задает высоту элемента подсказки, на котором отображается текущая нажатая клавиша.
- android:keyPreviewLayout — указываем layout-файл, который описывает внешний вид preview’шки.
Код preview:
Важный момент, атрибут background является обязательным, если его не указать, то при каждом нажатии клавиши ваша клавиатура будет падать.
Итак, мы подготовили 2 .xml файла, которые описывают внешний вид, теперь настал черед описать саму раскладку клавиатуры. Назовем этот файл keys_definition_ru.xml и находится он будет в xml ресурсах проекта. Здесь будет представлен лишь его кусок, так как файл достаточно большой.
Все атрибуты описывать не будем, лишь «не очевидные».
- android:horizontalGap — горизонтальный отступ между клавишами
- android: verticalGap — вертикальный отступ
- android:codes — код нужного символа в html utf-8 (и не только utf-8, подробнее в оф. документации)
- android:keyEdgeFlags — атрибут может применять значение left или right. Эти атрибуты добавляются клавишам, которые расположены в самом левом крае или самом правом крае клавиатуры
- android:isRepeatable — повторять действие клавиши при долгом нажатии (обычно используется на пробеле или backspace)
Заключительный файл — описание локализаций (подтипов инпута):
InputMethodService — сервис клавиатуры
Теперь, после того как мы создали все необходимые xml файлы, приступаем к описанию сервиса, который будет слушать события InputMethod.
Для этого создадим сервис, наследуясь от InputMethodService и сразу реализуем интерфейс KeyboardView.OnKeyboardActionListener. В итоге у вас получиться набор методов, которые вы можете переопределить и наполнить необходимой функциональностью, которые позволяют широко кастомизировать вашу клавиатуру. Но здесь я приведу лишь примеры базовых моментов.
Одним из методов жизненного цикла InputMethodService является onCreateInputView внутри которого мы создаем View клавиатуры и привязываем к ней необходимые листенеры.
Событие onKey срабатывает между onPress и onRelease, на вход им подается код нажатой клавиши.
Итак, все готово… почти, осталось добавить наш сервис в манифест.
Поздравляю, вы написали свою первую клавиатуру!
Источник
Create a Custom Keyboard on Android
Most Android devices don’t have a physical keyboard. Instead, they rely on a virtual or soft keyboard to accept user input. If you’re into Android personalization, knowing how to build a custom, soft keyboard can take your hobby to a whole new level.
Using the Android SDK, you can quickly create a soft keyboard with surprisingly few lines of code, because the SDK takes care of a lot of the low level tasks, such as recognizing key touches, drawing the keyboard, and establishing connections between the keyboard and input fields.
In this tutorial, you will learn how to create a fully functional soft keyboard that can serve as your Android device’s default keyboard.
Premium Option
If you’re in a hurry, check out Android Keyboard Themes, a ready-to-use solution from Envato Market.
The app gives you the flexibility to choose one of the 22 built-in keyboard themes or create your own custom theme.
Or you could hire a freelancer on Envato Studio. Just browse through our Mobile & Apps section and you’re sure to find an expert who can help you.

 Mobile & app developers on Envato Studio
If you prefer to build your own, read on to find out how.
1. Prerequisites
You will need the Eclipse ADT Bundle installed. You can download it from the Android Developer website.
2. Create a New Project
Fire up Eclipse and create a new Android application. Call this application, SimpleKeyboard. Make sure you choose a unique package name. Set the minimum required SDK to Android 2.2 and set the target SDK to Android 4.4.


This app will have no activities so deselect Create Activity and click Finish.


3. Edit the Manifest
A soft keyboard is considered as an Input Method Editor (IME) by the Android operating system. An IME is declared as a Service in AndroidManifest.xml that uses the BIND_INPUT_METHOD permission, and responds to the action android.view.InputMethod .
Add the following lines to the application tag of the manifest:
4. Create method.xml
The service tag in the manifest file containes a meta-data tag that references an XML file named method.xml. Without this file, the Android operating system won’t recognize our Service as a valid IME service. The file contains details about the input method and its subtypes. For our keyboard, we define a single subtype for the en_US locale. Create the directory res/xml if it doesn’t exist, and add the file method.xml to it. The contents of the file should be:
5. Edit strings.xml
The strings that this app uses are defined in the res/values/strings.xml file. We’re going to need three strings:
- the name of the app
- the label of the IME
- the label of the IME’s subtype
Update your strings.xml so that it has the following contents:
6. Define the Keyboard Layout
The layout of our keyboard contains only a KeyboardView . The layout_alignParentBottom attribute is set to true so that keyboard appears at the bottom of the screen.
Create a file named res/layout/keyboard.xml and replace its contents with the following:
The keyPreviewLayout is the layout of the short-lived pop-up that shows up whenever a key on the keyboard is pressed. It contains a single TextView . Create a file named res/layout/preview.xml and add the following to it:
6. Define the Keyboard Keys
The details of the keyboard keys and their positions are specified in an XML file. Every key has the following attributes:
- keyLabel : This attribute contains the text that is displayed on the key.
- codes : This attribute contains the unicode values of the characters that the key represents.
For example, to define a key for the letter A, the codes attribute should have the value 97 and the keyLabel attribute should be set to A.
If more than one code is associated with a key, then the character that the key represents will depend on the number of taps the key receives. For example, if a key has the codes 63, 33, and 58:
- a single tap on the key results in the character ?
- two taps in quick succession results in the character !
- three taps in quick succession results in the character :
A key can also have a few optional attributes:
- keyEdgeFlags : This attribute can take the value left or right . This attribute is usually added to the leftmost and rightmost keys of a row.
- keyWidth : This attribute defines the width of a key. It’s usually defined as a percentage value.
- isRepeatable : If this attribute is set to true , long-pressing the key will repeat the action of the key multiple times. It is usually set to true for the delete and spacebar keys.
The keys of a keyboard are grouped as rows. It’s good practice to limit the number of keys on a row to a maximum of ten, with each key having a width equal to 10% of the keyboard. The height of the keys is set to 60dp in this tutorial. This value can be adjusted, but values less than 48dp are not recommended. Our keyboard will have five rows of keys.
We can now go ahead and design the keyboard. Create a new file named res/xml/qwerty.xml and replace its contents with the following:
You may have noticed that some keys have negative values for the codes attribute. Negative values are equal to predefined constants in the Keyboard class. For example, the value -5 is equal to the value of Keyboard.KEYCODE_DELETE .
7. Create a Service Class
Create a new Java class and call it SimpleIME.java. The class should extend InputMethodService class and implement the OnKeyboardActionListener interface. The OnKeyboardActionListener interface contains the methods that are called when keys of the soft keyboard are tapped or pressed.
The SimpleIME class should have three member variables:
- a KeyboardView referencing the view defined in the layout
- a Keyboard instance that is assigned to the KeyboardView
- a boolean telling us if the caps lock is enabled
After declaring these variables and adding the methods of the OnKeyboardActionListener interface, the SimpleIME class should look like this:
When the keyboard is created, the onCreateInputView method is called. All the member variables of the Service can be initialized here. Update the implementation of the onCreateInputView method as shown below:
Next, we create a method that plays a sound when a key is pressed. We use the AudioManager class to play the sounds. The Android SDK includes a few default sound effects for key presses and those are used in the playClick method.
Finally, update the onKey method so that our keyboard app can communicate with input fields (usually EditText views) of other applications.
The getCurrentInputConnection method is used to get a connection to the input field of another application. Once we have the connection, we can use the following methods:
- commitText to add one or more characters to the input field
- deleteSurroundingText to delete one or more characters of the input field
- sendKeyEvent to send events, like KEYCODE_ENTER , to the external application
Whenever a user presses a key on the soft keyboard, the onKey method is called with the unicode value of the key as one of its parameters. Based on this value, the keyboard performs one of the following actions:
- If the code is KEYCODE_DELETE , one character to the left of the cursor is deleted using the deleteSurroundingText method.
- If the code is KEYCODE_DONE , a KEYCODE_ENTER key event is fired.
- If the code is KEYCODE_SHIFT , the value of the caps variable is changed and the shift state of the keyboard is updated using the setShifted method. The keyboard needs to be redrawn when the state changes so that the labels of the keys are updated. The invalidateAllKeys method is used to redraw all keys.
- For all other codes, the code is simply converted into a character and sent to the input field. If the code represents a letter of the alphabet and the caps variable is set to true , then the character is converted to uppercase.
Update the onKey method so that it looks like this:
8. Testing the Keyboard
The soft keyboard is now ready to be tested. Compile and run it on an Android device. This app doesn’t have an Activity , which means that it won’t show up in the launcher. To use it, it should first be activated in the device’s Settings.


After activating Simple IME, open any app that allows text input (for example, any messaging app) and click on one of its input fields. You should see a keyboard icon appear in the notifications area. Depending on your device, you can either click on that icon or drag the notification bar down and select Simple IME as the input method. You should now be able to type using your new keyboard.
Источник
Let’s build a custom keyboard for Android
When thinking of building an Android app, we often think of something with a screen and a contained function. It could be a game, or a tool to perform a common task.
But apps can come in a variety of shapes and sizes. You could build a service that runs in the background and quietly makes life easier for the user. You could create a widget, or a launcher. How about a keyboard?
Upgrading the software keyboard on your device is one of the most profound ways to customize a device. Most of us use the keyboard as our primary input method. It’s integral to nearly every interaction with your phone. In the best-case scenario, it can make everything quicker, easier, and less error-prone.
Keyboard apps can be highly successful for this reason too; just look at the ubiquity of Swype and SwiftKey.

Whether you just want to take your Android customization to the next level, or you’d like to sell a whole new way to interact with a smart device, read on and let’s explore how to create an Android keyboard.
Note: This project is relatively simple and requires mostly copying and pating XML script. However, it does include some more advanced concepts like services and inheritance. If you’re happy to follow along to get a keyboard running, then anyone should be able to reproduce the app. If you want to understand what everything does, this is a good intermediate project to wrap your head around. You will of course need Android Studio and the Android SDK already set-up.
Layout files. LOTS of layout files
To build our custom keyboard, we’re first going to need to create a new xml file, which will define the layout and appearance of our keyboard. That file will be called keyboard_view.xml. To create this, right click on the “layout” folder in your “res” directory and choose “layout resource file.” In the dialog box that pops up, clear the text where it says “Root element” and start typing “keyboard.” Select the first option which comes up, which should be: android.inputmethodservice.KeyboardView. Call the file keyboard_view.xml (remember, no capitals for resources!).

You will be greeted by a file looking like this:
![]()
We’re going to add a few elements now:
We’ve assigned an ID here so we can refer to the keyboard later in our code. The code aligns our keyboard to the bottom of the screen and the background color is set to colorPrimary. This color is the one set in our values > colors.xml file — it’s easy to change later on. So just hop in there and change the respective color code to change the look a little.
We’ve also referred to another layout for “keyboard preview.” In case you’re scratching your head, that’s the image of the key that flashes up in a large font when you make contact. This assures the user they hit the right key.

As you’ve possibly guessed, this means we need another new layout file, the aforementioned keyboard_preview.xml. Create it in just the same way, though the root element this time is TextView.
Add this code and you’ll define the color of the square and the color of the letter appearing in the square. I also set the alignment to center, which ensures it looks the way it should.
The next new XML file is called method.xml. This will go in your resources folder and have the root element input-method. This file will tell Android what type of input is available through your app. Again, you want to replace the boilerplate code that’s there so that it reads like this:
You can also put information such as language in here later on.
This is where we will create the layout for our keyboard — it’s nearly the fun part!

That will go in a new directory you’ll create (res — xml) and I’m calling mine keys_layout.xml. Replace the code that’s there with this:
This is what we’ll be populating with the keys and their behaviors.
Designing your keyboard
We’ve built a bunch of XML files and now we’re ready to start having some fun. It’s time to create the layout of the keys!
This is what I used. It’s basically a slightly tweaked version of a keyboard layout I found online, with the keys all in standard rows. It’s not exactly beautiful, but it’ll do.
You’ll notice a few interesting things here. The android:codes tell us what each key needs to do. This is what we’ll be receiving through our service shortly and you need to make sure the keyLabel (the text on the keys) lines up with what it actually does. Well, unless your objective is to create a “troll keyboard.”
If you place more than one code separated by commas, your keys will scroll through those options if the user double or triple taps. That way we can make a keyboard that works like the old T9 numpad keyboards on Nokia phones, for instance.
Negative codes represent the constants in the keyboard class. -5 is the equivalent of KEYCODE_DELETE. Play around, use your imagination, and see if you can come up with a “better keyboard.”

An obvious choice is to make the more popular keys a little larger. That’s what I’ve started doing.
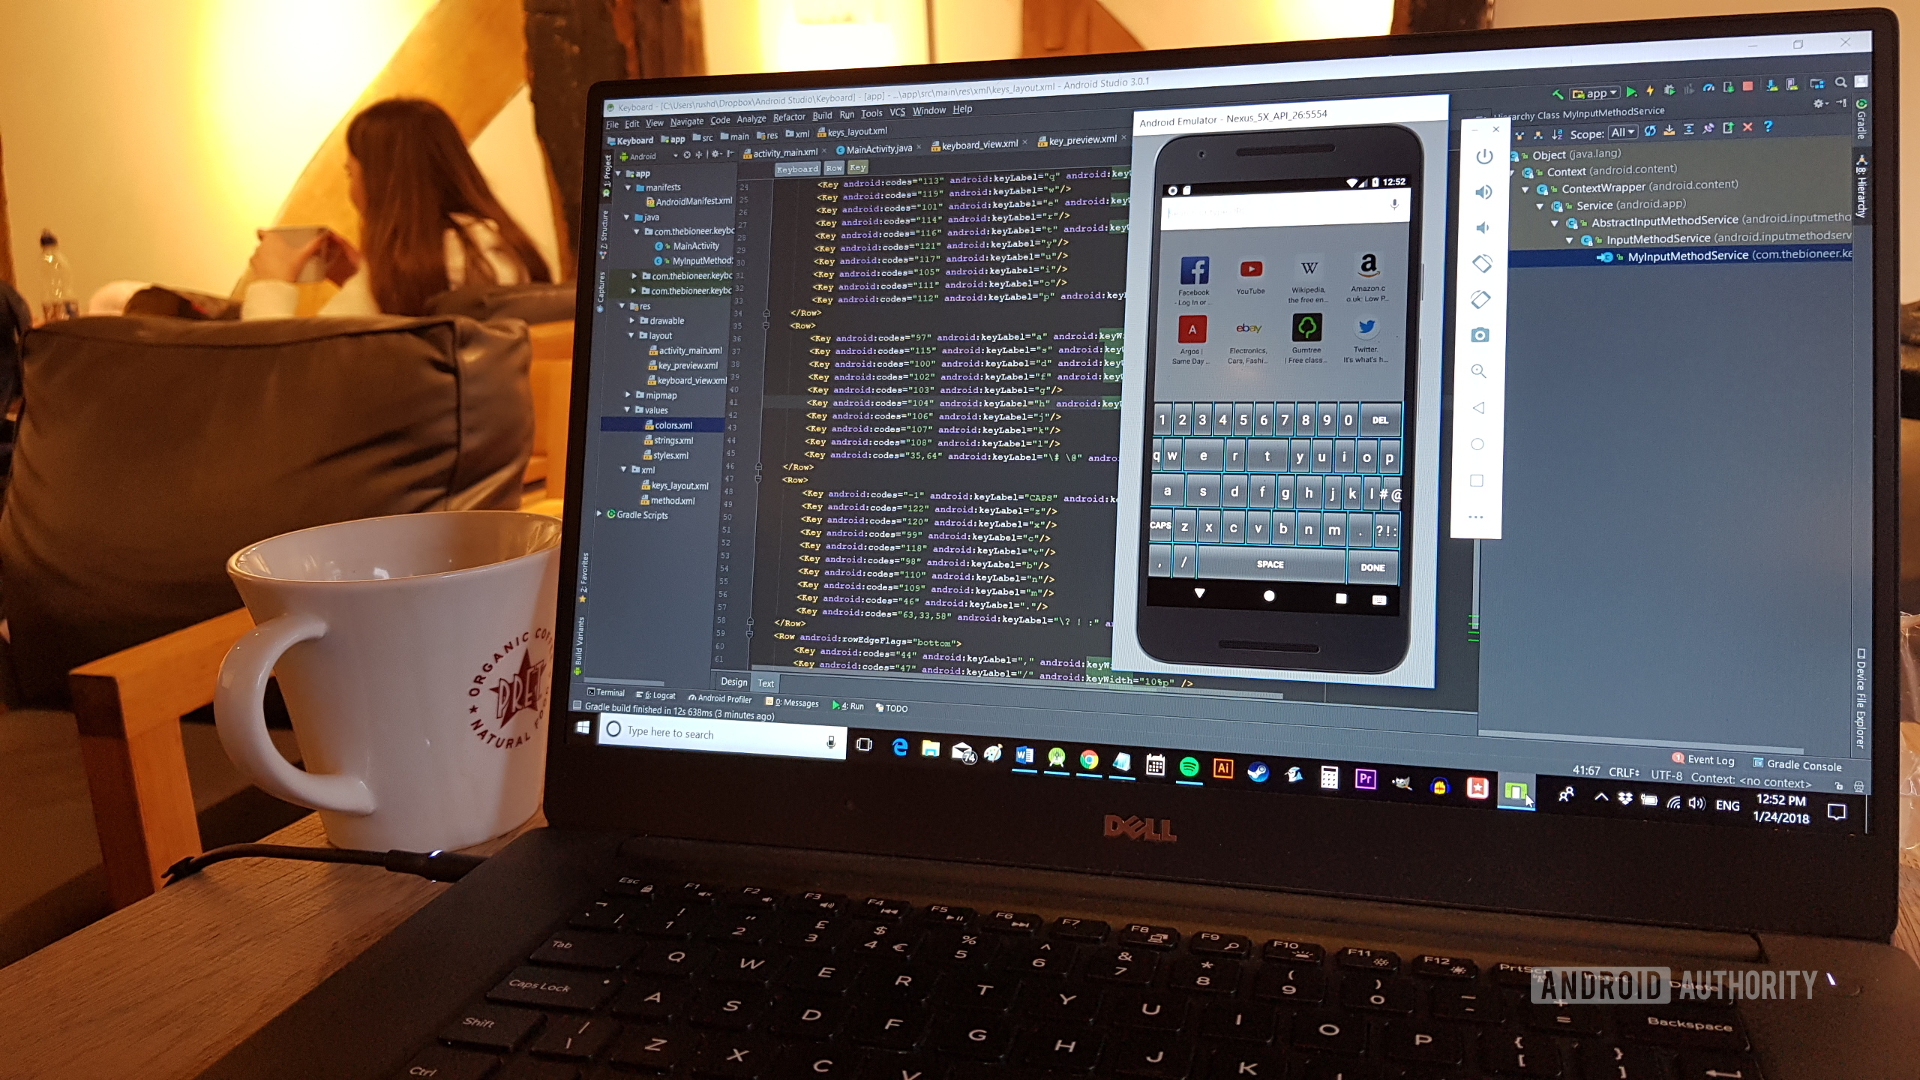
At your service
Now it’s time to create a java class. This is going to be called MyInputMethodService and, as the name suggests, it’s going to be a service. The superclass will be android.inputmethodservice, meaning it will inherit properties from that kind of class and behave like an input method service should (politely).
Under Interface(s), we’ll be implementing OnKeyboardActionListener. Start typing and then select the suggestion that springs up.

Being a service, this means your app can run in the background and then listen out for the moment when it is needed – when the user selects an edit text in another application for example.
Your class will be underlined red when this is generated, which is because it needs to implement the methods from InputMethodService. You can generate this automatically by right clicking on your class and choosing generate — implement methods.
Here’s what it should look like:
You also need to override the onCreateInputView() method, which is going to grab the keyboard view and add the layout onto it.
Now add the following code, remembering to import all classes as necessary.
When the input view is created, it takes the layout file keyboard_view and uses it to define how it looks. It also adds the keys_layout file we created and returns the view for the system to use.
I’ve also added a Boolean (true or false variable) called caps so we can keep track of caps-lock.
The other important method here, is the one handling key presses. Try this:
This is a switch statement which looks for the key code and acts accordingly. When the user clicks specific keys, the code will change course. KEYCODE_SHIFT changes our caps Boolean, sets the keyboard to “Shifted,” and then invalidates the keys (to redraw them).

commitText simply sends text (which can include multiple characters) to the input field. sendKeyEvent will send events like “return” to the app.
The class in its entirety should look like this:
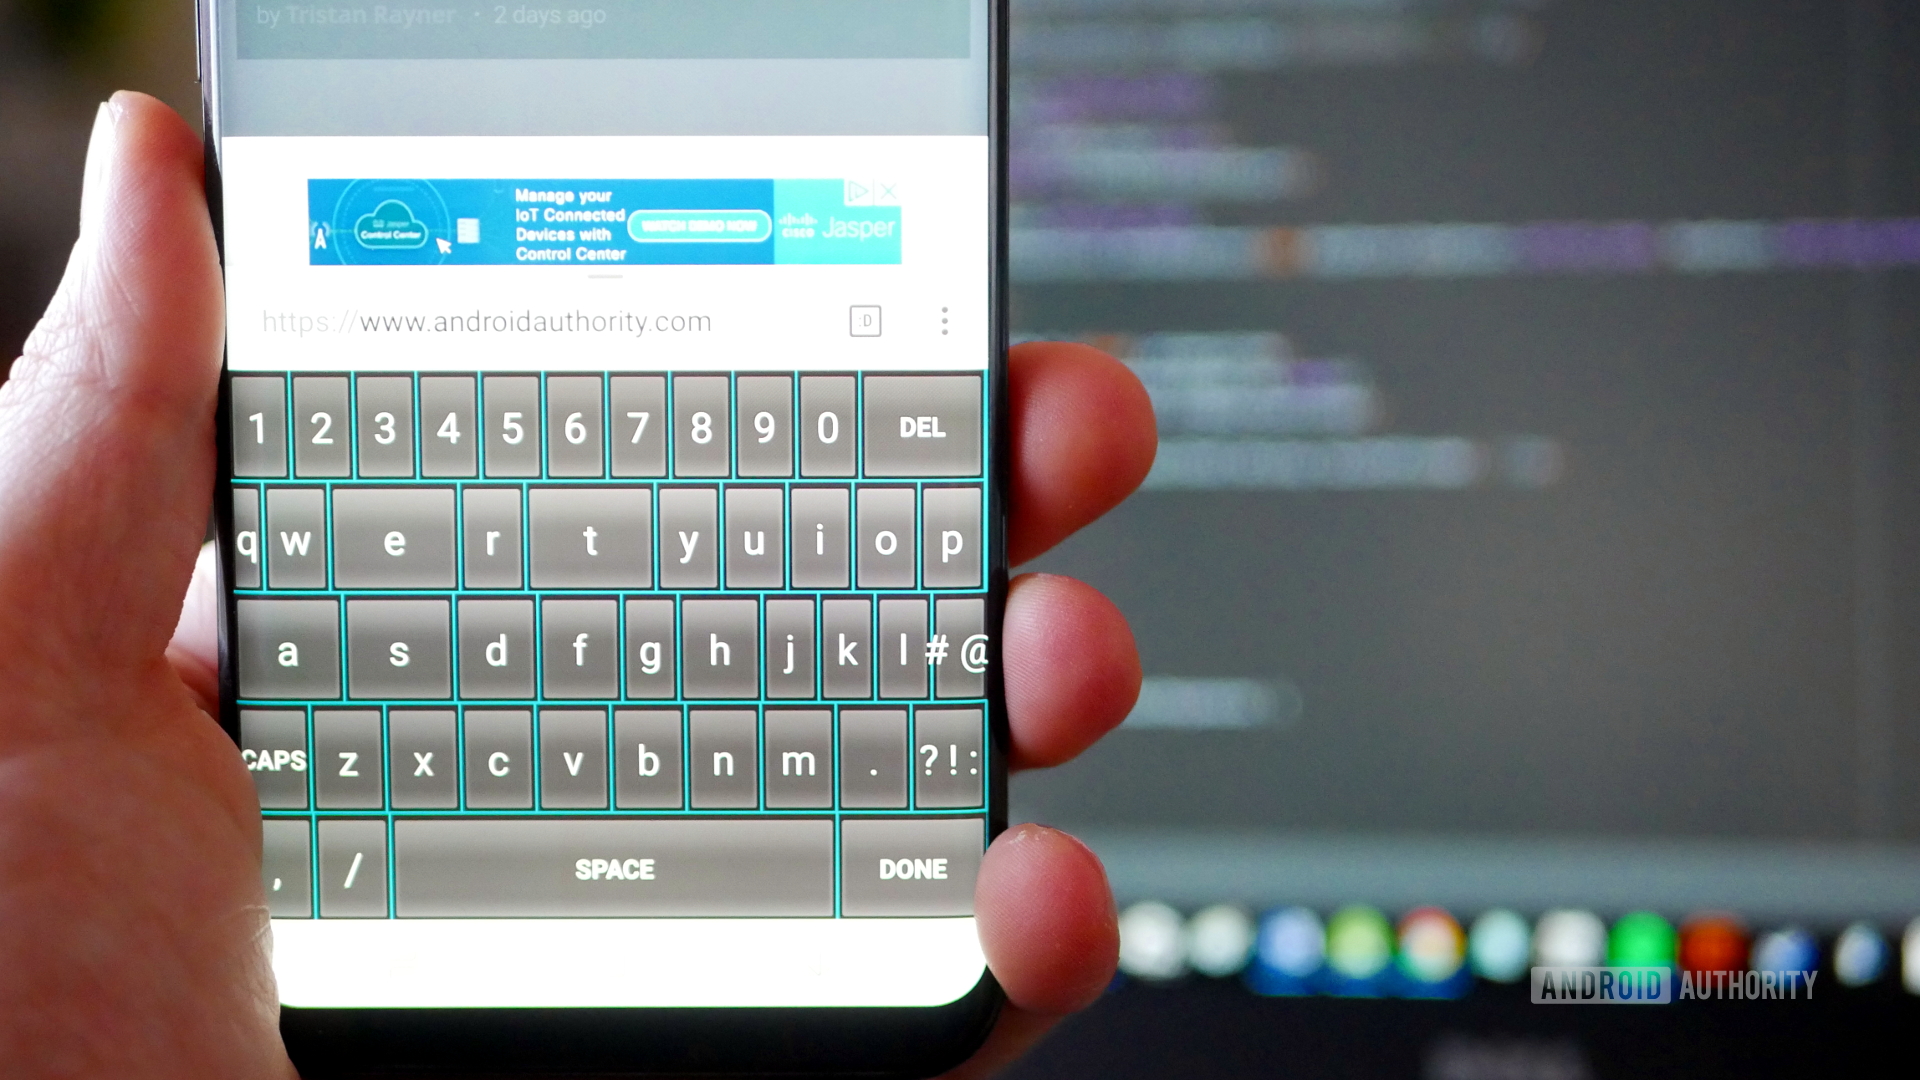
Testing it out and customization
In order to test your new keyboard, you’ll need to add it via your device’s settings. To do this, go to Language & Input — Virtual Keyboard — Manage Keyboards and turn on the keyboard you created. Select “OK” a few times to dismiss the notifications.

Now open up any app with a text input and bring up your keyboard. You’ll notice a little keyboard icon in the bottom right. Select that and then pick your app from the list. If all has gone to plan, your keyboard should now spring to life!
This is a little confusing for new users, so if you plan on selling this app, it might be a good idea to add some text to the MainActivity.Java file, explaining how to select the keyboard. You could also use this in order to add some customization or settings for the users to tweak.
You could add plenty of customization options. How about letting the user change the height and size of their keyboard? You could let them change the colors, use different icons for the keys (android:keyicon), or change the images entirely (android:keybackground=@drawable/). For more advanced options — like changing the color of each individual key — you’ll need to use Java, not XML.

Another common feature of keyboards is to add sounds on each click. You can do this easily by adding a new method in your service and calling it onKey.
The nice thing is that Android actually provides some sounds for us ready to use, so we can do this very easily:
Now just use playSound() at the top of the onKey method and make sure to create a vibrator and audio manager (private AudioManager am; private Virbator v;). You could just as easily swap out the key sounds for your own in the assets folder, or change the duration and behavior of the virbration.
Closing comments

Now you have your very own custom keyboard! Another challenge ticked off of your Android development list. Play around with different key sizes, customization, and features to create the perfect typing experience.
Be sure to share your finished products in the comments down below! Happy text-inputting!
Источник


