- Drawable. Фигуры и градиенты
- Shape и ShapeDrawable
- Элементы фигуры
- rectangle (Прямоугольник)
- oval (Эллипс)
- ring (Кольцо)
- line (Горизонтальная линия)
- Градиенты: gradient и GradientDrawable
- linear
- radial
- sweep
- Примеры с shape
- Закругляем уголки у компонентов
- Овальный кабинет
- Drawing Custom Shapes in Android
- Version
- Getting Started
- Exploring the Project
- Coding Your Shapes
- Know Your Canvas
- Defining How to Move Your Pencil
- Calculating Coordinates
- Using CustomPainter
- Implementing the Painter Interface
- Rendering With CustomPainter
- Drawing Your First Shape
- Drawing and Painting a Rectangle
- Using a Path to Draw the Profile Card
- Drawing the Profile Card
- Adding Negative Space Around the Avatar
- Creating the Rectangle Around the Avatar
- Adding a Margin Around the Avatar
- Adding More Neat Shapes
- Adding a Curved Shape
- Drawing a Quadratic Bézier Curve
- Finalizing the Curve
- Adding Gradient Paint
- Where to Go From Here?
Drawable. Фигуры и градиенты
Shape и ShapeDrawable
Фигуры являются подмножеством Drawable-ресурсов.
Данный вид ресурсов на основе класса ShapeDrawable позволяет описывать простые геометрические фигуры, указывая их размеры, фон и контур с помощью тега .
Можно создавать ресурсы фигур на основе стандартных фигур вроде прямоугольника, эллипса, линии. Для использования ресурсов фигур нужно создать в подкаталоге res/drawable XML-файл, в котором будет присутствовать тег , который в свою очередь может содержать дочерние элементы , ,
Имя файла без расширения будет служить идентификатором (ID): R.drawable.filename в Java-коде и @[package:]drawable/filename в XML-файлах.
Элементы фигуры
— отступы. Возможные атрибуты: android:left, android:top, android:right, android:bottom
rectangle (Прямоугольник)

shape_rect.xml — Атрибут android:shape здесь необязателен: rectangle — это значение по умолчанию.
Пример с градиентным прямоугольником в качестве разделителя
Создадим файл separator.xml:
В разметке приложения добавим код:
У первого разделителя ширина 1dp, у второго — 3dp. Получили красивую полоску.

У прямоугольников можно скруглить углы при помощи тега corners

Можно закруглить углы по отдельности:

oval (Эллипс)

Другой вариант с пунктиром:

ring (Кольцо)

shape_ring.xml — Для кольца имеются дополнительные атрибуты:
innerRadius Внутренний радиус innerRadiusRatio Отношение между внешним и внутренним радиусами. По умолчанию равно 3 thickness Толщина кольца (т.е. разница между внешним и внутренним радиусами) thicknessRatio Отношение ширины кольца к его толщине. По умолчанию равно 9
line (Горизонтальная линия)

shape_line.xml — Линия может быть только горизонтальной
Градиенты: gradient и GradientDrawable
Тег gradient (класс GradientDrawable) позволяет создавать сложные градиентные заливки. Каждый градиент описывает плавный переход между двумя или тремя цветами с помощью линейного/радиального алгоритма или же используя метод развертки.
Тег gradient внутри тега shape. Основные атрибуты: type, startColor (обязателен), endColor (обязателен) и middleColor (необязателен). Также иногда оказывается полезным атрибут centerColor.
Используя атрибут type, вы можете описать свой градиент:
linear

- android:type=»linear» можно опустить, он так и есть по умолчанию. Отображает прямой переход от цвета startColor к цвету endColor под углом, заданным в атрибуте angle.
- Атрибут android:angle используется только линейным градиентом и должен быть кратным значению 45.
Дополнительный материал: Android Dev Tip #3 — помните о прозрачности, который может привести к другому результату.
Также можно задействовать атрибуты centerX и centerY.
radial
Интересный эффект получается при использовании множества радиальных градиентов.

sweep
Рисует развёрточный градиент с помощью перехода между цветами startColor и endColor вдоль внешнего края фигуры (как правило, кольца).

Можно использовать атрибуты android:centerX и android:centerY.

Попробуйте также такой вариант.
А почему бы не повращать?
Примеры с shape
Закругляем уголки у компонентов
Создадим отдельный файл res/drawable/roundrect.xml и с его помощью скруглим уголки у LinearLayout, ImageView, TextView, EditText:
В разметке активности пишем следующее:

Овальный кабинет
В Белом доме есть Овальный кабинет. Если вам придётся писать приложение для администрации президента США, то все элементы нужно сделать овальными. Создадим файл res/drawable/oval.xml:
Заменим в предыдущем примере android:background=»@drawable/roundrect» на android:background=»@drawable/oval».
Источник
Drawing Custom Shapes in Android
Learn how to draw custom shapes and paths in Android by creating a neat curved profile card with gradient colors.

Version
- Kotlin 1.3, Android 4.4, Android Studio 3.6

Did you ever want to create highly-customized user interfaces in Android? Then this is the tutorial for you!
To draw custom shapes, you need to keep iterating until you achieve the beautiful art you want. In this tutorial, you’ll learn how to draw your design on paper first to avoid wasting time via trial and error.
You’ll improve an app called Stars of Science. You’ll learn how to create custom shapes by painting a profile card with a curved custom shape and gradient colors.
Throughout the tutorial, you’ll learn how to:
- Prepare a custom shape on paper before coding.
- Extend the Android View to draw and paint it on the Canvas .
- Draw a curved shape in gradient colors.
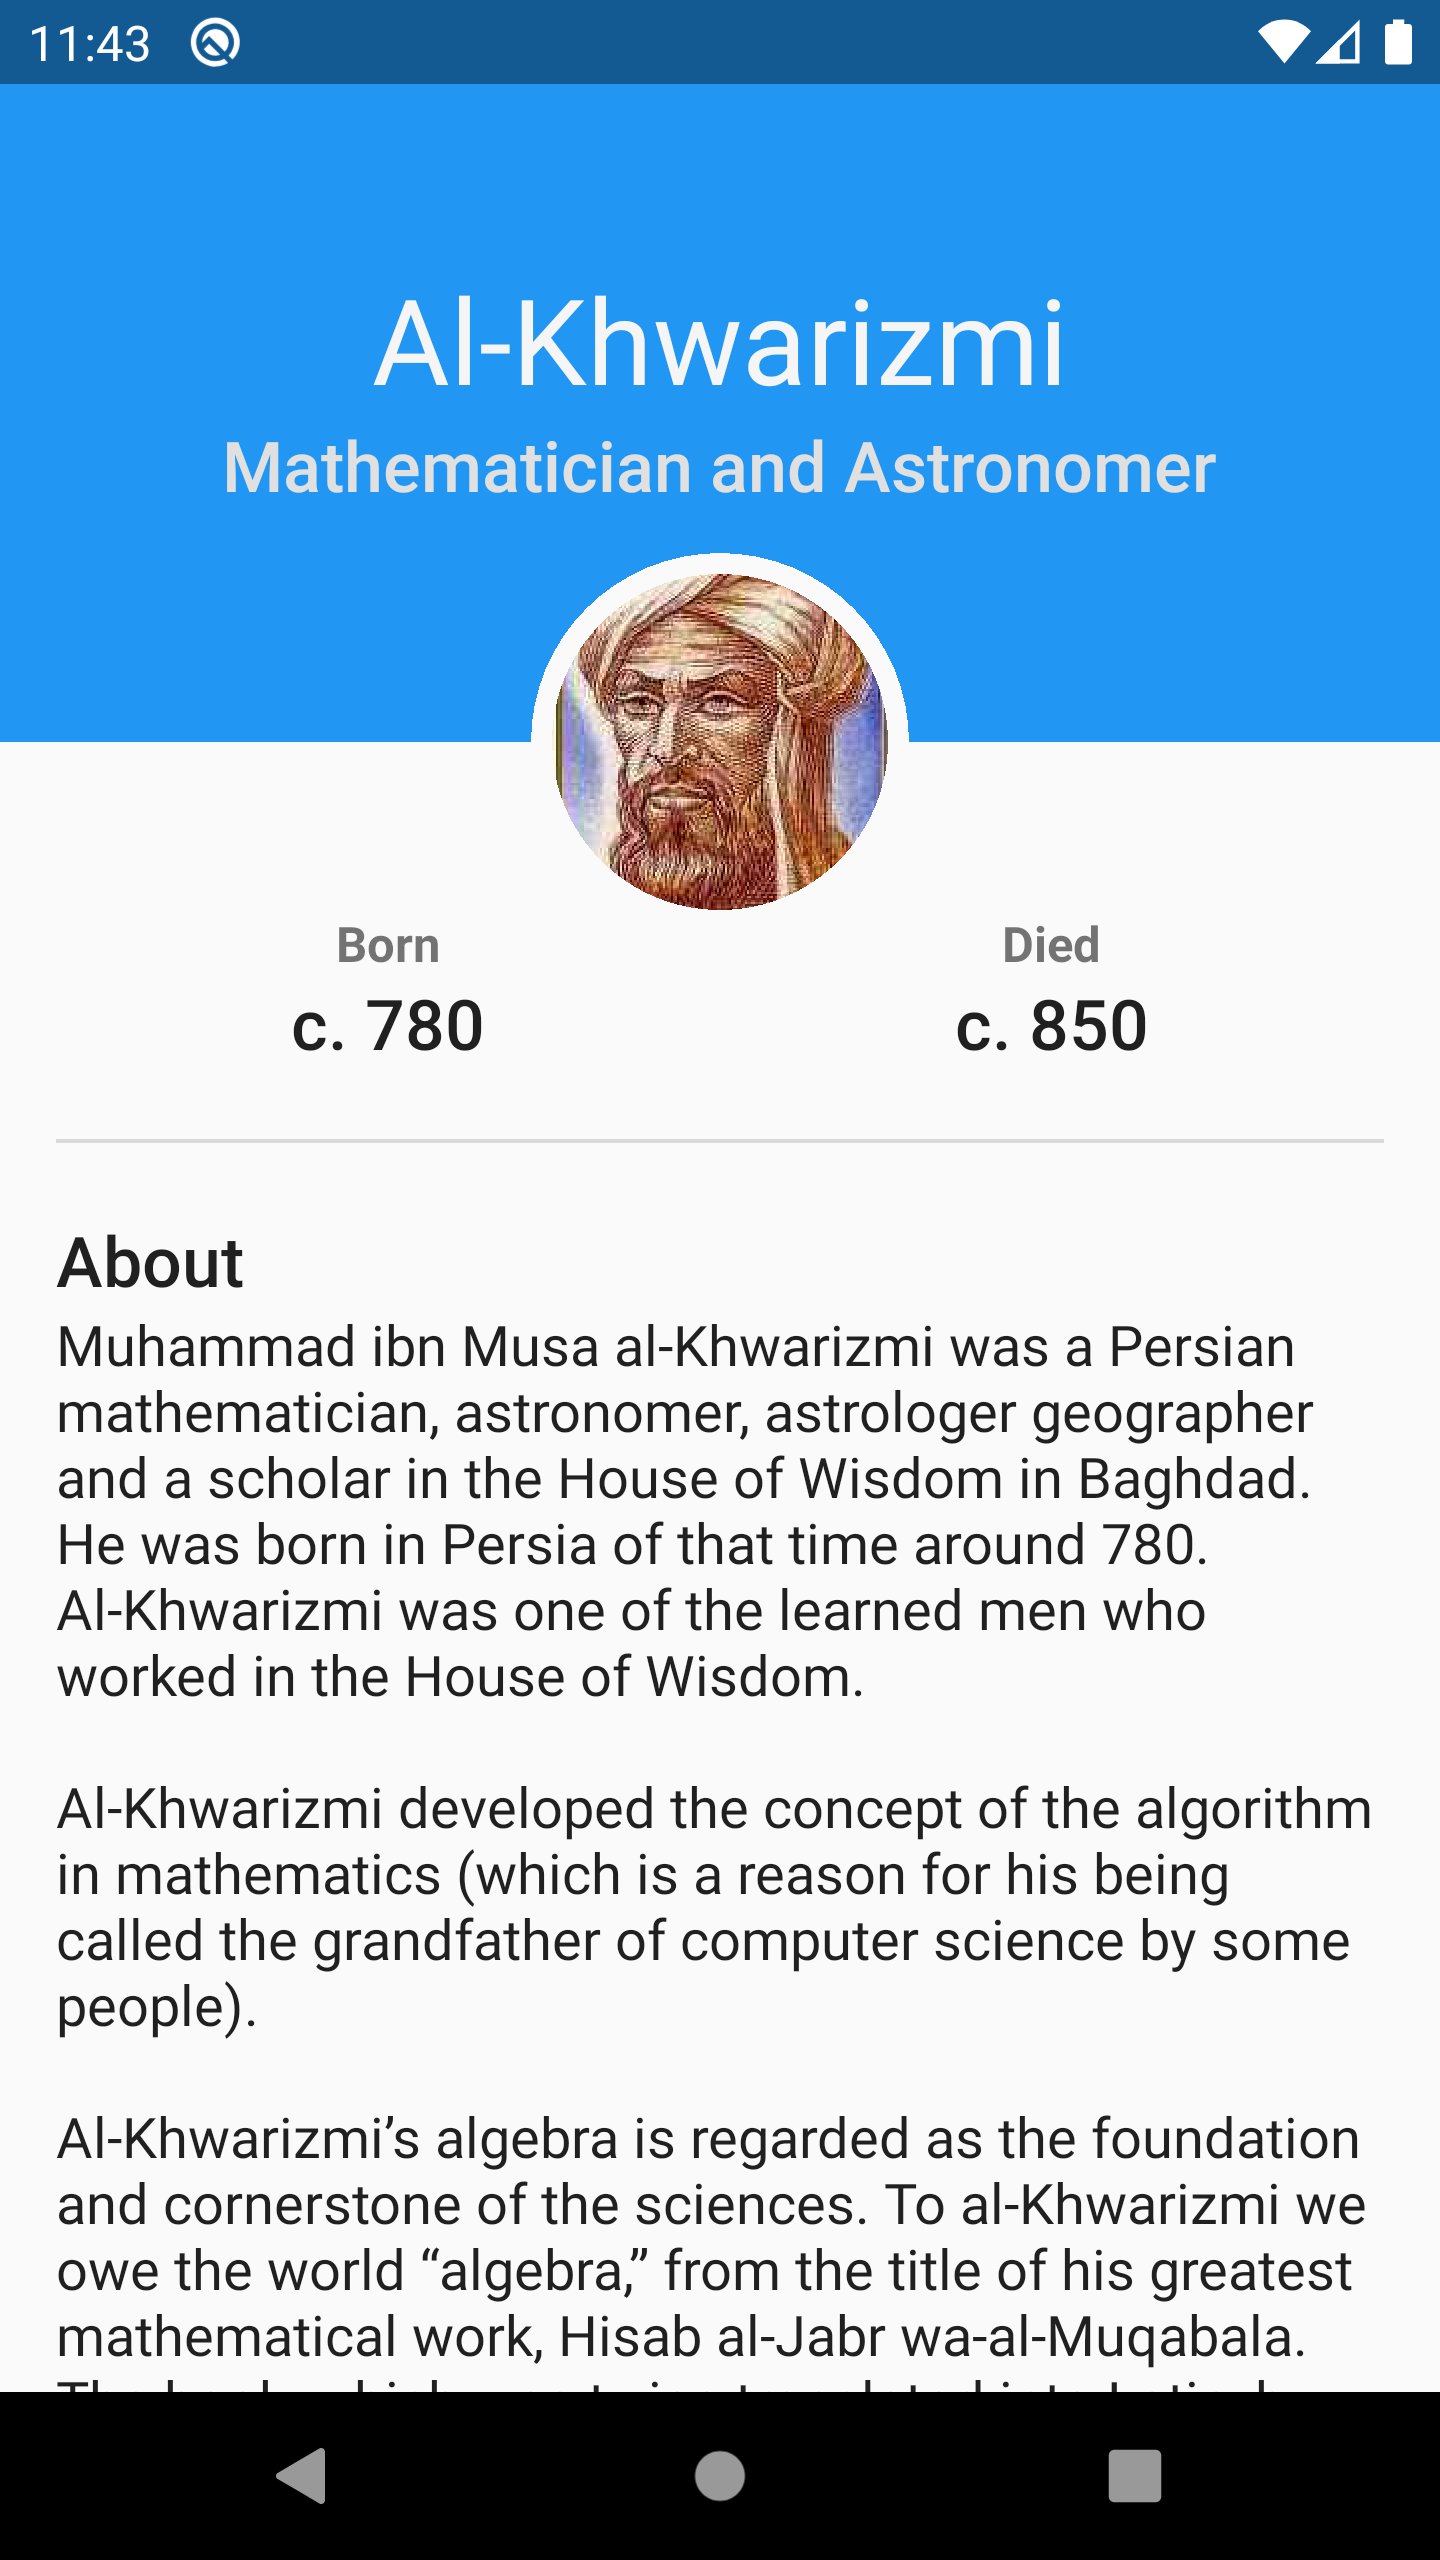
The custom shape you’ll create will look like this:

Getting Started
Download the project materials by clicking the Download Materials button at the top or bottom of this tutorial. Launch Android Studio 3.6.1 or later and select Open an existing Android Studio project. Then navigate to and select the starter project folder where you’ll find the files you need to start, along with some widgets.
Your app already has its basic UI set up so you can focus on drawing custom shapes in Android.
Build and run the app. You’ll see the following screen on your mobile phone or Android emulator:

It’s not bad, but the top of the card doesn’t have much pizazz. You’ll change that throughout the tutorial.
Exploring the Project
Take a quick look at the project structure. Expand starsofscience package and check out the folders inside:

Here’s a breakdown of the folders:
- utils contains four files with extension functions you’ll use in your painting journey.
- view contains CircularImageView which you’ll use to display the avatar in a circular shape. The code inside this class is out of the scope of this tutorial.
- starsofscience contains three files:
- MainActivity.kt is the app’s main and luncher activity.
- Painter.kt contains paint() which you’ll implement to paint your custom shape. You’ll add all drawing and painting logic to this function.
- CustomPainter.kt is a custom Android View with a constructor accepting the width and height of your custom shape in addition to a painter object that has all the drawing and painting logic. This CustomPainter overrides onDraw() and delegates all the drawing to the painter by executing canvas?.let(painter::paint) .
Now that you know more about the classes you’ll work with take a moment to learn some of the theory behind making beautiful shapes.
Coding Your Shapes
Before diving into drawing with Android Canvas , you need to know which tools you’ll need, how to use them and how to prepare to code your target shape.
Think about drawing in the physical world. To draw a shape, you need to get a pencil and paper and then use your hand to move the pencil across the paper’s surface. Finally, if you want to make it beautiful, you need to get a brush with some paint.
In this section, you’ll start by drawing a shape freehand. Grab a pencil and paper and get ready!
Know Your Canvas
Your canvas acts as the digital version of the piece of paper you draw on. It holds all your drawing elements, including lines, curves, arches, shapes, text and images.
The canvas needs a size, including width and height. Drawing on a canvas without knowing its size can lead to unexpected results.
On your paper, before drawing any shape, define the canvas by drawing a rectangle of any size you want. Any shapes you draw later will be relative to that canvas.

For instance, you might place your shape at the center of the canvas or make its size equal to half of the canvas size.
Now that you have a canvas, it’s time to create a shape.
Defining How to Move Your Pencil
In visual arts, you have to move your pencil properly across the paper’s surface to create your artwork. You’ll use the same mechanism to draw on the canvas.
Before you can draw a shape, you need to consider which functionalities the canvas object needs to have.
For instance, if you want to draw a square, you need to draw four lines. So, you need the drawing line function in your framework. On the other hand, if you want to draw a crescent, you need to draw two curves with the drawing curve function.
Pick up your pencil and draw a circle in the center of the circle that’s a quarter of the width, like this:

Now, to convert that shape on your paper into a shape in Android, you need to consider its coordinates.
Calculating Coordinates
Coordinates are pairs of numbers that define the exact location of a point on a plane.
Before you draw anything, you need to know the main points that make up that shape. For good practice, calculate all the coordinates and dimensions on your paper before writing any code. This saves you coding time and makes you focus on translating that shape from the paper onto your device.
Since you already drew a circle relative to the canvas on your paper, you already calculated two things:
- The center of the circle: Since your circle is at the center of the canvas, the center of the circle is the center of the canvas. So the x coordinate of the circle’s center is equal to half of the width of the canvas and the y coordinate of the circle’s center is equal to half of the height of the canvas. This means that:
cx = canvas width / 2
cy = canvas height / 2 - The radius: Since your circle is a quarter of the canvas width, the diameter of the circle is equal to a quarter of the width of the canvas. The radius is equal to half of the diameter. That means:
diameter = canvas width / 4
radius = diameter / 2 = canvas width / 8

See, drawing your shapes on paper helps you calculate the points you need to draw your shape relative to the canvas.
It’s efficient to visualize what you need to do before it’s time to translate your ideas into code. Making paper sketches is a prerequisite for your custom drawing! :]
Using CustomPainter
Now that you’ve learned some theory, it’s time to start using the Android Canvas and add some code that will reproduce your drawing in the app.
Implementing the Painter Interface
Start by creating a new class ProfileCardPainter in the starsofscience package. Then replace the whole file content with:
- Define a new class named ProfileCardPainter that implements the interface Painter .
- Then in its primary constructor you define the profile color as a class property.
- Finally, you implement paint(canvas: Canvas) . CustomPainter will call this method whenever the object needs to paint.
You’ll write all your drawing code inside this function, which gives you one parameter: The canvas to draw on.
Rendering With CustomPainter
Go to MainActivity.kt. You’ll find the following line of code in onCreate() :
It sets a background color to the profileCardContainer which is a FrameLayout already defined in XML. You don’t need that line anymore because you want to add your custom shape instead of that solid color.
Replace that line with the following code:
Add any missing import by pressing Option+Enter on Mac or Alt+Enter on PC.
In the code above:
- You define the properties of your custom shape: Color, avatar radius, avatar margin, width and height.
- Then, you create a ProfileCardPainter with the color you previously defined.
- Finally, you add a new CustomPainter as a subview of profileCardContainer by passing all its needed properties:
- context to create this custom Android View .
- width and height of the custom shape.
- painter responsible for all the drawing logic.
Build and run the app to see… a pretty ugly card because you haven’t drawn anything yet. Don’t worry, you’ll start drawing something in a moment. :]

Drawing Your First Shape
In this section, you’ll practice with the tools you need to draw in the computer graphics world. They’re a lot like the physical tools you used to draw a circle on a paper. Then, with this knowledge, you’ll draw your first shape!
Drawing and Painting a Rectangle
To draw a rectangle, you need to create a RectF object with the size you want. You then need a Paint object with the color you prefer to start drawing that RectF on the canvas.
RectF is a simple class with four immutable float properties: Left, top, right and bottom. These four numbers represent a rectangle, where:
- Left is the left-most point on the x-axis.
- Top is the top-most point on the y-axis.
- Right is the right-most point on the x-axis.
- Bottom is the bottom-most point on the y-axis.
In this tutorial, you’ll rely on RectF for your shape bounds. You’ll draw each shape inside of and based on a certain RectF .
In ProfileCardPainter.kt, go to paint() and add the following:
Add any missing import by pressing Option+Enter on Mac or Alt+Enter on PC.
Here’s what this code defines:
- The width and height of the canvas.
- shapeBounds is a RectF with a size that fits the whole area of the canvas by using the factory function fromLTWH() .
- paint is your paint and its color.
- Finally, you draw your shapeBounds on the canvas by passing it to drawRect() along with your paint from the previous line.
Now, build and run the app. See that the card now has a blue rectangle as its background. Hooray, you’ve drawn your first shape! :]
That’s better, but there’s still much room for improvement!
Using a Path to Draw the Profile Card
A path is not a bitmap or raster, and it doesn’t have pixels. It’s an outline that represents a series of smooth lines, arcs or Bézier curves. Using a path makes your shapes scalable and independent of the screen’s resolution.
Path is a powerful class that you can use in many situations. For example, you can clip a bitmap by a path, or you can use a path to draw a custom shape like you’re about to do right now.
Drawing the Profile Card
In this section, you’ll start using the Path class to draw a more complex shape like the blue shape here:

But before you start, you need to do some preparation.
There are a few things you should note in the previous image:
- Black dashed rectangle: Represents the whole canvas.
- Red dashed rectangle: Marks the bounds of the blue shape. It has the same width and height as the canvas, except that you subtract the avatar radius from its height.
- Blue shape: A rectangle with a half circle, an arc of a circle, as a negative space at the bottom center. This arc should have a radius equal to the radius of the avatar.
The image below shows a blue arc that starts at the zero degree angle and sweeps to 90 degrees.

First, get the radius of the avatar. Start by adding a new class property called avatarRadius to your ProfileCardPainter primary constructor:
Then, go to MainActivity.kt and, in onCreate() , pass the avatarRadius to ProfileCardPainter :
Finally, return to ProfileCardPainter.kt and update the shapeBounds by subtracting the avatarRadius from its height in fromLTWH() :

To see the results build and run the app:

Great! Now the blue background stops halfway down the length of the avatar.
Adding Negative Space Around the Avatar
Next, you’ll add some negative space to the blue shape to set it apart from the avatar. Add a new function called drawBackground() to ProfileCardPainter :
Add any missing import by pressing Option+Enter on Mac or Alt+Enter on PC. To import all the extension functions you need for RectF in a row, add the following import:
This diagram illustrates the proper coordinates for each point you need to build the path.

In the previous code:
- You create a Paint object and set its color.
- Then, you create a Path object.
- You move to the top-left corner, P1, without drawing a line. This is like moving a pencil to a starting point without touching the paper.
- Next, you add a straight line that starts at P1 and ends at P2.
- Then, you add a straight line that starts at P2 and ends at P3: The point at the edge of where you will start drawing the arc.
- Then, starting from P3, add an arc in the upper half region of the avatar bounds: The arc starts from the angle -180 degrees and sweeps by 180 degrees ending at P4.
You pass false as the last parameter to prevent starting a new sub-path for the arc. This tells Android that you want the arc on the same path. - Next, you add a straight line that starts from the current point and ends at P5 at the bottom-right corner.
- You finish by adding a straight line that starts from the current point P5 and ends at the given point P6 at the top-right corner.
- Then you close the path by adding a straight line that starts at the current point P6 and ends at the beginning point on the path, P1.
- Finally, you draw the backgroundPath on the canvas by passing it to drawPath() with paint .
In the previous code, you can collapse lines five and six in a single line. Do you know how? You can find the solution in the spoiler below.
You can collapse lines five and six by leaving only line six.
arcTo(RectF oval, float startAngle, float sweepAngle, boolean forceMoveTo)
states: “If the start of the path is different from the path’s current last point, then an automatic lineTo() is added to connect the current contour to the start of the arc.”
Phew! That was a lot of code, but it was worth the effort!
Creating the Rectangle Around the Avatar
In ProfileCardPainter , go to paint() and replace the last three lines:
with the following code to create a new RectF around the avatar:
Here’s what this code does:
- You create a PointF object for the center point of the avatar, where x is the shapeBounds.centerX() and y is the bottom of the shapeBounds .
- Then, you create a RectF object from the avatar circle using fromCircle() . The center is centerAvatar , which you just created, and the radius is the avatarRadius .
- Finally, you call drawBackground() and pass the canvas with rest of the parameters to draw your first path.
Build and run the app. You’ll see this:
You probably don’t notice the difference yet. Don’t worry, you’ll fix that next.
Adding a Margin Around the Avatar
There is a difference, but you can’t see it because the negative space is exactly equal to the circular avatar’s size. Next, you’ll make that negative space a bit bigger to leave a margin between it and the avatar.
First, get the margin of the avatar. Start by adding one more class property called avatarMargin to your ProfileCardPainter primary constructor, don’t forget the comma at the end of the line above the new code.
Then, go to MainActivity.kt and, in onCreate() , pass the avatarMargin to the ProfileCardPainter constructor:
Finally, return to ProfileCardPainter.kt and\where you create the avatarBounds in paint , add .inflate(avatarMargin) to the end:
Calling inflate() on a RectF creates a new RectF object whose left, top, right and bottom edges are moved outwards by the given value. The result is a nice space around the avatar.
To see the margin in action, build and run the app.
Pretty. but ordinary. Next, you’ll spice up the background by adding an attractive curved shape.
Adding More Neat Shapes
To enhance your custom shape, you can add some simple decorations like stars or circles in a partially-faded color. For this app, you’ll add a more interesting decoration: A curvy shape in gradient colors.
Adding a Curved Shape
Before you start drawing, take a moment to learn about the different types of curves. The Quadratic Bézier Curve and the Cubic Bézier Curve are two commonly used curves.
- A quadratic Bézier curve requires three points to draw: A start point, an endpoint and a handle point that pulls the curve towards it.

A cubic Bézier curve needs four points to draw: A start point, an end point and two handle points that pull the curve towards them.

Next, you’ll use a quadratic Bézier curve to create an interesting background shape.
Drawing a Quadratic Bézier Curve
Start by creating a new function called drawCurvedShape() inside ProfileCardPainter with the following:
This diagram will help you understand the code you added. Use it as a guide to the proper coordinates for each point you’ll build to create the path:

In the previous code:
- You create a Paint object and set its color to a darker shade of the profile color.
- Then, you create a handle point at the top left corner of the RectF , shifted to the right by 25% of the width of the RectF . This is P6 in the guide image.
- You create a Path object.
- Then, you move to the bottom-left corner, P1 in the guide image.
- You add a straight line that starts from P1 and ends at P2: The middle point at the edge of the black dashed avatar bounds RectF .
- Then, starting from the current point, P2, add an arc in the upper- half region of the avatar bounds: The arc starts from the angle -180 degrees and sweeps by 180 degrees ending in P3.
You pass false as the last parameter so you don’t start a new sub-path for the arc. This tells Android that you want the arc on the same path. - You add a straight line that starts from the current point and ends at the given point, the bottom-right corner. This adds a line from P3 to P4.
- Then, you add a straight line that starts from the current point and ends at the given point, the top-right corner, adding a line from P4 to P5.
- You add a quadratic Bézier curve that starts from the current point, P5, and ends at the bottom-left corner, P1, using the handle point you created in step two.
- Finally, you close the path, even though it’s not required this time since you are back at the beginning point on the path.
- You draw curvePath on the canvas by passing it to drawPath() along with the paint object.
Finalizing the Curve
You’re almost finished creating the curve. In ProfileCardPainter , go to the last line in paint() and add the following code:
- Create a RectF that is similar to the shapeBounds rect, except you’ve shifted its top slightly to the bottom by 35% of the shapeBounds ‘ height: This is the red dashed RectF in the image above.
- Call drawCurvedShape() and pass the canvas object, the curved shape bounds and the avatar bounds to it.
Build and run the app to see the neat background curve behind the avatar:

So you’re done, right? Almost. There’s still one more finishing touch you need to add.
Adding Gradient Paint
You’ve created your first beautiful, custom curved shape, but your graphic designer wants you to do one more thing: Add gradient colors to your curved shape.
There are different types of shaders or gradients, including linear gradients, which transition through at least two colors in a straight line, and radial gradients, which transition through colors starting from a central point and radiating outward.
Right now, you’ll create a shader, a linear gradient described by three colors. Each color needs a stop to specify its position on a line from 0.0 to 1.0.
Start by creating a new function called createGradient() inside ProfileCardPainter with the following code:
Here’s what’s going on in this code:
- You create a list of three colors, where the middle color is the profile color and the first and last colors are darker shades of that profile color.
- Then you create a list of three stops. The first is 0.0, which puts the corresponding color in the colors list at the zero position of the gradient color. In the same way, the middle and the stops specify the positions of their corresponding colors in the color list.
- Finally, you create a linear gradient by passing the start coordinates and the end coordinates of the gradient with the given colors and stops, and the shader TileMode to repeat the gradient in case the area which you fill is larger than the shader you created.
Now go to drawCurvedShape() and update the paint object to use the new linear gradient instead of a solid color.
Replace this line:
Here, you create a new gradient and set it to the paint object.
Finally, build and run the app to see a gradient within the background curve:
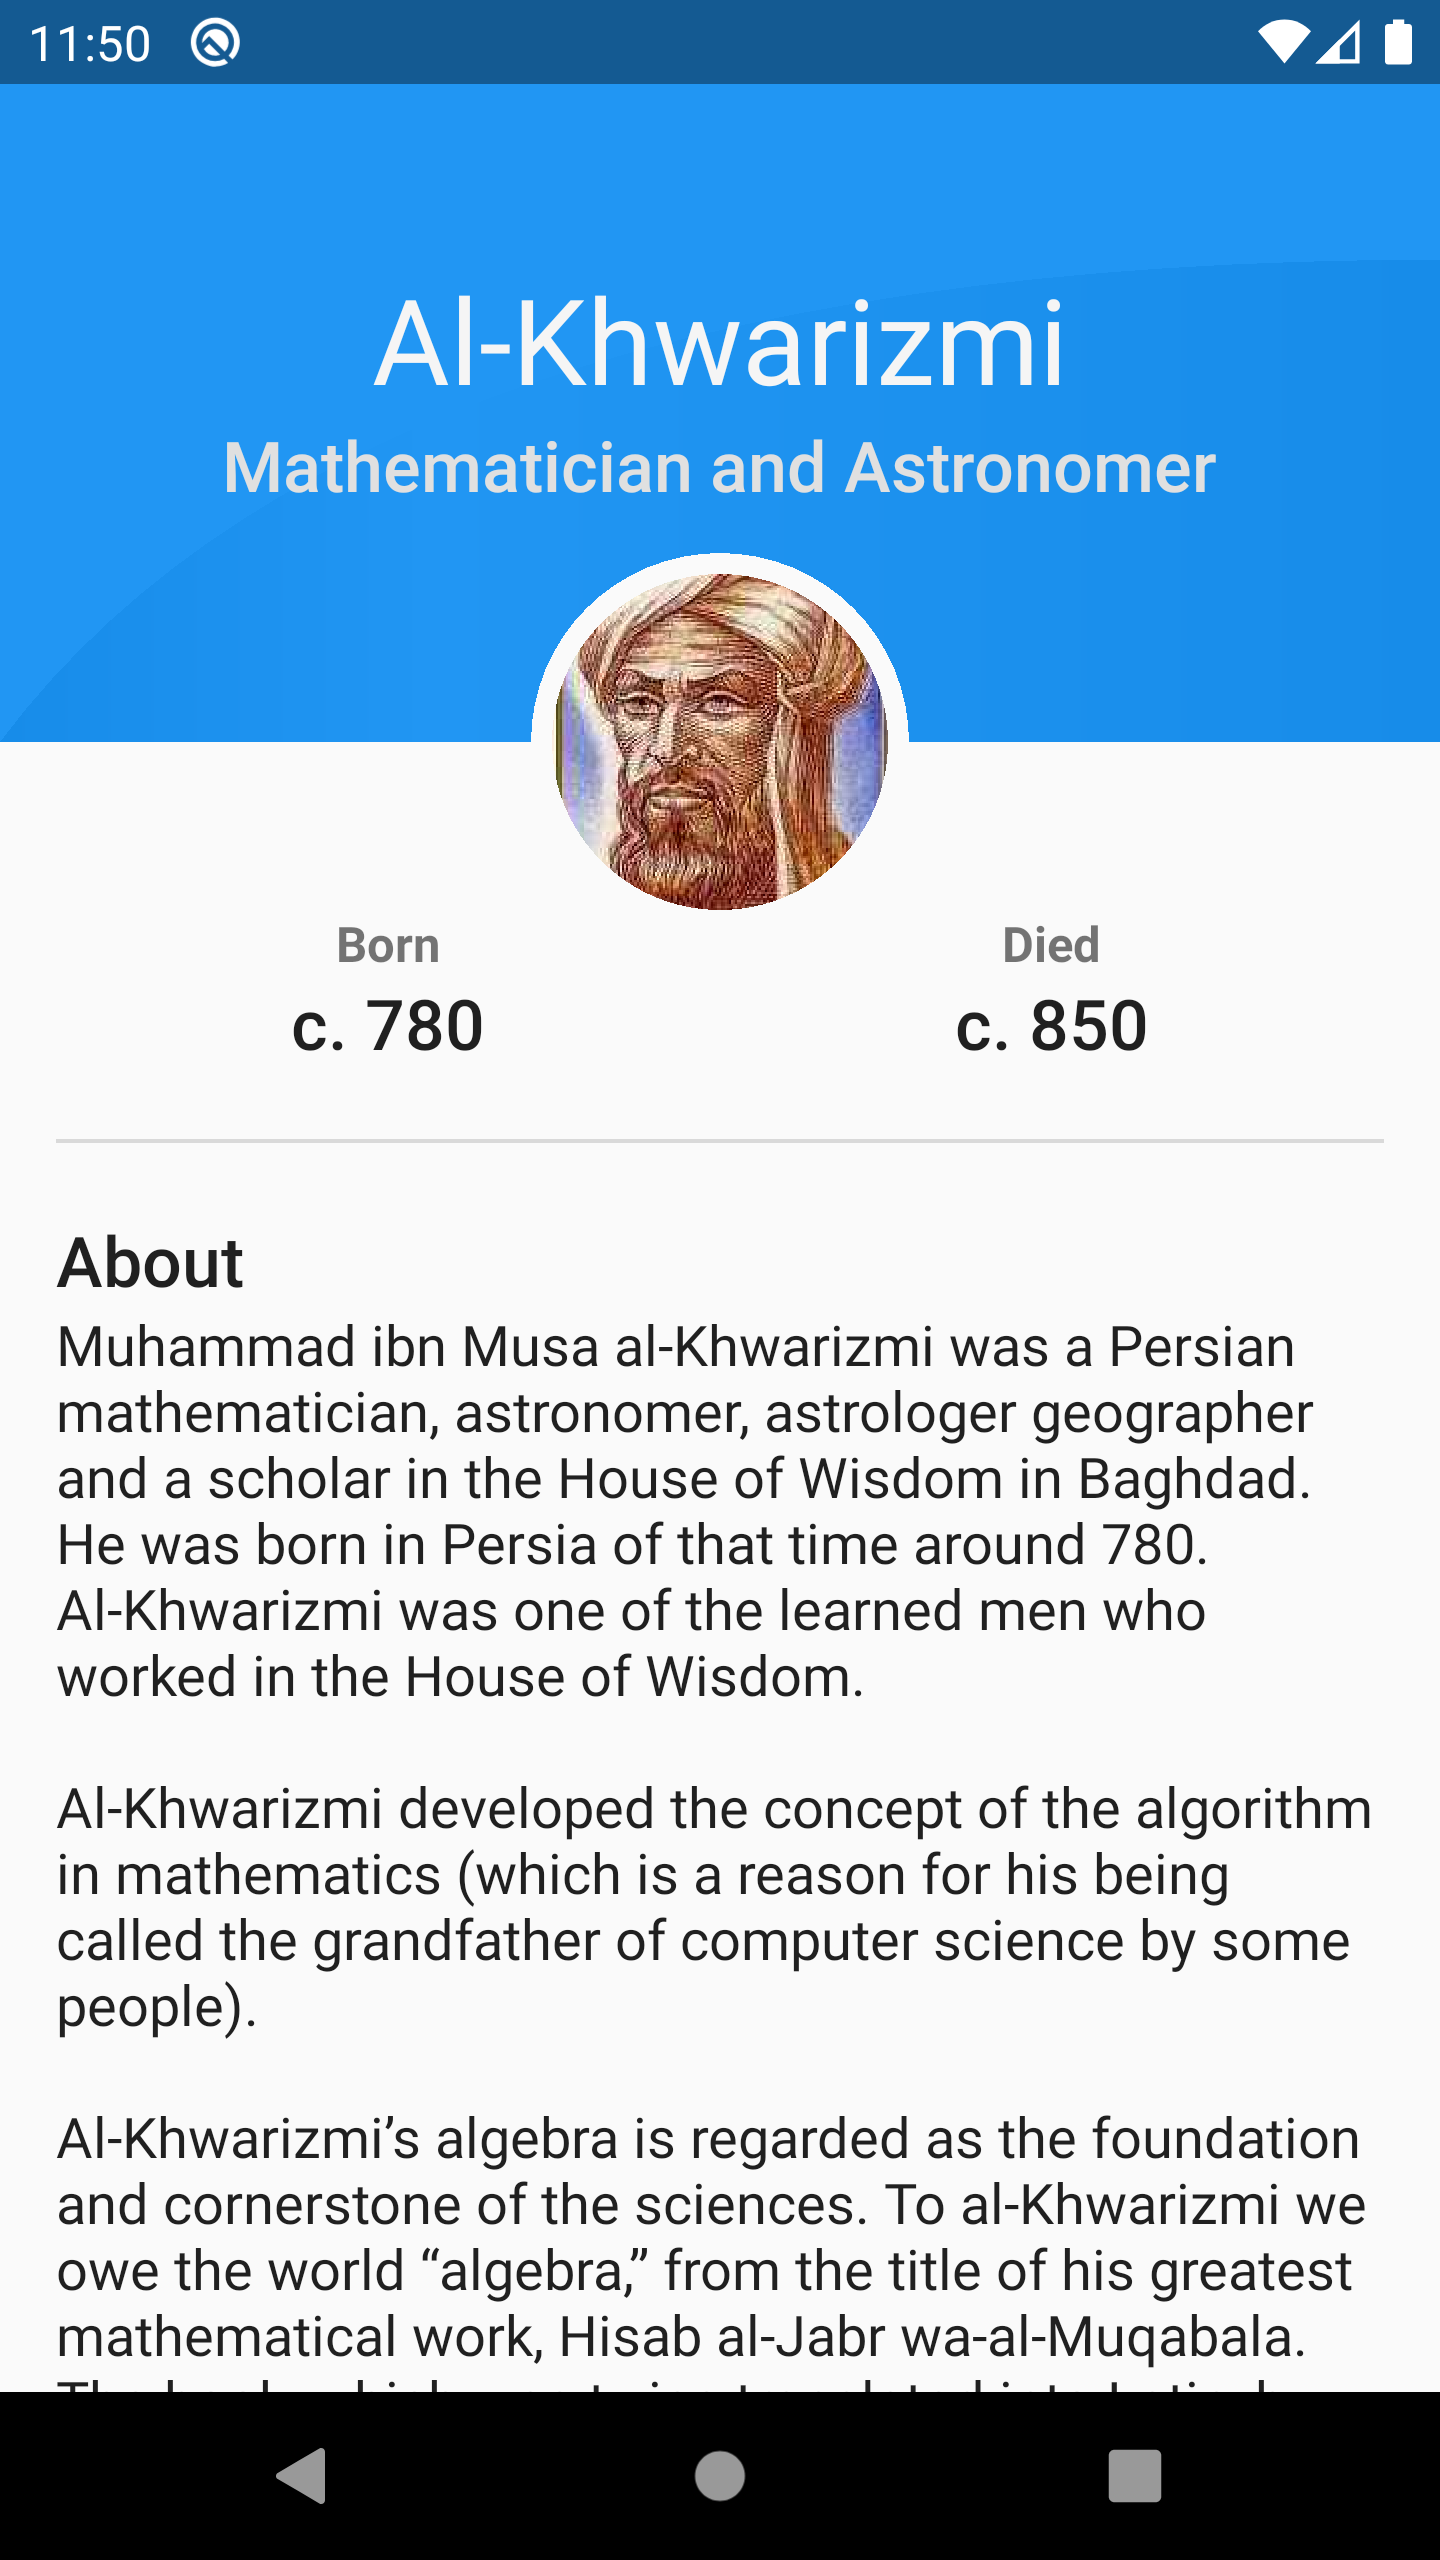
Congratulations! You’ve created a beautiful profile card with an eye-catching custom background shape and shading.
Where to Go From Here?
You can download the completed final project using the Download Materials button at the top or bottom of the tutorial.
Wow, that was a lot of work! But you learned a lot, too. In addition to taking a deep look at Canvas and many Android Graphics APIs, you learned how to:
- Prepare your custom shape on paper before coding.
- Use Path and how to add different lines to it sequentially.
- Draw a curved shape in gradient colors.
To learn more about Canvas and Android custom views check out the following links:
Also, you can check RichPath library. It’s an open-source library that gives you full control over your custom shapes in vector drawable format so you can manipulate and animate them easily at runtime.
Feel free to share your feedback, comments or ask questions in the forum below. Don’t stop drawing. ;]
Источник


