- How to add Extended Floating Action Button in Android | Android Studio | Java
- Step 1: add the dependency
- Step 2: add the drawable files
- Step 3: design the XML file
- Step 4: add the functionality
- Добавляем Floating Action Button в свое Android приложение
- Что такое Floating Action Button ?
- Быстрая и грязная реализация
- Отлично! Но как мне добавить это в свое приложение ?
- Заключение
- Extended Floating Action Button in Android with Example
- Steps for Creating Extended Floating Action Button
- Floating Action Button (FAB) in Android with Example
- Types of Floating Action Button
- Normal/Regular Floating Action Button
- Steps for Creating a Normal/Regular FAB
- Android Material Design Floating Action Button
- 1. Floating Action Button
- 2. Creating New Project
- 2.1 Floating Action Button Click Listener
How to add Extended Floating Action Button in Android | Android Studio | Java

How to add Extended Floating Action Button in Android | Android Studio | Java.
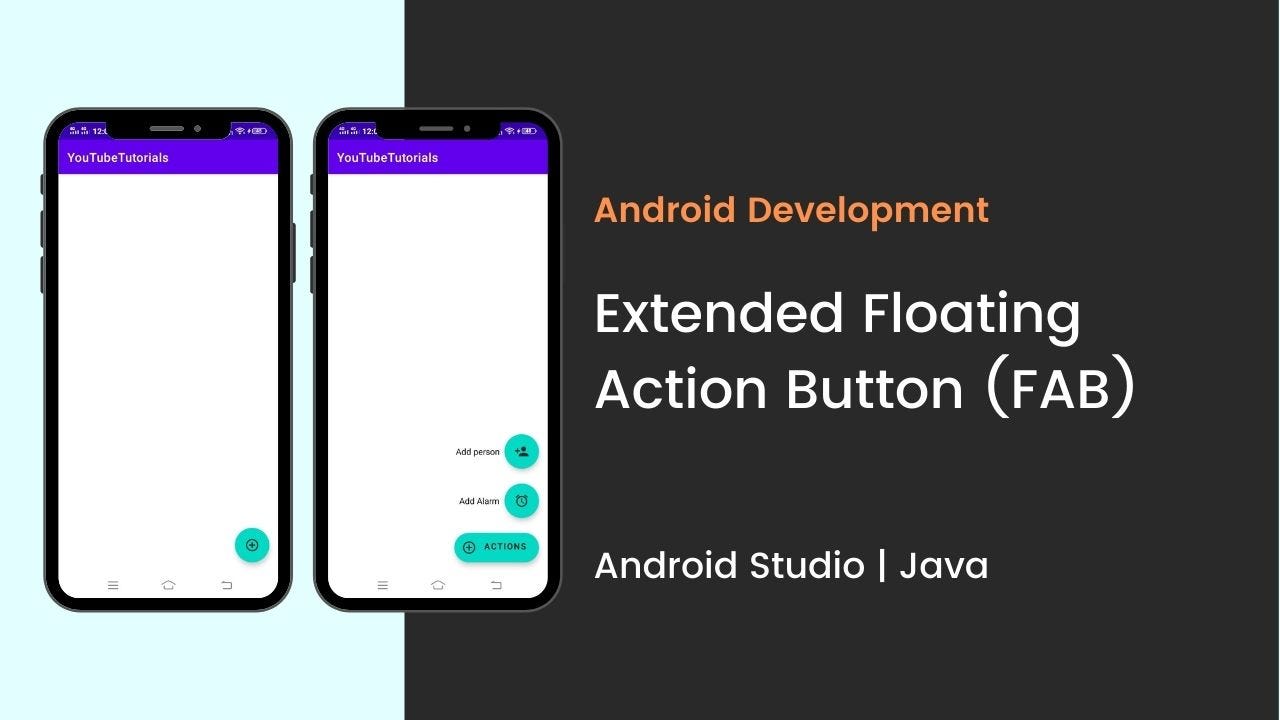
In this tutorial, we are going to create an extended floating action button in android. A floating action button (FAB) performs the primary, or most common, action on a screen. It appears in front of all screen content, typically as a circular shape with an icon in its center.
Extended Floating Action Button is the newly introduced class with Material Components library in Android.
Material Components is introduced with SDK 28 or Android P. It’s a superset of Support Design Library with lots of new additions and improvements. And, in this tutorial, we are going to create an extended floating action button.
So, let’s start creating the extended FAB.
Before going to create let’s see what you’re going to see.
Step 1: add the dependency
make sure to add the material design dependency in your build.gradle app file.
Step 2: add the drawable files
before going to design the main XML file, first, import the drawable files. Below drawable files that I used in my project.

Step 3: design the XML file
now, design the main XML file, add the Extended Floating Action Button that is set as the parent FAB and also add the child FAB. Here as a child FAB, I used two FABs.
parent FAB: Action
child FAB 1: Alarm
child FAB 2: Person
Step 4: add the functionality
now in the main JAVA file add the functionality for the extended FAB and add the click listener in the child FAB.
Источник
Добавляем Floating Action Button в свое Android приложение
В этом году на презентации Google I/O был представлен новая версия Android — L. Вместе с этим было представлено много новых плюшек для пользователей и разработчиков. Но одним из главных новшеств, несомненно, было новое решение Google для унификации дизайна — Material Design.
Одним из паттернов Material Design является Floating Action Button.
Что такое Floating Action Button ?
Google говорит, что это «специальный метод для способствования действию». Сама же кнопка имеет форму круга, плавающего над интерфейсом.

Стоит отметить, что Floating Action Button должна отражать только главное действие в приложении.
Быстрая и грязная реализация
Я хотел создать быстрый способ добавления простейшей FAB для своих Android приложений с minSdkVersion = 14 (Ice Cream Sandwich). Я также реализовал анимацию появления/исчезновения и небольшие возможности для кастомизации кнопки.
Весь код доступен в Github Gist (добавьте этот класс в свой проект).
При создании кнопки в XML, я обнаружил некоторые трудности позиционирования View у нашей кнопки над остальными View (в частности, над Navigation Drawer). Я решил реализовать кнопку программно и работать посредством Builder-паттерна, что позволит размещать FAB выше других View в Activity при вызове .create().
Отлично! Но как мне добавить это в свое приложение ?
Добавить Floating Action Button очень даже просто:
Размер кнопки легко изменить посредством вызова .withButtonSize(int size). По умолчанию стоит 72dp.
Заключение
Похоже, что Google будет использовать этот паттерн во многих своих приложениях. И еще до сих пор нет никаких новостей о том, будет ли Google добавлять floating action button в support library, поэтому пока что не стесняйтесь использовать это решение.
Источник
Extended Floating Action Button in Android with Example
In the Floating Action Button (FAB) article, we have discussed on Normal/Regular Floating Action Button and Mini Floating Action Button. In this article, let’s discuss and implement an Extended Floating Action Button in android which extends when clicked and shrinks when closed and also shows the information about the sub floating action button for what the context the sub floating action buttons have popped up. A sample GIF is given below to get an idea about what we are going to do in this article. Note that we are going to implement this project using the Java language.
Attention reader! Don’t stop learning now. Get hold of all the important Java Foundation and Collections concepts with the Fundamentals of Java and Java Collections Course at a student-friendly price and become industry ready. To complete your preparation from learning a language to DS Algo and many more, please refer Complete Interview Preparation Course.
Steps for Creating Extended Floating Action Button
Step 1: Create a New Project
To create a new project in Android Studio please refer to How to Create/Start a New Project in Android Studio. Note that select Java as the programming language.
Источник
Floating Action Button (FAB) in Android with Example
The floating action button is a bit different button from the ordinary buttons. Floating action buttons are implemented in the app’s UI for primary actions (promoted actions) for the users and the actions under the floating action button are prioritized by the developer. For example the actions like adding an item in the existing list. So in this article, it has been shown how to implement the Floating Action Button(FAB), and also the buttons under the FAB are handled with a simple Toast message. Note that we are going to implement this project using Java language.
Types of Floating Action Button
There are mainly four types of floating action buttons available on Android.
Attention reader! Don’t stop learning now. Get hold of all the important Java Foundation and Collections concepts with the Fundamentals of Java and Java Collections Course at a student-friendly price and become industry ready. To complete your preparation from learning a language to DS Algo and many more, please refer Complete Interview Preparation Course.
- Normal/Regular Floating Action Button
- Mini Floating Action Button
- Extended Floating Action Button
- Theming Floating Action Button
In this article let’s discuss the Normal/Regular Floating Action Button and Mini Floating Action Button with a sample example in Android.
Normal/Regular Floating Action Button
Regular FABs are FABs that are not expanded and are regular size. The following example shows a regular FAB with a plus icon.

Steps for Creating a Normal/Regular FAB
Step 1: Create a New Project
To create a new project in Android Studio please refer to How to Create/Start a New Project in Android Studio. Note that select Java as the programming language.
Step 2: Add dependency on the app level Gradle file.
- Here we are using the Floating action button which is designed and developed by Google Material Design Team.
- Add the dependency in the build.gradle(app) file as:
- Make sure that add the dependency to the app level Gradle file. After adding the dependency you need to click on the “Sync Now” button which appears at the top right corner of the Android Studio IDE.
- When the user click on the Sync Now button make sure that you are connected to network, so that it can download the required files.
- Refer to the below image if you can’t get the steps mentioned above:

Step 3: Add the FAB icons to the Drawable file
- For demonstration purpose will import 3 icons in the Drawable folder, one can import the icons of his/her choice. One can do that by right-clicking drawable folder -> New -> Vector Asset. Refer to the following image to import the vector Icon.


- Now open activity_main.xml and add the floating action buttons.
Источник
Android Material Design Floating Action Button
Android Floating Action Button is another interesting component introduced in material design. The floating action button floats on UI in a circular shape with an action attached to it. You can find complete information about floating action button behaviour, transitions and other specs here.
1. Floating Action Button
You can place a floating action button using below design support widget. The layout_gravity attribute is used to define the position of the button.
| Position | You can position the floating button by using layout_gravity attribute |
| Size | FAB supports two sizes ‘normal‘ and ‘mini‘. You can define the size of the button by using app:fabSize attribute |
| Background Color | By default, fab takes colorAccent as background color. If you want to change the background of fab, use app:backgroundTint attribute to define your own background color |
Now we’ll see the FAB in action by creating a simple project.
2. Creating New Project
1. In Android Studio, go to File ⇒ New Project and fill all the details required to create a new project. I gave my project name as FAB and package name as info.androidhive.fab
2. Open build.gradle and add design support library dependency.
com.android.support:appcompat-v7:23.1.1 and com.android.support:design:23.1.1
3. Open dimens.xml and add below dimensions. You can see fab_margin is added as 16dp
4. Apply the material design to your app by following the steps mentioned here. But if you updated your Android Studio to latest version, the Material Design theme will be applied automatically when you created the new project.
5. Open the layout file of main activity (activity_main.xml) and do the below changes. You can see the Floating Action Button is added in the below layout. This layout contains the toolbar and floating action button needed for the activity.
6. Create another xml layout named content_main.xml and add the below code. This layout contains the actual content of the activity except the toolbar and fab.
Now if you run the app, you can see the floating action button displayed at the bottom right corner of the screen.
2.1 Floating Action Button Click Listener
The click event listener of fab is same as a normal button click event. Add the below code to your MainActivity.java to take appropriate action when fab is clicked.
Hi there! I am Founder at androidhive and programming enthusiast. My skills includes Android, iOS, PHP, Ruby on Rails and lot more. If you have any idea that you would want me to develop? Let’s talk: [email protected]
Источник


