- Build an Android Chat app with Jetpack Compose
- Intro and context
- Project setup
- Channel List Screen
- Setting up navigation
- Message List Screen
- Message Input
- Conclusion
- Пробуем Jetpack Compose в бою?
- Подключение зависимостей
- Темы и стили. Интеграция с существующими в проекте.
- Accessibility и UI-тесты.
- Основные компоненты и аналоги наследников View.
- Работа со State
Build an Android Chat app with Jetpack Compose
Table of Contents
Intro and context
Channel List Screen
Setting up navigation
Message List Screen
Sign up for a free Maker account
Jetpack Compose: First Impressions and Learning Resources
Android Chat SDK on GitHub
Android Chat Tutorial
Wanna build a functional chat app with Jetpack Compose? This is the tutorial for you!
• 9 months ago
Stream now provides a fully-featured Jetpack Compose Chat SDK that you can use instead of the basic approach described in this article. Check out the Compose Chat Messaging Tutorial and give it a try today!
Intro and context
In our previous article about Jetpack Compose, we shared our initial impressions and recommended some learning resources. This time, we’ll take Compose out for a spin by building a basic chat UI implementation with it!
Of course, you might be wondering why we’re building a Compose Chat app when there’s an official Google sample, Jetchat, which is also a chat app using Compose. That sample is a basic UI demo with a small bit of hardcoded data. Here, we’re building a real, functional chat app instead that’s hooked up to a real-time backend service.
We already ship a UI Components library in our Chat SDK which contains ready-to-go, fully-featured Android Views to drop into your app, along with ViewModels that let you connect them to business logic in just a single line of code. You can check out how that works in our Android Chat Tutorial.

This time, we’re going to reuse the ViewModels (and a View) from that implementation, and build our Compose-based UI on top of that. This won’t be an ideal scenario, as those ViewModels are designed to work with the Views that they ship with.
Having dedicated support for Compose in the SDK would make this much nicer and simpler, and that’s something we’ll be working on in the future. However, as you’ll see, it’s already quite easy to integrate Stream Chat with Jetpack Compose, without any specific support for it!

The project we’re building in this article is available on GitHub, feel free to clone the project and play around with it on your own! We recommend getting your own Stream API key for this, which you can do by signing up for a free trial. Stream is free for hobby projects and small companies even beyond the trial — just apply for a free Maker account.
Project setup
To use Jetpack Compose, we’ll create our project in the latest Canary version of Android Studio. This contains a project template for Compose apps.

After creating the project, our first step will be to add the Stream UI Components SDK as a dependency, as well as some Jetpack Compose dependencies we need. Some of our dependencies come from Jitpack, so make sure to add that repository in the settings.gradle file:
Then, in the module’s build.gradle file, replace the dependencies block with the following:
Check out the GitHub project if you get tangled up in the dependencies.
Next, we’ll set up the Stream Chat SDK, providing an API key and user details to it. This is normally done in your custom Application class. To make things simple, we’ll use the same environment and user as our tutorial.
We’re initializing all three layers of our SDK here: the low-level client, the domain providing offline support, and the UI components. For more info about these, take a look at the documentation. Finally, we’re connecting our user, using a hardcoded, non-expiring example token from the tutorial.
Since we created a custom Application class, we have to update our Manifest to use this ChatApplication when the app is launched. We’ll also set windowSoftInputMode on the MainActivity so that we’ll have better keyboard behaviour later on.
Channel List Screen
First, we’ll create a screen that lists the channels available to our user. The UI Components library contains a ChannelListView component for this purpose, and we can reuse its ViewModel here.
Let’s see what this code does step-by-step:
- We use the viewModel() method provided by Compose to get a ViewModel for our current context. This allows us to specify a factory that creates a ViewModel, which we need in the case of ChannelListViewModel to pass in some parameters to it. We’ll stick to the default parameters of the SDK’s ChannelListViewModelFactory for now, which will filter for channels that our current user is a member of.
- We observe the LiveData state in the ViewModel as a composable State , and we copy it to a local variable so that smart casts will work on it correctly. We also skip rendering anything if this State happens to be null .
- We’ll have the ChannelListScreen fill the entire screen, and center any content inside it.
- If the state is loading, we’ll display a basic progress indicator.
- Otherwise, we’ll display the list of channels in a LazyColumn . Each item will be a ChannelListItem responsible for showing info for a single channel. We’re also adding a simple Divider after each item.
Now, let’s see how we can render a single ChannelListItem in the list:
- We’re rendering each item as a Row .
- Inside that, we’re adding an Avatar representing the Channel at the start.
- Then we add a Column , laying out two pieces of Text vertically. These will contain the channel’s title and a preview of the latest message. Note the LocalContext.current API being used to grab a Context in Compose, as well as the TextOverflow.Ellipsis option that will make long messages behave nicely in the preview.
We have one last Composable to implement, the Avatar used above. Our UI components SDK ships an AvatarView with complex rendering logic inside it, which we don’t want to reimplement for now. We can use Jetpack Compose’s interop features to include our regular Android View inside Compose UI.
This will be really simple, just a few lines of code to create a wrapper:
The AndroidView function allows us to create. Well, an Android View , which we get a Context for. It also gives us a way to hook into Compose’s state updates using its update parameter, which will be executed whenever composable state (in our case, the Channel object) changes. When that happens, we set the new Channel on our AvatarView .
Finally, we can add the ChannelListScreen to MainActivity :
Building and running this code gives us a working list of channels loaded from Stream’s backend, with performant scrolling thanks to LazyColumn . Not bad for a hundred lines of code for the entire thing!

Setting up navigation
Continuing with our chat app, let’s create a new screen, where we’ll display the list of messages in a channel. For this, we’ll need to set up click listeners and navigation. We’ll use the Navigation Component for Jetpack Compose here.
Step one, we’ll make our ChannelListItem clickable, and add an onClick parameter that it will call when it was clicked:
ChannelListScreen will take a NavController as its parameter, and use it to navigate to a new destination when an item was clicked, based on the cid of the channel.
We’ll update MainActivity by moving our top-level Composable code to a ChatApp composable, and setting up navigation in there.
- We’re creating a NavController and a NavHost for our application.
- Our first and initial destination is a composable: ChannelListScreen . We pass the nav controller to it.
- Our second destination will be a new composable called MessageListScreen . Here, we pass in both the nav controller and the argument that was used to navigate to it. We can grab this from the NavBackStackEntry parameter.
Message List Screen
Our message list will be a LazyColumn similar to the channel list we created before. For displaying messages, the UI Components library gives us a MessageListViewModelFactory which can create a few different ViewModel instances. This takes the cid of the channel we want to display.
We’ll implement the MessageList like this:
- We get a MessageListViewModel from the factory, which will fetch messages for us, and expose it as LiveData .
- As before, we convert the LiveData state from the ViewModel into composable State .
- We have three states to handle, defined by a sealed class inside MessageListViewModel . The first state is a loading state, the second is a state that pushes us to the previous screen (using the nav controller), and the third is the result state, where we have a list of messages.
- In the result state, we’ll grab the list of messages received, filter for only MessageItem s (excluding things such as date separators that we don’t want to render for now). We also filter for messages that have non-blank text — for example, some messages might have only images attached to them, so we’ll skip those for simplicity. Finally, we reverse the list, to match what we’re doing in the next step.
- We use reverseLayout on LazyColumn to stack its items from the bottom. This is similar to using stackFromEnd on a RecyclerView .
- Each item will be rendered by a MessageCard composable.
For a single message, we’ll use the following layout:
This code is mostly straightforward, but let’s review some of its important bits:
- We take a MessageItem as a parameter.
- Depending on whether this is our current user’s message, or someone else’s, we align it to one of the sides of the screen. We also set colours based on this in a few places.
- We use a cardShapeFor helper method to create the shape of the Card that holds the message. This will create a shape with rounded corners, except for one of the bottom corners, giving us a chat bubble look.
- We display the username under each message, so that we can distinguish between messages sent by others.
At this point, we can build and run again, and clicking a channel will navigate to the new screen, displaying the list of messages in it.

Message Input
For our final piece of Jetpack Compose chat implementation, we’ll add an input view on the message list screen so that we can send new messages.
First, we’ll modify MessageListScreen and place a new composable under MessageList :
The weight modifier on MessageList will make it take up the maximum available space above the new MessageInput . We pass in the factory to MessageInput as well, so that it’s able to access the currently open channel’s data via ViewModels.
- This time, we’ll use a MessageInputViewModel , which normally belongs to the MessageInputView shipped in the UI components library, and handles input actions.
- We create a piece of composable state to hold the current input value.
- This local helper function calls into the ViewModel and sends the message to the server. Then, it clears the input field by resetting the state.
- We use a TextField to capture user input. This displays the current inputValue , and modifies it based on keyboard input. We also set up IME options so that our software keyboard displays a Send button, and we handle that being tapped by calling sendMessage .
- We’re also adding a Button that the user can tap to send a message. This is enabled/disabled dynamically based on the current input value.
- The button will show an icon from the default Material icon set. Not to skimp on accessibility, we also add a content description string for the send icon. We grab this from regular Android resources using stringResource , which allows us to localize it as usual. Make sure to create this resource in your project.
Let’s build and run for the last time, and we have a working chat app now! We can browse channels, open them, read messages, and send new messages.

Conclusion
This complete implementation, including UI, logic, and a connection to a real server is roughly 250 lines of code in total. Almost all of this is UI code with Jetpack Compose, the integration with Stream Chat’s ViewModels and Views is just a small fraction of it.
Follow us on Twitter @getstream_io, and the author @zsmb13 for more content like this. If you liked this tutorial, tweet at us and let us know!
As a reminder, you can check out the full project and play with it on GitHub. We recommend expanding this project to learn more about Compose — a good first goal could be to add a login screen, so that you can have different users on different devices.
To jump into that, sign up for a free trial of Stream Chat. If you’re doing this for a side project or you’re a small business, you can use our SDK for with a free Maker account, even beyond the trial period!
Here are some more useful links to continue exploring:
- The Stream Chat Android SDK on GitHub, including the UI Components Sample app that showcases many features, and includes a login implementation you can take ideas from
- Our regular, non-Compose Android Tutorial
- The Stream Chat Android documentation
- For more about Compose, some first impressions and recommended learning resources
Источник
Пробуем Jetpack Compose в бою?
Наконец, настал момент, когда не нужно собирать самостоятельно Android Studio, чтобы попробовать новый декларативный UI framework для Android. Jetpack Compose стал доступен в виде первого Dev Preview в Maven-репозитории Google. С такой новости началось моё утро понедельника. И сразу же возникло желание посмотреть, что из себя представляет набор инструментов, который так ждали.

Своё знакомство я решил начать сразу с попытки внедрения в pet-project, опубликованный в Google Play. Тем более, в нем давно хотелось сделать страницу “О приложении”. В этой статье я расскажу об основных компонентах и этапах подключения Compose:
- Подключение зависимостей
- Темы и стили. Интеграция с существующими в проекте.
- Accessibility и UI-тесты.
- Основные компоненты и аналоги наследников View.
- Работа со State.
Подключение зависимостей
Для начала я обновил студию c 3.5 до 3.5.1 (зря), добавил базовые зависимости. Полный список можно увидеть в статье Кирилла.
И затем пытался всё это собрать из-за разъехавшихся версий Firebase. После чего столкнулся уже с препятствиями Compose:
Да, Compose оказался доступен только с minSdk 21 (Lolipop). Возможно, это временная мера, но от него ожидали поддержки более ранних версий операционки.
Но и это не всё. Compose работает на Reflection, вместо Kotlin Compiler Plugin, как это было заявлено ранее, например, тут. Поэтому, чтобы всё завелось, нужно добавить в зависимости ещё и Kotlin Reflect:
Ну и на сладкое. В Compose dp реализован как extension функции для Int, Long, Float, которые помечены ключевым словом inline. Это может вызвать новую ошибку компиляции:
Для решения нужно явно прописать версию JVM для Kotlin:
Вот, кажется, и всё. Намного легче, чем собирать свою студию)
Попробуем запустить Hello World (тоже из статьи Кирилла, но, в отличие от него, добавим Compose внутрь Fragment). Layout для фрагмента представляет собой пустой FrameLayout.
Запускаем, получается следующий экран:
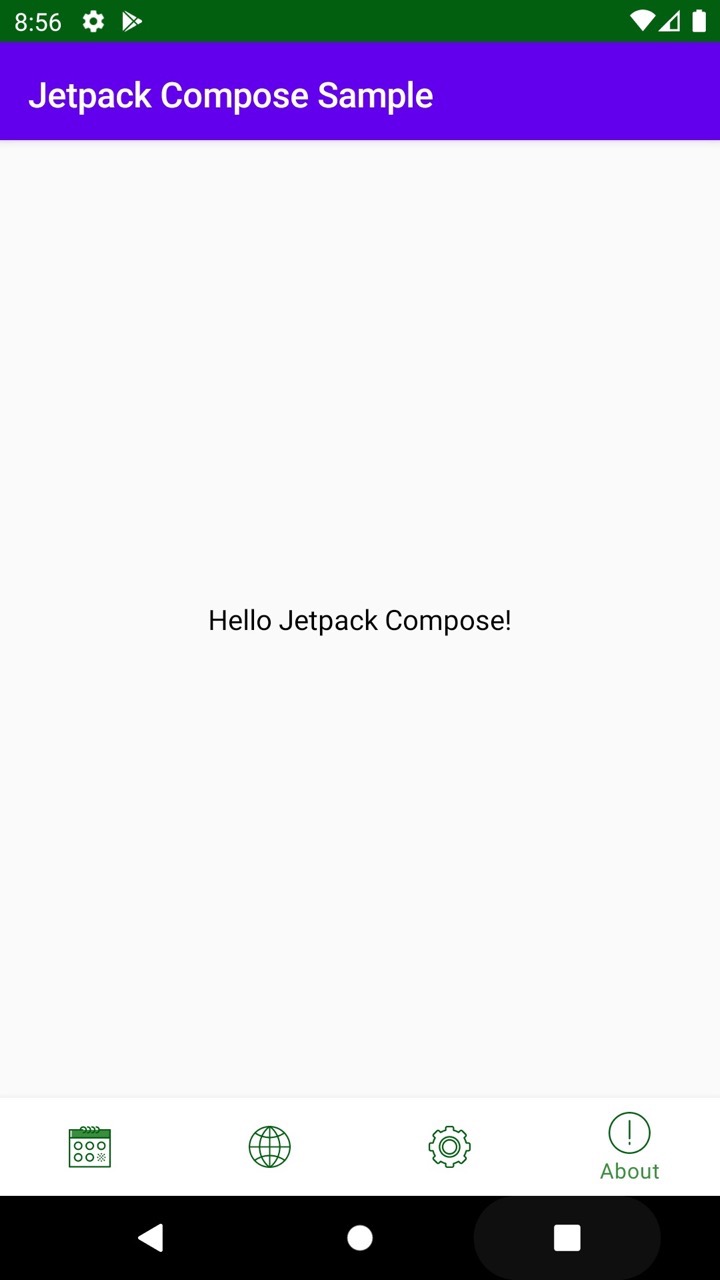
Из-за того, что Composable использует Material-тему по умолчанию, мы получили фиолетовый AppBar. Ну и, как и ожидалось, она совсем не согласуется с темной темой приложения:
Попробуем это решить.
Темы и стили. Интеграция с существующими в проекте.
Для того, чтобы использовать существующие стили внутри Composable, передадим их внутрь конструктора MaterialTheme:
Сама MaterialTheme состоит из двух частей: MaterialColors и MaterialTypography.
Для разрешения цветов я использовал обертку над стилями:
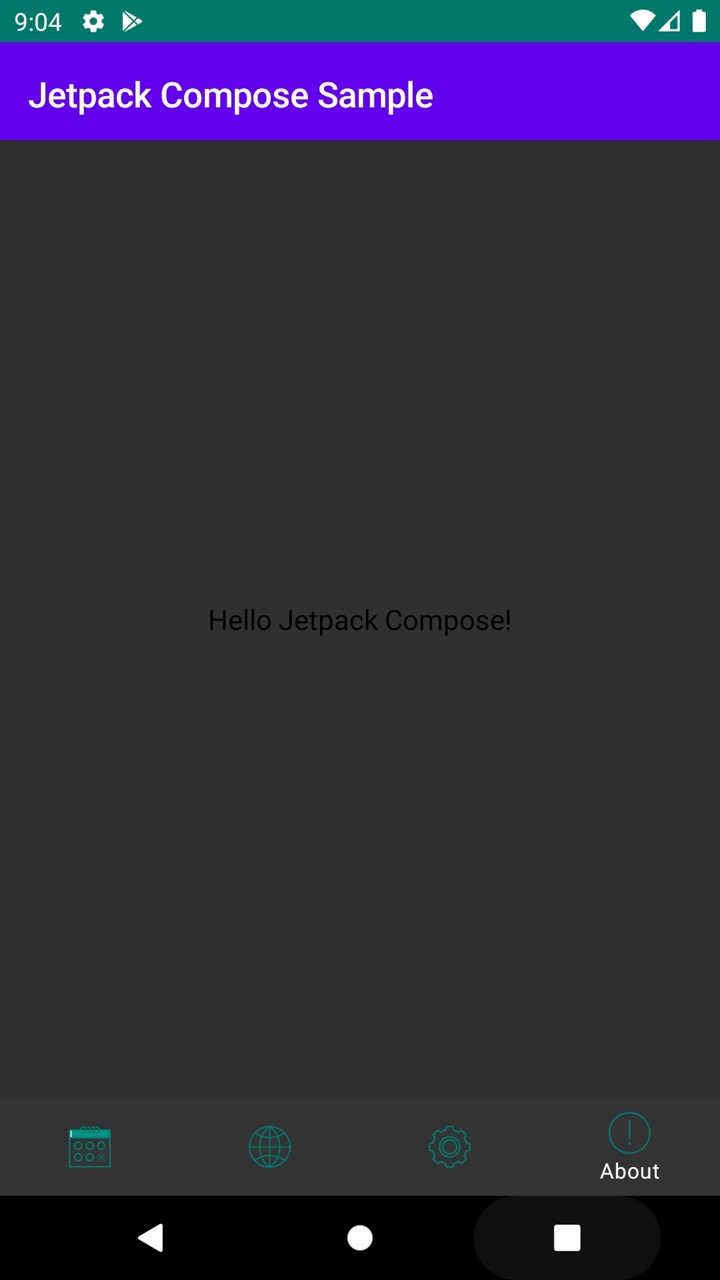
На данном этапе AppBar перекрасится в зеленый цвет. Но для перекраски текста нужно сделать еще одно действие:
Тема к виджету применяется использованием операции унарного плюса. Мы еще увидим её при работе со State.
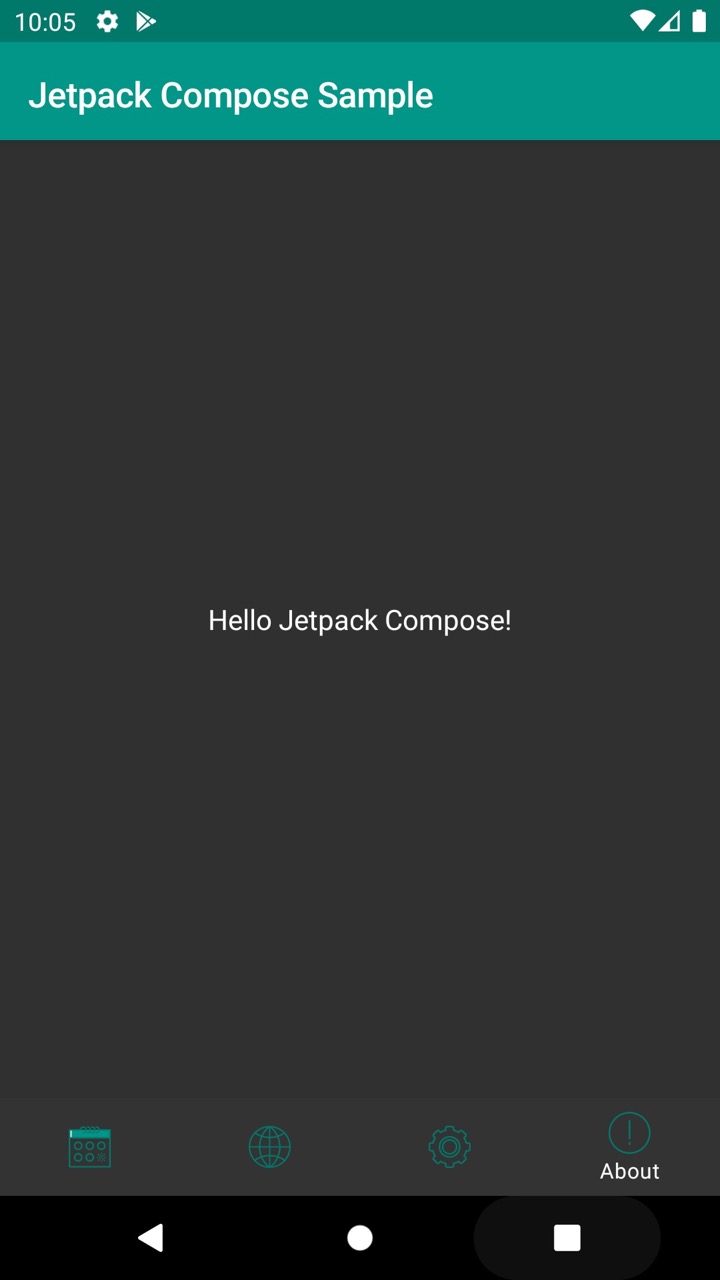
Теперь новый экран выглядит однородно с остальным приложением в обоих вариантах темы:
В источниках Compose нашел также файл DarkTheme.kt, функции из которого можно использовать для определения различных триггеров включения темной темы на Android P и 10.
Accessibility и UI-тесты.
Пока экран не начал разрастаться новыми элементами, давайте посмотрим, как он выглядит в Layout Inspector и со включенным отображением границ элементов в Dev Mode:
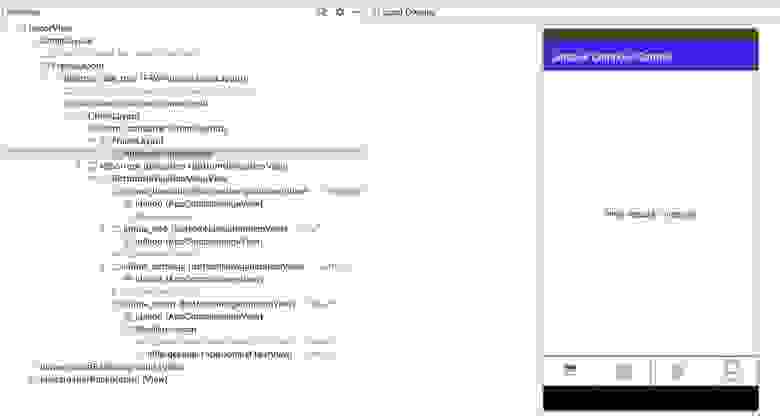
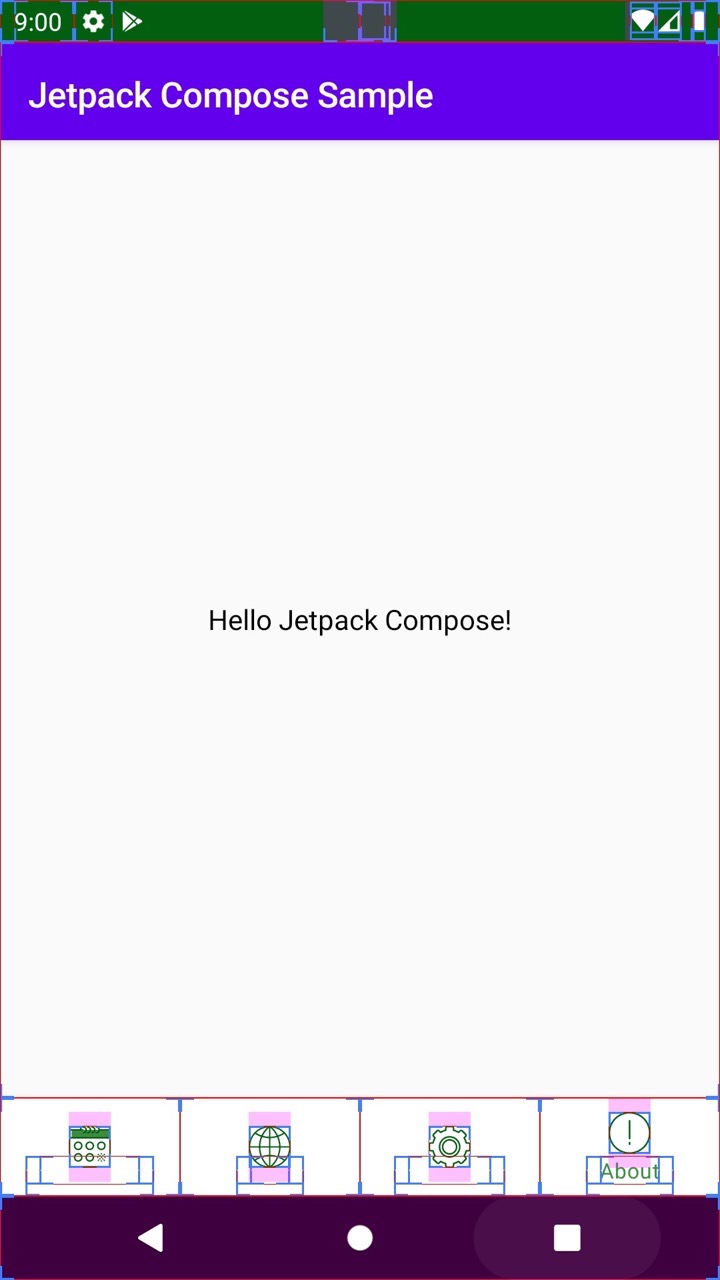
Здесь мы увидим FrameLayout, внутри которого только AndroidComposeView. Существующие инструменты для Accebility и UI-тестирования теперь больше не применимы? Возможно, вместо них теперь будет новая библиотека: androidx.ui:ui-test .
Основные компоненты и аналоги наследников View.
Теперь попробуем сделать экран чуть более информативным. Для начала поменяем текст, добавим кнопку, ведущую на страницу приложения в Google Play, и картинку с логотипом. Сразу покажу код и что получилось:
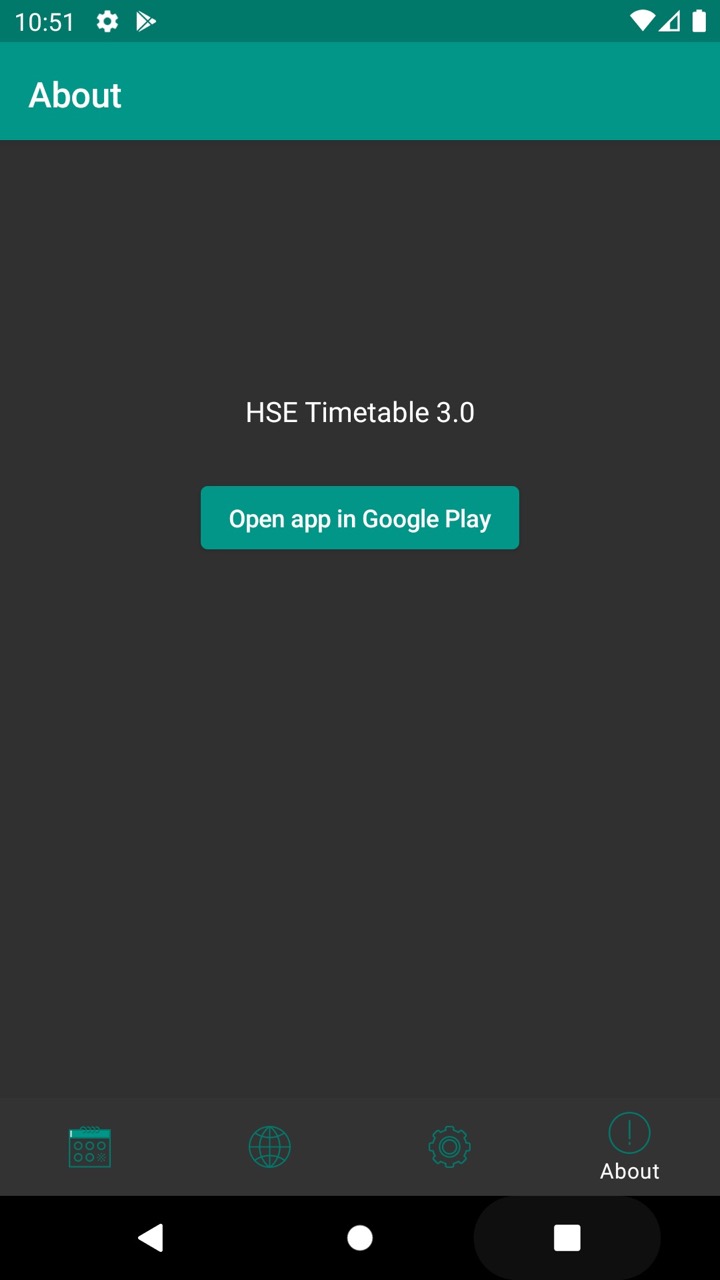
Основные принципы композиции виджетов не изменились с момента первого появления исходников Compose.
- Функции для отображения отдельных элементов не обязательно помечать аннотацией @Composable.
- Почти все свойства для виджетов превратились в отдельные виджеты (Center вместо android:gravity, Padding вместо android:margin, …)
- Отобразить картинку из drawables мне так и не удалось.
- У кнопки параметр onClick сделан не последним, из-за чего нельзя передать его как лямбду без явного указания названия, что казалось бы логичнее:
Пройдемся теперь по основным существующим ViewGroup и попробуем найти аналоги в Compose.
Вместо FrameLayout можно использовать Stack. Тут всё просто: дочерние виджеты накладываются друг на друга и позиционируются в зависимости от используемой для вложения функции: aligned, positioned или expanded.
LinearLayout заменяется сразу двумя виджетами: Column и Row вместо использования параметра android:orientation. Они же, в свою очередь, содержат внутри себя FlexColumn и FlexRow с прослойкой функции inflexible над вложенным поддеревом. Ну а сами FlexColumn и FlexRow построены на Flex с параметром orientation = LayoutOrientation.Vertical или Horizontal .
Похожая иерархия у виджетов FlowColumn, FlowRow и Flow. Их основное отличие: если контент не помещается в один столбец или строку, рядом отрисуется следующий, и вложенные виджеты “перетекут” туда. Реальное предназначение для этих виджетов мне пока представить сложно.
Эффект ScrollView достигается помещением Column или Row внутрь VerticalScroller или HorizontalScroller. Оба они композируют внутри Scroller, передавая внутрь параметр isVertical = true или false .
В поисках аналога для ConstraintLayout или хотя бы RelativeLayout наткнулся на новый виджет Table. Попытался запустить пример кода у себя в приложении: DataTableSamples.kt. Но, как я не пытался упростить пример, сделать его работающим так и не получилось.

Работа со State
Одним из самых ожидаемых нововведений фреймворка является его готовность из коробки к использованию в однонаправленных архитектурах, построенных на основе единого состояния. И в этом предполагалось введение аннотации @Model для пометки классов, предоставляющих State для отрисовки UI.
Рассмотрим пример:
Здесь создается дата-класс для модели стейта, при этом его не обязательно помечать аннотацией @Model.
Само исходное состояние создаётся внутри @Composable функции с использованием +state.
Видимость диалога определяется свойством visible из модели, полученной вызовом свойства value.
Этому свойству можно также задавать новый неизменяемый объект, как это происходит в onClick обеих кнопок. Первая скрывает саму себя, вторая — закрывает диалог. Диалог можно переоткрыть, нажав на кнопку Ok, определенную внутри той же @Composable функции.
При попытке вынести состояние вне этой функции возникает ошибка:
java.lang.IllegalStateException: Composition requires an active composition context.
Контекст можно получить, присвоив значение функции setContent<> в onCreateView, но как его использовать, например в Presenter или другом классе, отличном от Fragment или Activity, для изменения состояния – пока непонятно.

На этом завершим обзор новой библиотеки Jetpack Compose. Фреймворк архитектурно оправдывает своё название, заменяя всё наследование, которое так сильно доставляло неудобства в иерархии View, композицией. Пока остаётся слишком много вопросов о том, как будут реализованы аналоги более сложных ViewGroup, типа ConstraintLayout и RecyclerView; не хватает документации и превью.
Абсолютно понятно, что Compose не готов к применению даже в маленьких боевых приложениях.
Но это всего лишь первая версия Dev Preview. Будет интересно наблюдать за развитием концепции работы со State и библиотеками от комьюнити на основе Compose.
Если вы нашли более удачные примеры кода, или документации для кейсов, которые у меня не получилось завести – напишите пожалуйста в комментарии.
Источник


