- Simplifying layouts with layer-list drawables
- a reliable way of positioning drawables within layer-lists
- Programmer Group
- Introduction to Basic Use of layer-list for Android Layer
- 1. What is layer-list? What’s the effect?
- 1.1 What is layer-list?
- 1.2 layer-list uses
- 2. General Principle of Layer-list
- 3. Basic use examples of layer-list:
- 3.1 Effect 1: Single Side Line
- 3.2 Effect 2: Bilateral Line
- 3.3 Effect 3: Shadows
- 3.4 Effect 4: Picture Cascade
- 3.5 Effect 5: Overlay Rotation
- 4. Extended use of layer-list
- 4.1. Implementing the effect of selector
- Полный список
- Bitmap
- Layer List
- State List
Simplifying layouts with layer-list drawables
a reliable way of positioning drawables within layer-lists

Mar 21, 2016 · 4 min read
I always thought the compound drawable (e.g. drawableLeft) was a nifty feature of the TextView. Unfortunately I remember thousands of times when it wasn’t nifty enough for my needs. There was usually something missing. Something I couldn’t overcome by a proper usage of other attributes (including the drawablePadding).
I was recently developing an app in which the navigation drawer wasn’t following the Material Design Guidelines 100%. To be honest, only the list items were somehow following the material list-item guidelines.
Adapting NavigationV i ew from the Support Design Library to fit my needs wasn’t really an option for me. Writing the navigation menu from the scratch was going to take much less time. At least I thought that at the moment…
I wanted to create a regular NavigationDrawer list item in the most elegant and easy way possible. Just a text with an icon. As simple as that.
The rest of this post describes my struggle on performing that simple task.

If you’re lucky and you know the exact width of your icons, it should be super-easy. E.g. if your icons for the NavigationDrawer are exactly 24dp wide, this:
should do the job just fine.

But… if you can’t predict the size of the icon, things will probably get a bit uglier. It’s not something unusual, I’ve been there multiple times. The solution I was ending up with, was usually something like this:

It’s working fine, even with icons with different dimensions (as in the example), but I can’t really say that’s an elegant solution. Imagine a layout with 5 or 10 of this sort of list-items stacked on top of each other. There must be a better way!
So I got back to square one (using compound drawable in a TextView) and started messing around with a special drawable.
I thought to myself:
I just have to anchor the icon at the left border of the 72dp space and shift it by 16dp to the right. That doesn’t sound that difficult. I should be able to do that easily with a layer-list!
This is what I came up with:

Two simple layers. The first one that would force the 72dp-wide bounds for the icon. And the second one with the icon itself — shifted. It really worked. It looked promising!

With just a single, simple TextView:
Unfortunately this is what I saw on a random Samsung device with 4.X Android:

It wouldn’t respect the first layer at all! Even if I specified a for it. So I dived back into the layer-list and began a painful process of developing a Samsung-proof solution.
This is what I ended up with:

And it was actually almost correct… almost, because another device (another Samsung… I wonder if that was just a coincidence or not) had a different issue with it:

Some devices seem to be displaying black if there is no tag specified within it.
A small change fixes the issue (this time a copyable version):
And to generalize this whole idea a bit:
If you want to see some of layer-lists that I tried (especially those that weren’t working correctly on all devices) you can see my demo app here.
Источник
Programmer Group
A programming skills sharing group
Introduction to Basic Use of layer-list for Android Layer
1. What is layer-list? What’s the effect?
1.1 What is layer-list?
Simply understand, layer is a layer, list is a list, then layer-list is the meaning of layer list. But what level list is it? In fact, layer-list is used to create Layer Drawable, Layer Drawable is one of Drawable Resources, so layer-list creates a layer list, that is, a drawable graph.
1.2 layer-list uses
As mentioned above, layer-list is used to create a list of layers by which special drawable s can be created, such as:
In the Alert Dialog below, we just need to set the top edge of the button and the right edge of the left button (or the left edge of the right button), so we can’t use shapes directly, because shapes are used to draw four borders directly; if you have an artist cut it, it’s a lot less flexible, and it adds app s. Volume; in this case, layer-list is the best choice. Of course, there are many uses of layer-list. Here’s just one example. Please continue to look at the specific use. 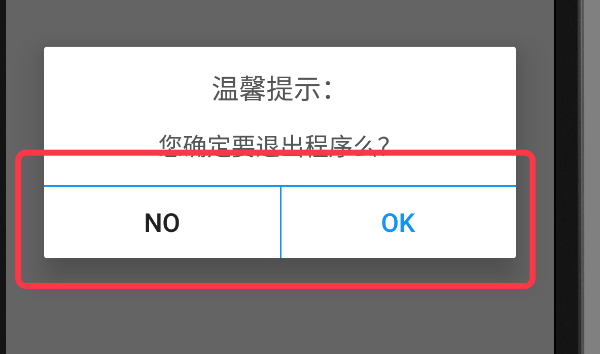
2. General Principle of Layer-list
The general principle of layer-list is similar to that of Relative Layout (or FrameLayout), but it is also a layer-by-layer overlay, which is added first. In layer-list, different display effects can be obtained by adding four attributes, such as the top left margin, the bottom right margin and so on, to the bottom layer after controlling.
In the example diagram above, the background of the ok button at the bottom of the Alert Dialog is implemented with layer-list. In this layer-list, the bottom layer uses a shape with a filling color of blue, the upper layer uses a shape with filling color of white, and then controls the top edge distance of the upper layer to the bottom layer of 1dp, thus visually forming a white background with a blue top edge. The specific code continues to look down.
3. Basic use examples of layer-list:
Because layer-list creates drawable resources, like shape selector, it is defined in the drawable folder in res and is also an xml file. When you use it, you use the @drawable/xxx reference in the layout file and the R.drawable.xxx x reference in the code with the shape selector.
Different layers in layer-list are defined using item nodes.
3.1 Effect 1: Single Side Line
In the figure, TextView has only one top edge. 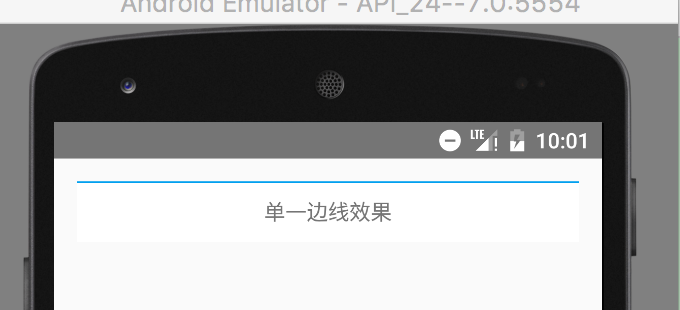
Specific code:
- Create a layer-list graph with a blue top border
Under the drawable directory in the res directory, create an XML file named singleline.xml, and then edit the layer-list details as follows:
- Using the layer-list diagram, set the background to textView
3.2 Effect 2: Bilateral Line
In the figure, TextView has upper and lower edges 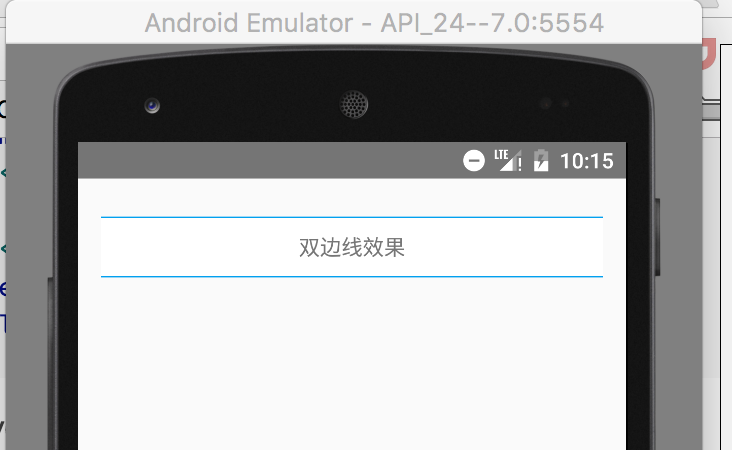
Specific code:
- Create a layer-list graph with blue top and bottom edges
- Using the layer-list diagram, set the background to textView
3.3 Effect 3: Shadows
Design sketch: 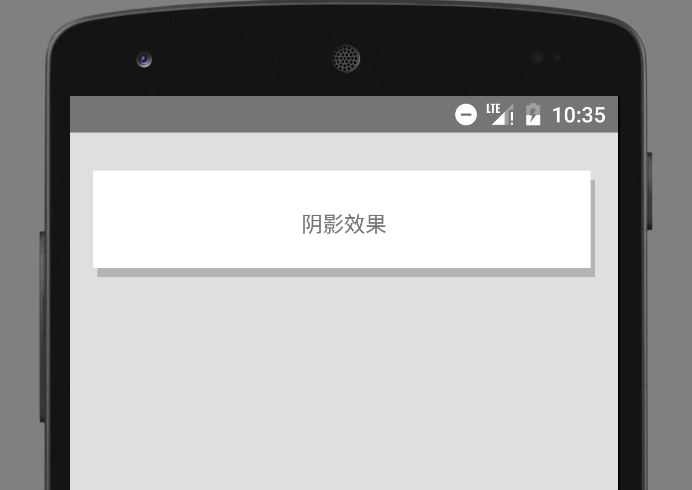
Specific code:
3.4 Effect 4: Picture Cascade
There are two kinds of effects when the images are stacked. One is the stacking after scaling, the other is the stacking without scaling. The default is the zoom effect. The specific effect and implementation code are as follows:
Figure 1: Scaling effect 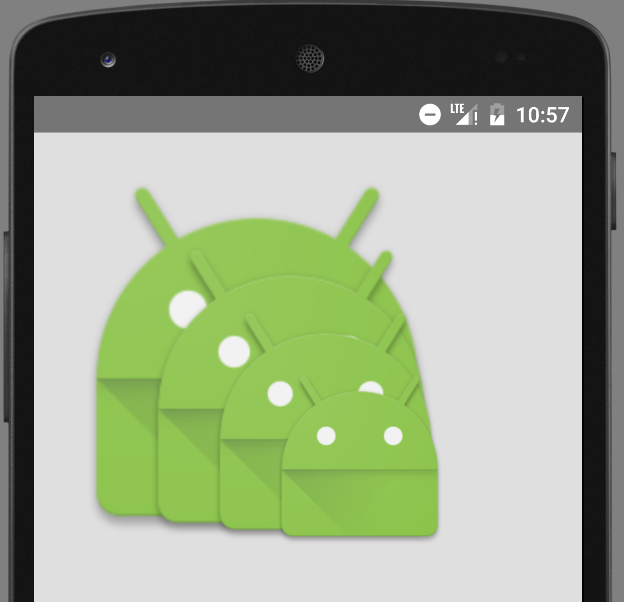
Specific code 1:
Or you can use the following code to implement the scaled overlay graph:
Figure 2: No zoom effect

Specific code 2:
3.5 Effect 5: Overlay Rotation
Design sketch: 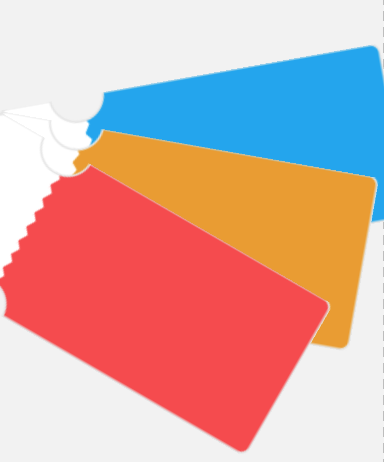
Specific code:
When rotating, only the starting angle (from degress) is needed.
4. Extended use of layer-list
4.1. Implementing the effect of selector
Major use components: RadioGroup Selector layer-list
1). Effect map: 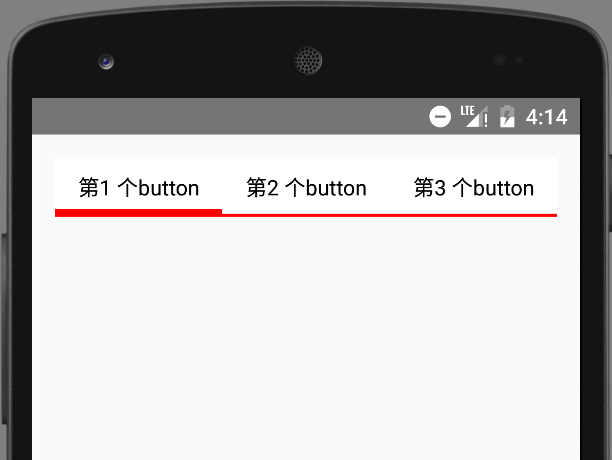
2. Specific code
Define selector selector selector
In the item node of selector, nest layer-list directly
Of course, you can also write layer-list first, and then quote it.
Be careful:
In the above code, because there is no specific shape, we can omit shape and use color directly. The simplified code is as follows:
Be careful:
In RadioGroup, the id of RadioButton is used to control the selection.
Therefore, if you need to set a RadioButton as the default selection, you must set the RadioButton id.
If the id is not set, the result is that the RadioButton will always be selected.
Posted by PRodgers4284 on Thu, 16 May 2019 12:08:33 -0700
Источник
Полный список
— изучаем drawable теги: , ,
Продолжаем разбирать типы Drawable, которые можно описывать с помощью XML-разметки. Проектов в этом уроке создавать не будем. Я просто буду в своем проекте создавать XML-файлы в папке drawable и ставить их фоном для View. А в тексте урока приведу код и скрины. Иногда буду вешать дополнительно серый фон, чтобы был виден реальный размер View.
Чтобы программно добраться до Drawable, который вы для View повесили как фон, надо просто вызвать метод getBackground.
Bitmap
Тег позволяет получить Drawable обертку для Bitmap. У тега есть несколько атрибутов.
В атрибуте src указываем нужный нам файл-изображение.
Атрибут gravity указывает, как bitmap будет располагаться внутри Drawable. Можно использовать несколько значений, разделенных знаком | . Значения тут стандартные, и некоторые из них мы часто используем при работе с layout. Рассмотрим пример.
Значение атрибута gravity сдвигает изображение влево-вверх
Далее ставим следующие значение атрибута gravity:

fill_horizontal — растянуть по горизонтали

fill — растянуть (используется по умолчанию)

Насколько я понял, значения clip_vertical и clip_horizontal идентичны значениям fill_vertical и fill_horizontal в случае когда Bitmap по размеру больше, чем предоставляемое ему пространство. Т.е. clip_vertical сожмет его по вертикали, так чтобы он влез. А clip_horizontal — по горизонтали.
Атрибут tileMode — это режим «плитки». Позволяет замостить вашим изображением все доступное пространство. По умолчанию он имеет значение disabled.
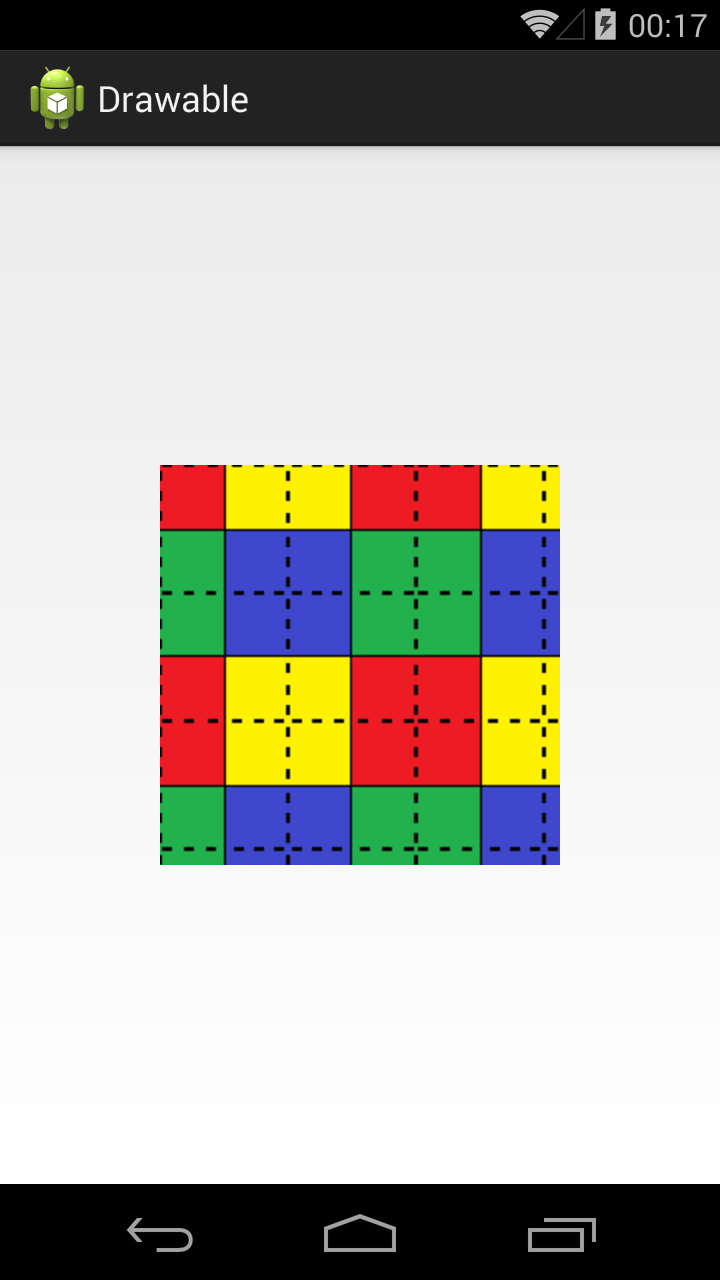
Для примера я создам такой bitmap.

Четыре разных цвета, внутренние границы — сплошные, внешние — пунктиром.
Если tileMode = repeat, то Bitmap будет размножен и займет все доступное пространство

Далее меняем значение атрибута tileMode.
mirror – Bitmap также будет размножен, но при этом он будет чередоваться со своим отражением
clamp – растягивает края картинки на все свободное пространство

Прочие атрибуты тега :
antialias – сглаживание линий
dither – преобразование цветов, если текущей палитры недостаточно для отображения
filter – фильтр при сжатии или растягивании (пример результата использования есть в Уроке 158)
mipMap – использование mip-текстурирования. Про него можно почитать в википедии. Используйте этот режим, если планируете в процессе отображения уменьшать bitmap более чем в два раза.
Мы рассмотрели XML-описание, но вы всегда можете создать этот объект и программно. Java-реализация – класс BitmapDrawable.
Layer List
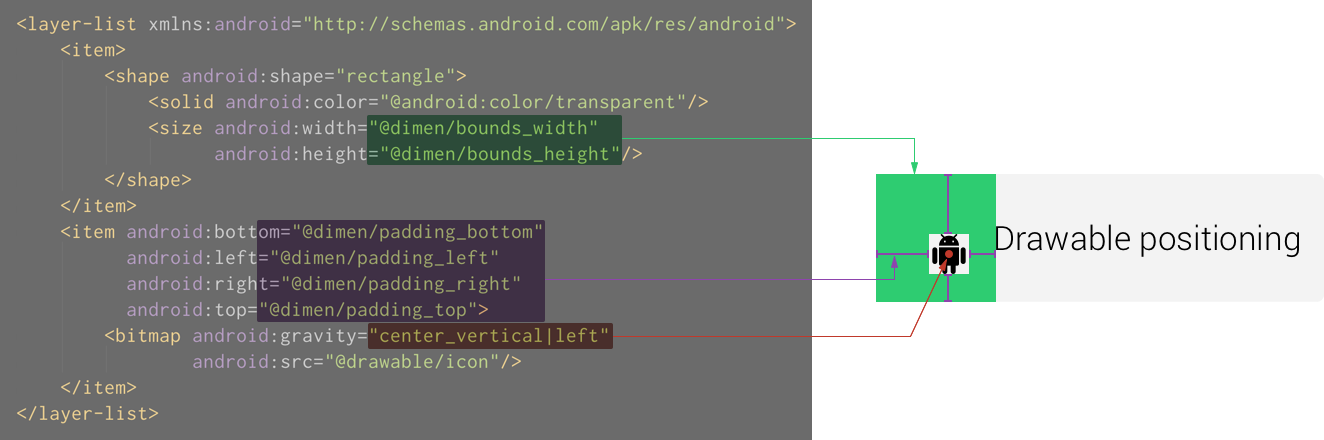
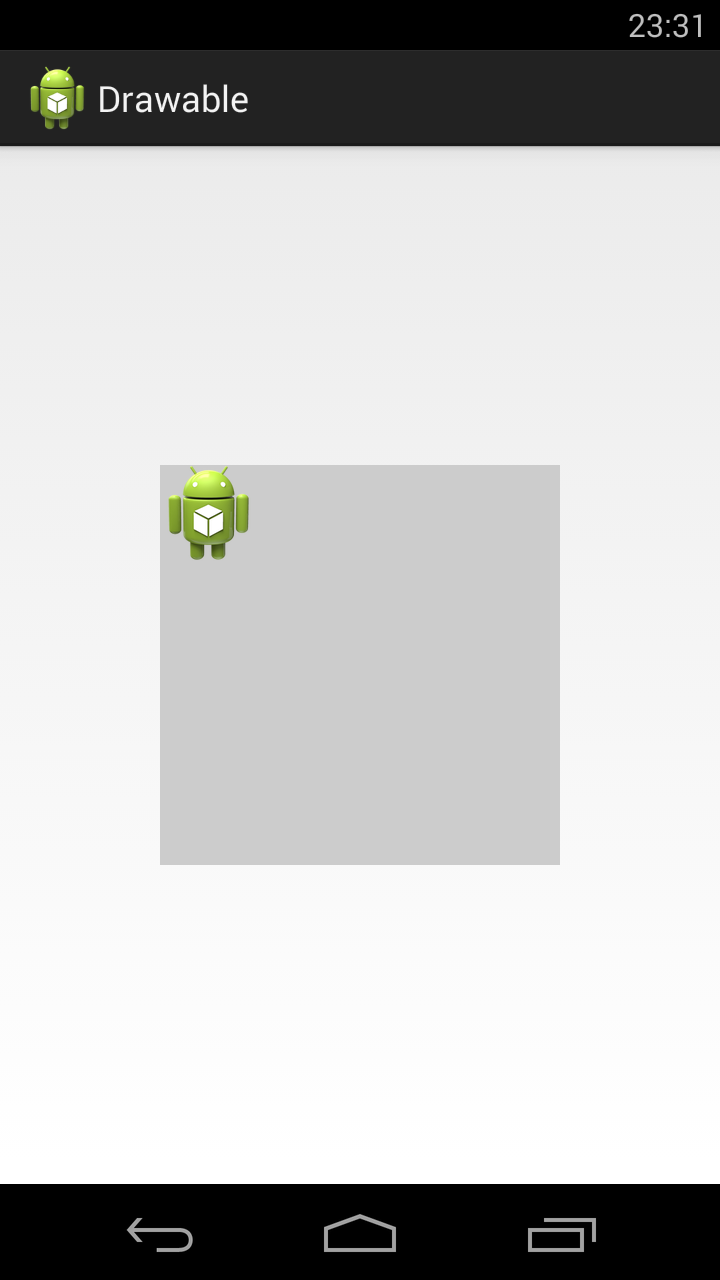
Мы можем описать Drawable, который будет состоять из нескольких Drawable-слоев. Для этого используется тег , а внутри него теги .
У нас 4 слоя. Три bitmap со стандартной иконкой и одна фигура. Атрибуты left, top, right, bottom позволяют указывать отступы. А в атрибуте id можно указать id этого Drawable-слоя.

Обратите внимание, что важен порядок тегов item. Каждый последующий слой рисуется поверх предыдущего. Например, на получившемся изображении видно, что прямоугольник проходит «над» верхней иконкой, но «под» нижней.
Мы можем в коде получать доступ к отдельным Drawable внутри LayerDrawable. Для этого сначала получаем LayerDrawable.
А затем вызываем метод findDrawableByLayerId(int id) и указываем id, который вы указывали в атрибуте id тега item. На выходе получим Drawable.
Также у LayerDrawable есть еще несколько интересных методов
getDrawable(int index) — возвращает Drawable по индексу, а не по id
getId(int index) — возвращает id по индексу
getNumberOfLayers() — возвращает кол-во Drawable-слоев
State List
Тег позволяет отображать Drawable в зависимости от состояния View. Возможные состояние View можно посмотреть в хелпе. Рассмотрим пример с двумя из них: checked и pressed. На экране будет ToogleButton. Эта кнопка переходит в состояние checked и обратно, если на нее нажимать. А во время нажатия, пока палец касается экрана, кнопка находится в состоянии pressed.
State List позволит нам использовать три разных Drawable для отображения кнопки в трех состояниях: обычное, checked, pressed. Для этого создадим три файла в папке drawable.
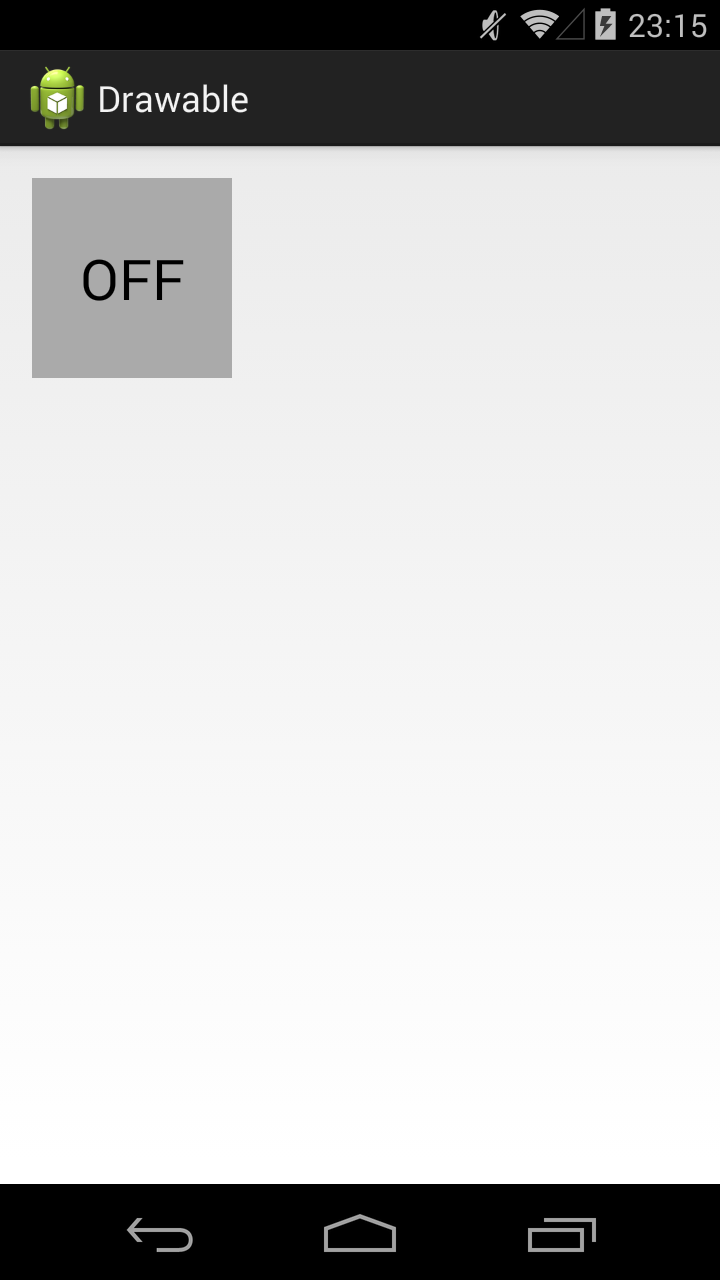
Прямоугольник темно-серого цвета. Этот Drawable будем отображать в обычном состоянии кнопки.
Прямоугольник темно-синего цвета. Этот Drawable будем отображать в нажатом состоянии кнопки.
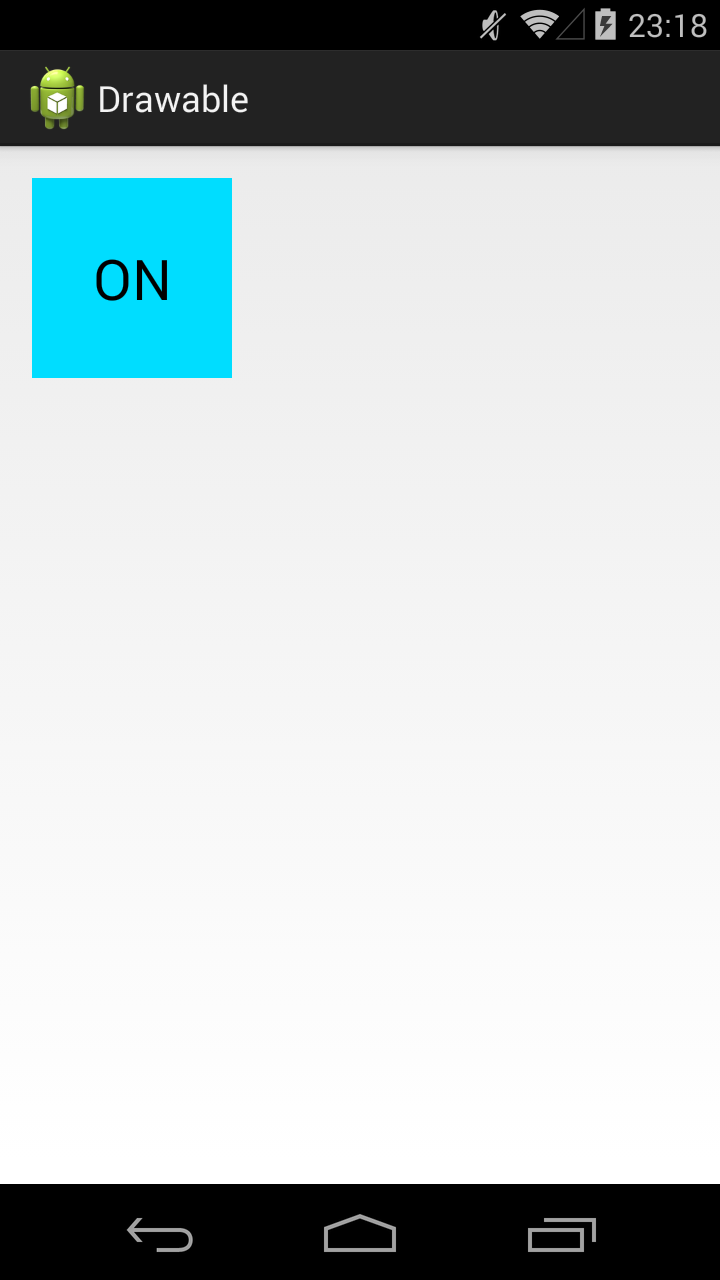
Прямоугольник светло-синего цвета. Этот Drawable будем отображать когда кнопка находится в состоянии checked.
И еще один файл, button_selector.xml:
Этот последний Drawable является селектором. В нем мы используем теги item, в которых указываем для какого состояния какой Drawable использовать
В первом item мы указали state_pressed=true, а значит этот item будет выбран системой когда кнопка будет в состоянии pressed. И экране мы увидим Drawable из этого item, т.е. toogle_button_pressed.
В втором item мы указали state_checked=true, а значит этот item будет выбран системой когда кнопка будет в состоянии checked. И экране мы увидим toogle_button_checked.
В третьем item мы не указали никакого состояния, этот item будет выбран при обычном состоянии кнопки. И экране мы увидим toogle_button.
Учтите, что здесь важен порядок расположения item внутри selector. Т.е. система идет по ним по порядку и выбирает первый подходящий. Если вы третий item, который без явного указания состояния, поставите первым, то система всегда будет останавливаться на нем.
Состояния можно комбинировать, т.е. в одном item вы можете указать несколько разных состояний.
Ставим этот Drawable, как фон для ToogleButton:
В результате, сначала видим обычное состояние
Нажимаем и держим, т.е. состояние pressed
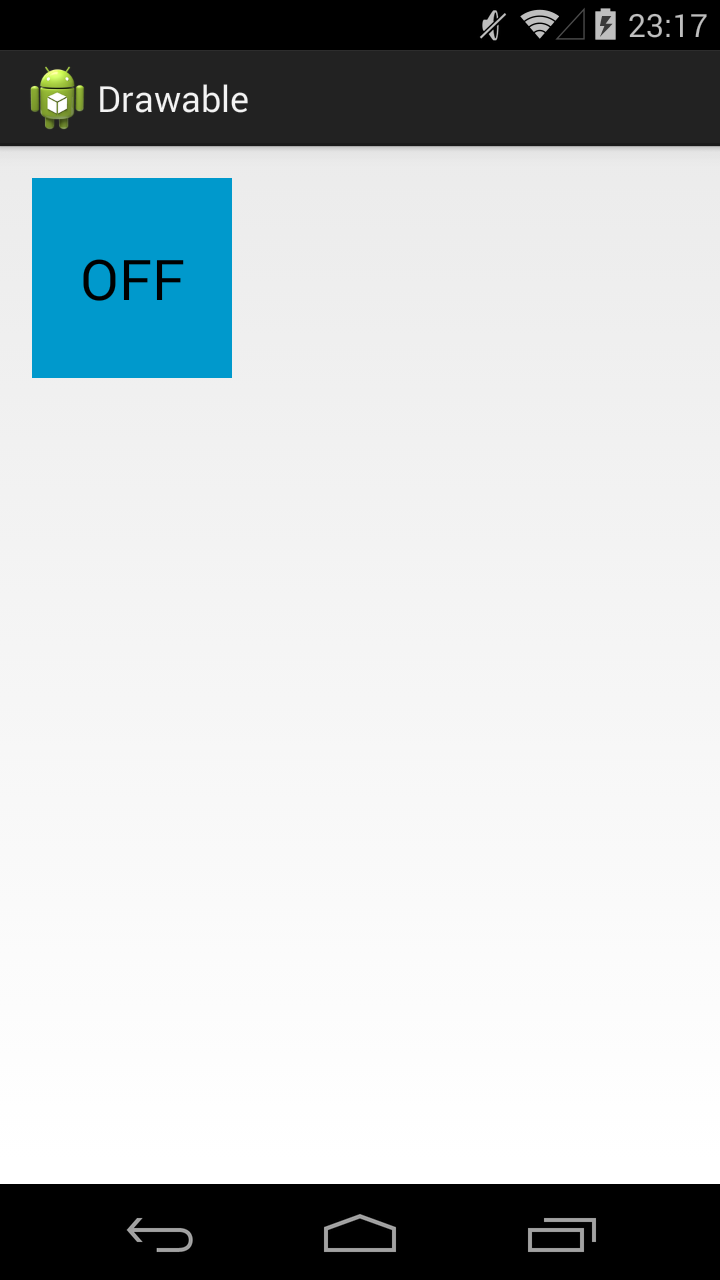
Отпускаем – включился checked
Еще раз нажмем-отпустим — выключится checked и будет снова обычное состояние. Для каждого состояния отображается свой Drawable.
У View, кстати, есть методы, которые позволяют программно управлять состоянием. Это, например: setPressed и setSelected.
Присоединяйтесь к нам в Telegram:
— в канале StartAndroid публикуются ссылки на новые статьи с сайта startandroid.ru и интересные материалы с хабра, medium.com и т.п.
— в чатах решаем возникающие вопросы и проблемы по различным темам: Android, Kotlin, RxJava, Dagger, Тестирование
— ну и если просто хочется поговорить с коллегами по разработке, то есть чат Флудильня
— новый чат Performance для обсуждения проблем производительности и для ваших пожеланий по содержанию курса по этой теме
Источник


