- Elevation & shadows
- Elevation
- Resting elevation
- Dynamic elevation offsets
- Elevation (Android) Expand and collapse content An arrow that points down when collapsed and points up when expanded.
- Resting elevation
- Responsive elevation and dynamic elevation offsets
- Avoiding elevation interference
- Делаем красивые кнопки в Android
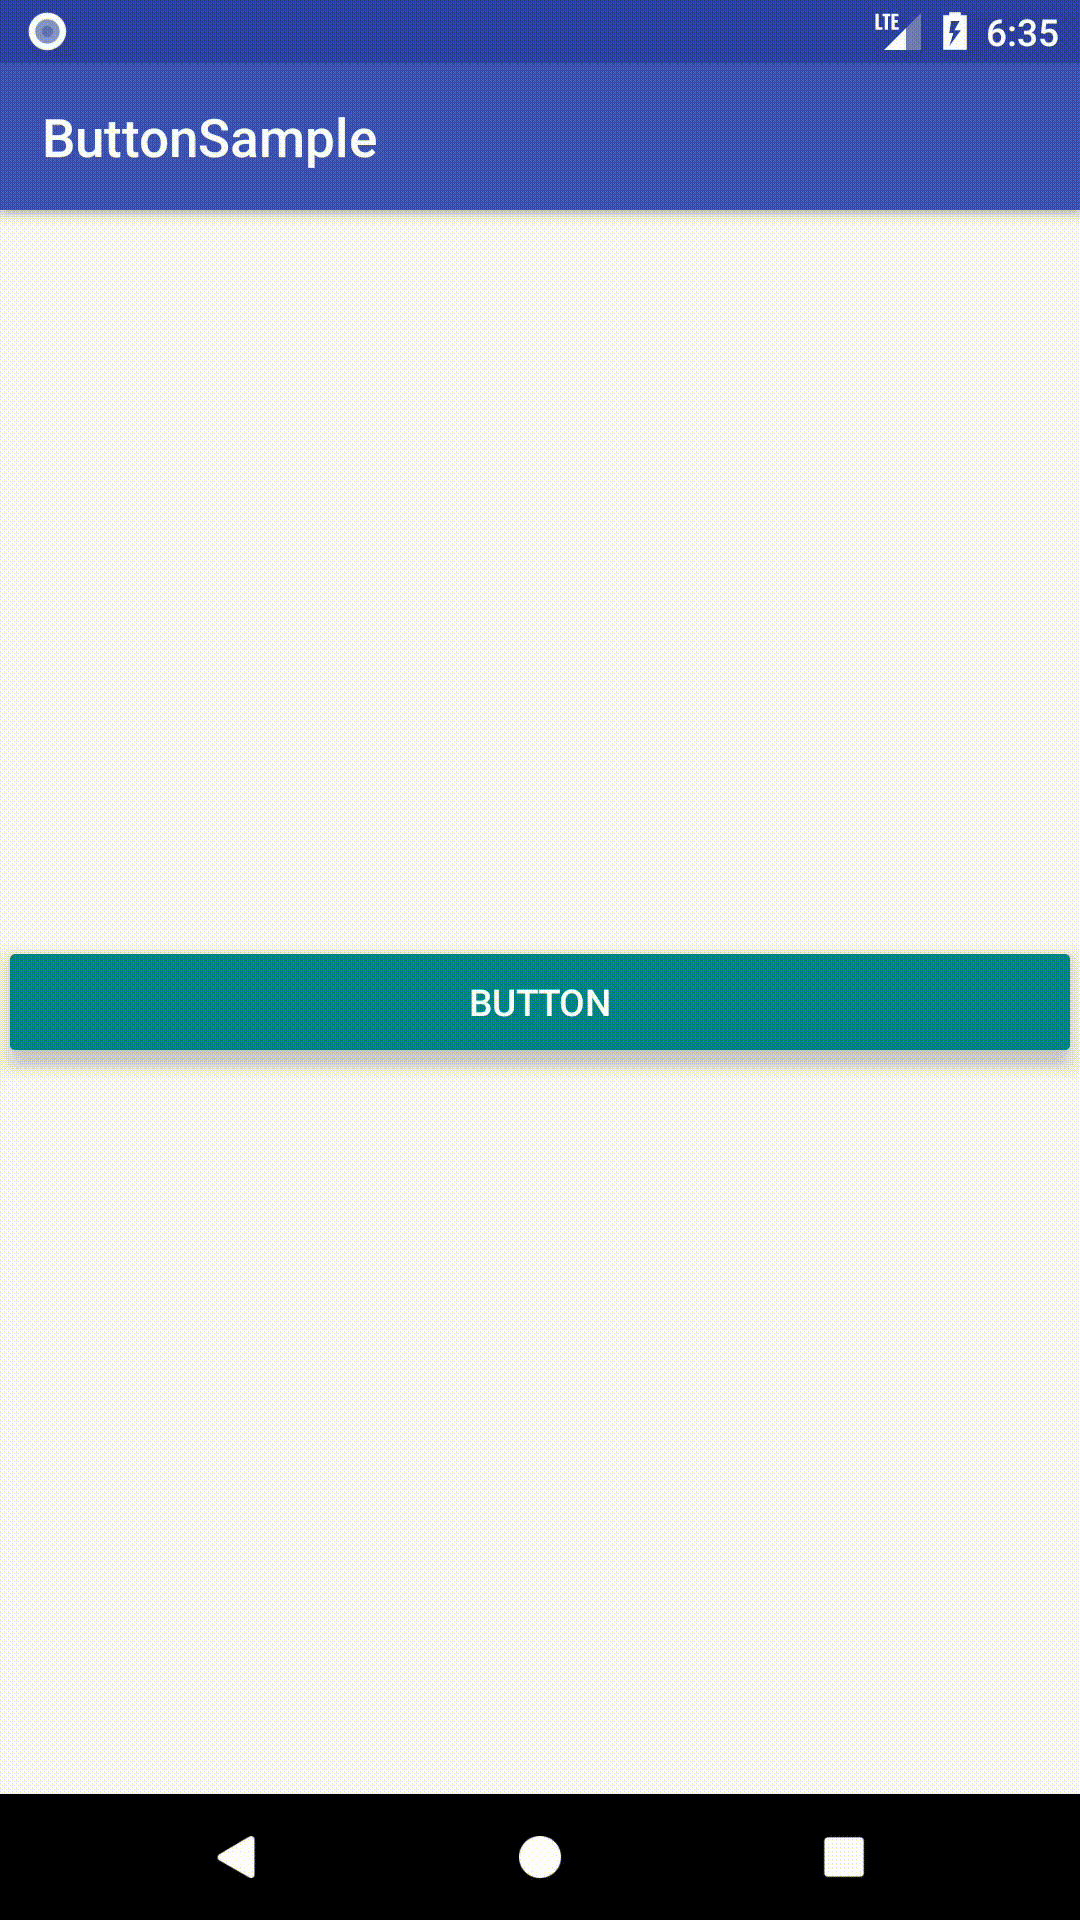
- Добавляем кнопку на разметку
- Атрибуты кнопки
- Включение и выключение кнопки
- Кнопка с Drawable
- ImageButton
- Обработка нажатий на кнопку
- Дизайн и стили кнопок
- Настройка стилей кнопок
- Кнопка с закруглёнными углами
- Высота и тень кнопки
- Настройка анимации тени
- Простая кнопка логина
- Android material button shadow
Elevation & shadows
In the physical world, objects can be stacked or affixed to one another, but cannot pass through each other. Objects also cast shadows and reflect light.
Material Design reflects these qualities to form a spatial model that is familiar to users and can be applied consistently across apps.
Elevation
Measured from the front of one surface to the front of another, an element’s elevation indicates the distance between surfaces and the depth of its shadow.
Resting elevation
All material elements have resting elevations. While components have consistent resting elevations across apps, they may have different resting elevations across platforms and devices.
Dynamic elevation offsets
Dynamic elevation offsets are the goal elevation that a component moves towards, relative to its resting state.

Elevation (Android) Expand and collapse content An arrow that points down when collapsed and points up when expanded.
Elevation is the relative depth, or distance, between two surfaces along the z-axis.
Specifications:
- Elevation is measured in the same units as the x and y axes, typically in density-independent pixels (dp). Because material elements have depth (all material is 1dp thick), elevation is measured in distance from the top of one surface to the top of another.
- A child object’s elevation is relative to the parent object’s elevation.
The images and values shown are for Android apps.

Multiple elevation measurements for two objects
Resting elevation
All material objects, regardless of size, have a resting elevation, or default elevation that does not change. If an object changes elevation, it should return to its resting elevation as soon as possible.
Desktop resting elevation is 2dp below the listed values to accommodate mouse and non-touch environments.
Component elevations:
- Components maintain consistent resting elevations across apps. For example, the floating action button’s elevation does not vary from one app to another.
- Components may have different resting elevations across platforms and devices, depending on the depth of the environment. For instance, TV has a greater depth than desktop as it has a larger screen and is viewed from further away. Similarly, both TV and desktop have a greater depth than mobile.
Responsive elevation and dynamic elevation offsets
Some component types have responsive elevation, meaning they change elevation in response to user input (e.g., normal, focused, and pressed) or system events. These elevation changes are consistently implemented using dynamic elevation offsets.
Dynamic elevation offsets are the goal elevation that a component moves towards, relative to the component’s resting state. They ensure that elevation changes are consistent across actions and component types. For example, all components that lift on press have the same elevation change relative to their resting elevation.
Once the input event is completed or cancelled, the component will return to its resting elevation.
Avoiding elevation interference
Components with responsive elevations may encounter other components as they move between their resting elevations and dynamic elevation offsets. Because material cannot pass through other material, components avoid interfering with one another any number of ways, whether on a per-component basis or using the entire app layout.
On a component level, components can move or be removed before they cause interference. For example, a floating action button (FAB) can disappear or move off-screen before a user picks up a card, or it can move if a snackbar appears.
On the layout level, design your app layout to minimize opportunities for interference. For example, position the FAB to one side of a stream of cards so the FAB won’t interfere when a user tries to pick up one of cards.
Источник
Делаем красивые кнопки в Android
Одним из важных компонентов пользовательского интерфейса в приложения является кнопка. Она используется для выполнения различных действий пользователя.
В этой статье мы приведём примеры использования и стилизации кнопки.
Добавляем кнопку на разметку
Пользовательский интерфейс приложения определён в XML-файле с разметкой. Вы можете добавить элемент Button и установить атрибуты вручную. Или вы можете, воспользовавшись инструментом дизайна, добавить Button из палитры элементов и задать атрибуты.
Атрибуты кнопки
Button является подклассом TextView и наследует атрибуты от TextView и View. Ниже приведены некоторые важные атрибуты кнопки, которые можно использовать для настройки стиля и поведения.
- background: установка в качестве фона как цвета, так и drawable
- onClick: установить метод, который будет запускаться при нажатии на кнопку
- minHeight: для определения минимальной высоты кнопки
- minWidth: для определения минимальной ширины кнопки
- stateListAnimator: определение анимации при изменении состояния кнопки
- focusable: для определения того, будет ли обработано нажатие клавиши
- clickable: указать, является ли кнопка кликабельной
- gravity: установка выравнивания текста кнопки
- textAppearance: установить стиль текста
Включение и выключение кнопки
Вы можете использовать атрибут enabled для включения или выключения кнопки, установив его в true или false. Также это можно сделать программно, вызвав метод setEnabled(), как показано ниже:
Кнопка с Drawable
Вы можете отображать на кнопке вместе с текстом изображение, используя drawableTop, drawableRight, drawableBottom или drawableLeft, в зависимости от того, где располагать картинку, как показано на скриншоте ниже.
ImageButton
Android также предоставляет ImageButton, задачей которого является использование изображения в качестве кнопки. Чтобы установить изображение, вы можете использовать атрибут src. Вы также можете использовать разные изображения, которые будут меняться в зависимости от состояния кнопки, меняя в XML drawable selector как показано ниже.
Пример XML drawable selector
Обработка нажатий на кнопку
Клики можно обрабатывать двумя способами. Первый — это установить атрибут onClick в разметке XML. Второй — назначить кнопке слушатель в коде активности или фрагмента.
Чтобы установить атрибут onClick, сначала определите метод типа void, принимающий в качестве параметра View, в активности или фрагменте и затем используйте имя этого метода как значение для атрибута onClick, как показано ниже.
Ниже приведён код обработки нажатия с помощью слушателя.
Дизайн и стили кнопок
Вы можете применять стили и темы для изменения внешнего вида кнопок. Платформа Android предоставляет заранее определённые стили. На рисунке ниже вы можете увидеть, как отображаются кнопки с различными стилями.
Пример применения темы для кнопки.
Настройка стилей кнопок
Вы можете изменить цвета по умолчанию для стилей, применяемых к кнопке, установив атрибут colorAccent на уровне приложения и атрибут colorButtonNormal на уровне виджета для нужных цветов. Атрибут colorControlHighlight используется для установки цвета кнопки, когда она находится в нажатом состоянии.
Как только вы определите собственный стиль, вы можете применить его к кнопкам с помощью атрибута theme. Ниже приведен пример пользовательской темы.
Кнопка с закруглёнными углами
Вы можете определить элемент inset, как показано ниже, чтобы создать кнопку с закруглёнными углами и сохранить файл с drawable в папке res/drawable. Вы можете увеличить или уменьшить атрибут радиуса элемента, чтобы отрегулировать радиус углов кнопки.
Затем определите стиль, задающий атрибут background для xml drawable и примените его к кнопке с помощью атрибута style.
Высота и тень кнопки
Вы можете установить атрибуты elevation и translationZ, чтобы нарисовать тень кнопки.
Настройка анимации тени
Вы можете определить различные свойства теней для разных состояний кнопки и анимировать переход путём определения селектора. Вы можете применить аниматор к кнопке, используя свойство stateListAnimator.
Обратите внимание, что stateListAnimator установлен в null в приведённом выше примере. Это было сделано для удаления аниматора по умолчанию, чтобы elevation и translationZ работали.
Чтобы настроить анимацию тени при изменении состояния кнопок, вам нужно определить селектор, как показано ниже, в папке res/animator и установить свойство stateListAnimator своей темы для определённого аниматора.
Примените следующую тему, которая использует аниматор, к кнопке с использованием атрибута style или theme.
Простая кнопка логина
Совмещая всё вышесказанное, можно создать красивую кнопку, позволяющую, например, заходить пользователям на свои аккаунты. Код разметки будет выглядеть следующим образом:
Кроме того, с помощью атрибута drawableLeft можно добавить изображение к нашей кнопке, в том числе и векторное. На старых устройствах, векторные изображения вызывают падение всего приложения, поэтому сделаем это программно в коде активности при помощи AppCompatResources:
Метод setCompoundDrawablesWithIntrinsicBounds() делает то же, что и атрибуты drawableLeft, drawableTop и так далее. В качестве параметров нужно указать, где именно будет размещаться изображение (указываем null в случае, если здесь изображение не нужно).
Источник
Android material button shadow
Buttons allow users to take actions, and make choices, with a single tap.
Contents
Before you can use Material buttons, you need to add a dependency to the Material Components for Android library. For more information, go to the Getting started page.
Note: is auto-inflated as via MaterialComponentsViewInflater when using a Theme.Material3.* theme.
Making buttons accessible
Buttons support content labeling for accessibility and are readable by most screen readers, such as TalkBack. Text rendered in buttons is automatically provided to accessibility services. Additional content labels are usually unnecessary.
For more information on content labels, go to the Android accessibility help guide.
Toggle button is an additional pattern using a segmented container or icon.
Elevated buttons are essentially outlined buttons with a shadow. To prevent shadow creep, only use them when absolutely necessary, such as when the button requires visual separation from a patterned background.
Elevated button examples
API and source code:
The following example shows an elevated button with a text label.
Adding an icon to an elevated button
The following example shows an elevated button with an icon.
Anatomy and key properties
An elevated button has a text label, a stroked container and an optional icon.
Text label attributes
| Element | Attribute | Related method(s) | Default value |
|---|---|---|---|
| Text label | android:text | setText getText | null |
| Color | android:textColor | setTextColor getTextColor | ?attr/colorOnSurface (see all states) |
| Typography | android:textAppearance | setTextAppearance | ?attr/textAppearanceLabelLarge |
| Element | Attribute | Related method(s) | Default value |
|---|---|---|---|
| Color | app:backgroundTint | setBackgroundColor setBackgroundTintList getBackgroundTintList | ?attr/colorSurface (see all states) |
| Stroke color | app:strokeColor | setStrokeColor setStrokeColorResource getStrokeColor | null |
| Stroke width | app:strokeWidth | setStrokeWidth setStrokeWidthResource getStrokeWidth | 0dp |
| Shape | app:shapeAppearance | setShapeAppearanceModel getShapeAppearanceModel | ?attr/shapeAppearanceSmallComponent |
| Elevation | app:elevation | setElevation getElevation | 1dp |
| Ripple color | app:rippleColor | setRippleColor setRippleColorResource getRippleColor | ?attr/colorOnSurface at 16% opacity (see all states) |
| Element | Attribute | Related method(s) | Default value |
|---|---|---|---|
| Icon | app:icon | setIcon setIconResource getIcon | null |
| Color | app:iconTint | setIconTint setIconTintResource getIconTint | ?attr/colorOnSurface (see all states) |
| Size | app:iconSize | setIconSize getIconSize | wrap_content |
| Gravity (position relative to text label) | app:iconGravity | setIconGravity getIconGravity | start |
| Padding (space between icon and text label) | app:iconPadding | setIconPadding getIconPadding | 8dp |
| Element | Style |
|---|---|
| Default style | Widget.Material3.Button.ElevatedButton |
| Icon style | Widget.Material3.Button.ElevatedButton.Icon |
See the full list of styles and attrs.
Filled button’s contrasting surface color makes it the most prominent button after the FAB. It’s used for final or unblocking actions in a flow.
Note The filled button is the default style if the style is not set.
Filled button examples
API and source code:
The following example shows a filled button with a text label and a filled container.
Note: Since this is the default type, you don’t need to specify a style tag as long as you are using a Material Components Theme. If not, set the style to @style/Widget.Material3.Button .
Adding an icon to a filled button
The following example shows a filled button with an icon.
Anatomy and key properties
A filled button has a text label, a filled container and an optional icon.
Text label attributes
| Element | Attribute | Related method(s) | Default value |
|---|---|---|---|
| Text label | android:text | setText getText | null |
| Color | android:textColor | setTextColor getTextColor | ?attr/colorOnPrimary (see all states) |
| Typography | android:textAppearance | setTextAppearance | ?attr/textAppearanceLabelLarge |
| Element | Attribute | Related method(s) | Default value |
|---|---|---|---|
| Color | app:backgroundTint | setBackgroundColor setBackgroundTintList getBackgroundTintList | ?attr/colorPrimary (see all states) |
| Stroke color | app:strokeColor | setStrokeColor setStrokeColorResource getStrokeColor | null |
| Stroke width | app:strokeWidth | setStrokeWidth setStrokeWidthResource getStrokeWidth | 0dp |
| Shape | app:shapeAppearance | setShapeAppearanceModel getShapeAppearanceModel | ?attr/shapeAppearanceSmallComponent |
| Elevation | app:elevation | setElevation getElevation | 2dp |
| Ripple color | app:rippleColor | setRippleColor setRippleColorResource getRippleColor | ?attr/colorOnPrimary at 16% opacity (see all states) |
| Element | Attribute | Related method(s) | Default value |
|---|---|---|---|
| Icon | app:icon | setIcon setIconResource getIcon | null |
| Color | app:iconTint | setIconTint setIconTintResource getIconTint | ?attr/colorOnPrimary (see all states) |
| Size | app:iconSize | setIconSize getIconSize | wrap_content |
| Gravity (position relative to text label) | app:iconGravity | setIconGravity getIconGravity | start |
| Padding (space between icon and text label) | app:iconPadding | setIconPadding getIconPadding | 8dp |
| Element | Style |
|---|---|
| Default style | Widget.Material3.Button |
| Icon style | Widget.Material3.Button.Icon |
| Unelevated style | Widget.Material3.Button.UnelevatedButton |
| Unelevated icon style | Widget.Material3.Button.UnelevatedButton.Icon |
Default style theme attribute: ?attr/materialButtonStyle
See the full list of styles and attrs.
Filled tonal button
Filled tonal buttons have a lighter background color and darker label color, making them less visually prominent than a regular filled button. They’re still used for final or unblocking actions in a flow, but may be better when these actions don’t require quite so much emphasis.
Filled tonal button examples
API and source code:
The following example shows a filled tonal button with a text label and a filled container.
Adding an icon to a filled tonal button
The following example shows a filled tonal button with an icon.
Anatomy and key properties
A filled tonal button has a text label, a filled container and an optional icon.
Text label attributes
| Element | Attribute | Related method(s) | Default value |
|---|---|---|---|
| Text label | android:text | setText getText | null |
| Color | android:textColor | setTextColor getTextColor | ?attr/colorOnSecondaryContainer (see all states) |
| Typography | android:textAppearance | setTextAppearance | ?attr/textAppearanceLabelLarge |
| Element | Attribute | Related method(s) | Default value |
|---|---|---|---|
| Color | app:backgroundTint | setBackgroundColor setBackgroundTintList getBackgroundTintList | ?attr/colorSecondaryContainer (see all states) |
| Stroke color | app:strokeColor | setStrokeColor setStrokeColorResource getStrokeColor | null |
| Stroke width | app:strokeWidth | setStrokeWidth setStrokeWidthResource getStrokeWidth | 0dp |
| Shape | app:shapeAppearance | setShapeAppearanceModel getShapeAppearanceModel | ?attr/shapeAppearanceSmallComponent |
| Elevation | app:elevation | setElevation getElevation | 2dp |
| Ripple color | app:rippleColor | setRippleColor setRippleColorResource getRippleColor | ?attr/colorOnSecondaryContainer at 16% opacity (see all states) |
| Element | Attribute | Related method(s) | Default value |
|---|---|---|---|
| Icon | app:icon | setIcon setIconResource getIcon | null |
| Color | app:iconTint | setIconTint setIconTintResource getIconTint | ?attr/colorOnSecondaryContainer (see all states) |
| Size | app:iconSize | setIconSize getIconSize | wrap_content |
| Gravity (position relative to text label) | app:iconGravity | setIconGravity getIconGravity | start |
| Padding (space between icon and text label) | app:iconPadding | setIconPadding getIconPadding | 8dp |
| Element | Style |
|---|---|
| Default style | Widget.Material3.Button.TonalButton |
| Icon style | Widget.Material3.Button.TonalButton.Icon |
See the full list of styles and attrs.
Outlined buttons are for actions that need attention but aren’t the primary action, such as “See all” or “Add to cart.” This is also the button used to give someone the opportunity to change their mind or escape a flow.
Outlined button examples
API and source code:
The following example shows an outlined button with a text label and stroked container.
Adding an icon to an outlined button
The following example shows an outlined button with an icon.
Anatomy and key properties
An outlined button has a text label, a stroked container and an optional icon.
Text label attributes
| Element | Attribute | Related method(s) | Default value |
|---|---|---|---|
| Text label | android:text | setText getText | null |
| Color | android:textColor | setTextColor getTextColor | ?attr/colorOnSurface (see all states) |
| Typography | android:textAppearance | setTextAppearance | ?attr/textAppearanceLabelLarge |
| Element | Attribute | Related method(s) | Default value |
|---|---|---|---|
| Color | app:backgroundTint | setBackgroundColor setBackgroundTintList getBackgroundTintList | @android:color/transparent (see all states) |
| Stroke color | app:strokeColor | setStrokeColor setStrokeColorResource getStrokeColor | ?attr/colorOnSurface at 12% opacity (see all states) |
| Stroke width | app:strokeWidth | setStrokeWidth setStrokeWidthResource getStrokeWidth | 1dp |
| Shape | app:shapeAppearance | setShapeAppearanceModel getShapeAppearanceModel | ?attr/shapeAppearanceSmallComponent |
| Elevation | app:elevation | setElevation getElevation | 0dp |
| Ripple color | app:rippleColor | setRippleColor setRippleColorResource getRippleColor | ?attr/colorOnSurface at 16% opacity (see all states) |
| Element | Attribute | Related method(s) | Default value |
|---|---|---|---|
| Icon | app:icon | setIcon setIconResource getIcon | null |
| Color | app:iconTint | setIconTint setIconTintResource getIconTint | ?attr/colorOnSurface (see all states) |
| Size | app:iconSize | setIconSize getIconSize | wrap_content |
| Gravity (position relative to text label) | app:iconGravity | setIconGravity getIconGravity | start |
| Padding (space between icon and text label) | app:iconPadding | setIconPadding getIconPadding | 8dp |
| Element | Style |
|---|---|
| Default style | Widget.Material3.Button.OutlinedButton |
| Icon style | Widget.Material3.Button.OutlinedButton.Icon |
Default style theme attribute: ?attr/materialButtonOutlinedStyle
See the full list of styles and attrs.
Text buttons have less visual prominence, so should be used for low emphasis actions, such as when presenting multiple options.
Text button examples
API and source code:
The following example shows a text button with a text label.
Adding an icon to a text button
The following example shows a text button with an icon.
Anatomy and key properties
A text button has a text label, a transparent container and an optional icon.
Text label attributes
| Element | Attribute | Related method(s) | Default value |
|---|---|---|---|
| Text label | android:text | setText getText | null |
| Color | android:textColor | setTextColor getTextColor | ?attr/colorOnSurface (see all states) |
| Typography | android:textAppearance | setTextAppearance | ?attr/textAppearanceLabelLarge |
| Element | Attribute | Related method(s) | Default value |
|---|---|---|---|
| Color | app:backgroundTint | setBackgroundColor setBackgroundTintList getBackgroundTintList | @android:color/transparent (see all states) |
| Stroke color | app:strokeColor | setStrokeColor setStrokeColorResource getStrokeColor | null |
| Stroke width | app:strokeWidth | setStrokeWidth setStrokeWidthResource getStrokeWidth | 0dp |
| Shape | app:shapeAppearance | setShapeAppearanceModel getShapeAppearanceModel | ?attr/shapeAppearanceSmallComponent |
| Elevation | app:elevation | setElevation getElevation | 0dp |
| Ripple color | app:rippleColor | setRippleColor setRippleColorResource getRippleColor | ?attr/colorOnSurface at 16% opacity (see all states) |
| Element | Attribute | Related method(s) | Default value |
|---|---|---|---|
| Icon | app:icon | setIcon setIconResource getIcon | null |
| Color | app:iconTint | setIconTint setIconTintResource getIconTint | ?attr/colorOnSurface (see all states) |
| Size | app:iconSize | setIconSize getIconSize | wrap_content |
| Gravity (position relative to text label) | app:iconGravity | setIconGravity getIconGravity | start |
| Padding (space between icon and text label) | app:iconPadding | setIconPadding getIconPadding | 8dp |
| Element | Style |
|---|---|
| Default style | Widget.Material3.Button.TextButton |
| Icon style | Widget.Material3.Button.TextButton.Icon |
| Full Width Buttons | Widget.Material3.Button.TextButton.Dialog.FullWidth |
Default style theme attribute: ?attr/borderlessButtonStyle
See the full list of styles and attrs.
Toggle buttons can be used to select from a group of choices.
There are two types of toggle buttons:
To emphasize groups of related toggle buttons, a group should share a common container.
Toggle button examples
API and source code:
The following example shows a toggle button with three buttons that have text labels.
Implementing an icon-only toggle button
The following example shows a toggle button with three buttons that have icons.
Anatomy and key properties
A toggle button has a shared stroked container, icons and/or text labels.
| Element | Attribute | Related method(s) | Default value |
|---|---|---|---|
| Single selection | app:singleSelection | setSingleSelection isSingleSelection | false |
| Selection required | app:selectionRequired | setSelectionRequired isSelectionRequired | false |
| Element | Style |
|---|---|
| Default style | Widget.Material3.MaterialButtonToggleGroup |
Default style theme attribute: ?attr/materialButtonToggleGroupStyle
See the full list of styles and attrs.
Icons can be used as toggle buttons when they allow selection, or deselection, of a single choice, such as marking an item as a favorite.
API and source code:
Note The CheckBox API is just one of several inputs that can implement the icon button. See other selection controls for more details.
The following example shows an icon that can be used independently or in items of a RecyclerView .
Buttons support Material Theming and can be customized in terms of color, typography and shape.
Button theming example
API and source code:
The following example shows text, outlined and filled button types with Material Theming.
Implementing button theming
Use theme attributes and styles in res/values/styles.xml to add the theme to all buttons. This affects other components:
Use default style theme attributes, styles and theme overlays. This adds the theme to all buttons but does not affect other components:
Use one of the styles in the layout. That will affect only this button:
Источник


