- Using lists and grids in Android with RecyclerView — Tutorial
- 1. Android and list or grids
- 1.1. Using lists or grids in Android
- 1.2. Using RecyclerView
- 1.3. Adapters
- 1.4. Gradle dependency to use recycler view
- 1.5. Default layout manager
- 1.6. Relevant implementation classes to use RecyclerView
- 1.7. Handling click events in recycler view
- 1.8. Layouts in recycler view
- 1.9. Custom animations
- 1.10. Filtering and sorting
- 1.11. Data updates in the adapter
- 1.12. Swipe support for RecyclerView
- 2. Exercise: Using RecyclerView in a new Android application
- 2.1. Create project and add the Gradle dependency
- 2.2. Create layout files
- Part 4: Android RecyclerView: Grid
- Diep Nguyen
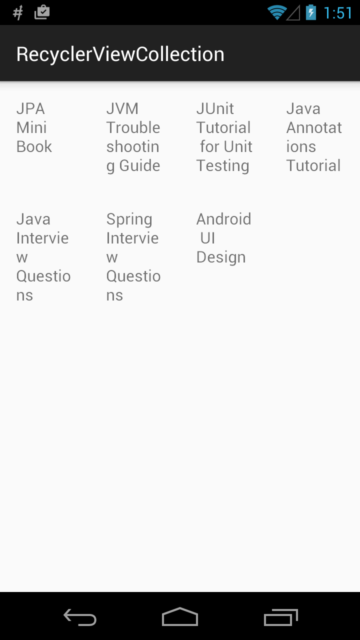
- RecyclerView: Grid
- Main Layout
- Item Layout
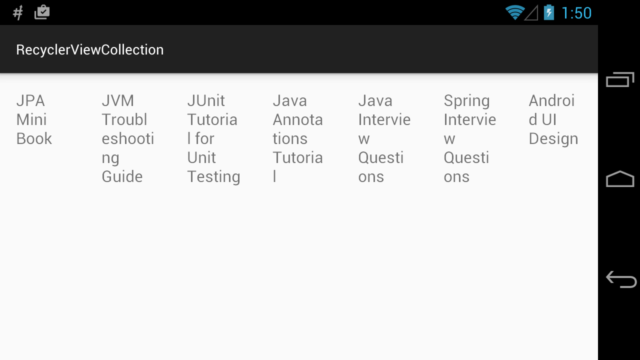
- Auto-Column Span
- Sign up for more like this.
- The Journey of A System
- Can’t run app on device when it installed from debug apk file
- Transforming a weird WordPress instance into a Ghost one
- RecyclerView using GridLayoutManager in Android With Example
- How to use RecyclerView as GridView?
- Difference Between RecyclerView and GridView
- Example of GridLayoutManager in RecyclerView
- Step by Step Implementation
Using lists and grids in Android with RecyclerView — Tutorial
This tutorial describes how to use the RecyclerView widget in Android applications.
1. Android and list or grids
1.1. Using lists or grids in Android
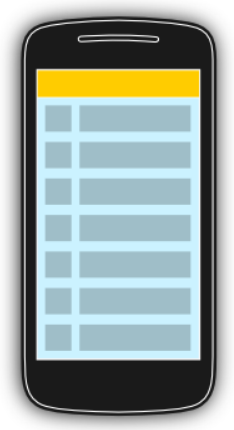
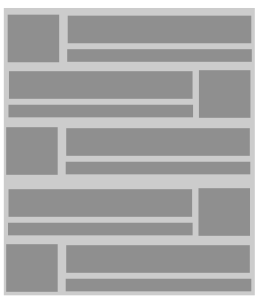
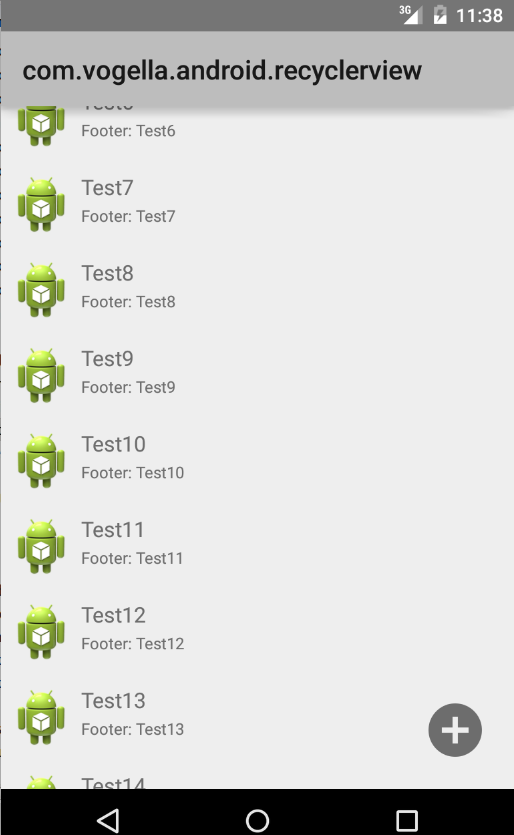
The display of elements in a list or grids is a very common pattern in mobile applications. The user sees a collection of items and can scroll through them. The collection of items can be a list, a grid or another structured representations of data. Such an activity is depicted in the following picture.
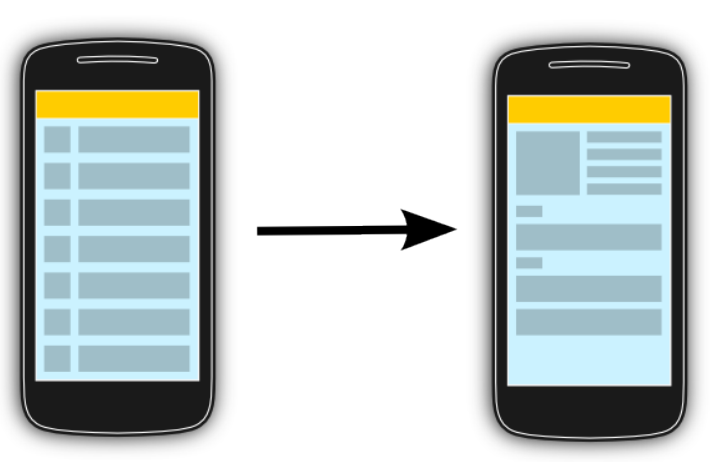
The user interacts with the collection of items via touch events or the toolbar. Individual items can be selected. This selection may update the toolbar or may trigger a detailed screen based on the selection. The following graphic sketches that.
1.2. Using RecyclerView
The RecyclerView class supports the display of a collection of data.
It is a modernized version of the ListView and the GridView classes provided by the Android framework. Recycler view addresses several issues that the existing widgets have. It enforced a programming style that results in good performance. It also comes with default animations for removing and adding elements.
RecyclerView allow to use different layout managers for positioning items.
Recycler view uses a ViewHolder to store references to the views for one entry in the recycler view. A ViewHolder class is a static inner class in your adapter which holds references to the relevant views. With these references your code can avoid the time-consuming findViewById() method to update the widgets with new data.
1.3. Adapters
An adapter manages the data model and adapts it to the individual entries in the widget. It extends the RecyclerView.Adapter class and is assigned to the recycler view via the RecyclerView.setAdapter method. The input to the adapter of an recycler view can be any arbitrary Java objects. Based on this input the adapter must return the total number of items via its getItemCount() method.
The adapter prepares the layout of the items by inflating the correct layout for the individual data elements. This work is done in the onCreateViewHolder method. It returns an object of type ViewHolder per visual entry in the recycler view.
This instance is used to access the views in the inflated layout. The onCreateViewHolder method is only called then a new view must be created.
Every visible entry in a recycler view is filled with the correct data model item by the adapter. Once a data item becomes visible, the adapter assigns this data to the individual widgets which he inflated earlier. This work in done in the onBindViewHolder method.
For example, an entry in a list may have an image on the left side and two text lines in the middle as depicted in the following graphic.

A layout file for a such a line might look like the following.
1.4. Gradle dependency to use recycler view
The RecyclerView widget is delivered as library and can be used as of API 7 level or higher. Add the a dependency to the latest version of this library to your Gradle build file to use it.
1.5. Default layout manager
The layout manager decides how the data in the RecyclerView is displayed. The recycler view library provides the following build-in layout managers.
LinearLayoutManager shows items in a vertical or horizontal scrolling list.
GridLayoutManager shows items in a grid.
StaggeredGridLayoutManager shows items in a staggered grid.
1.6. Relevant implementation classes to use RecyclerView
The implementation of RecyclerView requires a few classes to be implemented. The most important classes are listed in the following table
| Class | Purpose | Optional |
|---|---|---|


om/content/images/2015/11/TheGrid.png)