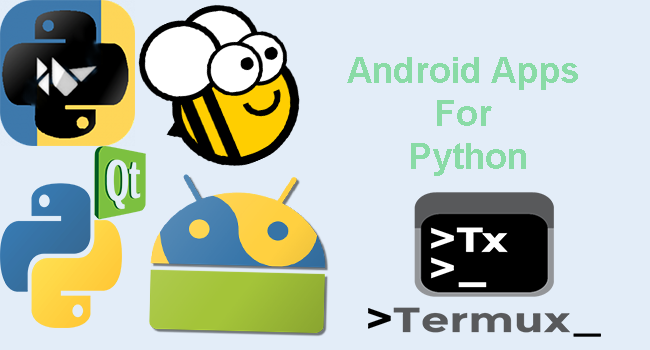
- Tools to run Python on Android
- 1. BeeWare
- 2. Chaquopy
- 3. Kivy
- 4. Pyqtdeploy
- 5. QPython
- 6. SL4A
- 7. PySide
- 8.Termux
- Полноценное Python приложение на Android
- isortViewer
- Как это делалось
- Run Python On Android – How To Run Python Programs On Android
- QPython3 – A Brief Introduction
- Overview
- Features
- Supported Program Types
- Run Python On Android Tutorial – Getting Started With QPython3 App
- Download QPython3 From Play Store
- Open The App
- Console
- Editor
- Programs
- QPYPI
- Course And Community
- Run Python On Android – How To Do That ?
- On Console
- On Editor
Tools to run Python on Android

Jun 14, 2018 · 6 min read
Python has proven itself as a highly capable language — approachable for newcomers, but powerful in the hands of experts. Why shouldn’t you be able to use Python everywhere that you need to tell a computer to do something? And shouldn’t your tools exploit all the capabilities of Python as a language, not just the bits that map nicely to a C binding?
Modern computing doesn’t happen in an 80×25 console window. It happens on phones, tablets, and desktop machines with rich user interfaces. Shouldn’t you be able to use Python in all those locations, and exploit the unique capabilities of those platforms?
End users shouldn’t have to care what language their tools are written in. And that starts with looking and behaving like completely native tools. Native appearance, native behavior, delivered in the way a native app is delivered. Why shouldn’t your Python tools fit in just as well as a native tool?
There are several ways to use Python on Android.
1. BeeWare
BeeWare is a collection of tools for building native user interfaces
This is what BeeWare provides. Tools to help you write Python code with a rich, native user interface; and the libraries and support code necessary to get that code running on iOS, Android, macOS, Linux, Windows, tvOS, and more.
The Open Source development process has proven itself to be the most reliable way to develop robust and reliable software. That’s why the entire BeeWare suite of tools are BSD licensed, and available for all to use and modify.
2. Chaquopy
Chaquopy is a plugin for Android Studio’s Gradle-based build system.

Chaquopy enables you to freely intermix Java and Python in your app, using whichever language is best for your needs:
- With the Python API , you can write an app partly or entirely in Python. The complete Android API and user interface toolkit are directly at your disposal.
Chaquopy works within Android’s standard build system:
- If you use Android Studio, you can start using Chaquopy in 5 minutes with no change to your existing development process.
- Download and installation are automated via Gradle.
- Try out the demo app for Python 2 or Python 3.
- Browse example source code on GitHub.
- Or view the documentation.
3. Kivy
Kivy is a cross-platform OpenGL-based user interface toolkit.

You can run Kivy applications on Android, on (more or less) any device with OpenGL ES 2.0 (Android 2.2 minimum). This is standard on modern devices; Google reports the requirement is met by 99.9% of devices.
Kivy APKs are normal Android apps that you can distribute like any other, including on stores like the Play store. They behave properly when paused or restarted, may utilise Android services and have access to most of the normal java API as described below.
Follow the instructions below to learn how to package your app for Android, debug your code on the device, and use Android APIs such as for vibration and reading sensors.
The Kivy project provides all the necessary tools to package your app on Android, including building your own standalone APK that may be distributed on a market like the Play store. This is covered fully in the Create a package for Android documentation.
Using Android APIs
Although Kivy is a Python framework, the Kivy project maintains tools to easily use the normal java APIs, for everything from vibration to sensors to sending messages through SMS or email.
For new users, we recommend using Plyer. For more advanced access or for APIs not currently wrapped, you can use Pyjnius directly. Kivy also supplies an android module for basic Android functionality.
User contributed Android code and examples are available on the Kivy wiki.
4. Pyqtdeploy
P yqtdeploy is a tool for deploying PyQt applications. It supports deployment to desktop platforms (Linux, Windows and OS X) and to mobile platforms (iOS and Android).
pyqtdeploy works by taking the individual modules of a PyQt application, freezing them, and then placing them in a Qt resource file that is converted to C++ code by Qt’s rcc tool. Python’s standard library is handled in the same way.
pyqtdeploy also generates a Qt .pro file that describes all the generated C++ code. From this Qt’s qmake tool is used to generate a platform-specific Makefile which will then generate a single executable. Further Qt and/or platform specific tools can then be used to convert the executable to a platform specific deployable package.
pyqtdeploy requires PyQt5 and Python v3.2 or later to be installed.
PyQt4 and PyQt5 applications written using Python v2.6 and later and Python v3.3 and later are supported.
pyqtdeploy is released under the BSD license.
5. QPython
QPython is an on-device script engine and development environment.
In most cases, script can get your jobs done as good as the native application. Now you can make it with QPython’s help.
QPython is a script engine which runs Python programs on android devices. It also can help developers develop android applications.
QPython includes a complete development kit which help you to develop programs with mobile provides regular Python console
6. SL4A
SL4A (Scripting Layer for Android), originally named ASE (Android Scripting Environment), is a set of “facades” which expose a greatly-simplified subset of the Android API.
SL4A brings scripting languages to Android by allowing you to edit and execute scripts and interactive interpreters directly on the Android device. These scripts have access to many of the APIs available to full-fledged Android applications, but with a greatly simplified interface that makes it easy to get things done.
Scripts can be run interactively in a terminal and in the background. Python, Perl, JRuby, Lua, BeanShell, JavaScript, Tcl, and shell are currently supported, and we’re planning to add more. See the SL4A Video Help playlist on YouTube for various demonstrations of SL4A’s features.
SL4A is designed for developers and is alpha quality software.
7. PySide
PySide (the Python binding for the Qt toolkit) has some preliminary support for Android.

The PySide project provides LGPL-licensed Python bindings for the Qt 4. It also includes complete toolchain for rapidly generating bindings for any Qt-based C++ class hierarchies. PySide Qt bindings allow both free open source and proprietary software development and ultimately aim to support Qt platforms.
8.Termux
Termux is an Android terminal emulator and Linux environment app that works directly with no rooting or setup required. A minimal base system is installed automatically — additional packages are available using the APT package manager.
Источник
Полноценное Python приложение на Android

В этой статье я хотел бы рассказать о том, как создать полноценное приложение на Python для Android. Нет, это не очередной мануал для создания скрипта для sl4a, это мануал по созданию полноценного приложения с UI, возможностью собрать apk и выложить на Android Market. Заодно я хотел бы похвалиться своим первым приложением на google.play, это не hello world, а полезное приложение для фотографов, хотя и узко специализированное.
Начну рассказ пожалуй с самого приложения и завершу рассказам о том как оно делалось.
isortViewer
Мне как фотографу приходится тратить много времени на сортировку и отбор фотографий. Не всегда хочется сидеть за рабочим компьютером, когда под рукой есть ноутбук, смартфон или планшет, но копировать туда десятки гигабайт raw или jpeg файлов, а потом синхронизировать с рабочим компьютером — сомнительное удовольствие. Именно поэтому я создал программы isortManager и isortViewer, которые значительно облегчили мне работу по сортировке и отбору фотографий. Теперь заниматься отбором и сортировкой фотографий я могу лежа на пляже диване или скучая в пробке 🙂
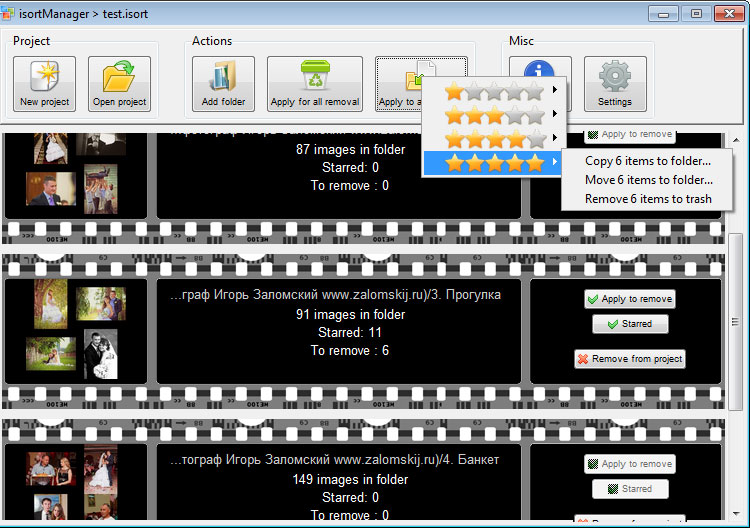
Копипаст описания и пара скриншотов:
isortViewer — программа для фотографов, которая позволяет легко и быстрой отбирать и сортировать тысячи фотографий (raw или jpg) с фотосессий на ваших android смартфонах и планшетах. При этом, нет необходимости копировать десятки гигабайт jpg или raw файлов на устройство. Просто воспользуйтесь бесплатной программой isortManager для компьютера, которая сохранит все в один небольшой файл проекта:
1. Скачайте и запустите isortManager с официального сайта;
2. Создайте проект и добавьте папки с фотографиями. Поддерживаются форматы: jpg и raw (cr2, nef, orf и т.д.). В итоге у вас получится небольшой файл проекта (примерно 150 мб на несколько тысяч фотографий, будь то jpg или raw формат);
3. Скопируйте на ваше android устройство файл проекта, откройте в isortViewer. Вы можете помечать фотографии «на удаление», а так же, ставить рейтинги от 1 до 5 звезд;
4. После этого, скопируйте файл проекта обратно и примените изменения в isortManager. Кроме удаления выбранных фотографий, вы можете копировать или перемещать отмеченные фотографии. Например, фотографии с «5 звезд» можно скопировать в папку «шедевры», а «1 звезда» переместить в папку «хлам».
Приложение абсолютно бесплатно и доступно на google.play, однако донейты приветствуются.
Исходники доступны на официальном сайте!
Как это делалось
Так как python лучший язык программирования в мире кроме python я ничего не знаю, решено было написать приложение на python.
isortManager
С isortManager для PC проблем не возникло, создание GUI сборки под windows уже давно обкатано и работает он очень просто: с помощью dcraw выдирает jpg превьюшки из raw файлов, ресайзит из с помощью PIL и складывает в один файл с достаточно простой структурой. Был изобретен свой весолипед с контейнером для хранения фотографий и метаданных (полный путь к фотографии, отметка «на удаление» и отметка рейтинга), так как, например, zip или tar формат, не могут изменять один файл в архиве (метаданные), требую перепаковки всех файлов. Файлы просто пишутся один за другим подряд и в блоке метаданных (обычный repr питоновского словаря) в конце сохраняется смещения начала файлов, плюс в конце файла пишется размер блока метаданных. GUI написано на Tkinter (люблю я его за быстроту написания и за малый размер итоговой сборки), вот собственно скриншот:
И да, все это работает и на linux, и даже быстрее чем на windows )
isortViewer для android
Всего я нашел два способа заставить python приложение работать как полноценное приложение на android, это pygame for android и проект kivy.
Pygame — более низкоуровневый, все UI пришлось бы рисовать вручную, что отняло бы много времени, поэтому был выбран фреймворк kivy. Итак:
Это замечательный фрейморк для написания приложение для windows, linux, MacOS, android и iOS. Поддерживается мультитач, UI рисутется через OpenGL, значит должно работать аппаратное ускорение. Увидеть работу виджетов можно установив демонстрационное приложение Kivy Showcase. Есть возможность использования некоторых платформо специфичных функций, например, вибро или акселерометр, с помощью модуля android.
Для разработки я бы рекомендовал использовать linux, тем более, apk собираются именно в этой OS.
Hello World выглядит так:
Причем этот код будет работать на всех заявленных платформах. Пропадает необходимость в тестировании приложения в эмуляторе. Достаточно запустить скрипт на исполнение в своей любимой IDE и увидеть результат на экране компьютера, без задержек на компиляцию, запуск эмулятора и пр. Если вы все же хотите увидеть как это будет выглядеть непосредственно на устройстве, просто установите Kivy Launcher, скопируйте файлы проекта на карту памяти и запустите. Дебажить при этом можно при помощи adb logcat.
Если вы используете библиотеку android, которой нет на PC, но хочется запускать приложение не только на android, воспользуйте такой конструкцией:
Сборка apk достаточно проста и описана на этой странице. После сборки релиза, достаточно подписать свое приложение (я использовал этот мануал) и выложить в google play.
Плюсы kivy:
- Быстрая разработка под различные платформы, практически без доработки кода.
- Доступен широкий выбор виджетов
- Высокая скорость работы. Весь ресурсоемкий вынесен в С модули. Сам интерпретатор python на android работает нативно.
- Фремворк включает в себя множество инструментов, например анимация, кеширование и пр.
- upd: Доступ к камере, буферу обмена, микрофону. Написать свой видеоплеер можно буквально за 20 строк.
Минусы kivy:
- Большой размер apk файла. Проект с 300 кб ресурсов (скрипты, графика) собирается в 7 мб apk. Хотя, думаю, есть возможность это как то оптимизировать.
- Невозможность (пока), восстанавливать работу после сворачивания — приложение закрывается
В следующей своей статье, я расскажу более подробно о процессе написания приложения «с нуля», расжевывая каждую строчку кода.
Хотелось бы сразу пресечь холивары на тему «для android только java, python не нужен». Я считаю, не важно, какие технологии «под капотом», главное чтоб приложение было качественным.
Сфера применения kivy может быть огромной. Сейчас на моем счету несколько приложений, написанных под заказ, где python с фремворком kivy показал себя с хорошей стороны. Например, ровно за один час, было написано приложение, для сети сервисных центров. Приложение работает в режиме киоска и установлено на дешевые китайские планшеты, которые висят в холле. Клиент набирает номер заказа, далее по WiFi планшет соединяется с сервером и сообщает статус заказа.
Источник
Run Python On Android – How To Run Python Programs On Android
Hey Python Learners, are you ready for learning python but have no PC then don’t worry, you came at right place. Here is a best solution for you if you can’t afford a PC. So welcome to the new post Run Python On Android. As we know python is growing very fastly and many applications are creating with python. The python applications can’t only run on the operating systems like Mac, Windows, Linux etc but they can also run on android OS like android phones or tablets. Many android applications are available to run the python scripts on android devices.
In modern computing you can’t do computing only on an 80×25 console window but you can also do that on phones, tablets, and desktop machines with rich user interfaces. Many android apps like QPython3, Kivy, BeeWare, pyqtdeploy etc are available to run python scripts. So if have you have not any computer then don’t worry these apps are very worthy for you. You can implement all your programming logics on these devices as you do them on PCs.
 Run Python On Android
As there are many apps that run python codes but if you are planning to run your python scripts then QPython3 will be a best option for you. And in this tutorial i will explain QPython3 rather than others. So first of all we will see about QPython3 and then how to run python codes on this. So stay tuned till end of this tutorial.
QPython3 – A Brief Introduction
Overview
- It is a most popular IDE to run python on android devices.
- QPython is a script engine which runs Python programs on android devices.
- You can run python3 applications on QPython3.
- It contains a compiler, interpreter and a console.
- Apart from basic python libraries it also have Bottle library that is helpful for developing web applications.
- This app was released on 29 August 2016 and last updated on 25 February 2018.
- It is offered by QPythonLab.
- Currently it has been downloaded 500,000+ times.
 Run Python On Android
Features
- Run Python3 applications including script and projects on Android device.
- Execute Python3 Code & File From QRCode.
- Support SL4A Programming, can access android’s feature, like network, bluetooth, location.
- Support Python3 console
- Support QEdit which allow you edit Python code.
- Support FTP server, which can let you transfer the Python3 project from your PC to mobile easily.
Supported Program Types
Currently, QPython3 can run the following types of applications –
- Console applications
- WebApp applications
- Backend applications
- Graphic Interface-based applications, and so on.
Run Python On Android Tutorial – Getting Started With QPython3 App
So now we will learn how to run python programs on QPython3 android app. So we will go through step-by-step.
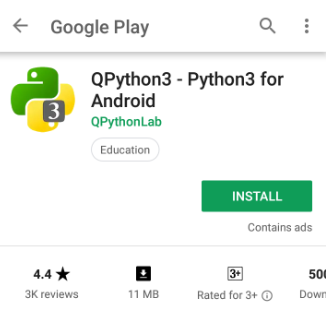
Download QPython3 From Play Store
First of all you have to download this app from play store. This is link for downloading QPython3.
 Run Python On Android
When you will go to playstore then this screen will be appear. And now press the install button and download the app.
Open The App
After installing, we will open the app and the interface of this app will be as follows –
 Run Python On Android
Now on the interface you are seeing some options like console, editor, programs, QPYPI, Course and community. You might be thinking that what they are, so now i am explaining them one-by-one.
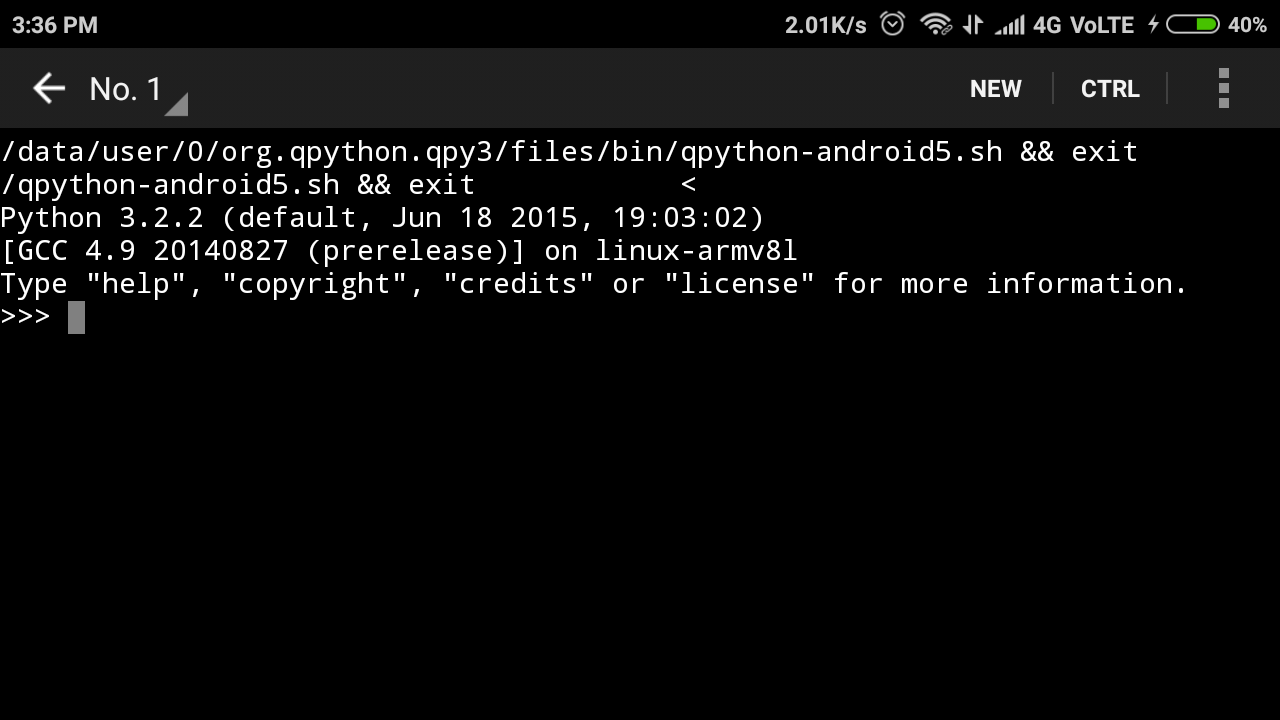
Console
- So the console is a place in python where your code is run.
- It simply means a place where your code run immediately when you click enter.
- The interface of console look like as below image.
 Run Python On Android
You can type your program here and run immediately. I will show you an example how this works later.
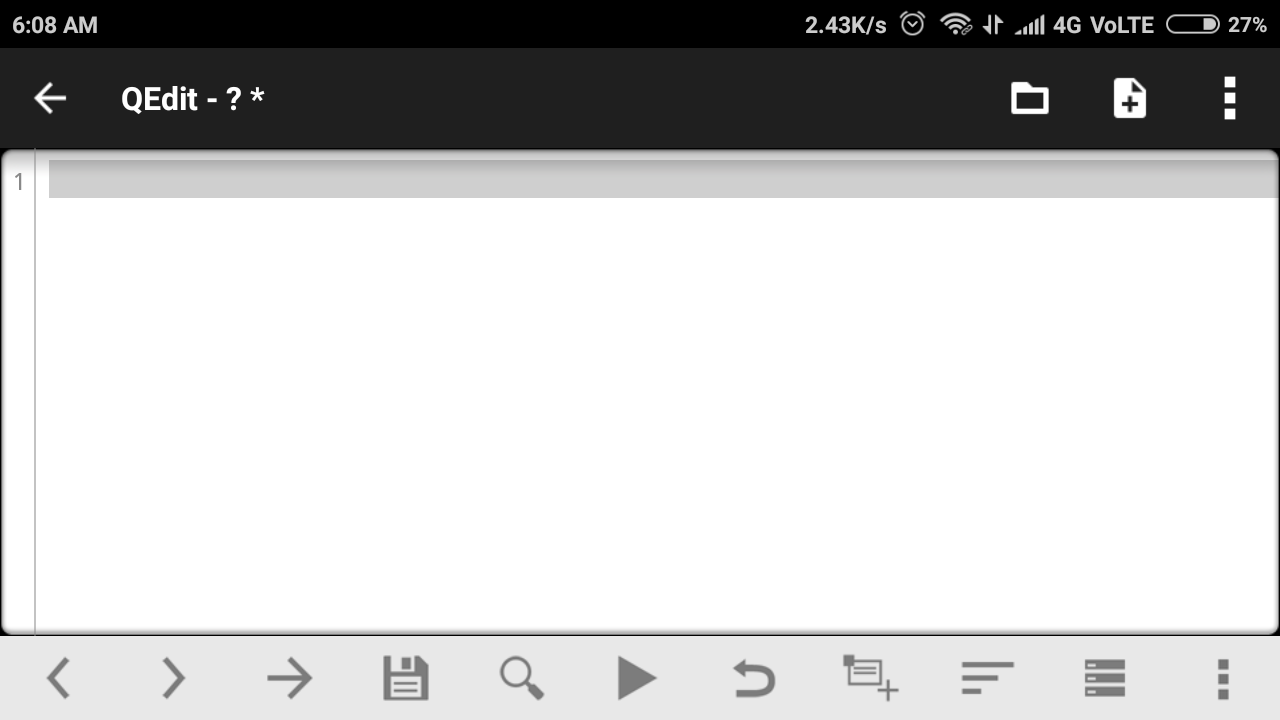
Editor
- Editor is a place where you write code or lines of codes or instructions.
- So the interface of editor is like this –

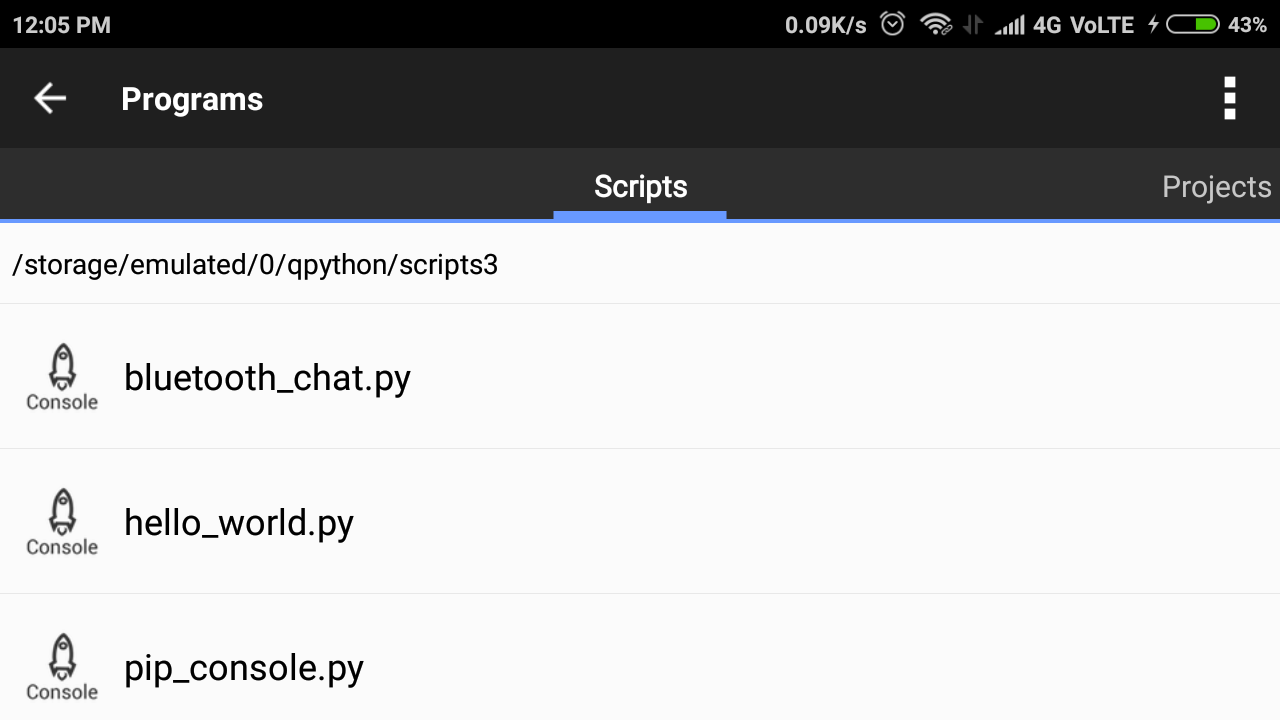
Programs
- Programs is the place where built-in programs are stored.
- Programs have two part one is Scripts and another is Projects.
Scripts
Here exists some sample programs for eg. like that-
If you open any one program for eg. bluetooth_chat.py then this will be as follows –

Let’s open and run the program hello_world.py and see what happens.

Hey, it’s running successfully.
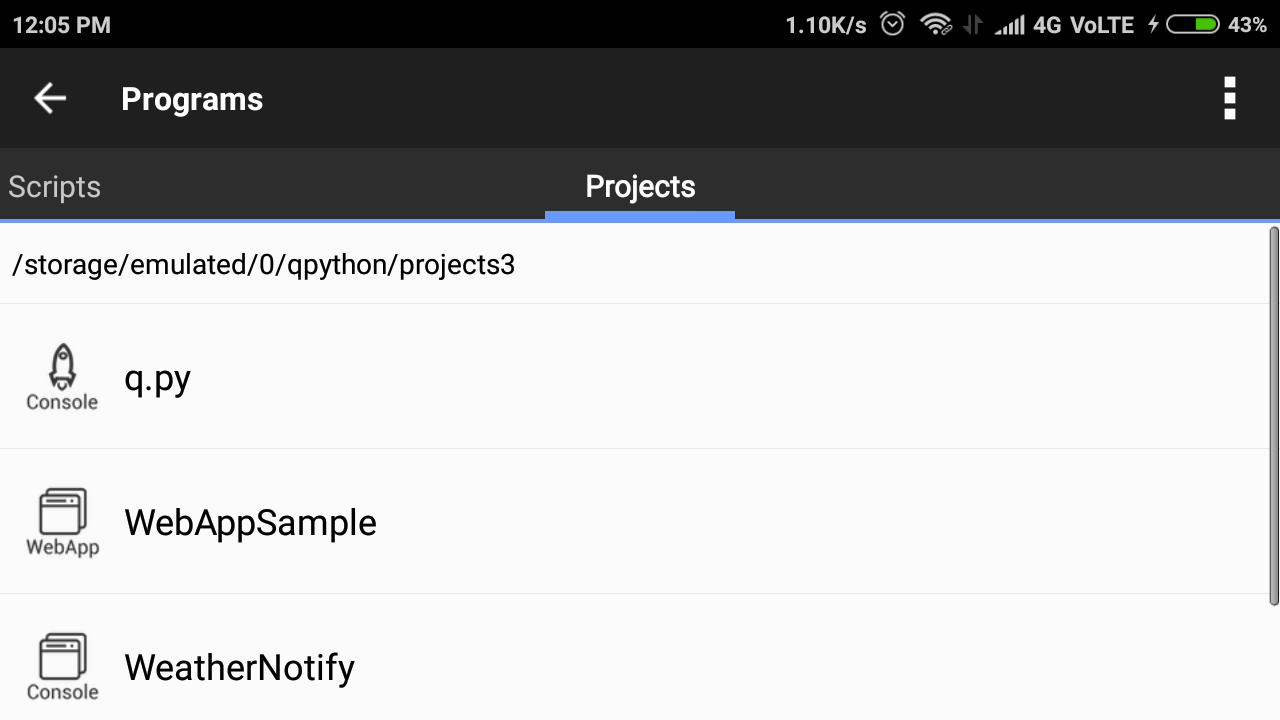
Projects
- Some sample projects are stored here like below.
QPYPI
- It contains libraries.
- You can install libraries either from the way Install with QPypi or Install with official pypi.
Install With QPypi
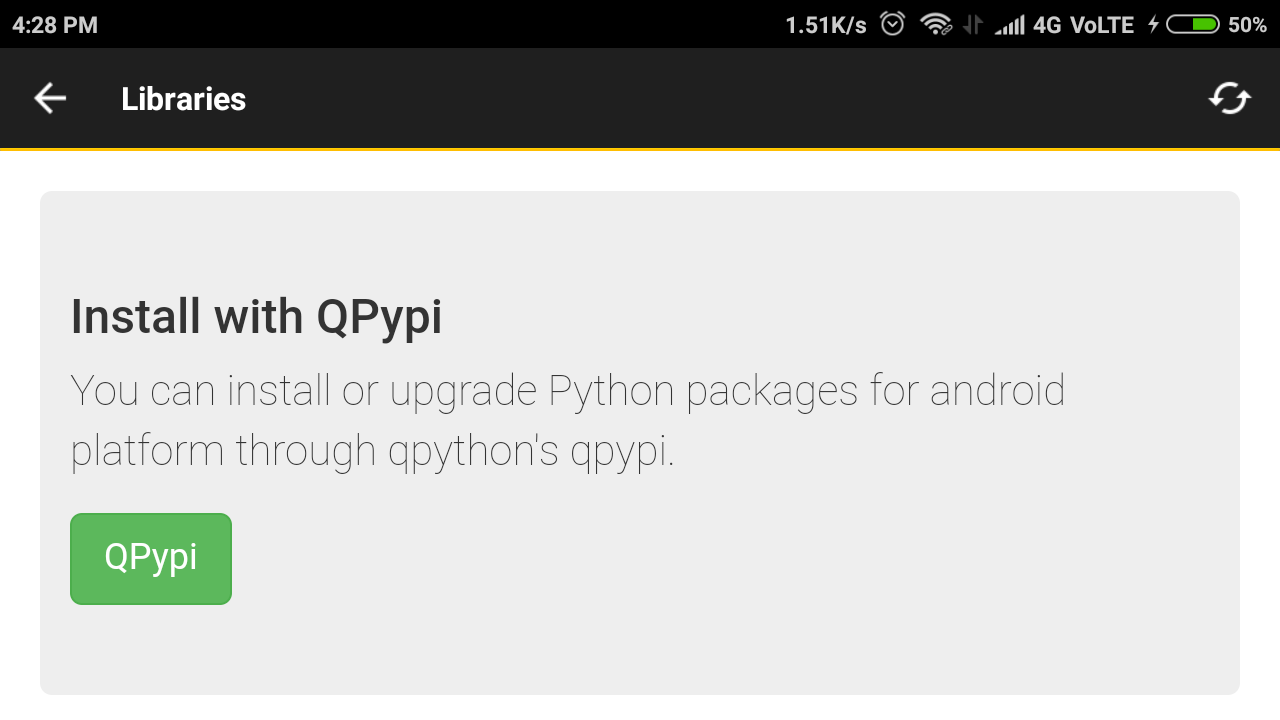
On opening this below screen will appear.
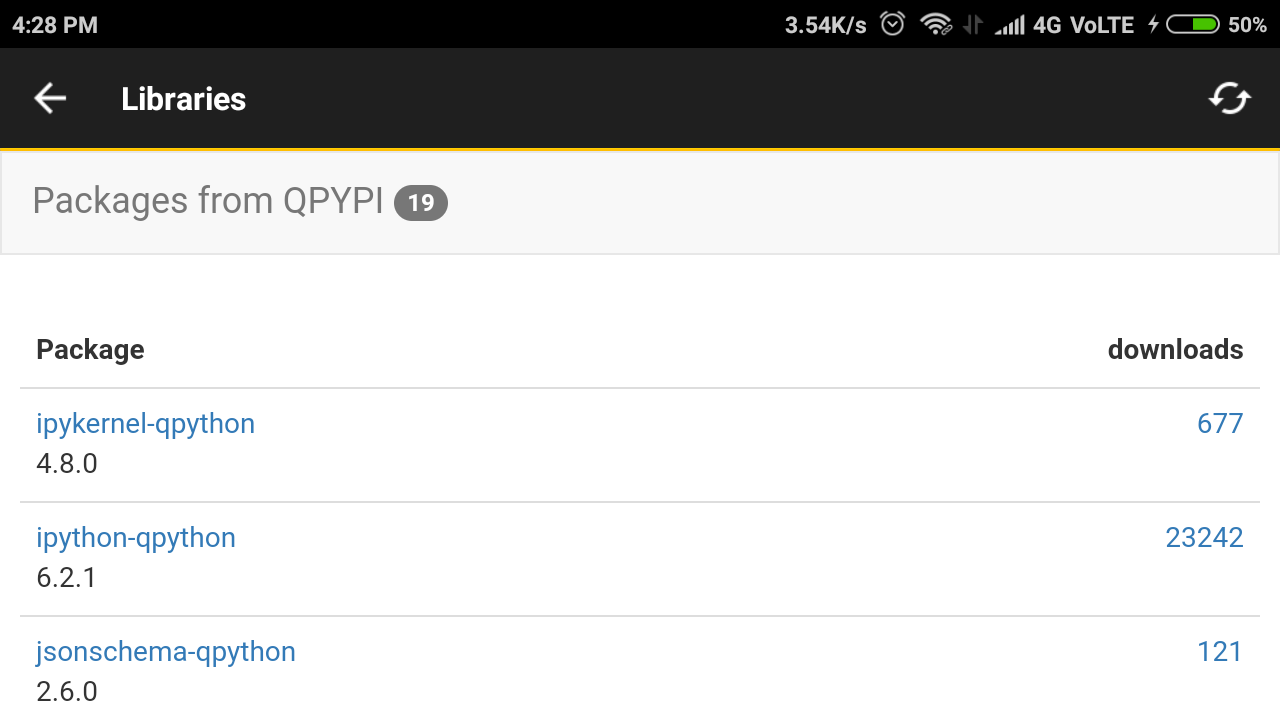
You can install these libraries as your requirements.
Install With Official Pypi
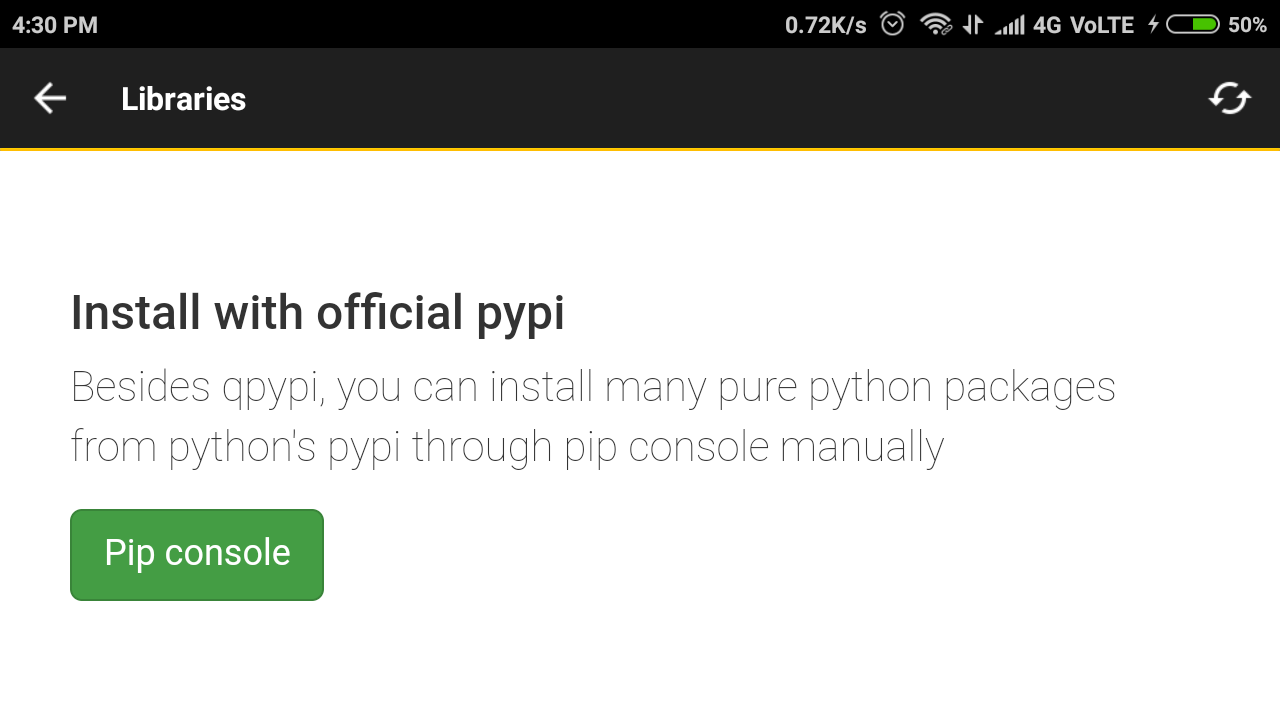
On opening this below screen will appear.
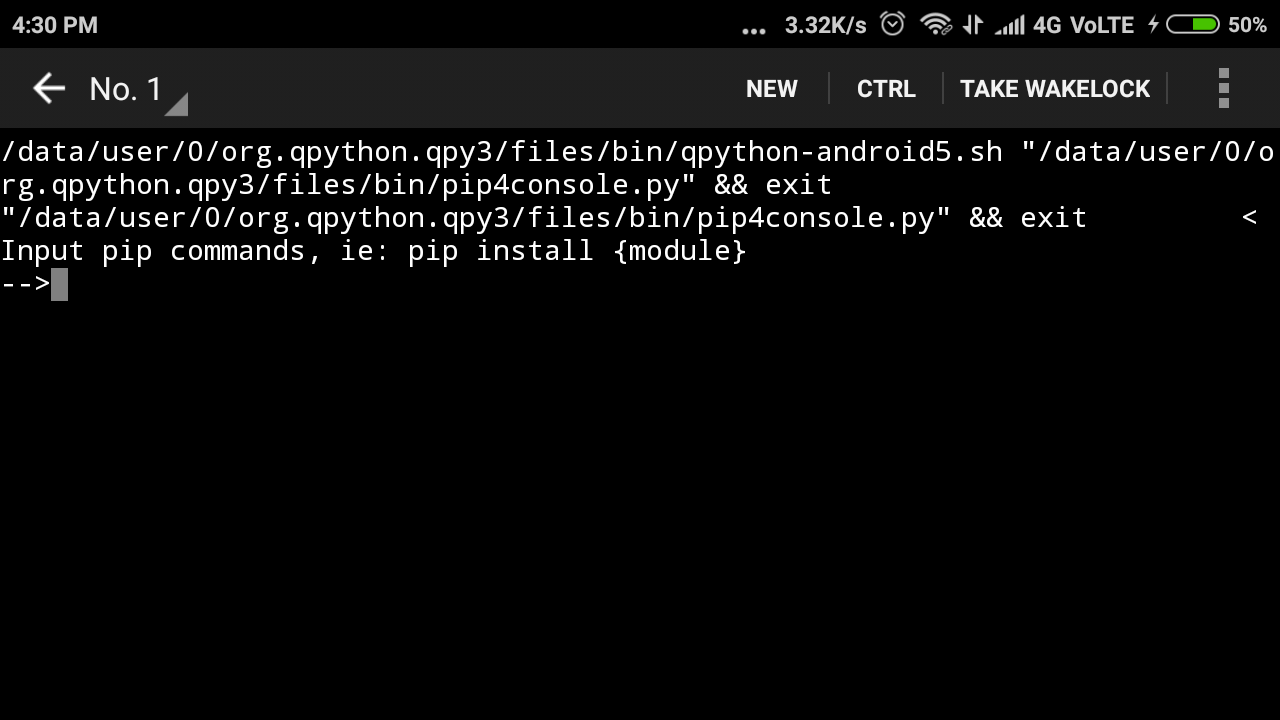
Here you can pip install your modules.
Course And Community
- Course is a place where you will find all the python related courses.
- You can connect with people in community and can also ask many questions like usage and programming of QPython3.
Till now we have seen information and interface of QPython3 and now we will learn how to run python programs on android.
Run Python On Android – How To Do That ?
Here i am discussing both way of running python program on QPython3.
On Console
- Open the console on QPython3 app.
- Here i am just taking an example that is addition of two numbers.
- On console you have not required to save file or other things, you have to just write only codes and as you click enter, it immediately process the output.
- So now we will see what’s the result.
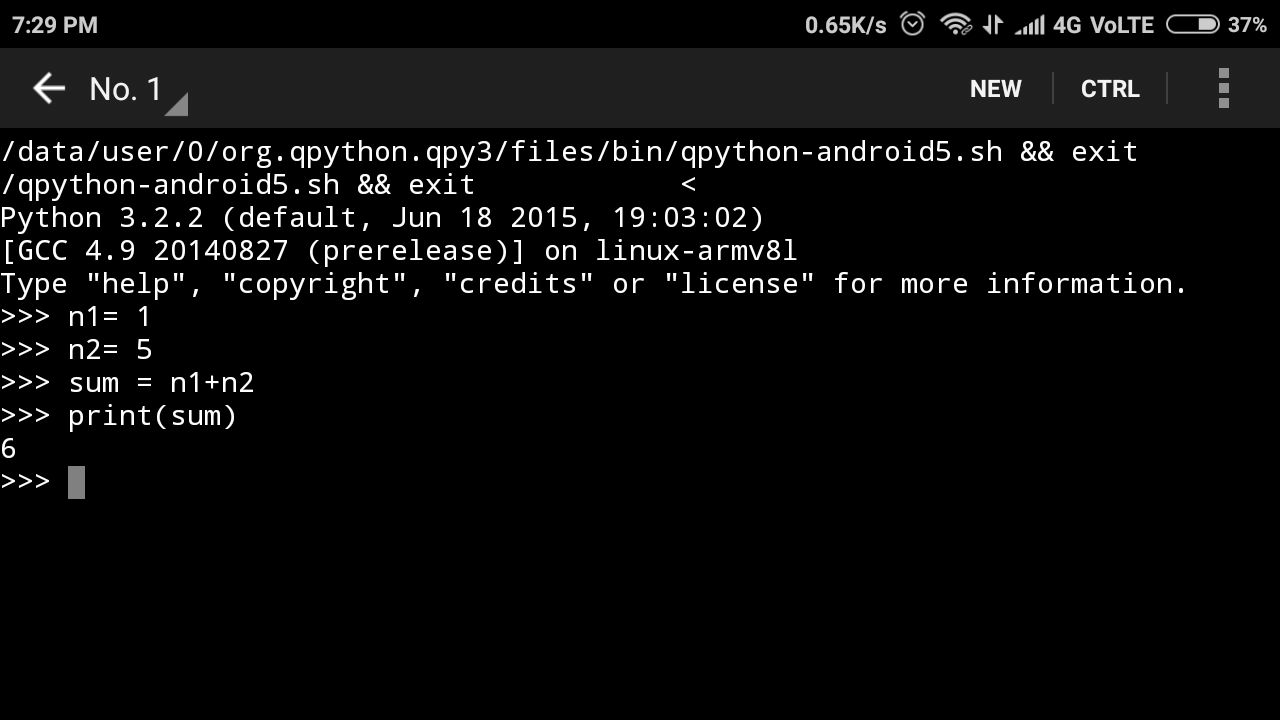
Yeah, It’s working fine and is same as the console on PCs. This way it’s not so hard programming on android device.
On Editor
Now we will learn running python program through editor on QPython3 app.
- So first open the editor, the editor look like as below.
- Then click on the symbol given below.

- On clicking this, a new screen will appear.

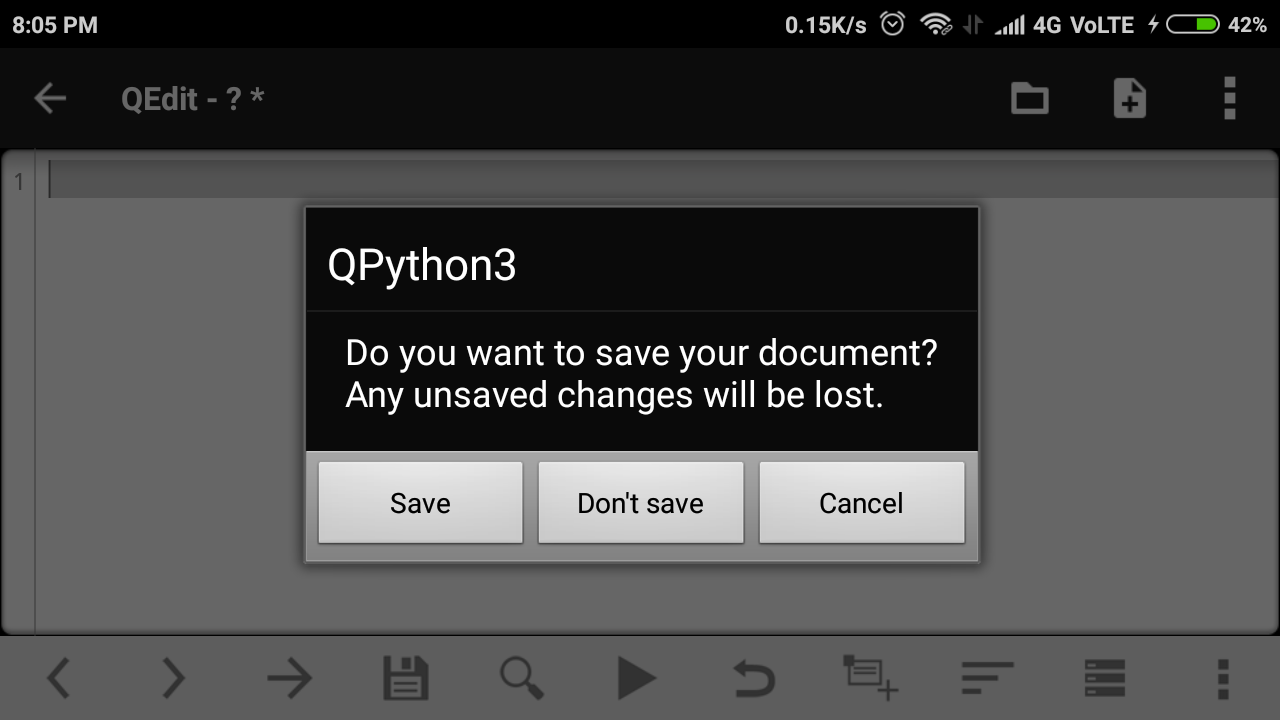
- Now you have to choose an option, here i am choosing Blank file. On clicking Blank File, a dialog box will appear that will ask you for save and don’t save of this blank file. You have to do what you want, either save or don’t save.

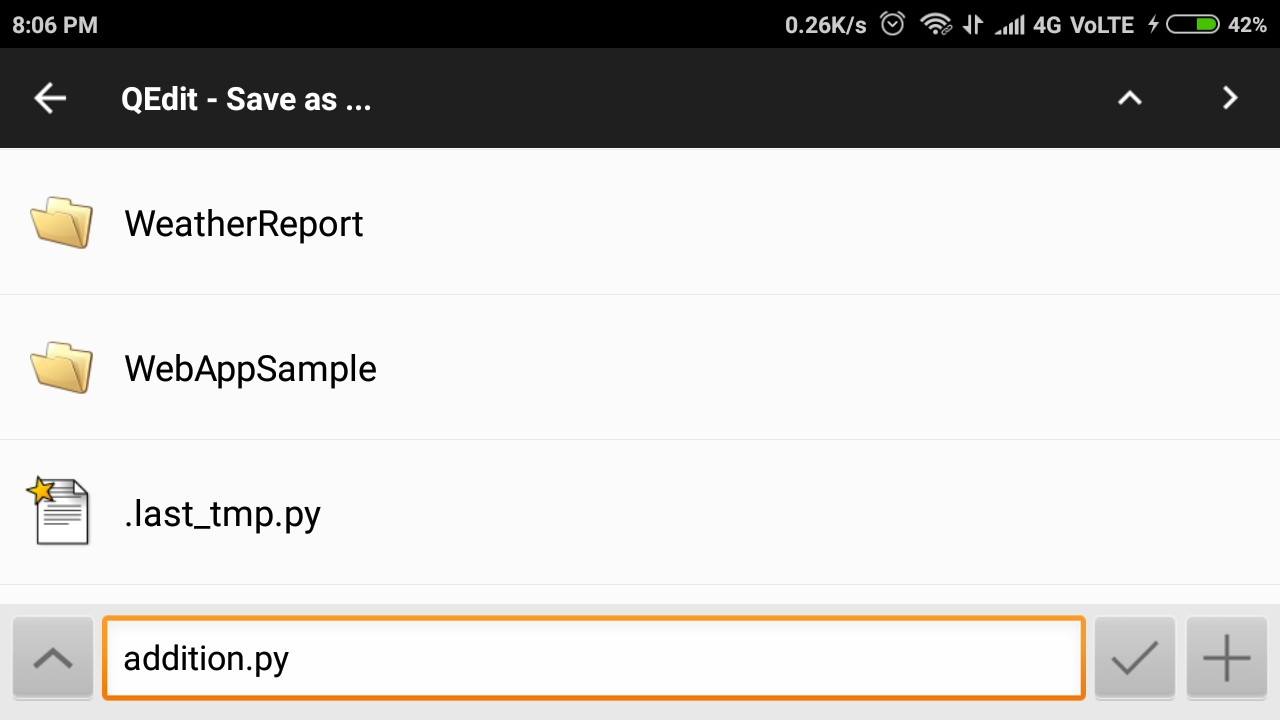
- On clicking save button now you have to select the folder where you want to save your file. Here, i am saving my file in projects3 folder as file name addition.py .
- finally we have save our file, now it’s time to write the code on editor. So here i have write program for addition of two numbers.
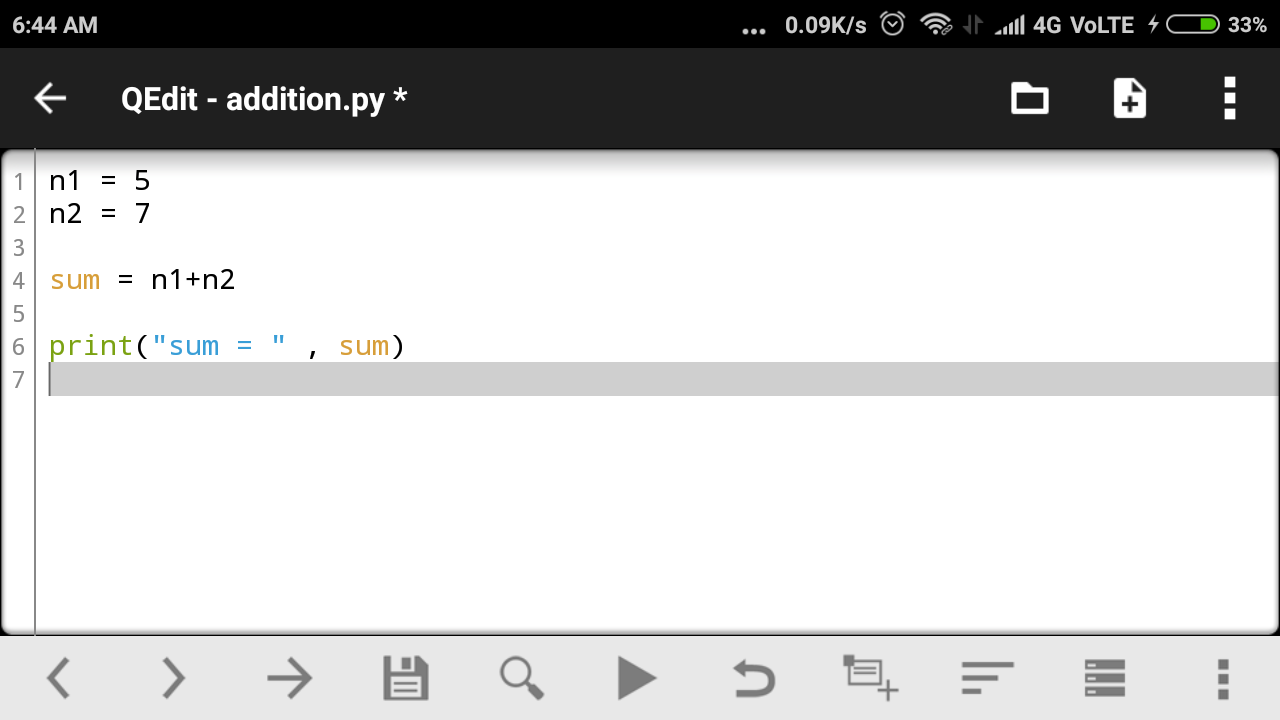
- Let’s see what happens on running this program.
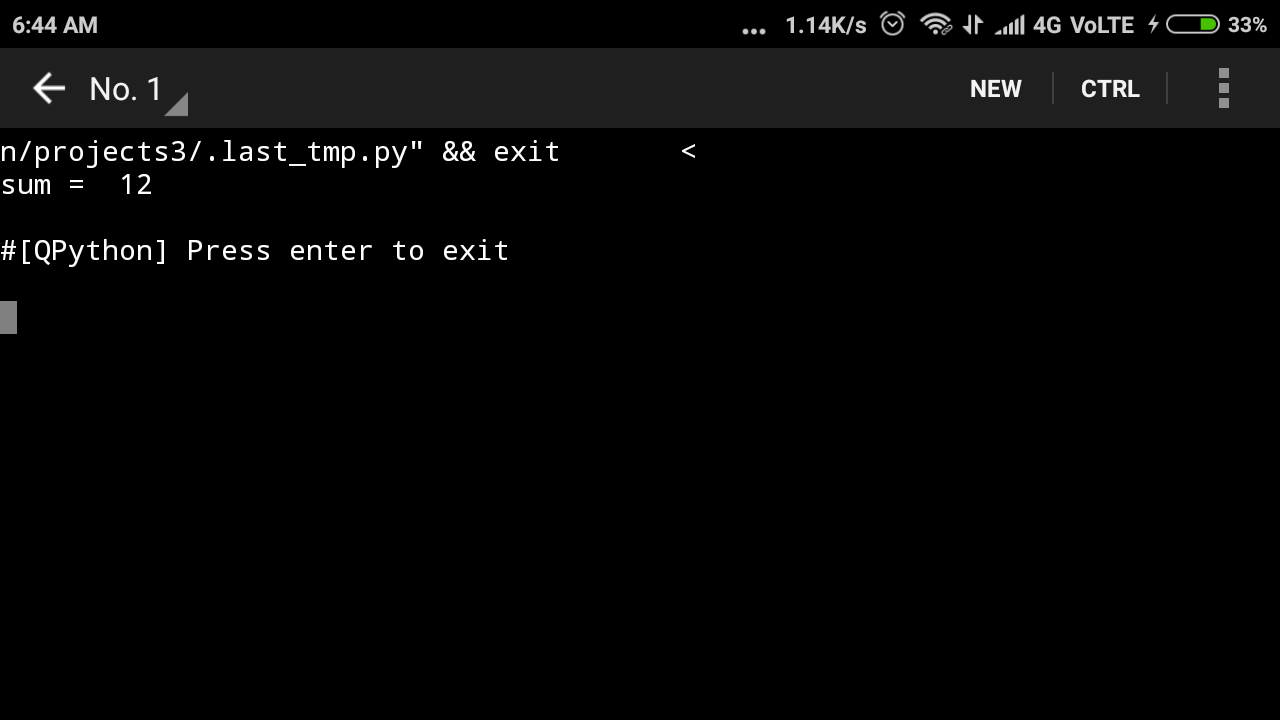
Finally we have run python programs on android devices successfully.
Now we will see one more thing. Give a look on below image, this is the toolbar of Qpython3 editor. And we have to understand what is the meaning of these symbols.

I am starting to explain them from left side.
- The first two buttons ( ) are for controlling indentation level.
- The next button is for Go To Line,when you click this button a popup will appear and in this popup you have to write line number on which you want to go.
- Then the next button is for saving the file.
- And the next button is for search.
- Then the next button is for Run.
- The next button is for Undo.
- And the next is for Save As.
- Next is for Recent.
- Next is for Snippets.
- And the last one is for Settings.
So guys, this was all about the Run Python On Android tutorial. I hope this tutorial will be helpful for you. And if you have any query regarding this then leave your comment. And please share this as much as possible. In the upcoming post i will come with a post Best Android Apps for Python, till then stay tuned with Simplified Python. Thanks everyone
Источник


