- How to Take a Screenshot on Your Android Phone or Tablet
- Save an image of your Android screen for troubleshooting or other purposes
- Press the Power and Volume Down Buttons Simultaneously
- Use Your Phone’s Built-in Shortcuts
- Install an App for Screenshots
- Use Android Studio
- Screenshot Uses
- How to take a screenshot on any Android phone
- No matter what phone you have, we’ll help you figure out the easiest way to snap the screen.
- Acer phones
- Asus phones
- Google phones
- HTC phones
- Huawei and Honor phones
- Lenovo
- LG phones
- Motorola phones
- OnePlus phones
- Samsung phones
- Sony phones
- ZTE phones
- Google Assistant
- Save and share
- Android Froyo phones and older
- Install the Software
- Get to the Root
- How to take screenshots on Android
- How to take screenshots on Android:
- 1. The standard way to take an Android screenshot
- 2. How to take screenshots on Android: Samsung devices
- Smartphones with Bixby digital assistant
- S Pen
- Palm swipe
- Smart Capture
- Smart Select
- 3. How to take screenshots on Android: Xiaomi devices
- The notification shade
- Three-finger swipe
- Use the Quick Ball
- 4. How to take screenshots on Android: Huawei devices
- Use the notification bar shortcut
- Take a screenshot using Air Gestures
- Knock on the screen with your knuckle
- 5. How to take screenshots on Android: Motorola devices
- 6. How to take screenshots on Android: Sony devices
- 7. How to take screenshots on Android: HTC devices
- 8. How to take screenshots on Android: LG devices
- Quick Memo
- Air Motion
- Capture+
- 9. How to take screenshots on Android: OnePlus devices
- Using gestures
- 10. Third-party apps
How to Take a Screenshot on Your Android Phone or Tablet
Save an image of your Android screen for troubleshooting or other purposes
:max_bytes(150000):strip_icc()/WorkBadgePhoto-61c0b98ef5a74e4a85851a8f706dbd65.jpg)
All smartphones and computers offer ways to take screenshots. Here’s how to take them on a phone with Android 4.0 or later.
Press the Power and Volume Down Buttons Simultaneously
Google introduced the screenshot feature with Android 4.0 Ice Cream Sandwich. If you have Android 4.0 or later on your phone or tablet:
Navigate to the screen you want to record with a screenshot.
Press the Power and Volume Down buttons quickly at the same time. (Getting this right might take some practice.) The screen might flash or appear to shrink slightly to indicate the screenshot has been taken.
Look for the screenshot in your photo gallery or in a screenshots folder.
:max_bytes(150000):strip_icc()/screenshotsingallery-0d69728d7efb47c29139753cd3ba0b84.jpg)
Use Your Phone’s Built-in Shortcuts
Some phones come with built-in apps and gestures. For example, on some Samsung devices, swipe the edge of your palm across the screen from right to left.
:max_bytes(150000):strip_icc()/002_how-to-take-a-screenshot-on-android-phone-or-tablet-2377913-5c5a1b4946e0fb00013fc2a5.jpg)
Install an App for Screenshots
If you don’t have Android 4.0 or later on your phone, or if it doesn’t have a built-in screenshot feature, install an Android app. Here are a few to try:
- Screen Capture Shortcut Free takes screenshots after a delay or when you shake the phone.
- No Root Screenshot It offers a widget and allows you to annotate, crop, and share screenshots.
- Screencap Root Screenshots (requires rooting).
For more, search the Google Play Store for screenshot, screen grab, or screen capture.
Use Android Studio
You can take an Android screen capture on any compatible device by installing Android Studio from Google on your computer. This software development kit is used by developers to create and test Android apps, but it’s freely available to everyone.
You’ll also need the Java SE Development Kit and, in some cases, USB drivers for your device (check for these on the manufacturer’s website). Then, plug in the phone, run the Dalvik Debug Monitor (included in Studio), go to the Debug Monitor menu, and click Device > Screen Capture. This is a clunky way to take screenshots, but if nothing else works or you have Studio already set up, it’s easy to use.
Screenshot Uses
A few examples of how you might use screenshots include:
Источник
How to take a screenshot on any Android phone
No matter what phone you have, we’ll help you figure out the easiest way to snap the screen.


Top Deals On Great Products
Picked by Techconnect’s Editors
Update 7/2/18: Added the HTC U12+, LG G7, and OnePlus 6.
Every Android phone is different, and so is taking screenshots with them. Even though Android 4 introduced simple screenshots for all with the handy power-and-volume-down-key combo, nailing it can still be tricky. That’s why some phone makers have introduced new methods. We’re here to help: Just find your Android phone on the list below to learn the various ways to snap, share, and save a screenshot.
Acer phones
- Hold down the power and volume-down buttons for a couple of seconds.
- Pull down the notification panel to reach quick settings and tap the Screenshot icon.
Asus phones
- Hold down the power and volume-down buttons for a couple of seconds.
- Pull down the notification panel to reach quick settings and tap the Screenshot icon.
Google phones
- Nexus: Hold down the power and volume-down buttons for a couple of seconds.
- Pixels: Hold down the power and volume-down buttons for a couple of seconds.
HTC phones
- HTC U12+: Press and hold the power button until your phone vibrates, and then tap the virtual home button on the navigation bar while still pressing the power button
- HTC U series (up to U12+): Hold down the power and volume-down buttons for a couple of seconds.
- HTC 10: Hold down the home and power buttons OR hold down the power and volume-down buttons for a couple of seconds.
- All other HTC phones: Hold down power and volume-down buttons for a couple of seconds.
Huawei and Honor phones
- Hold down the power and volume-down buttons for a couple of seconds.
- Pull down the notification panel, switch to Shortcuts, and tap the Screenshot icon.
Lenovo
- Hold down the power and volume-down buttons for a couple of seconds.
- Pull down the notification panel and tap the Screen Shot icon.
LG phones
- LG G7: Press and hold the power and volume-down buttons for a couple of seconds.
- All other LG phones: Hold down the power (located on the back of the phone) and volume-down buttons for a couple of seconds.
- Pull down the notification panel and tap the Capture+ icon.
Motorola phones
- Hold down the power and volume-down buttons for a couple of seconds.
OnePlus phones
- All OnePlus phones: Press and hold the power and volume-down buttons for a couple of seconds.
- OnePlus 5, 5T, and 6: Swipe down with three fingers on the home screen.
Samsung phones
- Galaxy S8 and later: Hold down the power and volume-down buttons for a couple of seconds.
- Galaxy S7 and earlier: Hold down the home and power buttons for a couple of seconds.
Sony phones
- Hold down the power and volume-down buttons for a couple of seconds.
- Hold down the power key until a screen appears and tap Take screenshot.
ZTE phones
- Hold down the power and volume-down buttons for a couple of seconds.
Google Assistant
On supported phones, you can also ask Google Assistant to take a screenshot for you. When you’re on the screen you want to snap, just say, «OK Google, take a screenshot,» and it will oblige, saving a picture of the screen below the Assistant interface. So if you want to capture the Google Assistant screen itself, you’ll have to use the hardware buttons.
To back up your screenshots, you’ll need to head over to Google Photos.
Save and share
Once you’ve snapped your screenshot you can create a shortcut to it in the notification panel. Tap it and you’ll be able to edit or share it.
If you want to back up your screenshots to Google Photos, you might need to tell your phone to do so. Open the sidebar in Google Photos, then Device Folder. Tap Screenshots, and flip the Back up & sync toggle. From there on out, all of your screenshots will be backed up to your camera roll in Google Photos.
Android Froyo phones and older
If you happen to have a pre-Gingerbread Android 2.3 phone lying around, taking a screenshot is quite an arduous task. Froyo users will need a PC, a USB cable, some Android knowhow and third-party software.
Install the Software
Back in those days, Google thought only developers would be interested in capturing Android screenshots, so you’ll have to act like one. Download and install the free Android SDK (software development kit). Visit the site, and be sure to get the correct version for your OS.
The software also requires Java. Mac OS X has the right tools already built in. Windows users should download the Java Development Kit. Install the Android SDK and Java downloads.
Visit the Device Manager to fix any USB driver issues preventing your PC from recognizing your Android.
Launch the SDK Manager from the Android SDK download. (In Windows, if prompted, choose Extract All.) Accept the terms, and click Install. The SDK will download more packages and then update itself with the latest files. This process can take about 30 minutes.
Launch DDMS (Dalvik Debug Monitor) within the Android SDK Tools folder. The software will open a console for a moment and then launch a graphical interface in another window. Give it a moment, but if it quits and there seems to be an error initially—as happened to me on my test systems—try running DDMS again.
On the Android device, open Setting, Application settings, Development, and select USB debugging. Connect the Android device to your computer.
In Windows, if the Android doesn’t appear as a listing in the Dalvik Debug Monitor application, go to the Device Manager. Right-click the Android device, and select Update Driver Software. Choose Browse my computer for driver software, click Browse, and navigate to the USB driver folder within the Android SDK folder. Click Next. Approve the following prompt to install the driver. Return to the Dalvik Debug Monitor; your Droid should now be listed.
With either OS, if your Android device still failed to show up in the Dalvik Debug Monitor, verify that you set it for USB debugging mode. In addition, drag the menu down from the top of the Android screen, and pick USB connection. In most instances, you’ll want USB Mass Storage to be selected. (I had to perform this step on a Droid X because it set itself up in PC Mode first.) But try PC Mode if the software isn’t finding your Android; that might solve the problem.
On your computer, click the phone icon in the upper-left section to select your Android. On the Android, prepare the moment you want to capture. On the computer, choose Device, Screen capture. Click Save. Repeat the process for additional screenshots as needed.
Get to the Root
If you’re a savvy Android enthusiast, you can shoot screenshots without hooking up to a computer at all. First, however, you’ll have to root your phone.
Normally, the Android OS prevents screenshot apps from working, because they muck around with deeper permissions. The rooting process confers superuser abilities, however, granting you permission to do anything you want.
After rooting, search the Android Marketplace for screenshot to find various apps such as Screenshot, and Screenshot It. You’ll activate screenshots with a timer, by shaking the phone, or via another command, and the app will then capture your device.
Michael Simon covers all things iPhone, iPad, Mac, and Apple Watch, with a little Android thrown in. You can usually find him with his nose buried in a screen. The best way to yell at him is on Twitter.
Источник
How to take screenshots on Android
![]()
There are times when you really need to share what’s on your Android device’s screen. That’s when Android screenshots come in handy. Screenshots are captures of whatever is currently showing on your screen, saved as an image. In this post, we will show you how to take a screenshot on Android devices. We have included multiple methods, and some require little to no effort.
How to take screenshots on Android:
1. The standard way to take an Android screenshot
![]()
Capturing a screenshot usually involves pressing two buttons on your Android device; normally the volume down and power buttons. On older devices, you might need to use the home + power button combo. Alternatively, you can press and hold the power button for a few seconds; select Screenshot from the few options that appear.
When the right button combo is pressed, your device’s screen will flash, usually accompanied by a camera shutter sound. Sometimes, a pop-up message or notification alert appears, suggesting that the screenshot has been made.
Finally, any Android device with Google Assistant will let you take screenshots using voice commands alone. Just say, “Okay Google, take a screenshot.”
These basic methods should be all you need for most Android devices. However, there might be some exceptions. Android device manufacturers often include extra and unique ways of taking Android screenshots. For instance, you can take a screenshot on the Galaxy Note series using the S Pen. Other manufacturers have opted to replace the default method entirely and to use their own instead.
2. How to take screenshots on Android: Samsung devices
As mentioned, some manufacturers and devices have decided to go rogue and introduce their own methods of taking screenshots on Android. In some cases, these alternatives can be used in addition to the three main methods discussed above. In other cases, they replace the default Android options entirely. You’ll find most examples below.
Smartphones with Bixby digital assistant
If you own a more recent Samsung Galaxy flagship phone, such as the Galaxy S21 or Galaxy Note 20, you have the Bixby digital assistant pre-installed. It can be used to take a screenshot with a voice command. All you have to do is go to the screen where you want to take the screenshot and, if you have it configured correctly, simply say, “Hey Bixby.” When the assistant starts working, say “take a screenshot,” and it will do so. You can see the saved shot in your phone’s Gallery app.
If you don’t have your Samsung phone configured to recognize the “Hey Bixby” trigger words, just press and hold the dedicated Bixby button on the side of the phone, and then say, “take a screenshot” to finish the process.
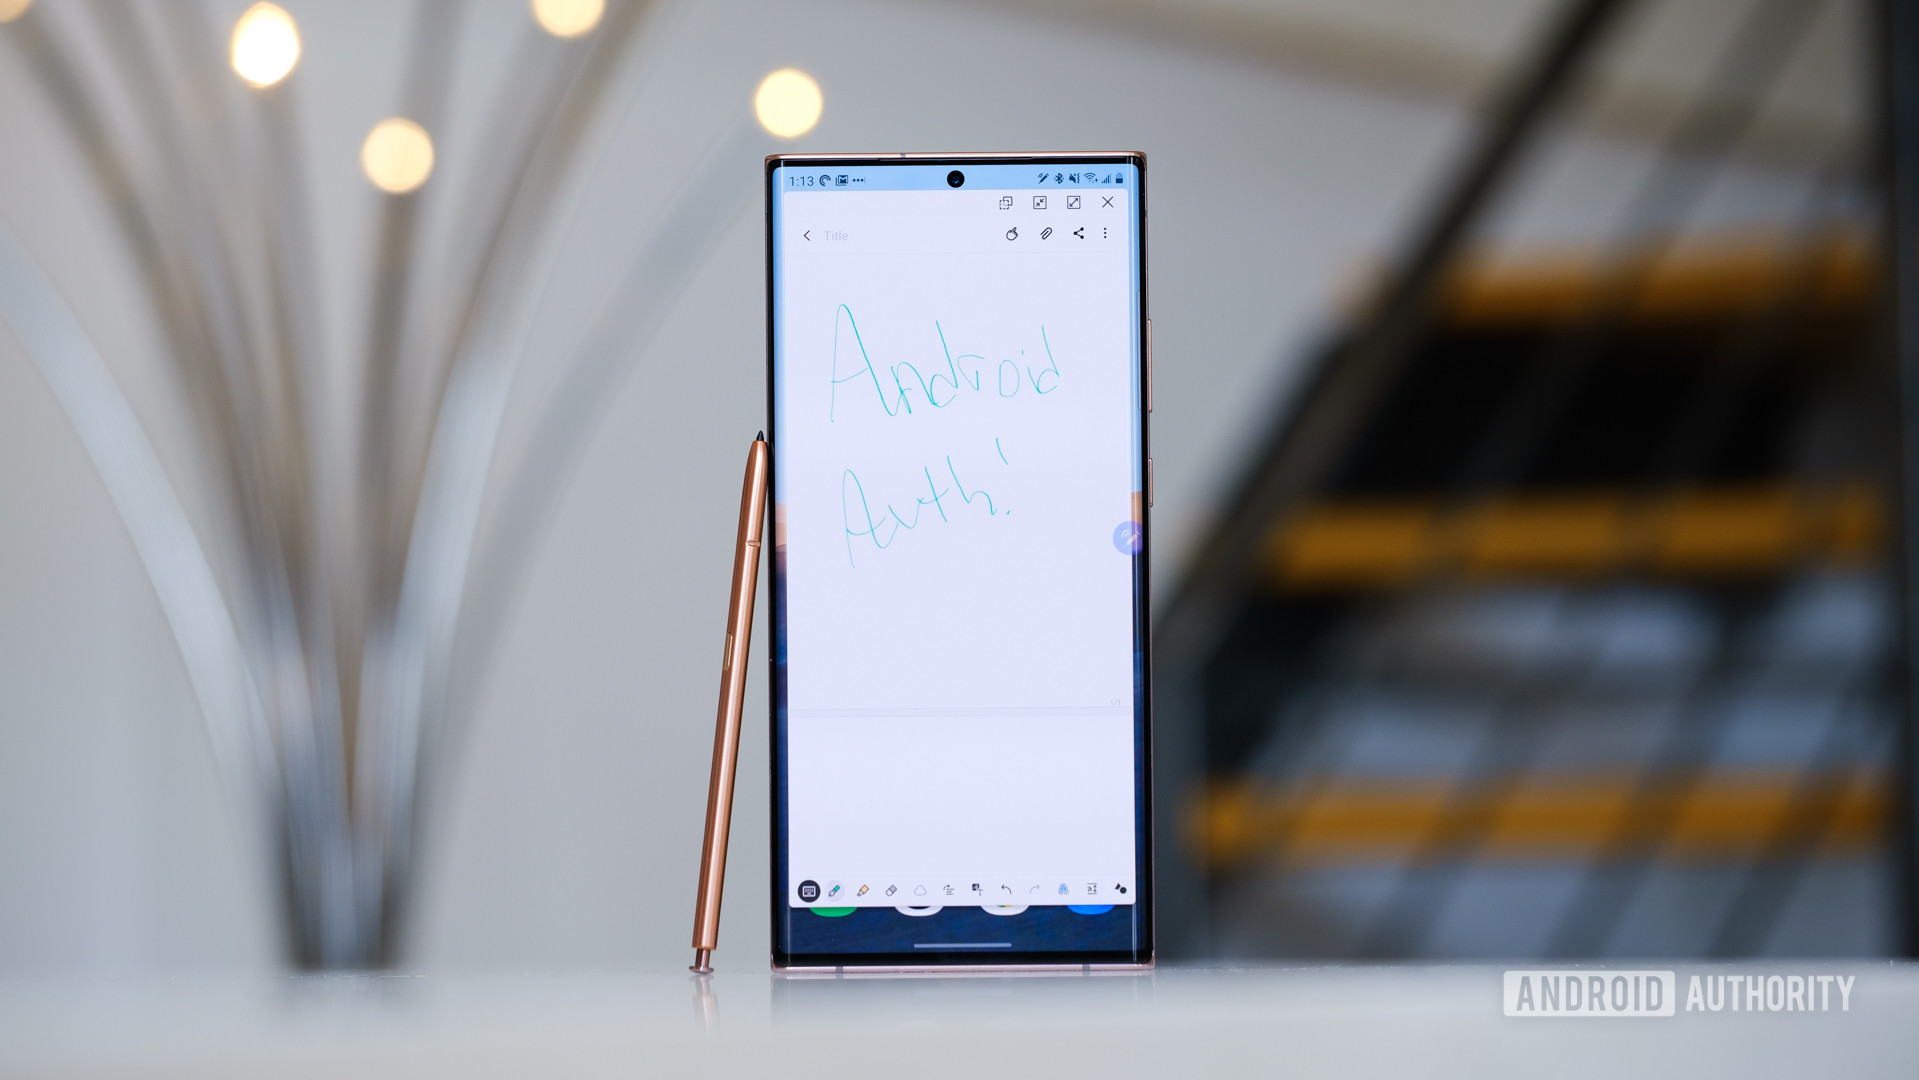
S Pen
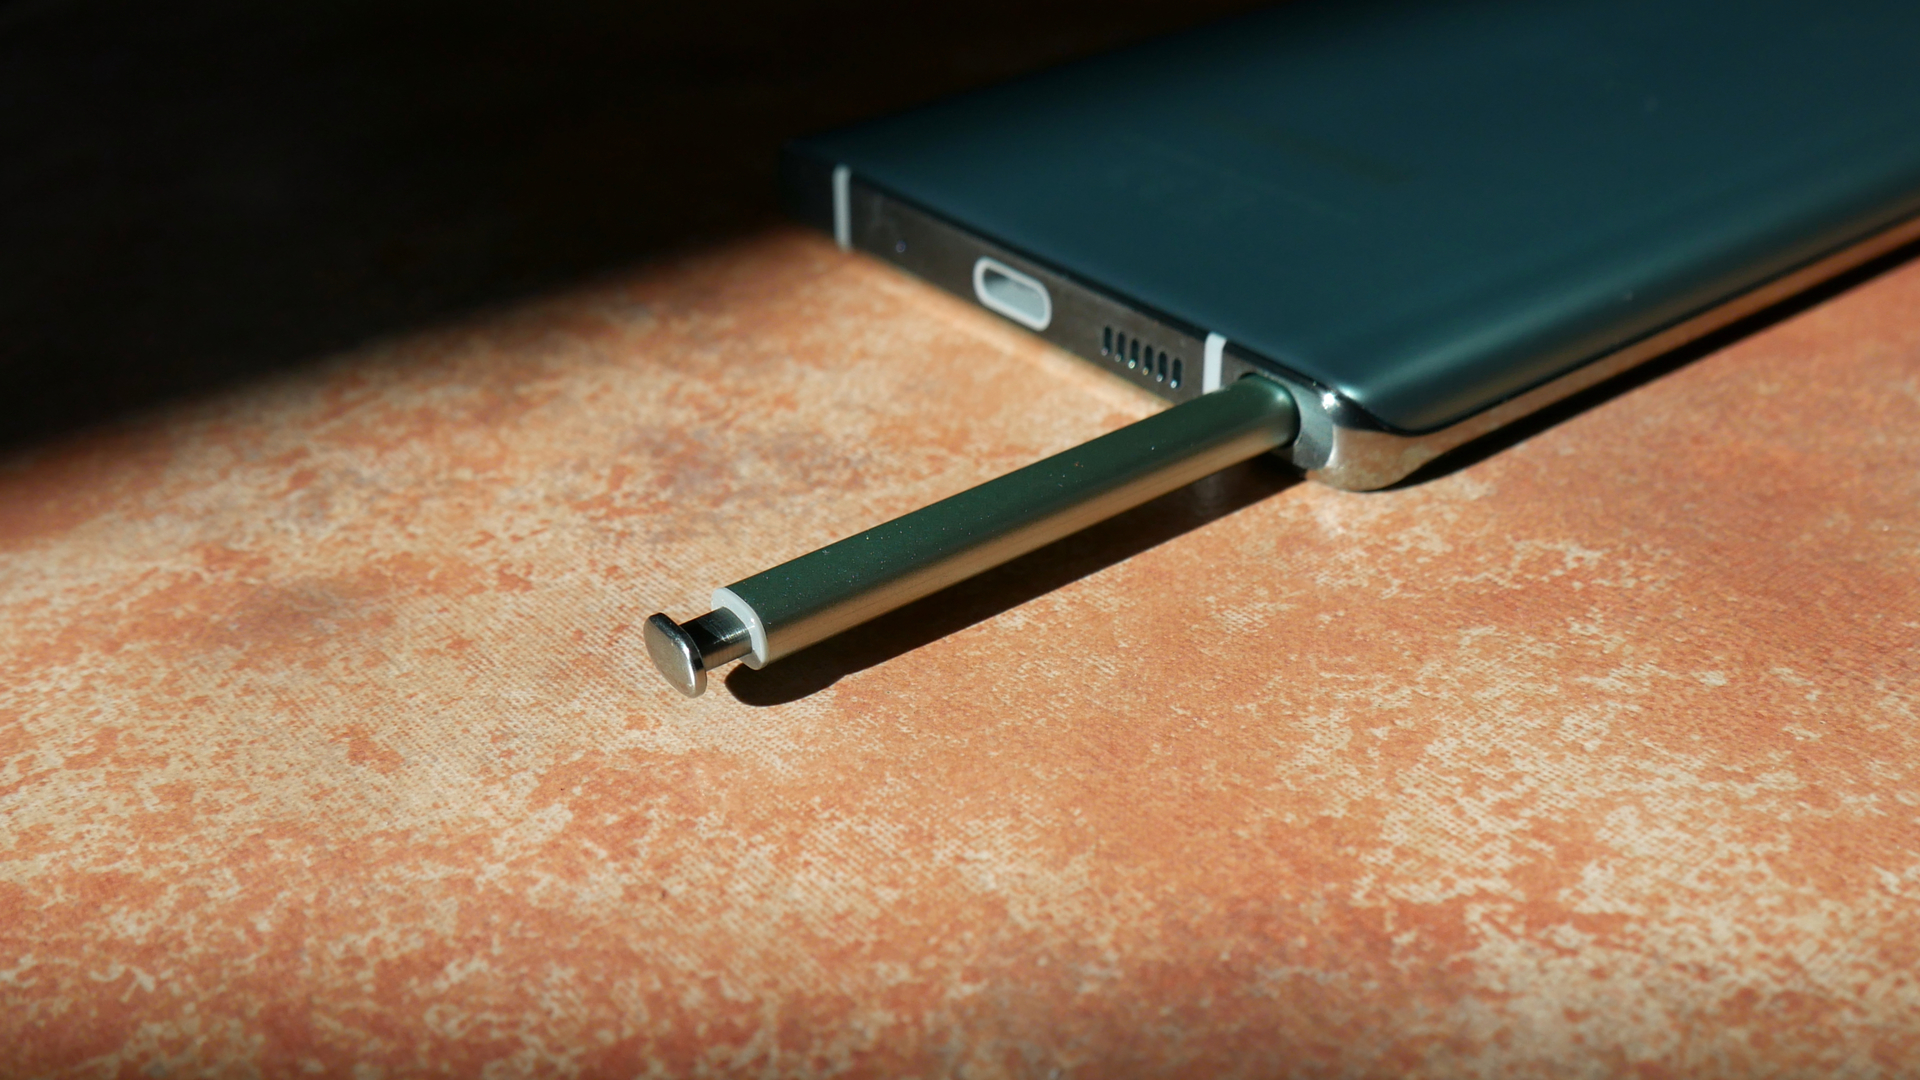
You can use the S Pen to take a screenshot, given that your device comes with one. Just pull out the S Pen, launch Air Command (if it’s not done automatically), and select Screen write. Usually, after the screenshot is captured, the image will be immediately opened for editing. Just remember to save the edited screenshot afterward.
Palm swipe
On some Samsung phones, there is yet another way to take a screenshot. Go to Settings, and then tap on Advanced Features. Scroll down to see a Palm Swipe To Capture option and toggle it on. To take a screenshot, simply place your hand vertically on either the right or left edge of the smartphone screen, and then swipe on the display. The screen should flash, and you will see a notification stating that a screenshot has been taken.
Smart Capture
When Samsung decided how to take screenshots on Android, it really went all out! Smart capture allows you to grab an entire web page rather than just what’s on your screen. Take a regular screenshot using any of the aforementioned techniques, select Scroll capture, and continue tapping on it to scroll down the page. This effectively stitches together multiple images.
Smart Select
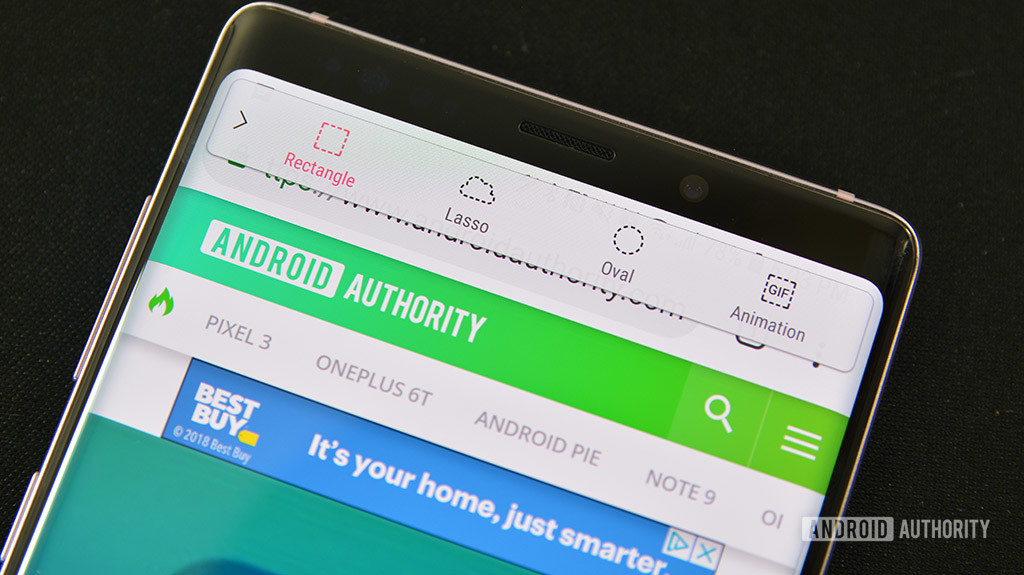
Smart Select allows you to capture only specific parts of what’s on your screen, to take oval-shaped screengrabs, or even to create short GIFs from movies and animations!
Access Smart Select by sliding out the Edge Panel, and then choosing the Smart Select option. Pick the shape and select the area you want to capture. You may first need to enable this feature in the settings by going to Settings > Display > Edge Screen > Edge Panels.
3. How to take screenshots on Android: Xiaomi devices

Xiaomi devices give you all the usual options for taking screenshots, while also throwing in a few methods of their own.
The notification shade
Like a few other Android skins, MIUI provides quick access to screenshots from the notification shade. Just pull down from the top of the screen and find the screenshot option.
Three-finger swipe
From any screen, simply swipe three fingers down the screen on a Xiaomi device, and it will grab a shot of the screen. You can also jump into the settings and assign a range of different shortcuts, if you prefer. These include long-pressing the home button, or using other gestures.
Use the Quick Ball
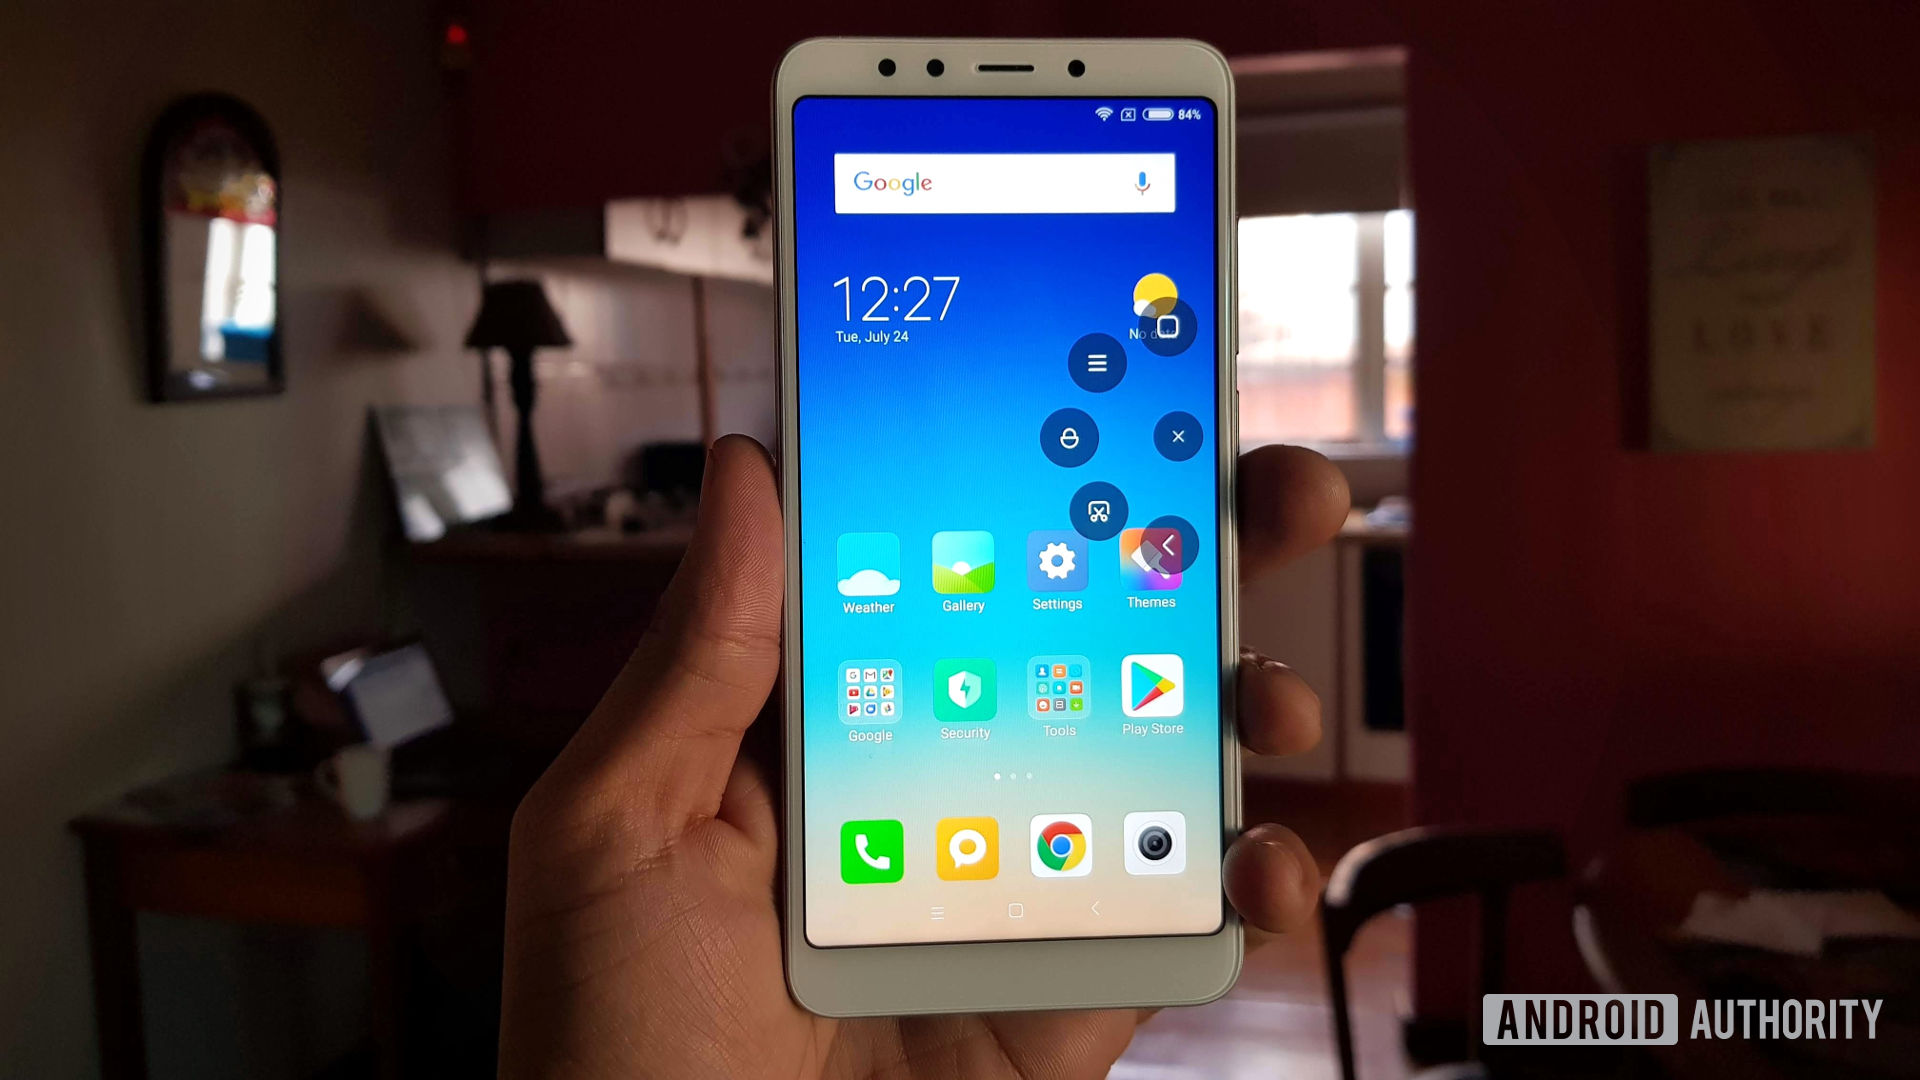
Quick Ball is similar to what other manufacturers have used to offer a section with shortcuts. You can easily trigger a screenshot using this feature. You must first activate Quick Ball, though. Here’s how to do it.
How to activate Quick Ball:
- Open the Settings app.
- Select Additional Settings.
- Go to Quick Ball.
- Toggle on Quick Ball.
4. How to take screenshots on Android: Huawei devices
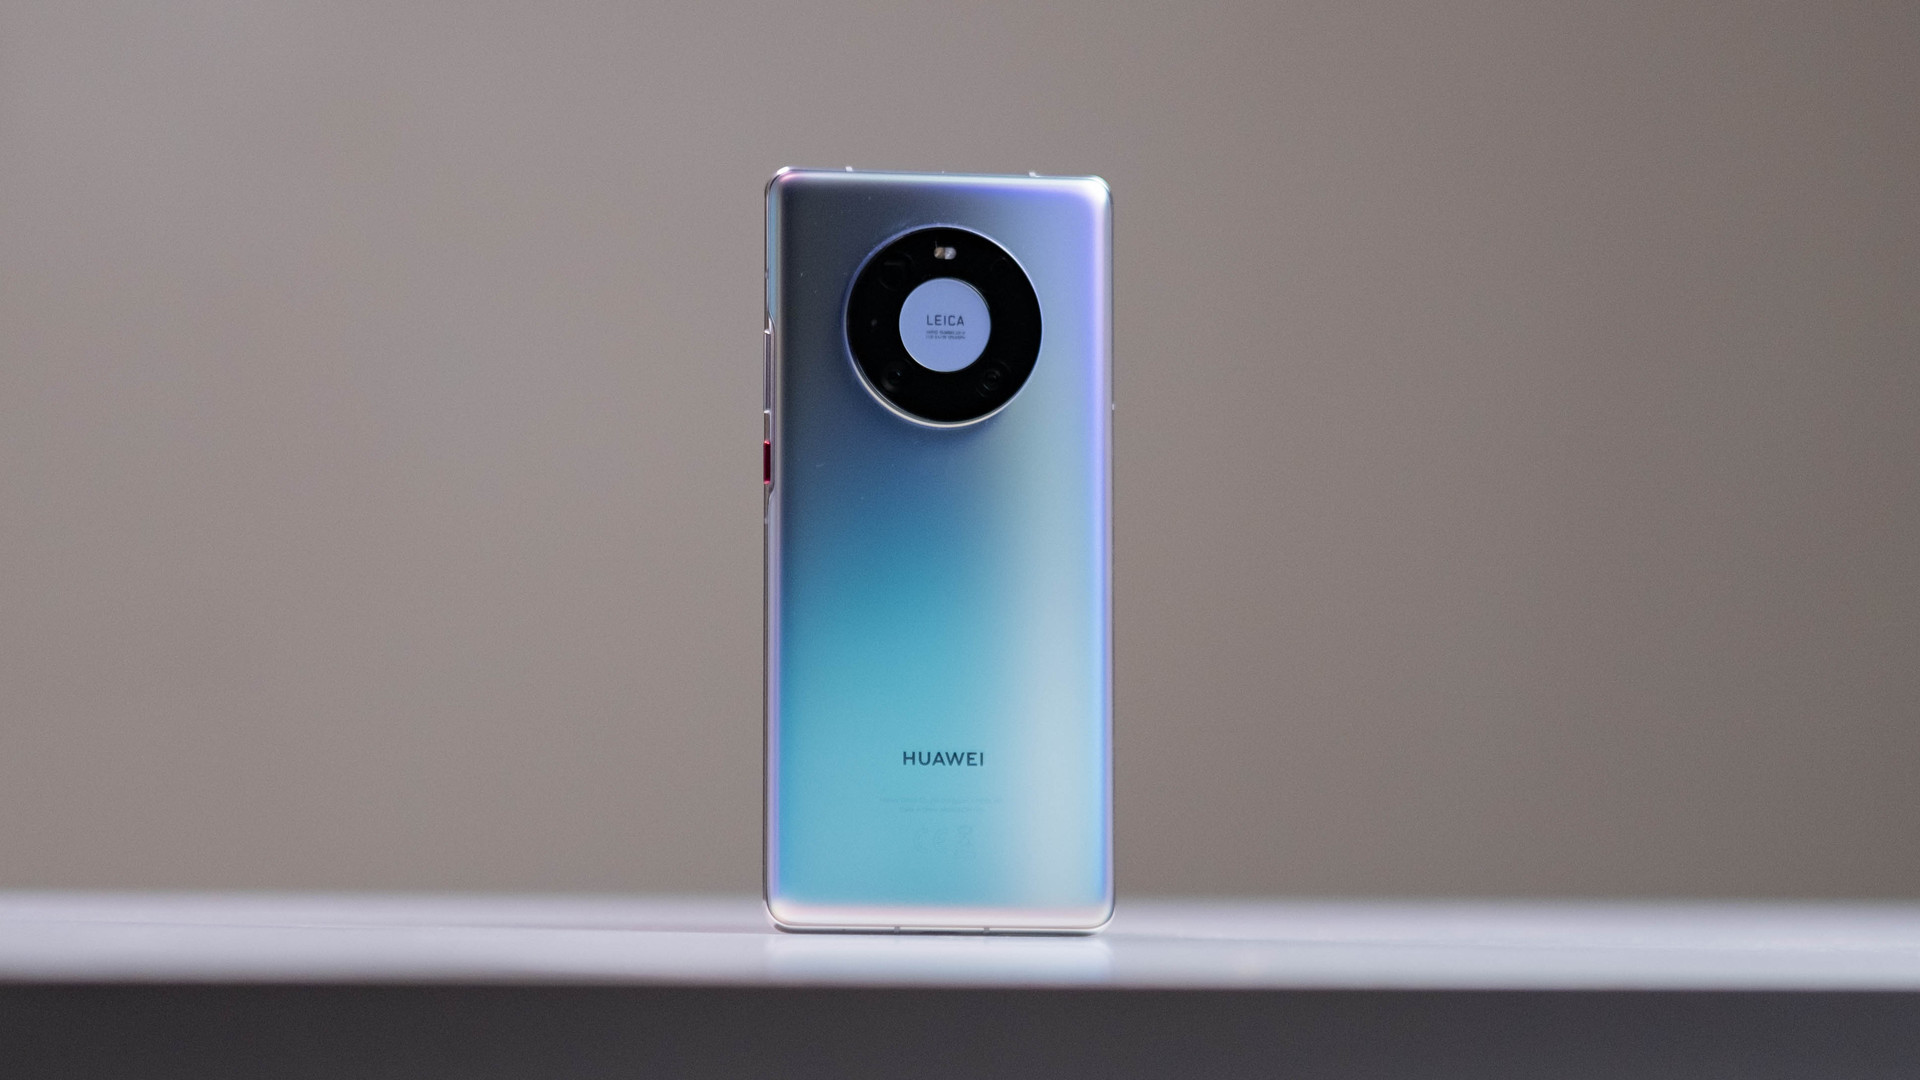
Huawei devices provide all the same default options as most Android devices, but also let you take screenshots with your knuckles! First, you have to turn on an option in the settings by going to Motion Control > Smart Screenshot and then toggling the option on. Then simply knock on the screen twice with your knuckles to grab the screen. You can also then crop the shot as you like.
Use the notification bar shortcut
Huawei makes it more intuitive to take a screenshot by giving you a shortcut in the notification area. It looks like scissors cutting paper. Select it to get your screenshot.
Take a screenshot using Air Gestures
Air Gestures allow you to take actions by letting the camera see your hand gestures. These need to be activated by going to Settings > Accessibility features > Shortcuts & gestures > Air gestures, then ensuring Grabshot is enabled.
Once activated, go ahead and place your hand 8-16 inches from the camera. Wait for a hand icon to appear, then close your hand into a fist to take a screenshot.
Knock on the screen with your knuckle
Certain Huawei phones have a very fun and interactive way to take a screenshot. You can simply knock on your screen twice using your knuckle! This feature needs to be activated first, though. Just go to Settings > Accessibility features > Shortcuts & gestures > Take screenshot and then make sure Knuckle screenshots is enabled.
5. How to take screenshots on Android: Motorola devices

Motorola devices are simple and clean. The company sticks to a near-stock user interface, so you don’t get many options for taking a screenshot. Of course, you can use the good ol’ power + volume down hold trick.
6. How to take screenshots on Android: Sony devices
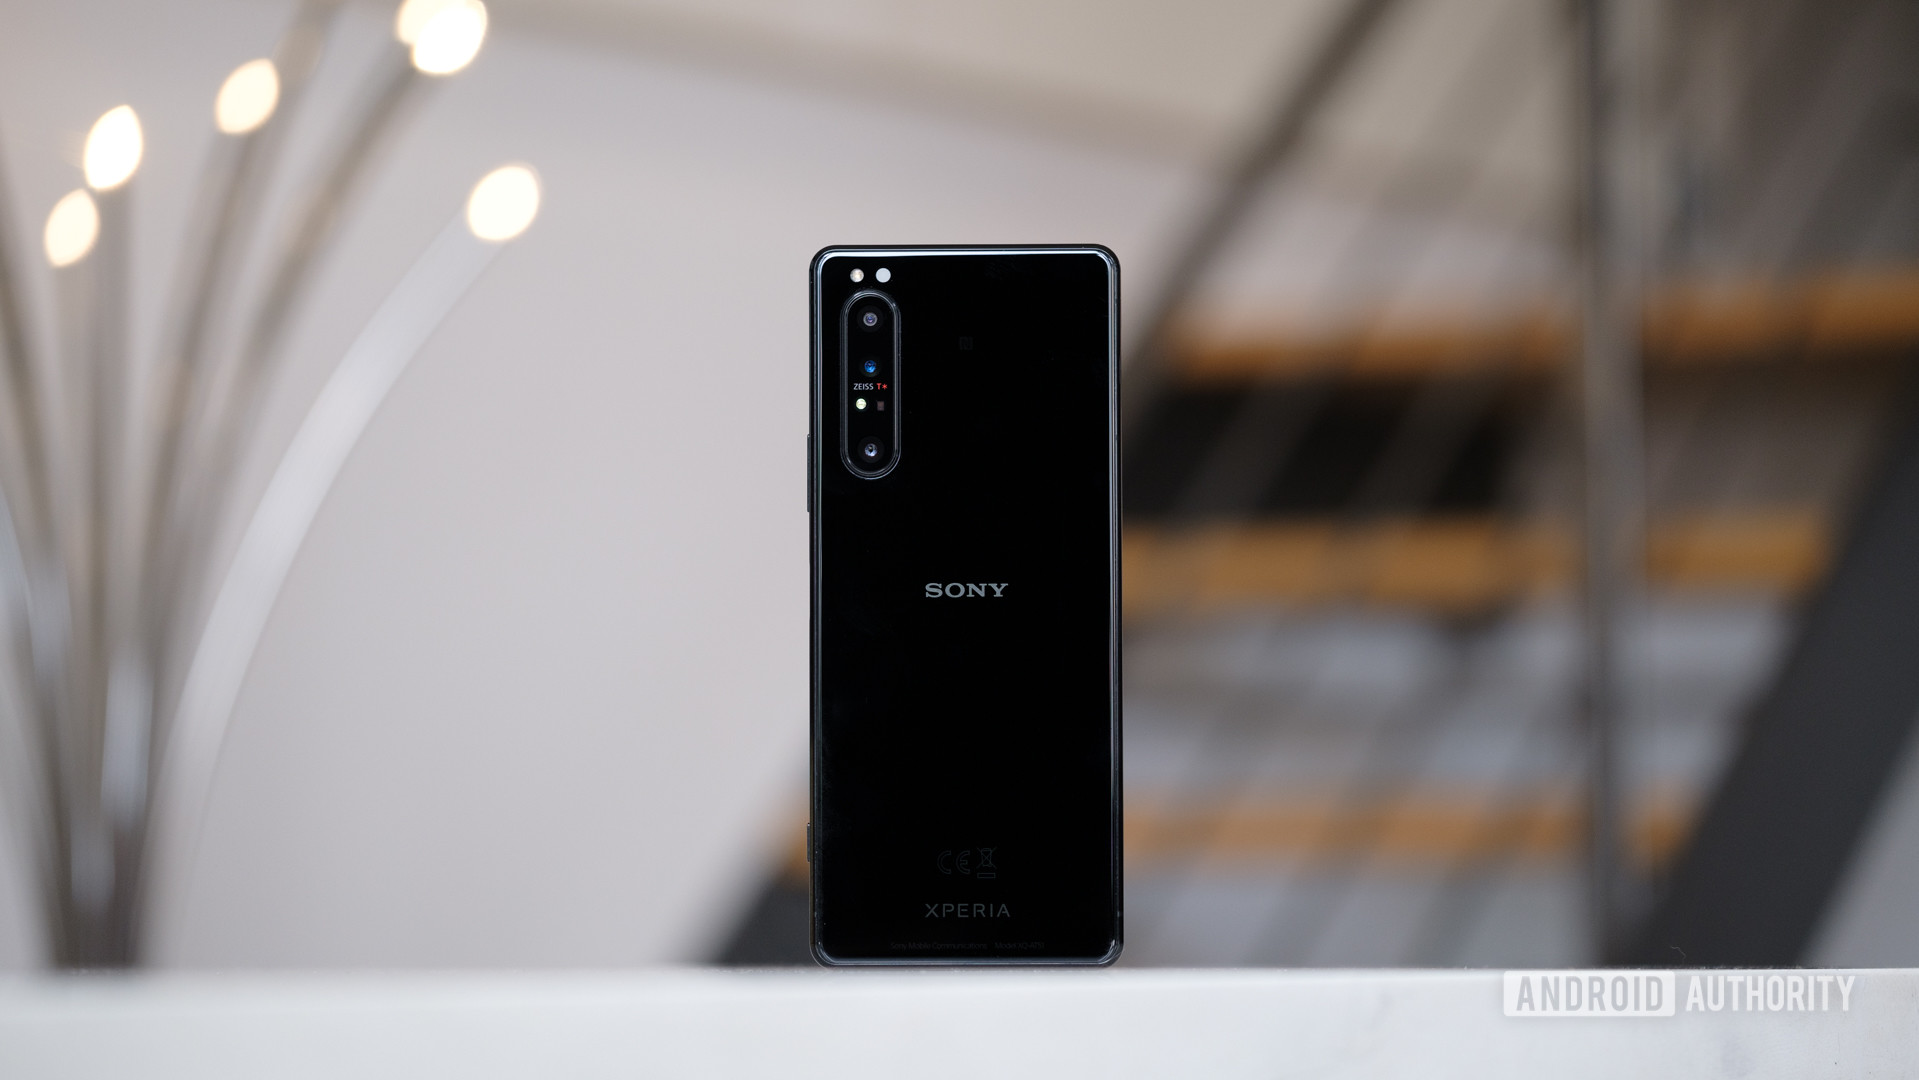
On Sony devices, you can find a screenshot option on the power menu. Just long-press the power button, wait for the menu to appear, and select Take screenshot to capture a screenshot of the current screen. This can be a useful method, especially when pressing combos of physical buttons is difficult.
7. How to take screenshots on Android: HTC devices

Again, HTC will let you take screenshots using all the normal methods. However, if your device supports Edge Sense, then you’ll also be able to use that. Just head into the settings to change what short or long squeezing the device does by going to Settings > Edge Sense > Set short squeeze or Set squeeze & hold action.
Like many other devices, HTC smartphones often add a screenshot button to the notification area. Go ahead and use it to capture what the screen is displaying.
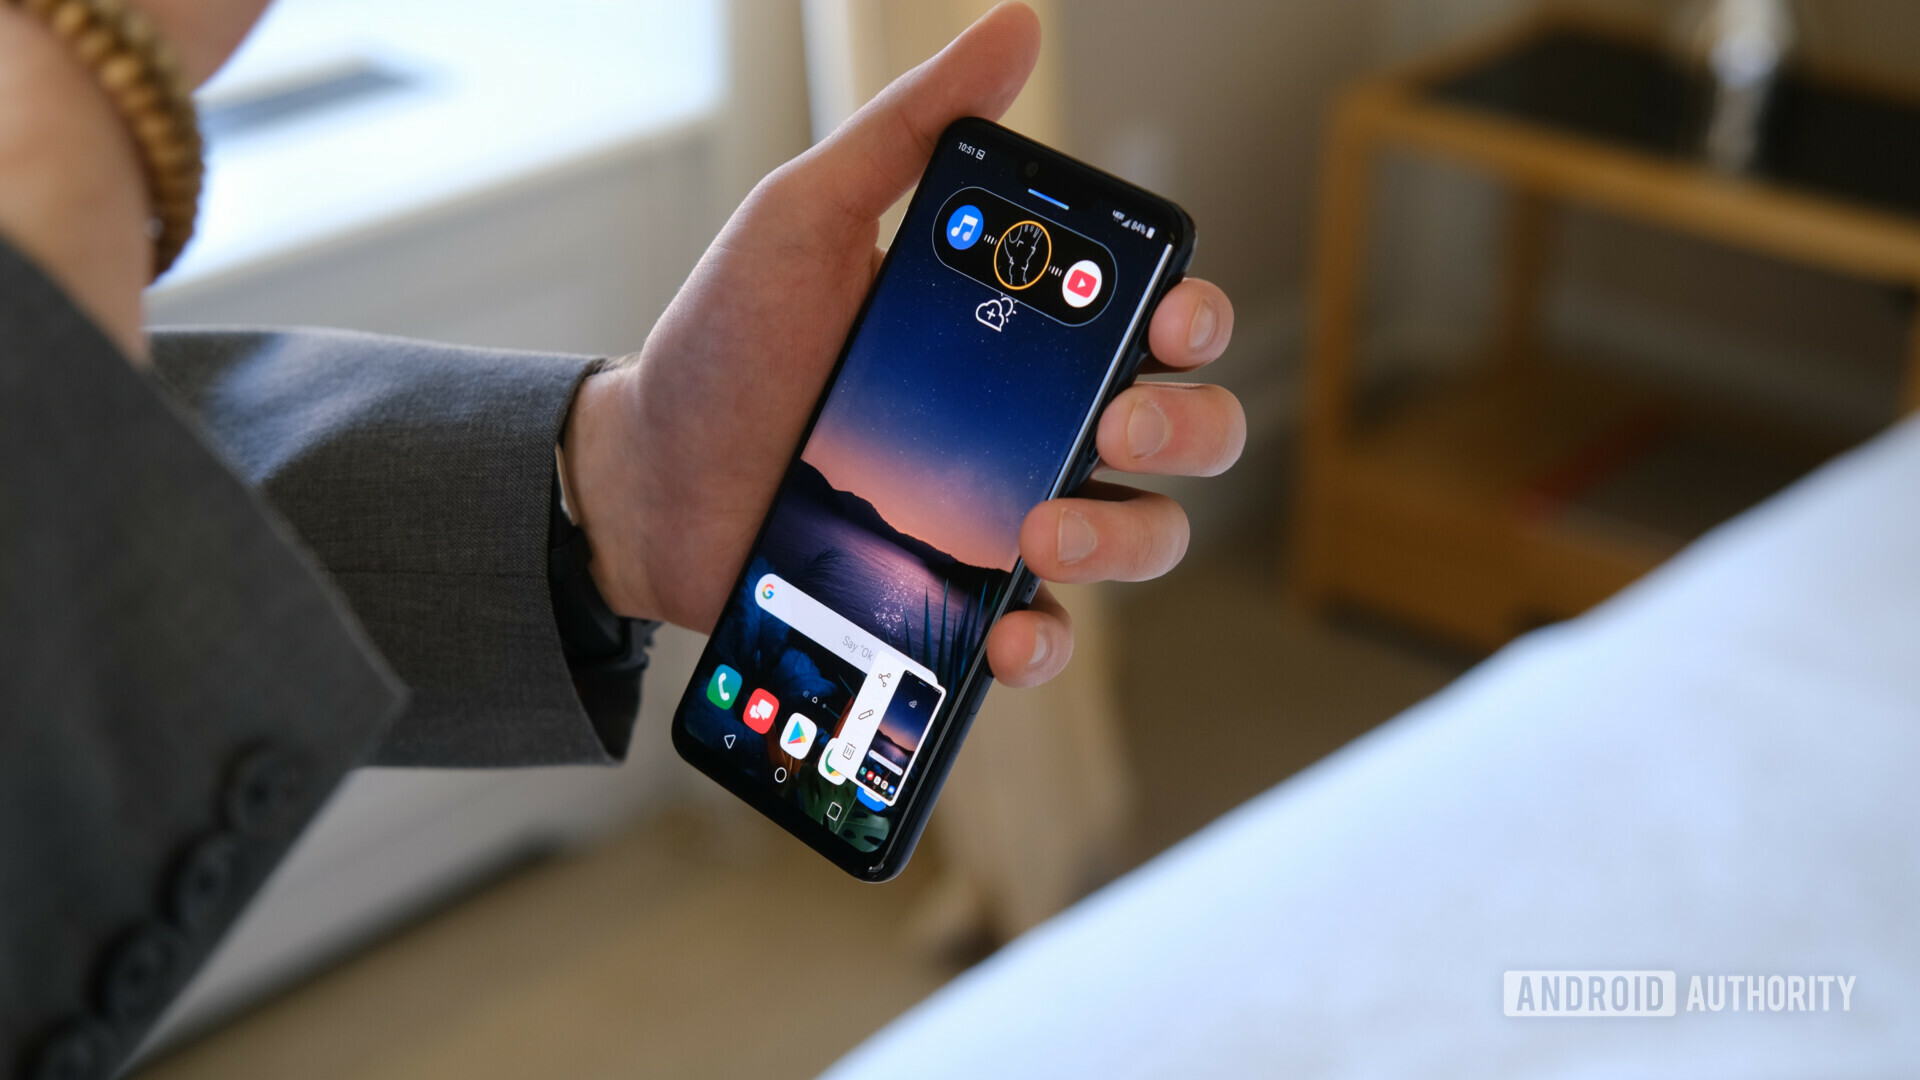
8. How to take screenshots on Android: LG devices

While you can use the default methods to take screenshots on LG devices, there are also a few other options.
Quick Memo
You can also take a screenshot with Quick Memo, which can instantly capture and let you create doodles on your screenshots. Just toggle Quick Memo from the notification shade. Once enabled, the editing page will then appear. You can now write notes and doodles on the current screen. Tap the floppy disk icon to save your work.
Air Motion
Another option is to use Air Motion. This works with the LG G8 ThinQ, LG Velvet, LG V60 ThinQ, and other devices. It involves using the built-in ToF (time-of-flight) camera to recognize air gestures. Just wave your hand over the device until you see the icon showing that it has recognized the gesture. Then pinch the air by bringing your fingertips together, and then pulling them apart again.
Capture+
Not enough options for you? Another way to take screenshots on older devices like the LG G8 is to pull down the notification bar and tap the Capture+ icon. This will let you grab regular screenshots, as well as extended screenshots. You’ll then be able to annotate the screenshots as well.
9. How to take screenshots on Android: OnePlus devices
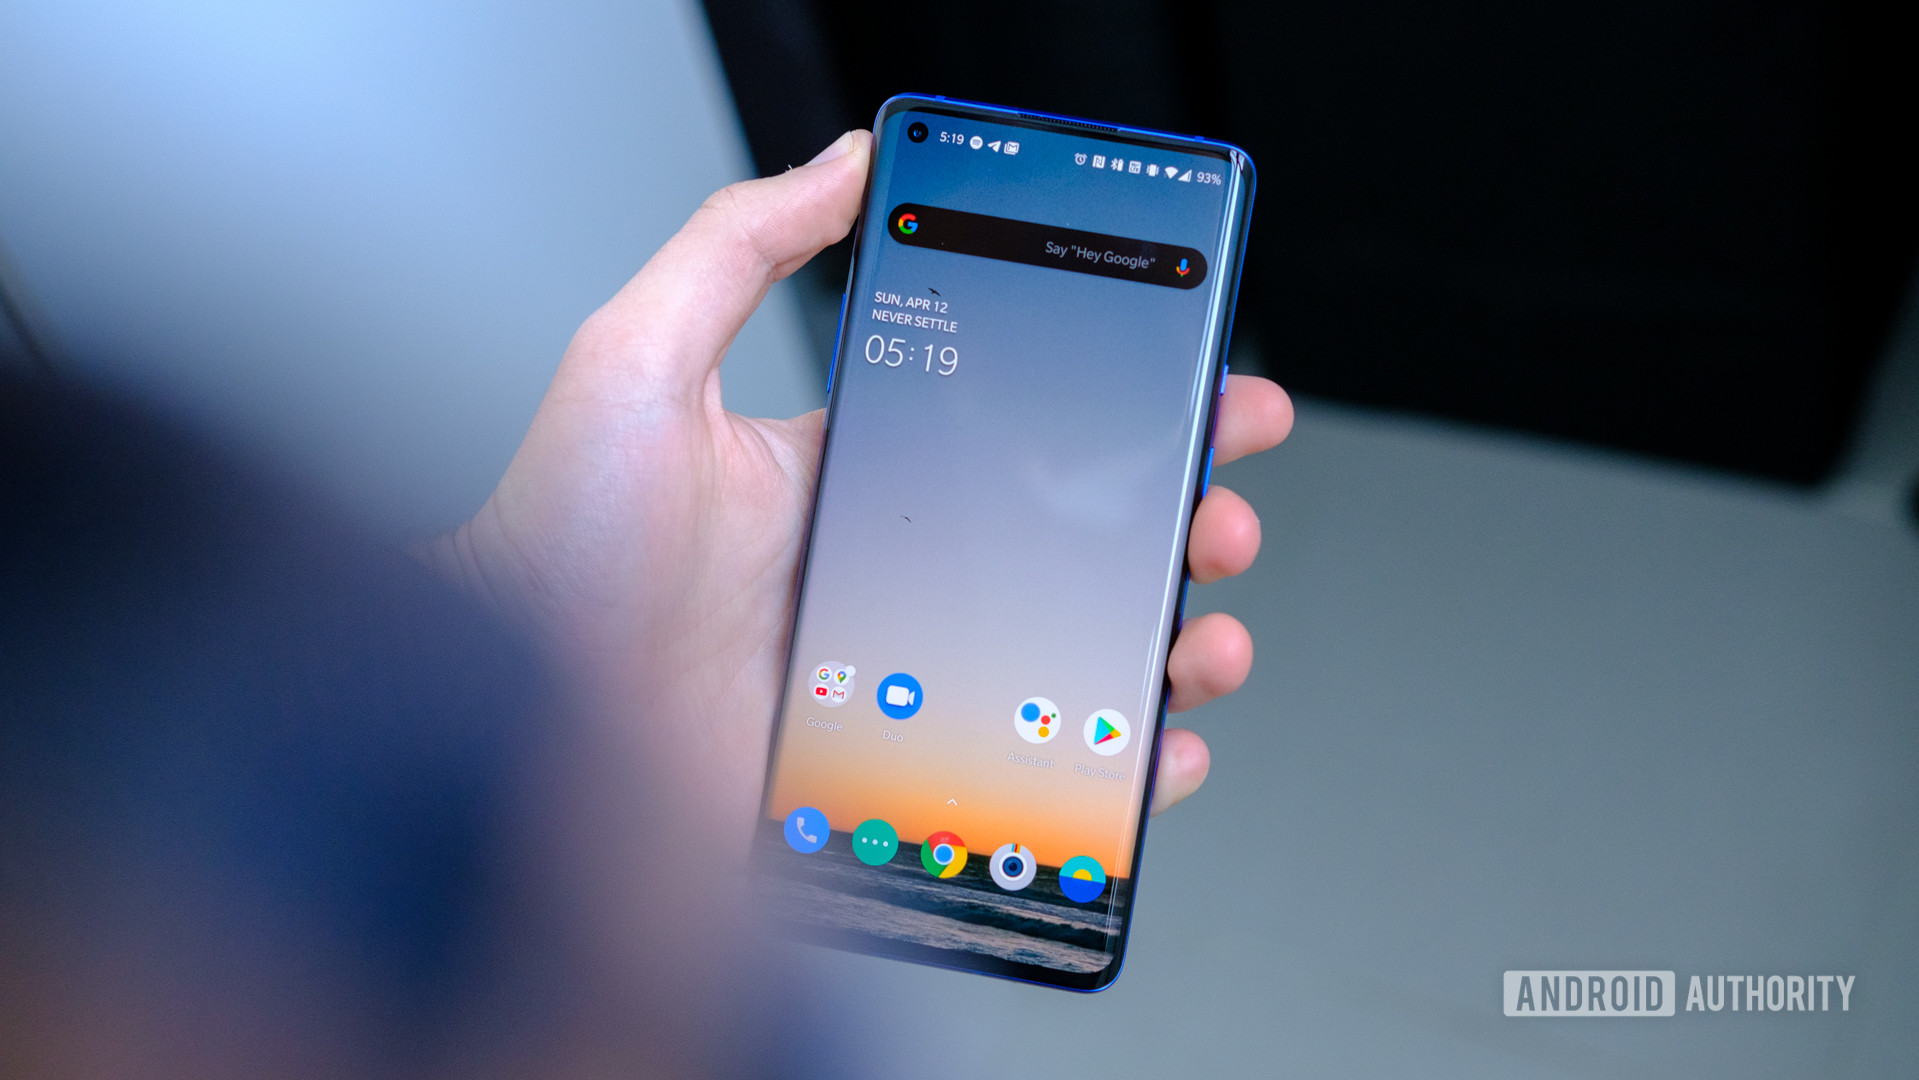
You can hold the power + volume down buttons to take a screenshot on Android from OnePlus, but the company has another trick up its sleeve!
Using gestures
OnePlus phones can take a screenshot on Android by doing a three-finger swipe.
The feature needs to be activated by going to Settings > Buttons & gestures > Quick gestures > Three-finger screenshot and toggle the feature on.
10. Third-party apps
Not content with how to take screenshots on Android the standard way? Then you can always try installing additional apps that will provide you with more options and functionality. Some good examples include Screenshot Easy, and Super Screenshot. These apps don’t require root and will let you do things like recording your screen and setting a range of different triggers. You could even set up your own screenshot methods using Tasker!
Here are some more tutorials to unlock your Android device’s full potential.
Источник


