Installation Instructions on macOS
Clone this wiki locally
Table of Contents
This document will guide you through installing the Intel Hardware Accelerated Execution Manager (Intel HAXM), a hardware-assisted virtualization engine (hypervisor) that uses Intel Virtualization Technology (VT) to speed up Android development.
Intel HAXM requires the Android SDK to be installed (version 17 or higher). For more information, refer to the Android developer website (https://developer.android.com/studio/index.html).
Hardware Requirements:
- Intel processor with support for Intel VT-x, Intel EM64T (Intel 64), and Execute Disable (XD) Bit functionality
- At least 4 GB of available RAM, 8 GB recommended
Supported Operating Systems:
- Mac OS X 10.12 (Sierra) or higher. macOS 10.13 (High Sierra) or higher needs below steps to set up. A known issue was found in macOS 10.15 (Catalina).
Before installing latest HAXM, the previous versions from 1.1.4 and below can be uninstalled using:
Intel HAXM cannot be used on systems without an Intel processor, or with an Intel processor that lacks the hardware features described in the «Hardware Requirements» section above. To determine the capabilities of your Intel processor, visit http://ark.intel.com/
Additionally, Intel HAXM can be used only with Android x86 and x86_64 emulator images provided by Intel. Intel HAXM cannot be used with ARM Android emulator images or non-Intel x86 or x86_64 Android emulator images.
Downloading Intel HAXM
Overview
Intel HAXM can be installed either through the Android SDK Manager (recommended), or manually, by downloading the installer from Intel’s website.
Note: Intel HAXM does not currently check for updates automatically. To get the latest version, download the Intel HAXM package using the Android SDK Manager (recommended) or from the Intel Developer Zone Android developer site.
Downloading Manually
- Go to https://github.com/intel/haxm/releases.
- Choose the Intel HAXM installer package for your platform.
- Extract the installer and follow installation instructions for your platform.
Downloading through Android SDK Manager
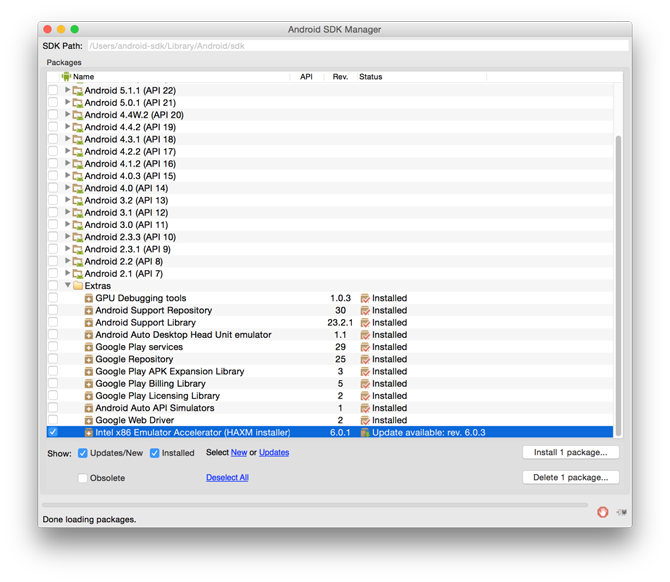
- Start the Android SDK Manager.
- Under Extras, check the box next to Intel x86 Emulator Accelerator (HAXM).

- Click the «Install package…» button.
- Review the Intel Corporation license agreement. If you accept the terms, select Accept and click Install.
- The SDK Manager will download the installer to the «extras» directory, under the main SDK directory. Even though the SDK manager says «Installed» it actually means that the Intel HAXM executable was downloaded. You will still need to run the installer from the «extras» directory to finish installation.
- Run the installer inside the /extras/intel/Hardware_Accelerated_Execution_Manager/ directory and follow the installation instructions for your platform.
Installing standalone Intel HAXM on macOS
Warning: Intel Hardware Accelerated Execution Manager (Intel HAXM) installation will fail if your system does not meet the system requirements, including support for Intel processor features, such as Intel Virtualization Technology (Intel VT).
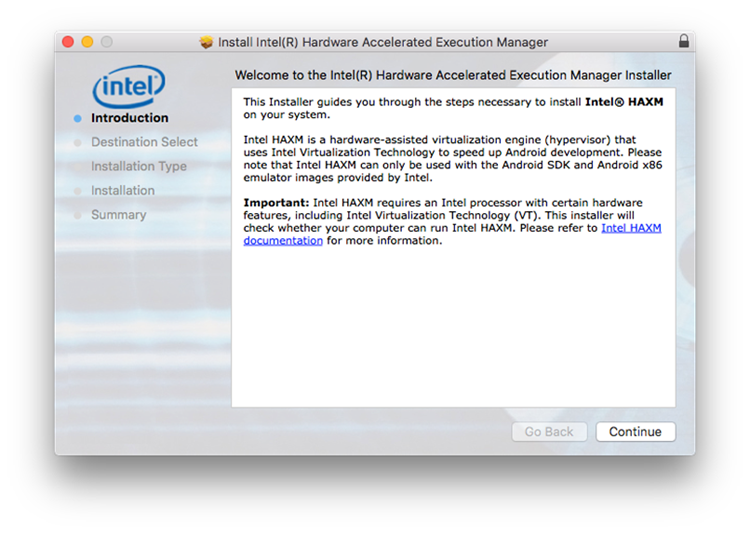
- Download the installer package from https://github.com/intel/haxm/releases or using the SDK Manager.
- Open the DMG file, then run the installer contained inside.
- If an older version Intel HAXM is already installed, you will see a notification dialog:
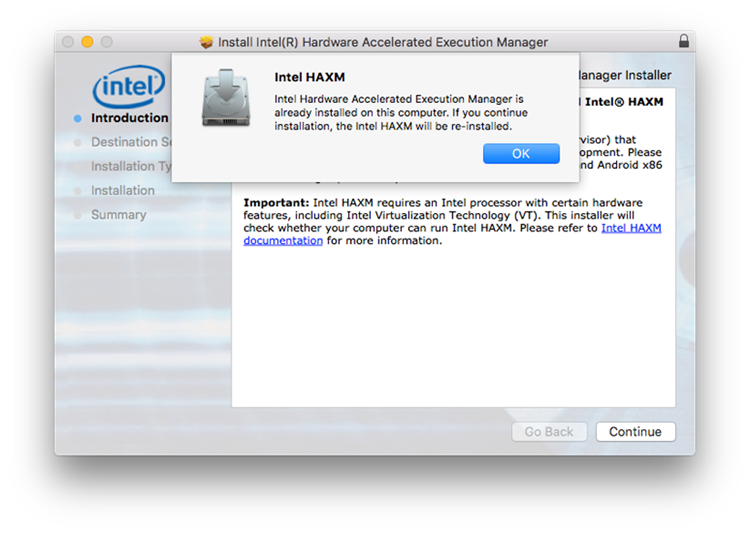
Click «OK» to dismiss the dialog. Then you can either exit the installer, to keep your current version of Intel HAXM, or continue with installation and upgrade Intel HAXM.
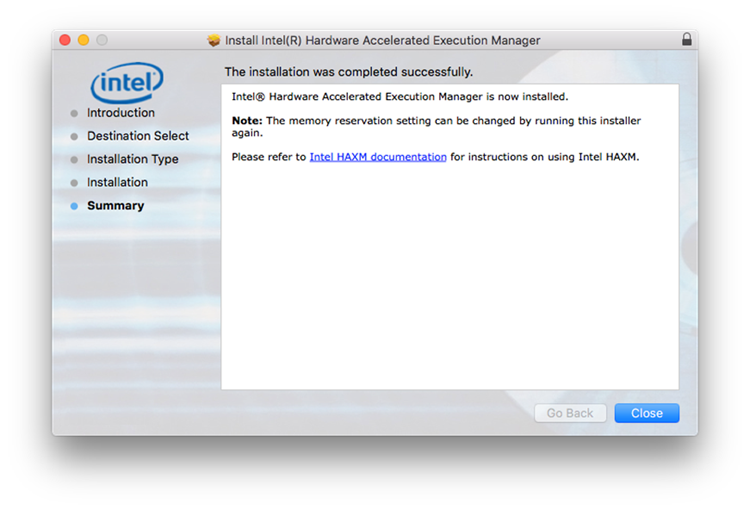
Intel HAXM is now installed and ready to use.
To verify that Intel HAXM is running, open a terminal window and execute the following command:
If Intel HAXM is operating correctly, the command will show a status message indicating that the kernel extension named » com.intel.kext.intelhaxm » is loaded.
To stop or start Intel HAXM, use the following commands:
Installing Intel HAXM on macOS via Android Studio
- Download the Android Studio installer package from http://developer.android.com/sdk/index.html.
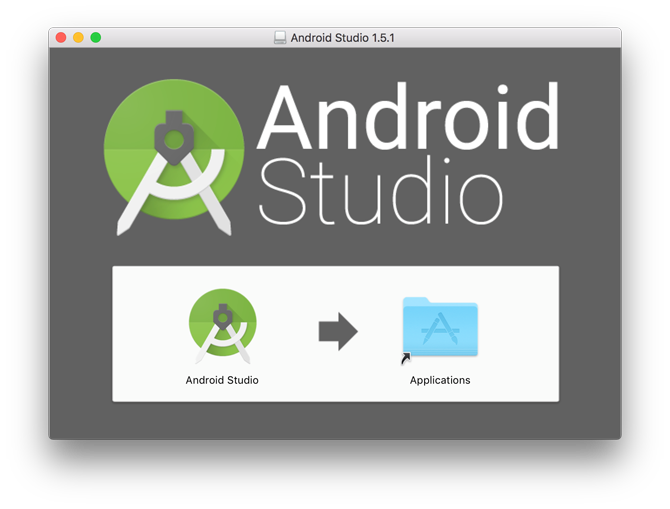
- Run the Android Studio .dmg file.
- In the installer drag and drop Android Studio icon over the Applications folder (Android Studio.app is copied to Applications folder).
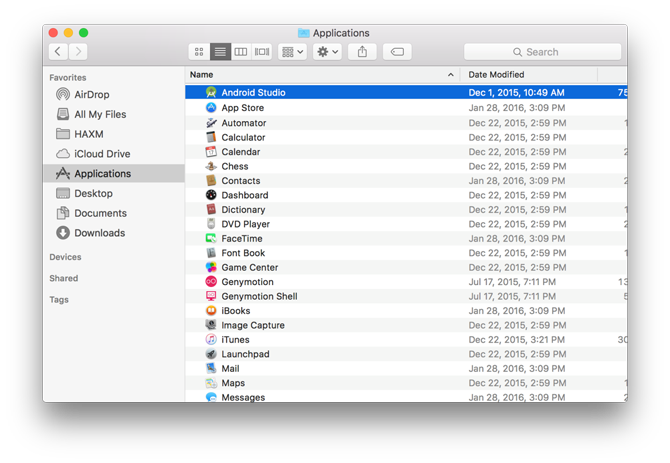
- Open Finder and go to Applications.
- Double click on Android Studio and confirm opening it.
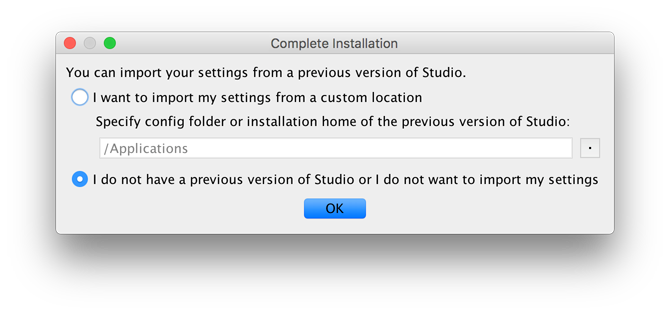
- Select “I do not have a previous version of Studio” and click OK.
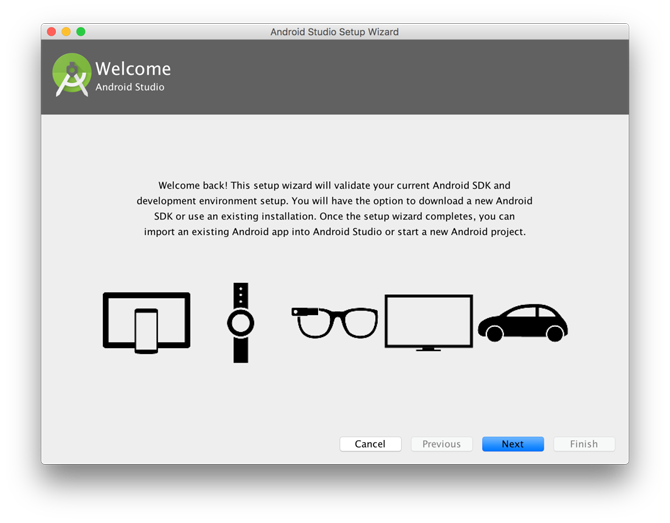
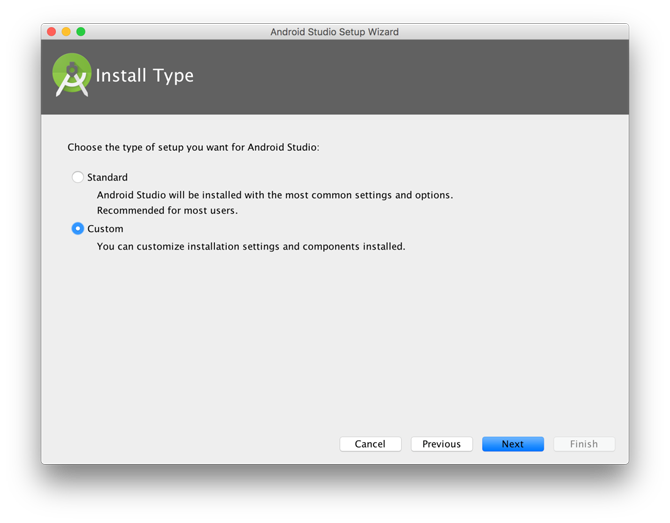
- Select Custom and click Next.
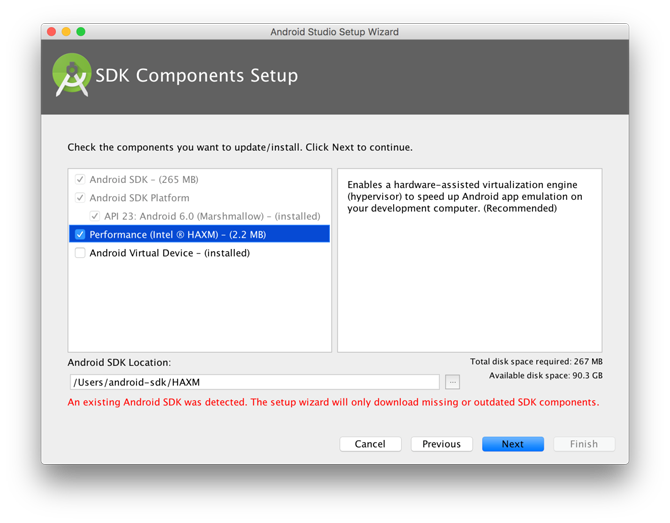
- If HAXM has not been downloaded via SDK Manager at the time of the install it will be downloaded (see image below) and then installed.
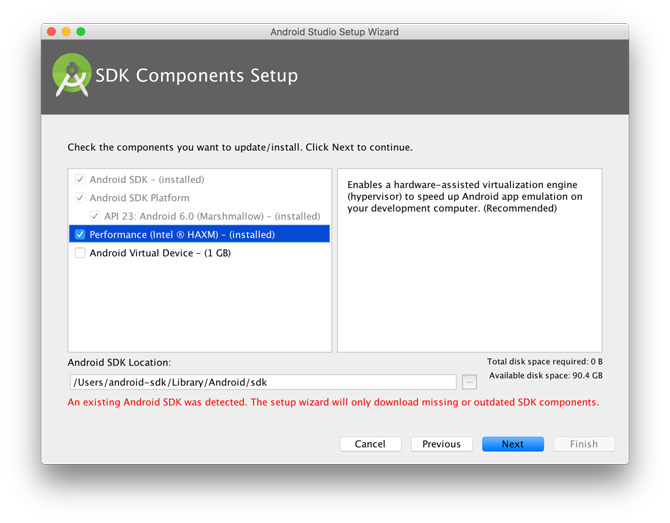
- If HAXM has been previously downloaded via SDK Manager at the time of the install (see image bellow) it will just be installed.
- Select the amount of RAM available for HAXM.
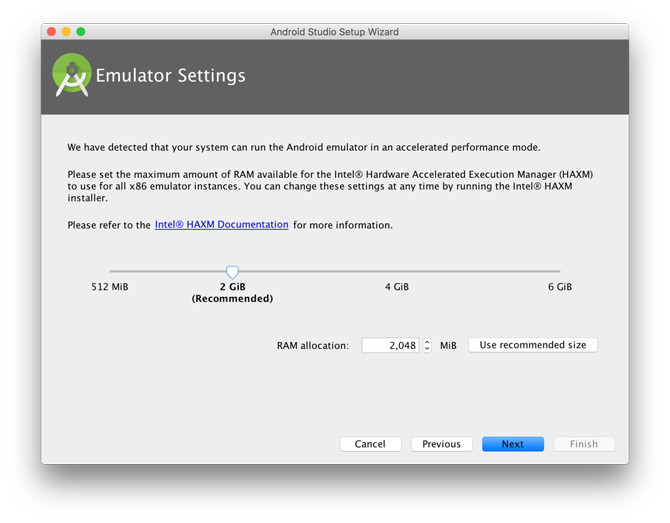
Note: This setting is obsolete since Intel HAXM 6.2.0.
- Click Next and then Finish. The required components will be downloaded / updated / installed.
- After the install is finished a report is displayed. Intel HAXM is now installed and ready to use.
To verify that Intel HAXM is running, open a terminal window and execute the following command:If Intel HAXM is operating correctly, the command will show a status message indicating that the kernel extension named » com.intel.kext.intelhaxm » is loaded.
To stop or start Intel HAXM, use the following commands:
Removing Intel HAXM
Warning: Close all instances of the Android emulator before removing Intel HAXM. Intel HAXM cannot be removed while in use.
To uninstall Intel HAXM, open a terminal window and execute this command:
sudo /Library/Extensions/intelhaxm.kext/Contents/Resources/uninstall.sh
You will be prompted for your current user password. Follow the uninstaller prompts to remove Intel HAXM.
Important: Removing Intel HAXM will disable acceleration for Android emulator. Existing x86 and x86_64 Android Virtual Devices may no longer boot.
Installing Intel HAXM again will re-enable Android emulator acceleration.
Using Intel HAXM
Intel HAXM requires an Android x86 or x86_64 system image provided by Intel. These images can be downloaded through the Android SDK manager or manually from the Intel Developer Zone website.
Intel x86 and x86_64 Android emulator images will automatically be executed using the «emulator» binary, provided with the Android SDK. If Intel HAXM is installed and working, emulation will be accelerated by Intel HAXM (using Intel Virtualization Technology).
Intel Execute Disable (XD) Bit capability error
When installing Intel HAXM, you may encounter an error regarding Intel XD support.
This error message can be triggered by the following conditions:
- Intel XD is not supported by your computer’s processor
- Intel XD is not enabled
Intel XD is not supported
Intel HAXM requires an Intel processor with Execute Disable (XD) Bit functionality and cannot be used on systems lacking this hardware feature. To determine the capabilities of your Intel processor, visit http://ark.intel.com/.
Intel XD is not enabled
Note: Apple computers have Intel XD permanently enabled if supported by the processor.
If you receive an error message indicating that Intel XD is not enabled, your computer does not meet the minimum system requirements to use Intel HAXM. To determine the capabilities of your Intel processor, visit http://ark.intel.com/.
Intel Virtualization Technology (VT-x) capability
When installing Intel HAXM, you may encounter an error regarding Intel VT-x support.
This error message can be triggered by the following conditions:
- Intel VT-x is not supported by your computer’s processor
- Intel VT-x is not enabled
Intel VT-x is not supported
Intel HAXM requires an Intel processor with Intel VT-x functionality and cannot be used on systems lacking this hardware feature. To determine the capabilities of your Intel processor, visit http://ark.intel.com/.
Intel VT-x not enabled
Note: Apple computers have Intel VT-x permanently enabled if supported by the processor.
If you receive an error message indicating that Intel VT is not enabled, your computer does not meet the minimum system requirements to use Intel HAXM. To determine the capabilities of your Intel processor, visit http://ark.intel.com/.
Allowing HAXM to run on macOS High Sierra (10.13) and Mojave (10.14)
- When you install HAXM for the first time on macOS High Sierra, you will get a warning as shown in the screenshot below.
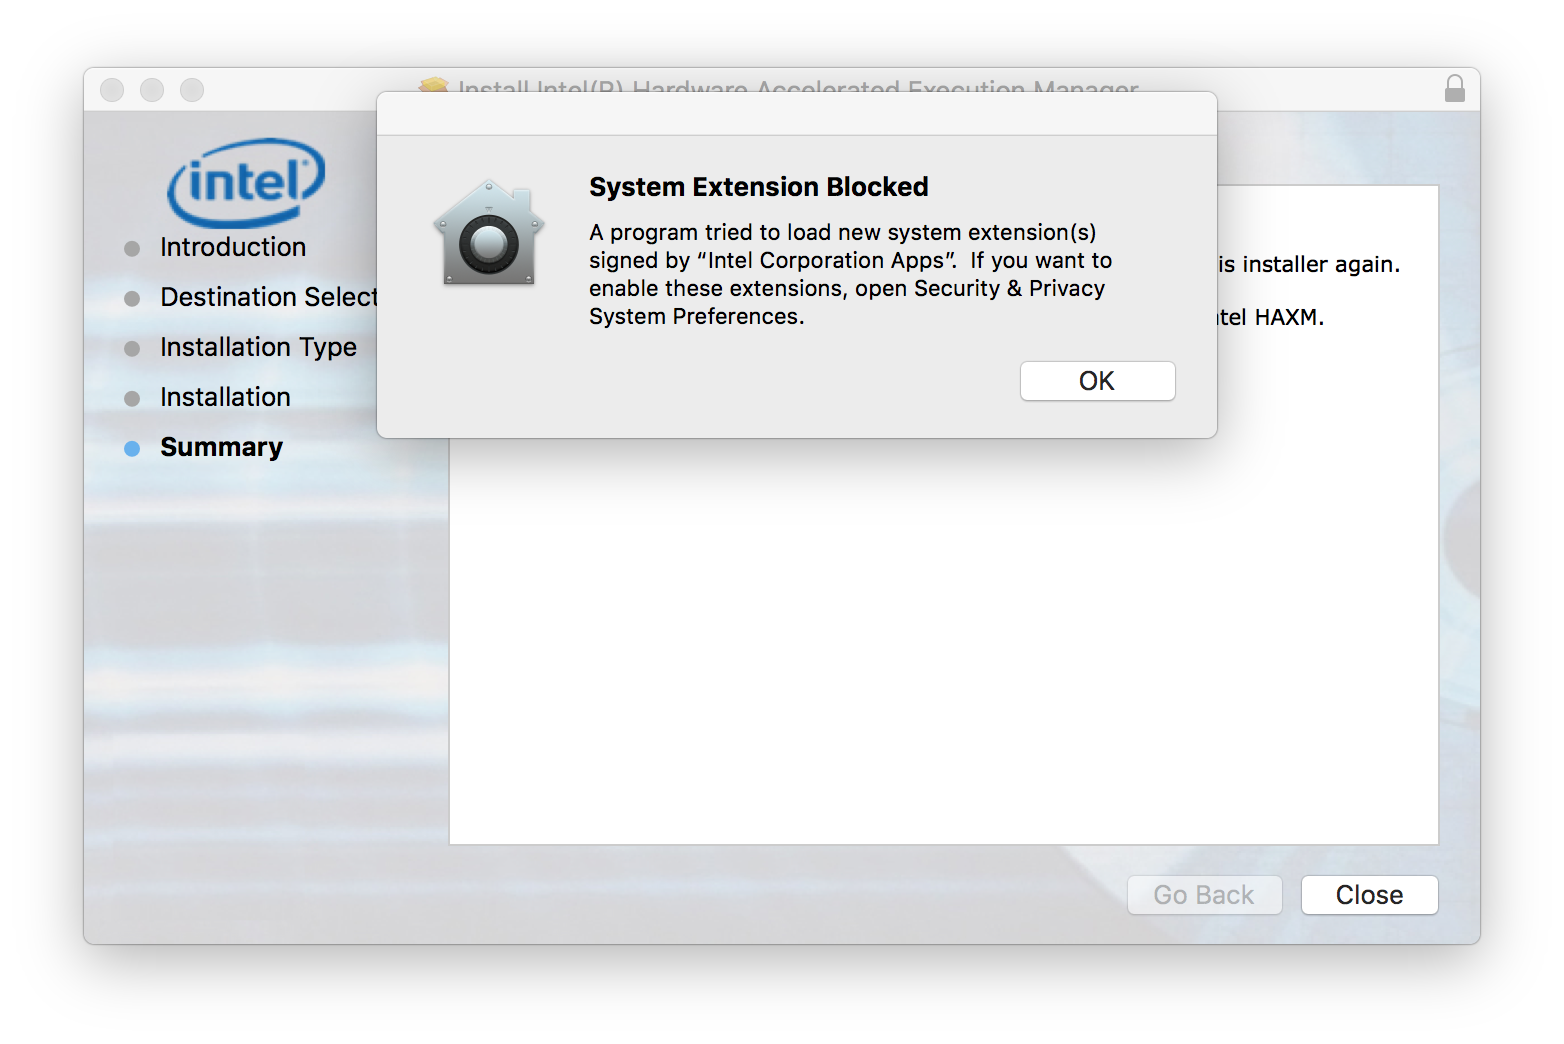
This is because macOS High Sierra by default blocks all third-party kernel extensions (KEXTs). Note that if you installed HAXM on a previous release of macOS before upgrading your system to High Sierra, you will not get this warning, and HAXM will work properly as before. If you do see the above warning, please go to System Preferences > Security & Privacy > General, and manually unblock HAXM by clicking on Allow for “Intel Corporation Apps” as shown in the screenshot below. 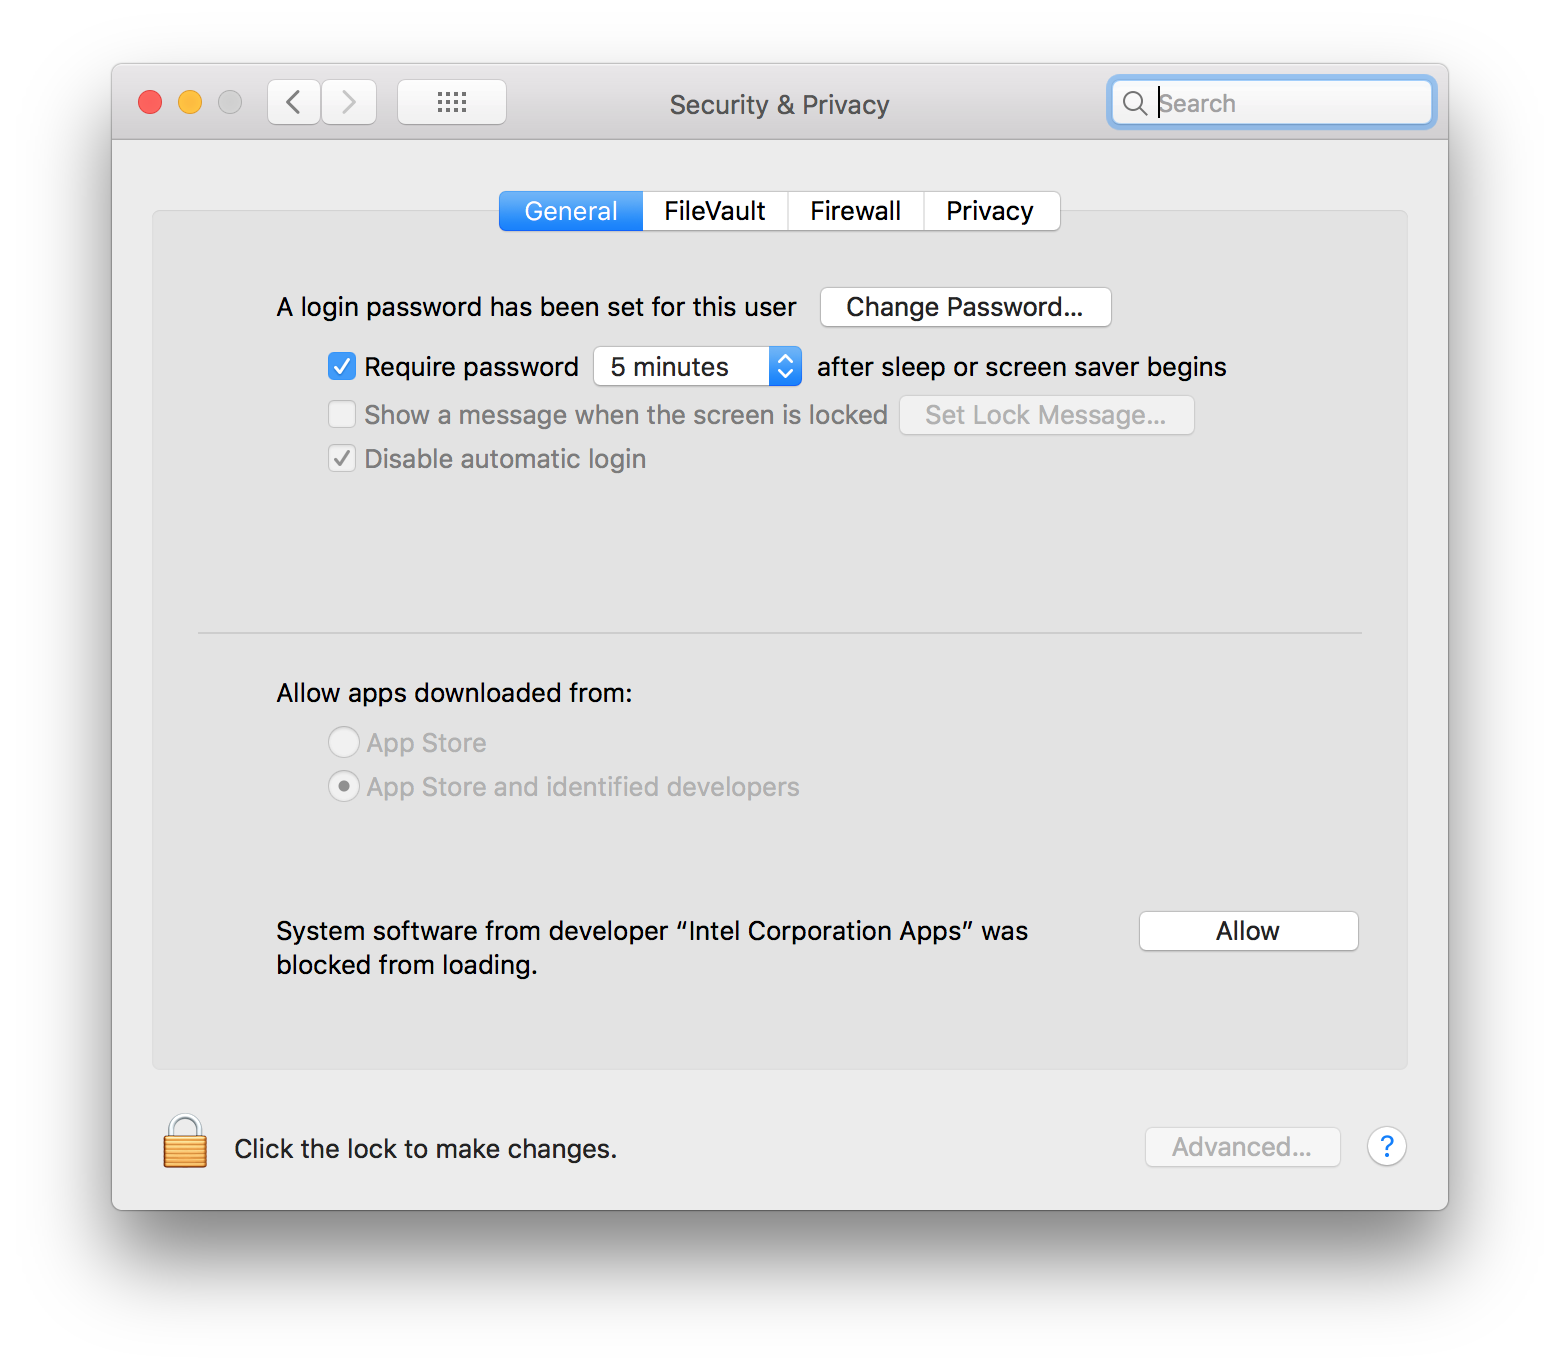
- The Allow option in Security & Privacy will be available only for 30 minutes after the “System Extension Blocked” warning is shown. If the option is already gone, you can bring it back by manually reloading the HAXM KEXT (e.g. uninstalling and then reinstalling HAXM).
Tips and Tricks
Below are some recommendations to get the best experience out of the Android emulator using the Intel HAXM driver.
- Enable the GPU acceleration in the AVD Manager for your image. The Intel HAXM driver executes most CPU instructions natively through Intel Virtualization Technology in the processor and the GPU acceleration offloads the OpenGL calls to the host GPU.
- Make sure the «ANDROID_SDK_ROOT» environment variable is set correctly. The below typically refers to «/Users/ /Library/Android/sdk»
- export ANDROID_SDK_ROOT=
- To automatically run this command whenever a new terminal is started, you can add this command to your
Источник
Как разогнать эмулятор Android
Каждый, кто хоть раз работал с эмулятором для разработки приложений под Android, знает, что даже на современном железе эмулятор тормозит так, что для его использования нужно нечеловеческое терпение. То есть, наверное, надо самому стать андроидом-киборгом.Но есть и еще один метод – попроще.
Intel Hardware Accelerated Execution Manager (Intel HAXM) — это решение, использующее аппаратные возможности виртуализации (Intel VT) и позволяющее значительно ускорить работу эмулятора Android.
Данное решение работает в паре с эмулятором Android для х86 устройств. При этом, эмулятор будет работать со скоростью, приближенной к скорости работы реального устройства, что поможет сократить время на запуск и отладку приложения.
В случае разработки приложения, использующего только Dalvik разработчику не придется ничего менять, т.к. приложение не заметит разницы. В случае с NDK приложением необходимо будет добавить поддержку x86 архитектуры к списку собираемых библиотек. Сделать это несложно, нужно просто добавить поддержку x86 в make файл.
Системные требования
Поддерживаемые ОС
Установка
Intel HAXM можно установить как вручную, так и используя Android SDK Manager.
Установка вручную
Зайдите на сайт software.intel.com/ru-ru/android и скачайте установочный пакет для вашей платформы. Далее запустите установку и следуйте подсказкам мастера установки.
Установка с помощью Android SDK Manager
- Запустите Android SDK Manager
- В разделе Extras выберите «Intel Hardware Accelerated Execution Manager»
- Отметьте его галочкой и нажмите «Install package…»
- Далее подтвердите соглашение с лицензией и нажмите кнопку «Install»
- SDK Manager скачает и распакует пакет в каталог extras, находящийся в каталоге, в который был установлен Android SDK
- Перейдите в этот каталог и запустите установку Intel HAXM
Установка Intel HAXM
В процессе установки вам предложат определить объем выделяемой оперативной памяти. Вы можете оставить значение, предложенное по умолчанию. Если в процессе работы вы захотите изменить это значение – запустите установку еще раз.
В процессе установки может возникнуть и такое
В этом случае проверьте настройки в BIOS, возможно виртуализация поддерживается вашей системой, но по-умолчанию отключена.
Для того, чтобы проверить, что все установлено верно и работает, необходимо в командной строке выполнить:
sc query intelhaxm
После выполнения данной команды вы увидите текущий статус службы
Так же может пригодится способ остановить службу:
sc stop intelhaxm
sc start intelhaxm
Установка эмулятора Android x86
Описанное выше было не что иное, как подготовка почвы. Теперь необходимо установить сам эмулятор, который мы хотим «разогнать» с помощью Intel HAXM. В настоящий момент их два:
- Android 4.0.3 (API 15)
- Android 2.3.3 (API 10)
Устанавливаются они с помощью Android SDK Manager. Запускаем, отмечаем галочками интересующие нас образы и устанавливаем.
Создание виртуального устройства
После установки образа эмулятора Android для x86 необходимо создать новое виртуальное устройство с помощью Android Virtual Device Manager. Для этого:
- Запускаем ADV Manager
- Выбираем создание новойго устройства «New. »
- В окне свойств задаем произвольное название, например «Intel_Android»
- Выбираем версию, в моем случае версия «Android 4.0.3 – API Level 15»
- Устанавливаем остальные параметры (размер и наличие SD карты, разрешение и т.д.)
- Далее следует добавить обязательный параметр в раздел «Hardware» — «GPU Emulation» (кнопка «New», в списке «Property» необходимо выбрать «GPU Emulation», затем «ОК») и установить его в «yes»
Готово! Теперь осталось запустить и проверить все ли настроено верно. Выбираем созданный эмулятор и запускаем его кнопкой «Start». Далее идем в настройки и смотрим название устройства. Если все было сделано правильно, то для нашего примера, в поле «Model number» мы увидим строку «Android SDK Build for x86».
Конец мучениям и долгим ожиданиям! Наш эмулятор начал работать быстрее, причем настолько, что можно прямо из него просматривать видео с Youtube в режиме реального времени, а не как раньше в режиме слайд-шоу.
Источник


