- com android settings произошла ошибка, как исправить
- Что это за ошибка?
- Исправляем com.android.settings
- How to get developer options on Android
- How to access developer options in Android
- Главная
- Android Tablets
- Get more done and have some fun
- Ready when you are
- From work to play
- A tablet that listens
- Your apps are all here
- Apps Carousel
- Get more out of your Android tablet
com android settings произошла ошибка, как исправить
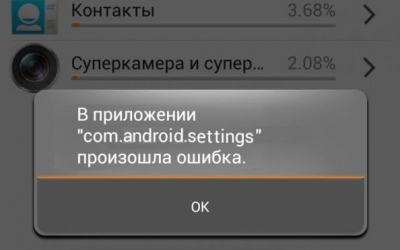
com android settings произошла ошибка, как исправить. В последнее время, у многих пользователей Андроид устройств (Lenovo, HTC, Huawei и др.), наблюдается появление системного сбоя — «В приложении com.android.settings произошла ошибка». Данный баг может появляться при блокировке телефона, смене обоев или при запуске приложений — на разных устройствах могут быть исполнены разные службы, вызывающие данную ошибку.
Что это за ошибка?
Com.android.settings — исполнительный процесс, отвечающий за запуск установленных системных настроек в устройстве. Сбой в работе данной службы может происходить по самым разным причинам, начиная от кривых прошивок или обновлений и заканчивая аппаратными неполадками.
Такая ошибка приложения com.android.settings может появляться очень часто, из-за чего нормально пользоваться приложением невозможно. Например, на некоторых девайсах от HTC, сбой появляется при попытке разблокировать устройство, из-за чего войти в меню, в буквальном смысле, невозможно. Ведь закрыть уведомление кнопкой ОК можно не всегда.
Исправляем com.android.settings
Итак, как мы уже заметили, есть множество причин возникновения этого бага, дальше мы покажем как от неё избавиться, и как обычно начнем с легких путей.
- Первым пунктом стоит простая перезагрузка телефона. Банально, но все же, очень часто такой сбой — это единичный случай, который решается отключением системы.
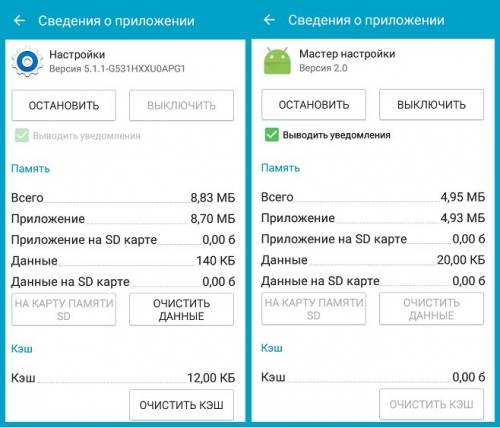
- Если ошибка появляется постоянно, тогда нужно обнулить приложения Настроек на Андроиде. Для этого пройдите в «Настройки» телефона, оттуда в «Диспетчер приложений», дальше вкладка «Все». Там отыщите следующие программы — Настройки и Мастер настроек. Дальше все стандартно — очищаем данные и кэш, останавливаем. Бутаем (перезагружаем) телефон.
Источник
How to get developer options on Android


There’s a hidden set of developer options on Android devices that you can access if you know how. Whether you want to enable USB debugging, unlock your bootloader so you can root your Android phone, or change the animation draw speed to give your phone a slicker feel, this is where you can do that and a lot more. Whatever your reason for wanting to access the hidden options, you have to unlock them first. Our guide below gives you the basics on how to get to the developer options.
By default, the developer options in Android phones are hidden. This is because they’re designed for use by developers who want to test various functionalities and make changes that may impact the phone’s performance. It’s not smart to go tinkering with the developer options without a specific purpose and an understanding of what each option refers to. But now that you’ve been warned, here’s how you can get developer options on Android.
How to access developer options in Android


You can unlock the developer options on any Android smartphone or tablet by locating the build number in your Settings menu and tapping it multiple times. However, the exact location of the aforementioned build number may differ depending on your phone’s manufacturer. The following example uses a Samsung Galaxy S20 FE running Android 11.
- Go to Settings >About Phone.
- Tap Software Info >Build Number.
- Tap Build Number seven times. After the first few taps, you should see the steps counting down until you unlock the developer options. You may also have to tap in your PIN for verification. Once developer options are activated, you will see a message that reads, You are now a developer.
- Go back to the Settings pane, where you will now find Developer options as an entry.
- Tap it and toggle the switch on if it is not already, and from there, you can proceed to make adjustments to your phone.
On phones running Android 10, you’ll usually find the About Phone menu under Settings > System > About Phone — all the other steps above are the same.
It’s simple to deactivate developer options straight from your Settings if you don’t need to access them anymore. The first step to do this is to head over to Settings, click Developer Options, and hit Off. And, you’re done. Yes, really. That’s all there is to it. After you’ve completed this step, you will no longer be able to access Developer Options from the Settings menu. But, you can still modify these settings later if you change your mind and want to return them to their initial state. Simply follow the directions mentioned above.
You can also investigate other more advanced settings using Android’s developer options. Remember that developer mode was initially intended for app debugging and manipulating system responses and functionality. The selections within developer mode typically include debugging, networking, input, hardware-accelerated rendering, media, monitoring, and applications. It’s up to you how you want to customize the settings, as you can categorize them according to your specific preferences.
We recommend visiting the official Android Developer website to get more insight on this subject and examine the developer options’ full list. Know that these options may be different depending on the device you’re using. Typically, the choices depend on the type and model of the device you are working with.
Источник
Главная
Приветствую Вас, посетители сайта Android Settings Настройка и оптимизация смартфонов на базе Android. На этом ресурсе Вы найдете различные инструкции по настройке телефона на базе android. Инструкции универсальны и можно использовать для настройки на любых моделях телефонов. Возможно немного будут только отличаться расположение некоторых меню. У кого руки с плеч и голова на месте разберется и найдет нужную настройку, а эти инструкции в качестве дополнительной помощи.
Android — это операционная система для планшетов, смартфонов, электронных книг, цифровых проигрывателей, игровых приставок, ноутбуков, нетбуков, смартбуков и других устройств. Android основана на ядре Linux и изначально разрабатывался компанией Android Inc. Затем компанию купила Google в 2005 году.
Первая версия операционной системы Android появилась 23 сентября 2008. И с каждой новой версией ОС Android добавлялось все больше функционала, а также устранялись обнаруженные ошибки и уязвимости в коде.
Интересный факт, начиная с версии 1.5 кодовое имя ОС android представляет собой название десерта.
- 1.5 Cupcake — кекс
- 1.6 Donut — пончик
- 2.0/2.1 Eclair — эклер
- 2.2 Froyo — замороженный йогурт
- 2.3 Gingerbread — Имбирный пряник
- 3.0 Honeycomb — пчелиные соты
- 4.0 Ice Cream Sandwich — мороженное в вафлях
- 4.1/4.2/4.3 Jelly Bean — желейные бобы
- 4.4 KitKat — Шоколадные батончики Кит-кат
- 5.0/5/1 Lollipop — леденец н палочке
- 6.0 Marshmallow — пастила/суфле
- 7.0 Nougat — нуга
- 8.0 Oreo — печенье Oreo
- 9.0 Pie — пирог
- 10 — без названия. С 10 -й версии решили оказаться от присвоения названий десертов операционной системе андроид..
Самые распространенные версии android сейчас 6.0-8.0 . Версия Andorid 9 с кодовым названием PIE является последней актуальной версией дата выхода которого 6 августа 2018 года.
Версия андроид 10 вышла 4 сентября 2019 и для обновления уже доступна.
ОС Андроид имеет очень дружественный интерфейс. Даже новички используя телефоны на базе android спустя несколько дней могут стать вполне опытными пользователями.
Главным достоинством ОС Android является возможность установки множества различных приложений как их хранилища телефона так и из Google Play Маркет. Android является также ОС с открытым исходным кодом. Если Вы хотите написать свое мобильное приложение для Android, то скачивайте с сайта Google инструмент разработки, устанавливайте на компьютер и начинаете программировать.
Используя описанные инструкции Вы сможете оптимизировать работу Вашего смартфона, повысить производительность, увеличить срок службы батареи, произвести настройки «под себя»
Источник
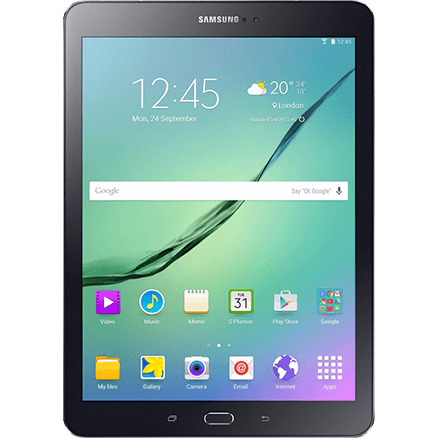
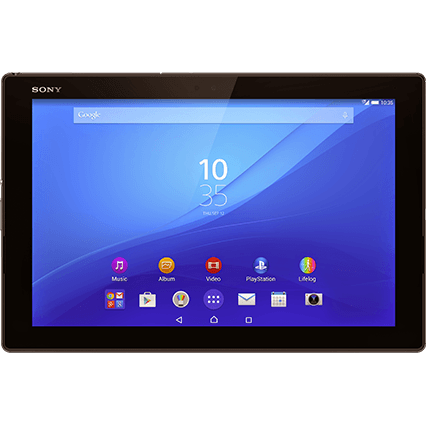
Android Tablets
Android is customisable, easy to use and works perfectly with all your favourite apps.
Get more done and have some fun
Ready when you are
All your music, photos, documents and Gmail are there waiting for you as soon as you sign in to your Google account.
From work to play
Get things done and entertain yourself from anywhere. Easily and quickly switch between creating and editing documents, browsing the web, watching films and listening to music.
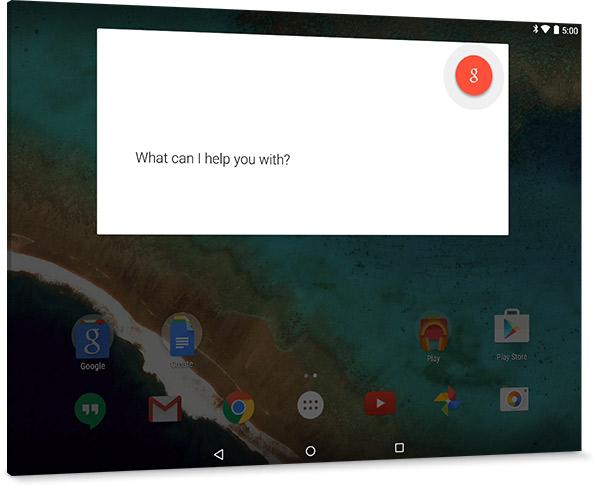
A tablet that listens
Use your voice to get things done. Say “OK Google” to ask a question, send an email, set a reminder, get directions or whatever you need to do.
Your apps are all here
Choose from over 1.3 million apps on Google Play. Plus, your favourite Google apps are already on your device, easy to access and run smoothly.
Apps Carousel
Explore a selection of Android applications that you can use to make your Android phone, tablet, wearable, auto console and television one-of-a-kind. Use the previous and next buttons, as well as the keyboard arrows, to change the displayed item.


Get more out of your Android tablet
Turn your mobile device into a portable Wi-Fi hotspot and share its Internet connection with up to 10 other devices at once.
Open your device’s Settings menu. Under “Wireless & networks”, touch More > Tethering & portable hotspot. First make sure that you set up your Wi-Fi hotspot under “Set up Wi-Fi hotspot” and then select the box next to “Portable Wi-Fi hotspot” to start sharing your data connection.
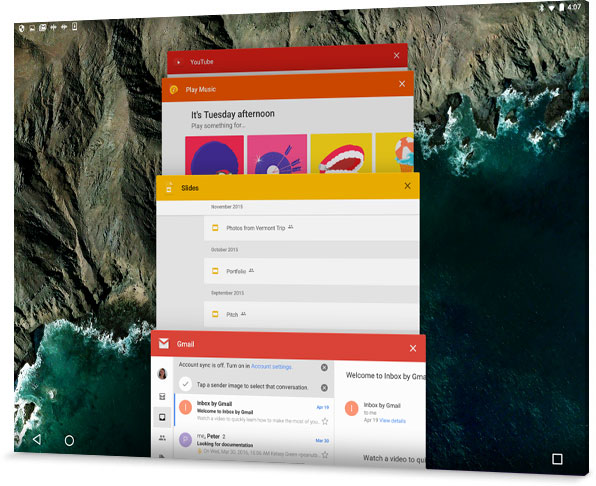
Easily switch between activities with the Overview button that can be found to the right of your Home button in the navigation bar at the bottom of your screen.
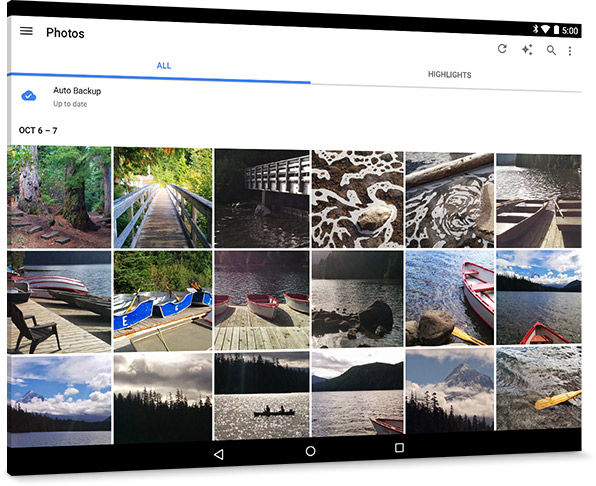
Because photos are automatically backed up and synced to the cloud with Back up & sync, you can take a selfie from your phone and tweak it on your tablet.
Open the Photos app, touch the menu button and select Settings. Touch Back up & sync and then switch on back up.
Open the Photos app on your tablet, select a photo and touch the pencil icon to start editing.
Get the information that you want when you need it most with Google.
To view the Google Now cards that are waiting for you at any time, open the Google app and scroll down to see all of your cards.
With multiple user accounts and guest modes, you can share your device with others while keeping your personal stuff safe and sound.
You must be the tablet owner to add users. To add a new user, open your tablet’s Settings menu and under «Device», touch Users. Touch Add user or profile, then touch User and finally touch OK. Touch Set up now if you’re with the new tablet user. If not, touch Not now and complete setup later.
On Android 5.0 Lollipop, pull down the notification bar and tap the round icon of the current user on the top right. Select «Guest» to switch to the guest account, and when they’ve finished you simply switch back.
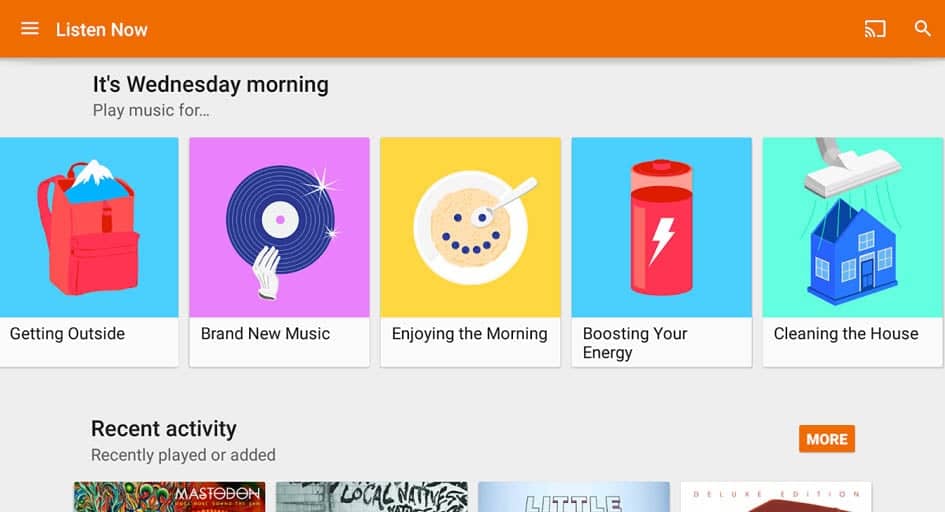
Google Play helps you to bring your iTunes library or locally stored files to your Android devices and the web so that you can access your music anywhere.
Источник


