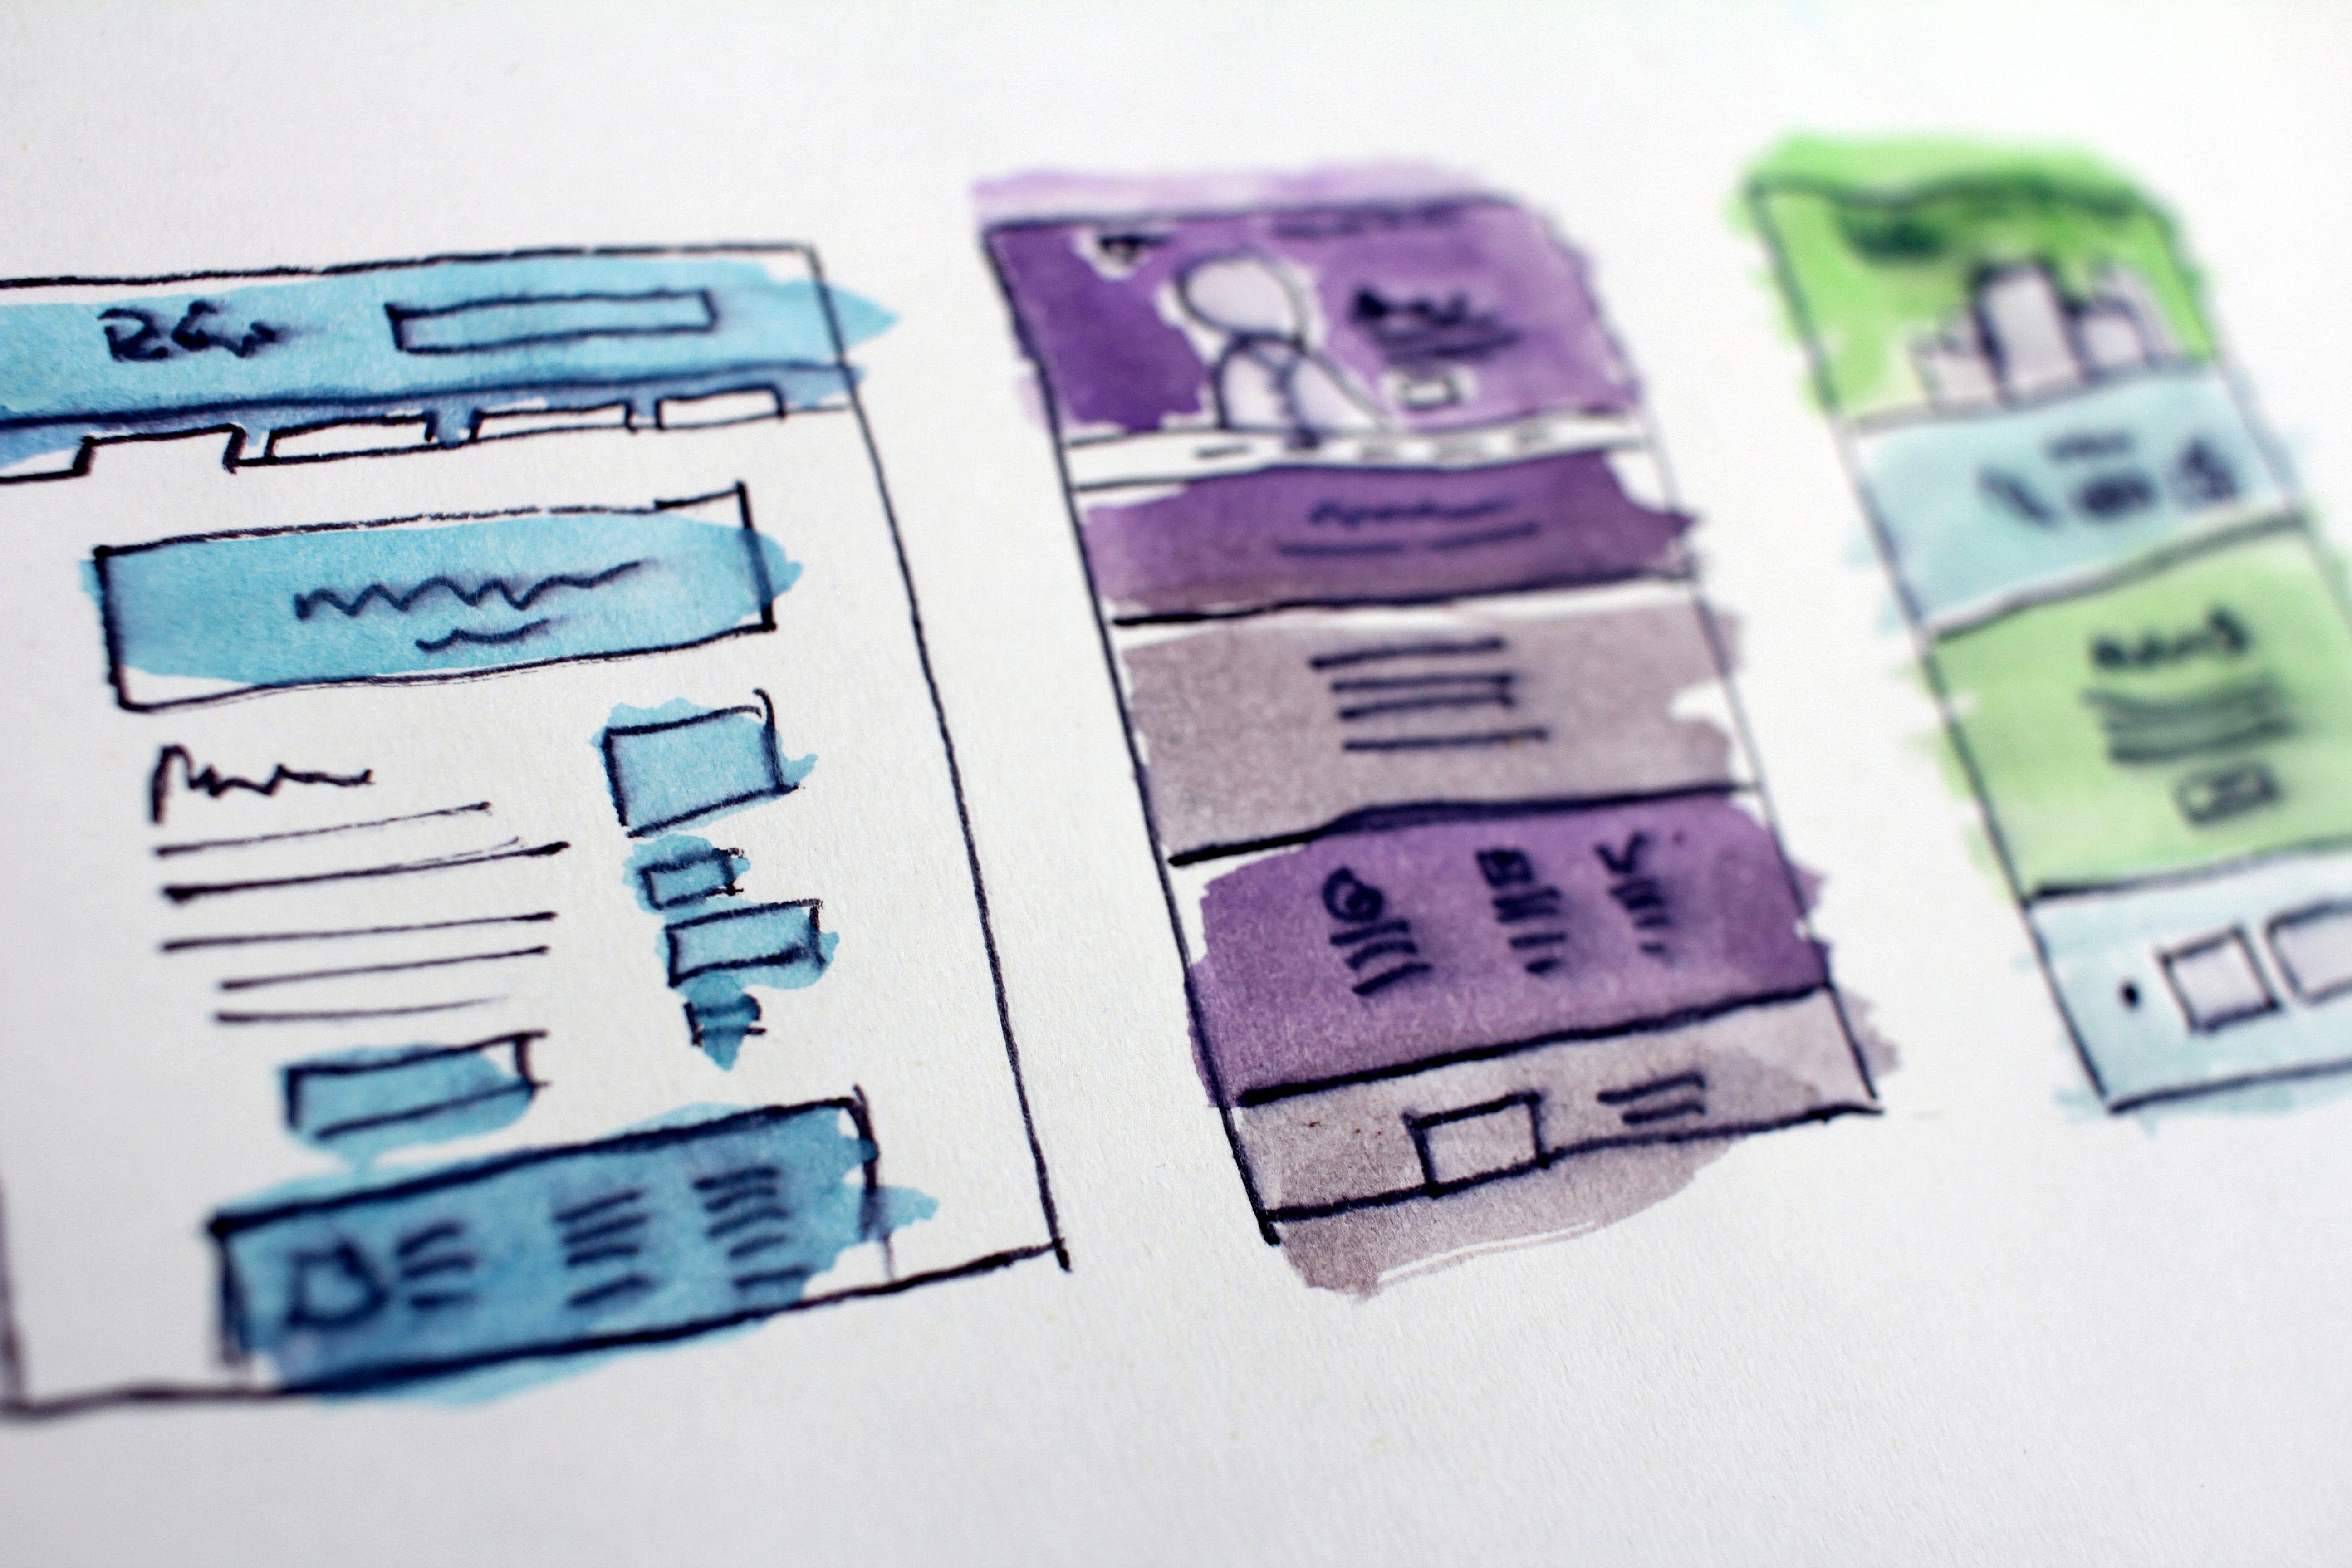
- Урок 4. Android Material Design. Установка теней и обрезка View
- Настройте тени и контуры
- Обрежьте view
- Custom TabLayout Indicator in — Android.
- Make your Indicator with your choice.
- Basic TabLayout Indicator Color:
- Result:
- More Attributes:
- Custom TabLayout Indicator Implementation:
- Step1
- Step2
- Step3
- Step4
- Solution:
- Conclusion
- Урок 19. Как создать андроид-приложение с вкладками – TabLayout с ViewPager2 на Kotlin
- Добавление TabLayout в макет разметки экрана
- Реализация вкладок в MainActivity
- Android TabLayout example using ViewPager2 and Fragments with Latest android API AndroidX
- Android shadow under tablayout
- About
Урок 4. Android Material Design. Установка теней и обрезка View
Перевод документации официального сайта developer.android.com
 Рисунок 1. Тени для различных высот view.
Чтобы установить высоту view в макете используйте атрибут android:elevation. Чтобы установить высоту в коде activity, используйте метод View.setElevation().
Чтобы установить смещение, используйте метод View.setTranslationZ().
Новые методы ViewPropertyAnimator.z() и ViewPropertyAnimator.translationZ() позволяют легко анимировать высоту view. Для получения дополнительной информации, смотрите справку по ViewPropertyAnimator и руководство разработчика о свойствах анимации.
Вы так же можете использовать StateListAnimator чтобы установить анимации декларативно. Это особенно полезно в тех случаях, когда изменяется состояние триггера анимации, например, когда пользователь нажимает на кнопку. Для получения дополнительной информации, смотрите Изменение состояния анимации view.
Значение Z измеряется в dp (density-independent pixels).
Настройте тени и контуры
Границы фона drawable view определяют форму его тени. Контуры представляют собой внешнюю форму графического объекта и определяют область для сенсорного отклика.
Рассмотрим view, определенное с помощью фона dravable:
Фон drawable определен как прямоугольник с закругленными углами:
View отбрасывает тень с закругленными углами, после того как фон drawable установил границы view. Создание пользовательского контура переопределяет форму тени view по умолчанию.
Чтобы установить пользовательский контур для view в коде:
1. Унаследуйтесь от класса ViewOutlineProvider.
2. Переопределите метод getOutline().
3. Назначьте нового поставщика контура для вашего view с помощью метода View.setOutlineProvider() .
Вы можете создать овальные и прямоугольные очертания с закругленными углами используя методы класса Outlines. Поставщик контура для view по умолчанию получает контур из фона view. Чтобы view не отбрасывала тень, установите значение поставщика контура в null.
Обрежьте view
Обрезание позволяет вам легко изменить форму view. Вы можете обрезать view для совместимости с другими элементами дизайна или изменить форму view в ответ на действия пользователя. Вы можете обрезать view к его области контура с помощью метода View.setClipToOutline() или используя атрибут android:clipToOutline. Только прямоугольник, круг и скругленный прямоугольник поддерживают обрезание, как определено в методе Outline.canClip().
Чтобы обрезать view в форме drawable, установите drawable в качестве фона view (как показано выше), и вызовите метод View.setClipToOutline().
Обрезание view это дорогостоящая операция, поэтому не анимируйте форму, которую вы используете чтобы обрезать view. Для достижения этого эффекта используйте Reveal эффект анимации.
Источник
Custom TabLayout Indicator in — Android.
Make your Indicator with your choice.

Mar 2, 2020 · 4 min read
This article belongs to what I have learned today, so basically I need to Implement a custom TabLayout Indicator, with rounded corners and with some extra spacing like the below example.

Basic TabLayout Indicator Color:
If we need to set the Indicator color, without any custom Indicator, so in that case, we only need to set the app:tabIndicatorColor as you can from the below XML file:
From the above XML, you will see the normal TabLayout Indicator color, without any custom view.
Result:

More Attributes:
You can also play with other attributes of TabLayout some of them are listed below.
Custom TabLayout Indicator Implementation:
Now, le t ’s start with the custom TabLayout Indicator Implementation, Let’s break into steps:
Step1
Make a drawable of layer-list, with the name tab_indicator , Like below code snippet.
In the above code, I added a rectangle shape tag, with a corner radius of 5dp ànd with a solid color.
Step2
We need to add a drawable to our TabLayout, Like below code snippet.

Now what we achieved is half of our requirements, currently showing a custom TabLayout Indicator, but now we need some spacing from the bottom and as well as from left, right Indicator.
Step3
For bottom padding, we need to add android:paddingBottom to TabLayout, Like the below code snippet, and we will see the result.

Step4
For Left/Right Indicator Margins, we need to add margin in our drawable file tag, which we created earlier.
In the above code, what I did is to add an end and `margin to the tag, and we will see the result.

Finally, we achieved our goal, everything is perfectly fine, what I noticed is it’s working fine on all versions of Android except Android 9.0 which is Pie. Let me show you how it look on Android 9.0
The issue was it’s not picked up the color which I defined in my drawable, now let’s directly move towards the solution.
Solution:
The Solution for the above issue is to define the app:tabIndicatorColor the color which I defined on my drawable, the same color I defined in the app:tabIndicatorColor
That’s it after defining the app:tabIndicatorColor it’s working fine in all the android versions.
Conclusion
This article described to you how you can create a custom TabLayout Indicator, also described to you how you can be fixed the Android 9.0 color issue.
I hope this article is helpful. If you think something is missing, have questions, or would like to give feedback, go ahead and leave a comment below. I’d appreciate the feedback.
I’ve written some other Android-related content, and if you liked what you read here, you’ll probably also enjoy this:
Источник
Урок 19. Как создать андроид-приложение с вкладками – TabLayout с ViewPager2 на Kotlin
На прошлом уроке мы познакомились с ViewPager2 и создали андроид-приложение, в котором можно листать экраны свайпом вправо или влево. На этом уроке добавим в верхней части экрана вкладки, которые будут содержать заголовки и индикатор экрана, на котором находится пользователь в данный момент, а также рассмотрим некоторые их свойства и способы оформления.
В этом уроке будем использовать проект из прошлого урока, можно скачать его на странице урока 18 по ссылке вверху.
Добавление TabLayout в макет разметки экрана
Чтобы добавить вкладки на экран, нужно открыть макет разметки и добавить компонент com.google.android.material.tabs.TabLayout в верхней части экрана:
Для корректного размещения нужно изменить компонент ViewPager2 – высоту укажем 0dp. Таким образом, высоту компонента будет регулировать корневой ConstraintLayout по заданным ограничениям. А вместо ограничения app:layout_constraintTop_toTopOf=»parent» поставим app:layout_constraintTop_toBottomOf=»@+id/tab_layout» – чтобы верх компонента ViewPager2 был ограничен не верхней границей родительского компонента, а нижней границей компонента TabLayout.
Рассмотрим подробнее компонент com.google.android.material.tabs.TabLayout. Свойство app:tabMode=»scrollable» обеспечивает размещение в видимой части экрана только нескольких вкладок, остальные будут доступны в процессе прокрутки. Если мы не укажем это свойство, то в видимой части экрана будут одновременно отображаться все вкладки, и при большом их количестве визуальное восприятие будет затруднено.
Свойство app:tabIndicatorColor=»@color/teal_200″ указывает цвет, а app:tabIndicatorHeight=»4dp» – толщину индикатора вкладки.
Далее идут свойства ширины – указываем по родителю – и высоты – указываем по содержимому.
Последние три свойства – ограничения верхней части и боковых сторон компонента по родителю.
Реализация вкладок в MainActivity
Открываем класс MainActivity и пишем реализацию вкладок:
Источник
Android TabLayout example using ViewPager2 and Fragments with Latest android API AndroidX
In this tutorial we are going to create 3 Tabs .Every tab have its own Fragment to control over screen. Also user can swipe between 3 tabs.

we are using AndroidX support Library , ViewPager2 and 3 different fragment & 3 different xml for layouts. And TabLayout for Tabs.
Layout Demonstration :
- Checkout the following pic which explains the complete overview of layout architecture. Basically we are using ViewPager as main layout and for individual pager views we use Fragments. The tabs are part of Action Bar.

STEP 1: CREATING PROJECT
- Let’s start with creating new project in android studio with package name com.example.manualSliding and class name MainActivity.java and its layout name is activity_main.xml.
STEP 2: ADDING DEPENDENCIES
- open file Gradle Scripts/build.gradle(Module: app)
- under dependencies add this:
- under compileOptions<> add this:
STEP 3: EDIT app/res/values/colors.xml
STEP 4: EDIT app/res/values/styles.xml : we using this theme because TabLayout component works in this theme.
STEP 6: CREATING LAYOUT FOR EACH FRAGMENT :
- create new xml layout file under app/res/layout/first_frag.xml and add the below code:
- create new xml layout file under app/res/layout/second_frag.xml and add the below code:
- create new xml layout file under app/res/layout/third_frag.xml and add the below code:
STEP 7: Create FRAGMENT CLASS for each view layout:
Источник
Android shadow under tablayout
This library draw android view shadow by ShadowLayer. You may don’t like the CardView’s black shadow which we can’t change it’s color. Same to CardView wrap content and set shadow radius. You can change shadow color, foreground color and corner radius everywhere. Because the shadow is draw in the view. So you must add space to draw the shadow. The ShadowView add one param shadowMargin which must be set before you add shadow radius to the view.
Caveat: Margin In UI
= layout_margin + shadow_margin(Add by ShadowView)
| H | H | H |
|---|---|---|
| Change Radius | Change foreground | Change Corners |
 |  |  |
| Change shadow color | Change shadow margin | Demo |
 |  |  |

About
Deprecated because of the performance not fine. Android custom shadow view, can replace your CardView
Источник


