Android Speech to Text Tutorial

In this article, we will learn how to implement speech to text functionality in android. To enable our app to use speech to text we have to use the SpeechRecognizer class.

Let’s see what is written in the official documentation:
This class provides access to the speech recognition service. This service allows access to the speech recognizer. Do not instantiate this class directly, instead, call SpeechRecognizer#createSpeechRecognizer(Context) . This class’s methods must be invoked only from the main application thread.
The implementation of this API is likely to stream audio to remote servers to perform speech recognition. As such this API is not intended to be used for continuous recognition, which would consume a significant amount of battery and bandwidth.
Let’s implement this to understand it better.
First of all, create a new Android Studio project and in the manifest file add the following user-permissions:
Now in the activity_main.xml file, we will add an EditText and an ImageView.I will not explain the layout file as I don’t want to waste anybody’s time who is here to learn the Speech to Text.You can see the code below.
Let’s dive into the MainActivity.java file.
First, we will check for the permissions:
If the permission is not granted then we will call the checkPermission method.
Now here comes the important part first which will initialize the SpeecRecognizer object and then create the intent for recognizing the speech.
As you can see we have added some extras let me explain what are they.
The constant ACTION_RECOGNIZE_SPEECH starts an activity that will prompt the user for speech and send it through a speech recognizer.
EXTRA_LANGUAGE_MODEL: Informs the recognizer which speech model to prefer when performing ACTION_RECOGNIZE_SPEECH.
LANGUAGE_MODEL_FREE_FORM: Use a language model based on free-form speech recognition.
EXTRA_LANGUAGE : Optional IETF language tag (as defined by BCP 47), for example, “en-US”.
Now we will set a speechRecognitionListener to our speechRecognizer object using the setRecognitionListener() method.
You can see after setting the listener we get several methods to implement. We will go the onResults method and add the following code
We get an ArrayList of String as a result and we use this ArrayList to update the UI (EditText here).
Build better voice apps. Get more articles & interviews from voice technology experts at voicetechpodcast.com
In the onBeginningOfSpeeh() method we will add the following code to tell the user that his voice is being recognized.
Now, lets set up the imageView. We will add a touchListener to the image view to know when the user has pressed the image.
When the user taps the imageView the listener starts listening and the imageView source image is also changed to update the user that his voice is being listened to.
You can find the full source code below:
Let’s run the app.
Now you are capable of adding a cool functionality to your app. What are you waiting for start coding…
You can get the full source code from my GitHub.
Источник
Android speech recognition app

![]()
Android Speech Recognition
This library lets you perform continuous voice recognition in your android app with options to either use Google Voice Ime in a Dialog or perform the recognition in-app. It also provides you with an option to enforce ONLY offline speech recognition.
Gradle
Add the Jitpack repository to your root build.gradle file
Add the dependency to your app’s build.gradle file
Maven
Add the repository to your pom.xml file
Add the dependency
To use SpeechRecognition library, initialize it, set a listener for handling callbacks, then start listening.
Handling Permissions
By default, SpeechRecognition handles the request to grant RECORD_AUDIO permission internally and provides a callback via OnSpeechRecognitionPermissionListener interface. There is no need to request this permission in your manifest.
Note: use SpeechRecognition.handleAudioPermissions(false) to disable this behavior. If this is set but the permission was not granted, SpeechRecognition will throw a SecurityException
Note: Runtime permission request is available from API level 23 (Marshmallow). Lower API levels will request permissions on install, thus no callback will be triggered.
To receive the speech recognition result and other event notification, you need to implement the OnSpeechRecognitionListener
Note OnSpeechRecognitionCurrentResult will NOT be called if your are using the GoogleVoiceIme dialog.
| Method | Default | Description |
|---|---|---|
| setContext(Context) | Null | Use this to change SpeechRecognition current context |
| setPreferredLanguage(String) | — | Not yet implemented |
| handleAudioPermissions(boolean) | true | set false to handle audio permissions yourself. If false , then no need to setSpeechRecognitionPermissionListener() |
| useOnlyOfflineRecognition(boolean) | false | set true to force android to use its Offline Recognition Engine. By default, android uses either or both online and offline. false is recommended. |
| isSpeechRecognitionAvailable() | — | returns true or false whether the device supports speech recognition or not |
| useGoogleImeRecognition(boolean, String) | false | whether to use GoogleVoiceIme Dialog or not. If true, set a prompt to display on the dialog or null to use default. |
| startSpeechRecognition() | — | start listening for voice input |
| stopSpeechRecognition() | — | dispose resources |
See SpeechRecognizer class for error definitions.
Copyright (c) 2018 Maxwell Obi
Permission is hereby granted, free of charge, to any person obtaining a copy of this software and associated documentation files (the «Software»), to deal in the Software without restriction, including without limitation the rights to use, copy, modify, merge, publish, distribute, sublicense, and/or sell copies of the Software, and to permit persons to whom the Software is furnished to do so, subject to the following conditions:
The above copyright notice and this permission notice shall be included in all copies or substantial portions of the Software.
About
Continuous speech recognition library for Android with options to use GoogleVoiceIme dialog and offline mode.
Источник
5 лучших приложений для превращения голоса в текст на Android
Времена, когда для того, чтобы превратить свою устную речь в письменный текст, вам нужен был личный секретарь, уже давно прошли. У старого метода, безусловно, есть свои преимущества, но сегодня для преобразования речи в текст гораздо проще и дешевле будет воспользоваться своим самым обыкновенным смартфоном. В этом материале мы составили список лучших конвертеров аудио в текст для Android, так что вам будет намного проще подобрать какой-нибудь себе по душе.

Gboard
Конечно, мы не могли не включить фирменную клавиатуру Google в этот список. Возможно, вам даже не понадобится устанавливать на ваш телефон какие-либо дополнительное программы. На многих Android-устройствах клавиатура Google есть по умолчанию, а на те, где ее нет, Gboard можно загрузить из магазина Google Play.
Хотя приложение Gboard в первую очередь предназначено для физического ввода текста, оно также поддерживает транскрипцию речи в текст. Между прочим, эта функция в Gboard работает очень хорошо, так как задействует все мощности Google. Приложение также поддерживает множество языков и может быть загружено для использования офлайн и более быстрого голосового набора. Gboard также бесплатно и его должно быть более чем достаточно для ваших нужд. Это, безусловно, один из лучших конвертеров аудио в текст на Android.
Evernote
Вот еще одно приложение, возможности которого сложно переоценить. Evernote — одно из самых популярных приложений для создания заметок, которое, помимо прочего, поддерживает преобразование речи в текст. В этом приложении есть множество других функций и возможностей на все случаи жизни, поэтому всем, кто часто делает заметки, Evernote обязателен к ознакомлению. Базовые возможности Evernote бесплатны, но за остальные придётся платить 219 рублей в месяц или 1989 рублей в год.
Speechnotes
Разработчик Speechnotes утверждает, что это бесплатная альтернатива самым дорогим аудио-текстовым конвертерам на рынке. Speechnotes задействует для своей работы сервера Google, а поэтому распознаёт речь ничуть не хуже, чем тот же Gboard. Приложение умеет работать в режиме диктовки несколько часов подряд, а также позволяет отредактировать сгенерированный текст даже во время диктовки.
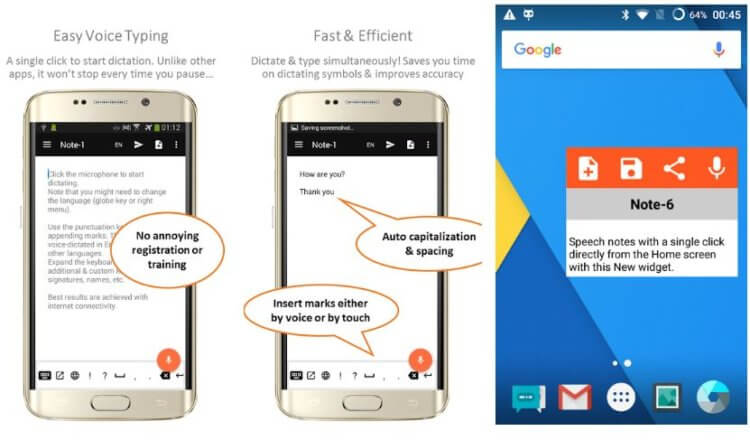
Speechnotes можно загрузить и использовать бесплатно, но в бесплатной версии есть реклама. Чтобы избавиться от рекламы и получить возможность кастомизировать интерфейс приложения, вам придётся купить Speechnotes за 499 рублей или оформить подписку за 69 рублей в месяц. Во втором случае предоставляется бесплатный тестовый период на 7 дней.
Speechtexter
Это приложение больше остальных зависит от подключения к сети, но оно также работает на основе данных от Google и прекрасно себя показывает, если все в порядке с вашим интернетом. Что делает Speechtexter особенным, так это его собственный словарь, в который можно занести какие-нибудь сокращения и расшифровки для них, а затем использовать во время диктовки. Speechtexter содержит рекламу, но благодаря этому оно абсолютно бесплатно.
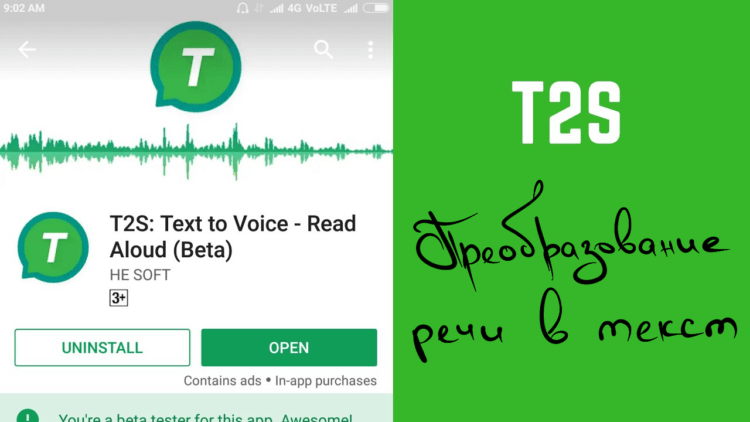
Последнее в нашем списке, но не последнее по значимости, – T2S. Это приложение изначально предназначено для преобразования речи в текст. Оно также умеет экспортировать созданную голосовую заметку в аудиофайл и умеет читать вслух выделенный текст в браузере с любого сайта. T2S бесплатно, но содержит рекламу.
Мы надеемся, что хотя бы одно из этих приложений придётся вам по душе и поможет сэкономить в будущем много времени и сих, позволяя набирать текст голосом, а не руками.
Делитесь своим мнением в комментариях под этим материалом и в нашем Telegram-чате.

Новости, статьи и анонсы публикаций
Свободное общение и обсуждение материалов

Жанр экшн-игр давно перестал быть чем-то определенным. Сейчас это почти любая игра, которая захватывает своим сюжетом и при этом является достаточно динамичной, чтобы в нее хотелось играть снова и снова. Такие игры надоедают не так быстро, как многие другие, и при этом отлично подходят для того, чтобы поиграть в них в выходные. Каждую неделю по субботам мы собираем для вас лучшие игры разных жанров и на этот раз решили уделить внимание именно жанру экшн. Как обычно собрали для вас то, во что приятно поиграть самому и не стыдно посоветовать другим. Это то, что нужно на старте выходных.

Наверное, все пользователи Android знают, что такое APK. Это установочные файлы приложений, которые можно скачивать напрямую, в обход Google Play. Такая возможность может пригодиться в самых разных ситуациях. Например, если нужного приложения нет в официальном каталоге, оно не поддерживается вашим устройством или вам просто нужна более ранняя версия. Тогда мы просто находим APK, скачиваем его и устанавливаем вручную. Другое дело, что такой способ и долгий, и небезопасный, учитывая, что зачастую происхождение установочных файлов для нас остаётся неизвестным. Но решение этих проблем есть.

Если вы один из многих, кто использует Chrome в качестве веб-браузера по умолчанию, возможно, вы задумывались над тем, насколько он безопасен. Так уж получилось, что ему есть к чему стремиться, но приятно, что многие улучшения безопасности возможны средствами самого браузера. Правда, в недрах его настроек довольно сложно разобраться, особенно, если вы пользуетесь им не так давно и не успели излазить все пункты вдоль и поперек. Для того, чтобы облегчить вам задачу, мы собрали в одном месте несколько способов, как в пару кликов сделать Google Chrome намного безопасней. Вся настройка займет буквально 2-3 минуты, но жизнь в Интернете станет более защищенной.
Источник
Android speech recognition app
Android speech recognition and text to speech made easy.
Replace x.y.z with
To start using the library, you have to initialize it in your Activity
You can find a fully working demo app which uses this library in the examples directory. Just checkout the project and give it a try.
Inside an activity:
In your Activity’s onDestroy , add:
To prevent memory leaks.
Display progress animation
Add this to your layout:
It’s important that the SpeechProgressView is always inside a LinearLayout to function properly. You can adjust width and height accordingly to the bar height settings (see below).
then, when you start speech recognition, pass also the SpeechProgressView :
Set custom bar colors
You can set all the 5 bar colors as you wish. This is just an example:
Set custom maximum bar height
Inside an activity:
You can also provide a callback to receive status:
You can configure various parameters by using the setter methods on the speech instance, which you can get like this anywhere in your code:
Refer to JavaDocs for a complete reference.
By default the library logging is disabled. You can enable debug log by invoking:
wherever you want in your code. You can adjust the level of detail from DEBUG to OFF.
The library logger uses android.util.Log by default, so you will get the output in LogCat . If you want to redirect logs to different output or use a different logger, you can provide your own delegate implementation like this:
Get current locale and voice (since 1.5.0)
Use Speech.getInstance().getSpeechToTextLanguage() and Speech.getinstance().getTextToSpeechVoice() . Check the demo app for a complete example.
Get supported Speech To Text languages and Text To Speech voices (since 1.5.0)
Use Speech.getInstance().getSupportedSpeechToTextLanguages(listener) and Speech.getInstance().getSupportedTextToSpeechVoices() . Check the demo app for a complete example.
Set Speech To Text Language and Text To Speech voice
Use Speech.getInstance().setLocale(locale) and Speech.getInstance().setVoice(voice) . Check the demo app for a complete example.
When you set the locale, the voice is automatically changed to the default voice of that language. If you want to set a particular voice, remember to re-set it every time you change the locale, too.
Thanks to @zagum for the original implementation of the speech recognition view.
Thanks to Kristiyan Petrov for code review, bug fixes and library improvement ideas.
About
Android speech recognition and text to speech made easy
Источник


