Buttons
A button consists of text or an icon (or both text and an icon) that communicates what action occurs when the user touches it.
Depending on whether you want a button with text, an icon, or both, you can create the button in your layout in three ways:
- With text, using the Button class:
- With an icon, using the ImageButton class:
- With text and an icon, using the Button class with the android:drawableLeft attribute:
Key classes are the following:
Responding to Click Events
When the user clicks a button, the Button object receives an on-click event.
To define the click event handler for a button, add the android:onClick attribute to the element in your XML layout. The value for this attribute must be the name of the method you want to call in response to a click event. The Activity hosting the layout must then implement the corresponding method.
For example, here’s a layout with a button using android:onClick :
Within the Activity that hosts this layout, the following method handles the click event:
Kotlin
The method you declare in the android:onClick attribute must have a signature exactly as shown above. Specifically, the method must:
- Be public
- Return void
- Define a View as its only parameter (this will be the View that was clicked)
Using an OnClickListener
You can also declare the click event handler programmatically rather than in an XML layout. This might be necessary if you instantiate the Button at runtime or you need to declare the click behavior in a Fragment subclass.
To declare the event handler programmatically, create an View.OnClickListener object and assign it to the button by calling setOnClickListener(View.OnClickListener) . For example:
Kotlin
Styling Your Button
The appearance of your button (background image and font) may vary from one device to another, because devices by different manufacturers often have different default styles for input controls.
You can control exactly how your controls are styled using a theme that you apply to your entire application. For instance, to ensure that all devices running Android 4.0 and higher use the Holo theme in your app, declare android:theme=»@android:style/Theme.Holo» in your manifest’s element. Also read the blog post, Holo Everywhere for information about using the Holo theme while supporting older devices.
To customize individual buttons with a different background, specify the android:background attribute with a drawable or color resource. Alternatively, you can apply a style for the button, which works in a manner similar to HTML styles to define multiple style properties such as the background, font, size, and others. For more information about applying styles, see Styles and Themes.
Borderless button
One design that can be useful is a «borderless» button. Borderless buttons resemble basic buttons except that they have no borders or background but still change appearance during different states, such as when clicked.
To create a borderless button, apply the borderlessButtonStyle style to the button. For example:
Custom background
If you want to truly redefine the appearance of your button, you can specify a custom background. Instead of supplying a simple bitmap or color, however, your background should be a state list resource that changes appearance depending on the button’s current state.
You can define the state list in an XML file that defines three different images or colors to use for the different button states.
To create a state list drawable for your button background:
- Create three bitmaps for the button background that represent the default, pressed, and focused button states.
To ensure that your images fit buttons of various sizes, create the bitmaps as Nine-patch bitmaps.
Источник
Gradient Toolbar & Statusbar in Android

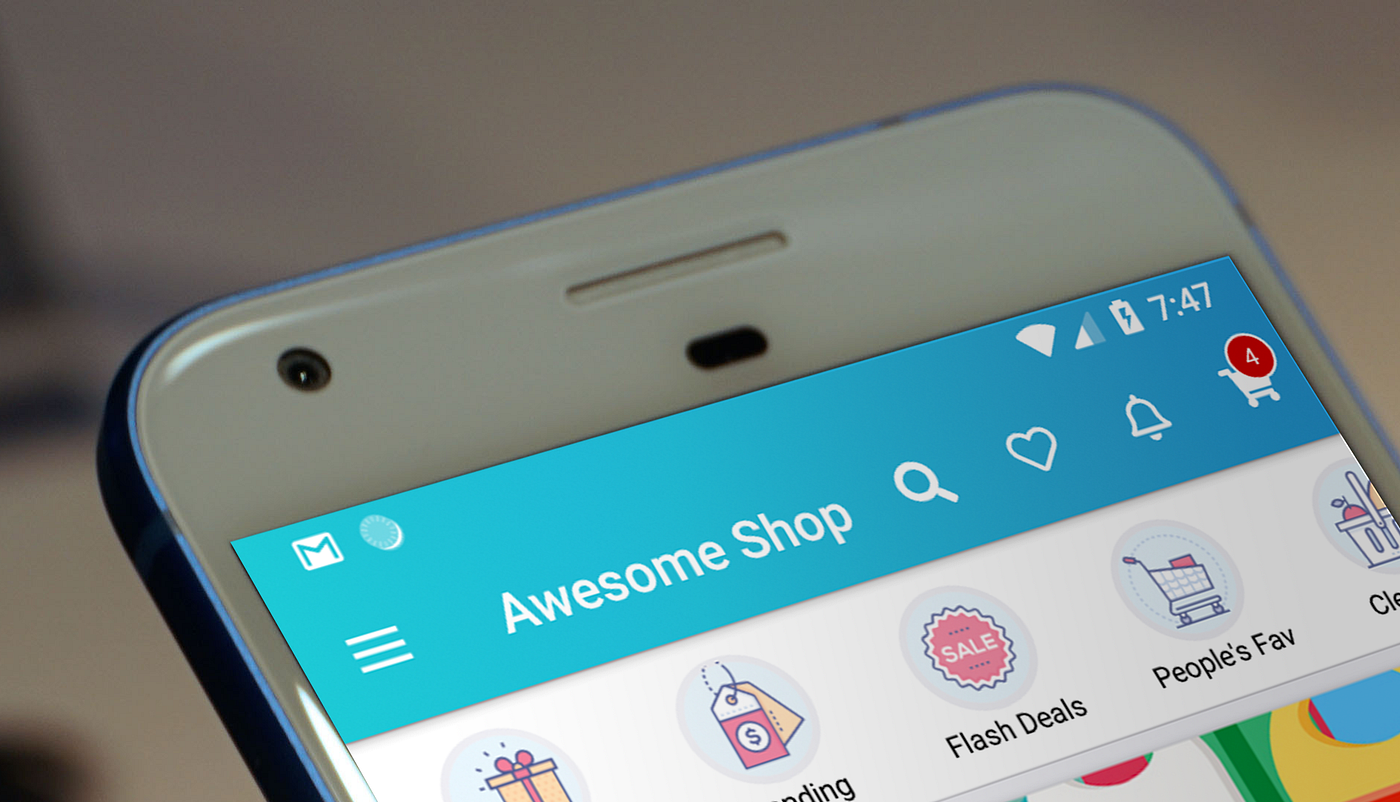
Gradients are a trend in mobile app design that brings life to the app UI. Creating a gradient toolbar is a relatively simple task in Android, you achieve it by simply adding a gradient background to the toolbar, but this doesn’t cover the status bar, thus not creating the desired effect.
Toolbar and status bar are separate entities in Android. Thus there is no straightforward way to have a single gradient from the top of the screen to the bottom edge of our toolbar. But there are hacks to achieve this. Let’s see how we can do it.
The first step is to create a gradient drawable. Create an XML file in your drawable folder named gradient_bg.xml.
For choosing awesome gradient colors for your app, I recommend CoolHue and uiGradients.
Now, before we design our custom toolbar, we need to make sure that Android doesn’t attach a toolbar automatically. Open your styles [res/values/styles.xml file].
Override your app style. The first two styles here, remove the default action bar of android from your app so that you can add your custom-designed action bar. The next two lines ensure that your app window covers the status bar on the top, but leaves the soft button bar on the bottom.
Okay! Now it’s time to create our custom toolbar. 24dp is the default height of the status bar. And the default height of status bar + toolbar is 80dp. So we give our RelativeLayout a height of 80dp to accommodate both, and we keep a top margin of 24dp because in the next steps we are about to push the parent container out of its default area into the entire screen area that includes the status bar.
In your activity layout, add the following code at the top of the root layout.
And in your activity’s onCreate method, add the following:
That’s it! Run the app, you should see a smooth gradient effect. You can play with the gradient colors and the angle.
Источник
Android Notifications. Оповещения через Status Bar
Добрый день, хабровчане. Давно занимаюсь разработкой под Android и хотелось бы рассказать сообществу о правильном подходе к созданию уведомлений.

На хабре уже есть статья по уведомлениям в статус баре для андроид . В ней рассматриваются основы отображения стандартного и конфигурируемого layout в статус баре.
Ниже, помимо описанного ранее, мы рассмотрим добавление прогрессбара, обработку события по нажатию на уведомлений, различные варианты состояний уведомлений. Рассмотрим добавленный на днях в Compatibility library Notification.Builder. А также поговорим о рекомендациям по UI (design guidlines), которые гугл рекомендует соблюдать при создании уведомлений.
Guidlines
Как советуют разработчики Android в официальном гайдлайне
Когда показывать уведомления:
- Мы показываем уведомления, когда не хотим отвлекать пользователя, перекрывая ему экран нашими диалогами или переходом на экран уведомления. Мы не отвлекаем пользователя, но при этом не лишаем его возможности узнать содержание нашего уведомления в любой момент.
- Чаще всего уведомления не всплывают спонтанно, а появляются в моменты, когда пользователь ожидает реакции от приложения.
- В первую очередь уведомления должны отражать события, зависящие от времени. Как то: события календаря, входящие сообщения, запросы из социальных сетей.
Когда не стоит показывать уведомления:
- Не нужно показывать уведомления для не важных псевдо-зависящих от времени событий. Например, новости из социальных сетей.
- Нет необходимости показывать то, что уже отображено в UI приложения.
- Не стоит отображать ход низкоуровневых операций, вроде обращения к БД.
- Если приложение быстро само исправляет ошибку, то не нужно вовсе показывать эту ошибку, тем более уведомлением.
- Не показывайте уведомления о сервисах, которые пользователь не может контролировать.
- Плохим подходом является создание большого числа уведомлений, с целью напоминать пользователю о приложении, показывая постоянно его иконку и имя.
Хорошая практика:
- По клику на уведомление, пользователю должен открываться соответствующий экран приложения. В некоторых случаях достаточно, чтобы по клику уведомление просто убиралось.
- Указание времени события в уведомлении, также является хорошим подходом.
- Рекомендуется схожие события складывать в одно уведомление, а не отображать на каждое событие своё.
- Всегда убирать из статус-бара уведомления, с которыми пользователь уже ознакомился и произвел соответствующие действия.
- Показывать маленькое превью уведомления при его создании в свёрнутом статус-баре

- Позволять пользователю отключать уведомления в настройках приложения.
- Использовать иконки, обозначающие принадлежность уведомления определённому приложению. Иконки делать монохромными. Для этого рекомндуется воспользоваться специальным онлайн-редактором
- В случае, если событие требует непосредственной реакции пользователя — вместо уведомлений использовать диалоги.
Архитектура:
В качестве утилитки, отвечающей за уведомления, я в своих приложениях использую singleton, к которому можно обратиться из любого класса приложения, нужно лишь иметь ссылку на context.
В ней всегда хранятся ссылки на все созданные во время работы приложения уведомления, которые ещё отображены в статус-баре.
А для присвоения новому уведомлению уникального id используется нехитрый механизм обращения к приватному целочисленному полю, которое каждый раз увеличивается на единицу.
private static final String TAG = NotificationUtils. class .getSimpleName();
private static NotificationUtils instance;
private static Context context;
private NotificationManager manager; // Системная утилита, упарляющая уведомлениями
private int lastId = 0; //постоянно увеличивающееся поле, уникальный номер каждого уведомления
private HashMap notifications; //массив ключ-значение на все отображаемые пользователю уведомления
//приватный контструктор для Singleton
private NotificationUtils(Context context) <
this .context = context;
manager = (NotificationManager) context.getSystemService(Context.NOTIFICATION_SERVICE);
notifications = new HashMap ();
>
/**
* Получение ссылки на синглтон
*/
public static NotificationUtils getInstance(Context context) <
if(instance== null ) <
instance = new NotificationUtils(context);
> else <
instance.context = context;
>
return instance;
>
* This source code was highlighted with Source Code Highlighter .
Создание уведомления с помощью NotificationCompat.Builder:
Для того чтобы воспользоваться классами, входящими в библиотеку поддержки прошлых версий (Compatibility library), нужно добавить в проект библиотеку из папки /extras/android/support/v4/android-support-v4.jar
Если же проект нацелен на Android 3.0 и выше, то добавлять ничего не нужно достаточно обратиться к Notification.Builder
public int createInfoNotification( String message) <
Intent notificationIntent = new Intent(context, HomeActivity. class ); // по клику на уведомлении откроется HomeActivity
NotificationCompat.Builder nb = new NotificationCompat.Builder(context)
//NotificationCompat.Builder nb = new NotificationBuilder(context) //для версии Android > 3.0
.setSmallIcon(R.drawable.ic_action_picture) //иконка уведомления
.setAutoCancel( true ) //уведомление закроется по клику на него
.setTicker(message) //текст, который отобразится вверху статус-бара при создании уведомления
.setContentText(message) // Основной текст уведомления
.setContentIntent(PendingIntent.getActivity(context, 0, notificationIntent, PendingIntent.FLAG_CANCEL_CURRENT))
.setWhen(System.currentTimeMillis()) //отображаемое время уведомления
.setContentTitle( «AppName» ) //заголовок уведомления
.setDefaults(Notification.DEFAULT_ALL); // звук, вибро и диодный индикатор выставляются по умолчанию
Notification notification = nb.getNotification(); //генерируем уведомление
manager.notify(lastId, notification); // отображаем его пользователю.
notifications.put(lastId, notification); //теперь мы можем обращаться к нему по id
return lastId++;
>
* This source code was highlighted with Source Code Highlighter .
Создание уведомления с произвольным отображением (Custom layout):
/**
* Создание уведомления с прогрессбаром о загрузке
* @param fileName — текст, отображённый в заголовке уведомления.
*/
public int createDownloadNotification( String fileName) <
String text = context.getString(R. string .notification_downloading).concat( » » ).concat(fileName); //текст уведомления
RemoteViews contentView = createProgressNotification(text, context.getString(R. string .notification_downloading)); //View уведомления
contentView.setImageViewResource(R.id.notification_download_layout_image, R.drawable.ic_stat_example); // иконка уведомления
return lastId++; //увеличиваем id, которое будет соответствовать следующему уведомлению
>
/**
* генерация уведомления с ProgressBar, иконкой и заголовком
*
* @param text заголовок уведомления
* @param topMessage сообщение, уотображаемое в закрытом статус-баре при появлении уведомления
* @return View уведомления.
*/
private RemoteViews createProgressNotification( String text, String topMessage) <
Notification notification = new Notification(R.drawable.ic_stat_example, topMessage, System.currentTimeMillis());
RemoteViews contentView = new RemoteViews(context.getPackageName(), R.layout.notification_download_layout);
contentView.setProgressBar(R.id.notification_download_layout_progressbar, 100, 0, false );
contentView.setTextViewText(R.id.notification_download_layout_title, text);
notification.contentView = contentView;
notification.flags = Notification.FLAG_NO_CLEAR | Notification.FLAG_ONGOING_EVENT | Notification.FLAG_ONLY_ALERT_ONCE;
Intent notificationIntent = new Intent(context, NotificationUtils. class );
PendingIntent contentIntent = PendingIntent.getActivity(context, 0, notificationIntent, 0);
notification.contentIntent = contentIntent;
manager.notify(lastId, notification);
notifications.put(lastId, notification);
return contentView;
>
xml version =»1.0″ encoding =»utf-8″ ? >
LinearLayout xmlns:android =»http://schemas.android.com/apk/res/android»
android:layout_width =»fill_parent»
android:layout_height =»65sp»
android:padding =»10dp»
android:orientation =»vertical» >
LinearLayout
android:layout_width =»fill_parent»
android:layout_height =»wrap_content»
android:orientation =»horizontal» >
ImageView
android:id =»@+id/notification_download_layout_image»
android:layout_width =»wrap_content»
android:layout_height =»wrap_content»
android:src =»@drawable/ic_stat_example»
android:layout_gravity =»center_vertical»/>
TextView
android:id =»@+id/notification_download_layout_title»
style =»@style/NotificationTitle»
android:layout_width =»wrap_content»
android:layout_height =»wrap_content»
android:layout_alignParentTop =»true»
android:layout_marginLeft =»10dip»
android:singleLine =»true»
android:text =»notification_download_layout_title»
android:layout_gravity =»center_vertical»/>
LinearLayout >
ProgressBar
android:id =»@+id/notification_download_layout_progressbar»
style =»?android:attr/progressBarStyleHorizontal»
android:layout_width =»fill_parent»
android:layout_height =»wrap_content»
android:layout_marginTop =»4dp»
android:progress =»0″/>
в андроид 2.3 и выше ( API >10) был создан специальный ресурс, в котором системная тема указывает цвета текста уведомений. Из-за этого в старых версиях приходится использовать костыль:
В файл res/values/styles.xml прописываем:
xml version =»1.0″ encoding =»utf-8″ ? >
resources >
style name =»NotificationText» >
item name =»android:textColor» > ?android:attr/textColorPrimary item >
style >
style name =»NotificationTitle» >
item name =»android:textColor» > ?android:attr/textColorPrimary item >
item name =»android:textStyle» > bold item >
style >
А для поддержки API >10 Создаем файл res/values-v9/styles.xml и вписываем:
xml version =»1.0″ encoding =»utf-8″ ? >
resources >
style name =»NotificationText» parent =»android:TextAppearance.StatusBar.EventContent»/>
style name =»NotificationTitle» parent =»android:TextAppearance.StatusBar.EventContent.Title»/>
resources >
Теперь из кода нашего приложения обращаемся к утилите:
NotificationUtils n = NotificationUtils.getInstance(getActivity());
n.createInfoNotification( «info notification» );
Создаем уведомление с прогресс-баром:
int pbId = NotificationUtils.getInstance(getActivity()).createDownloadNotification( «downloading video» );
И во время выполнения потока постоянно обновляем прогресс вызовом:
В итоге получаем:
Как видно — нижнее уведомление, созданное нами при помощи билдера может быть удалено в любой момент. А уведомление с прогресс-баром размещается в верхнем блоке уведомлений, в котором пользователь не может очистить уведомления.
И напоследок маленькая хитрость:
Если не хотите дублирования в стеке одних и тех же Activity — поставьте в манифесте к нужной activity
android:launchMode=»singleTop»
Источник


