- Android Project migration from Eclipse to Android Studio
- 1. Why to use Android Studio over Eclipse ADT?
- 2. Android Studio new project structure
- 3. Gradle and build.gradle
- 4. Simple Eclipse ADT project migration to Android Studio
- 5. Java code and resources migration
- 6. AndroidManifest.xml and build.gradle file
- 7. Download the Android Studio Project
- How to Migrate Android Project From Eclipse to Android Studio
- Android studio from eclipse
Android Project migration from Eclipse to Android Studio
Posted by: Chryssa Aliferi in Android October 2nd, 2015 0 Views
Android Studio is the official IDE for Android development, and with a single download includes everything you need to begin developing Android apps.
This example describes the differences between Eclipse ADT and Android Studio, including project structure, build system, and application packaging, and will help you migrate your Android Eclipse project to Android Studio as your new development environment.
For our example will use the following tools in a Windows 64-bit or an OS X platform:
- JDK 1.7
- Android Studio 1.3.2
- Eclipse 4.2 Juno
- Android SDK
Let’s start with a slice of Android Studio theory…
1. Why to use Android Studio over Eclipse ADT?
Android Studio offers:
- Flexible Gradle-based build system
- Build variants and multiple apk file generation
- Code templates to help you build common app features
- Built-in support for Google Cloud Platform, making it easy to integrate Google Cloud Messaging and App Engine
- Rich layout editor with support for drag and drop theme editing
- lint tools to catch performance, usability, version compatibility, and other problem
- Built-in support for Google Cloud Platform, making it easy to integrate Google Cloud Messaging and App Engine
- Official Google Support and usual updates that need no migration
2. Android Studio new project structure
Eclipse provides workspaces as a common area for grouping related projects, configurations, and settings. In Android Studio, each instance of Android Studio contains a top-level project with one or more app modules. Each app module folder contains the equivalent to an Eclipse project, the complete source sets for that module, including src/main and src/androidTest directories, resources, build file, and the Android manifest. In general, to update and build your app you modify the files under each module’s src/main directory for source code updates, the gradle.build file for build specification, and the files under src/androidTest directory for test case creation. Also due to the structural differences between Android Studio projects vs Eclipse ADT projects, they cannot co-exist. Here is a table of the main differences:
| Eclipse ADT | Android Studio |
|---|---|
| Workspace | Project |
| Project | Module |
| Project-specific JRE | Module JDK |
| Classpath variable | Path variable |
| Project dependency | Module dependency |
| Library Module | Library |
| AndroidManifest.xml | app/src/main/AndroidManifest.xml |
| assets/ | app/src/main/assets |
| res/ | app/src/main/res/ |
| src/ | app/src/main/java/ |
| tests/src/ | app/src/androidTest/java/ |
3. Gradle and build.gradle
Gradle is a build and automation tool, that can automate our building, testing, deploying tasks and many more. Gradle is the next generation build system for Java technologies that includes some advantages from older tools like Ant or Maven systems. Android Studio uses the power of Gradle, in order to provide all the above advantages, such as build variants and multiple apk file generation.
Android Studio projects contain a top-level build file and a build file for each module. The build files are called build.gradle, and they are plain text files that use Groovy syntax to configure the build with the elements provided by the Android plugin for Gradle. In most cases, you only need to edit the build files at the module level.
It looks like this:
4. Simple Eclipse ADT project migration to Android Studio
Here, we have an example of this Eclipse ADT project migration to Android Studio. In this example, we are going to migrate the eclipse project that we created in this example: Android Google Maps v2 Tutorial. This is a wonderful example of how we are going to migrate a simple application project, that has a java class package and a Google Play Services library dependency. So, we are going to take this code, import it and compile it under Gradle system, and run it.
Open Android Studio and choose “Start a new Android Studio Project” in the welcome screen.
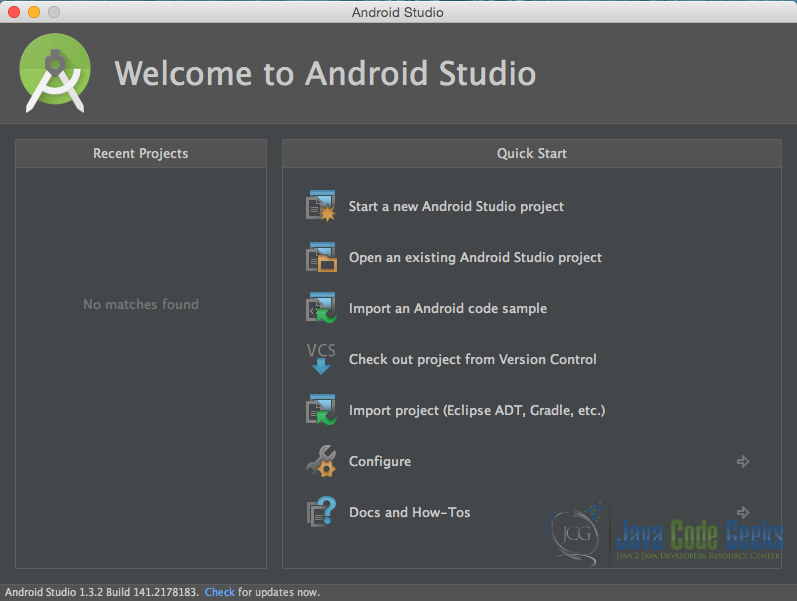
“Welcome to Android Studio” screen. Choose “Start a new Android Studio Project”.
Specify the name of the application, the project and the package.
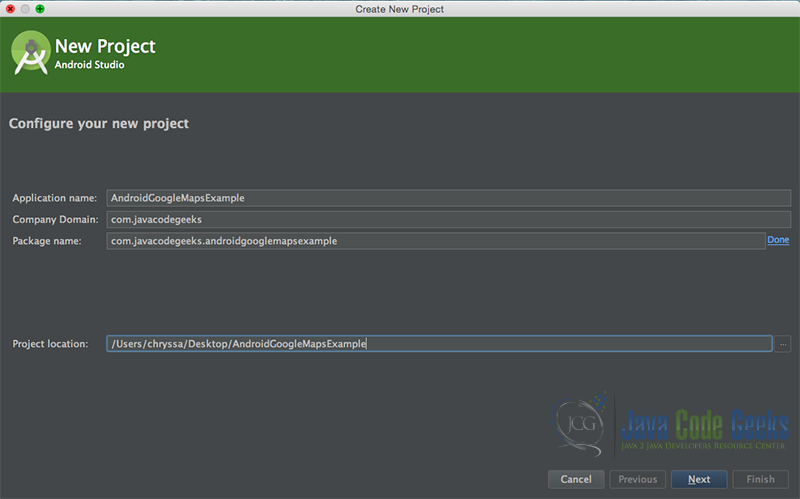
“Configure your new project” screen. Add your application name and the projects package name.
In the next window, select the form factors your app will run on.
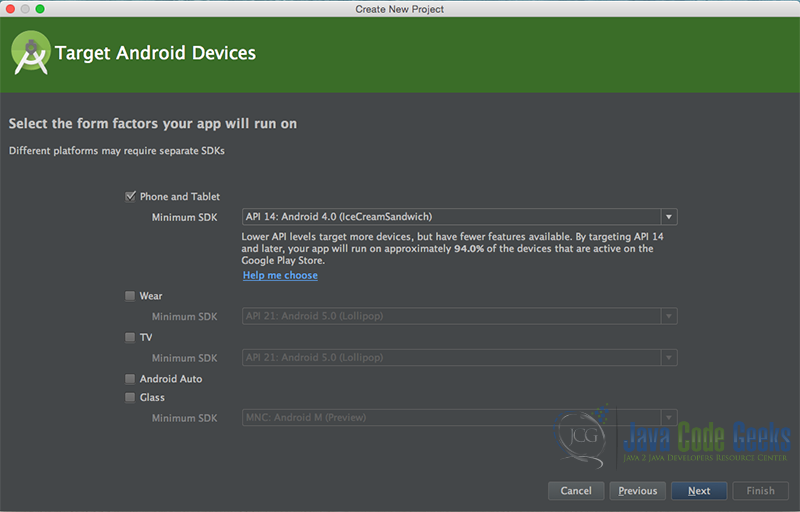
“Target Android Devices” screen.
In the next window you should choose to “Add an activity to Mobile”. In our example, we will choose to create a project with no activity, because we will migrate our Activities for the eclipse formed project. So, choose: “Add no activity”.
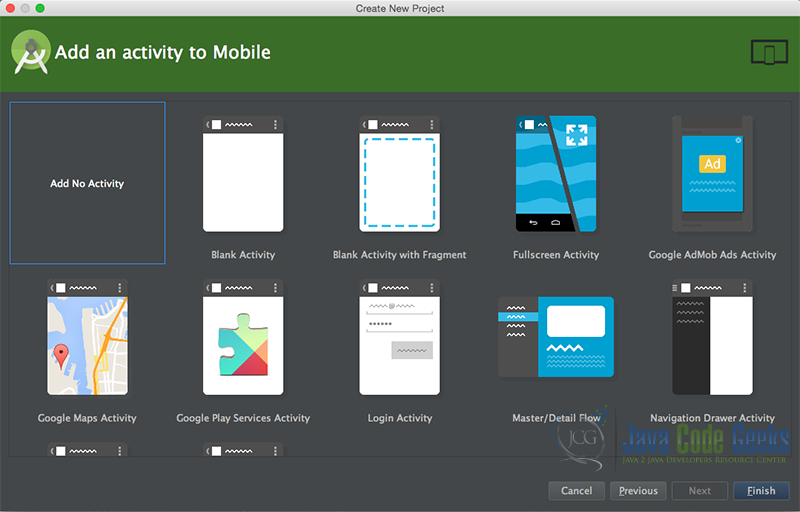
“Add an activity to Mobile”. Choose: “Add no activity”.
Now, our project has just been created. This is how it looks like in the “Android” project view:
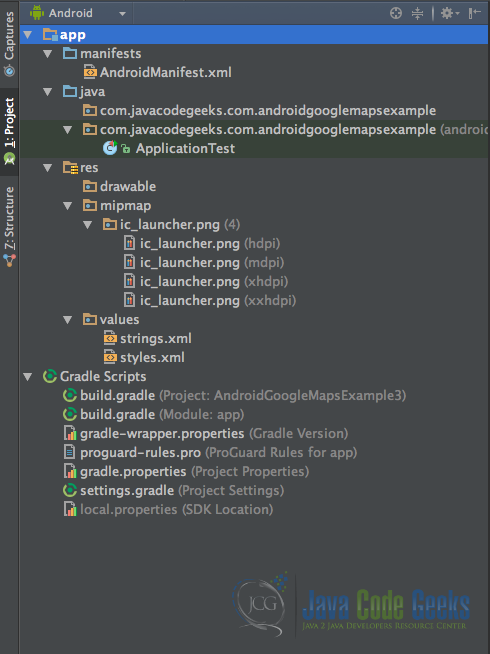
A new Android Studio project has just been created. This is how it looks like.
5. Java code and resources migration
As we discussed above, there are some pretty significant changes between the project structures between Eclipse ADT and Android Projects. The biggest is that both Java classes and the Android resources folder, are under app/src/main/ directory. We are going to copy our Java classes alone, inside the app/java/com.javacodegeeks.androidgooglemapsexample folder, as we see it in Android package view.
After this, we are going to copy also our eclipse resources folders under app/res/ folder, as we see it in Android package view. If this suggest to overwrite some files and folders, we do it cautiously. We should now have something like this:
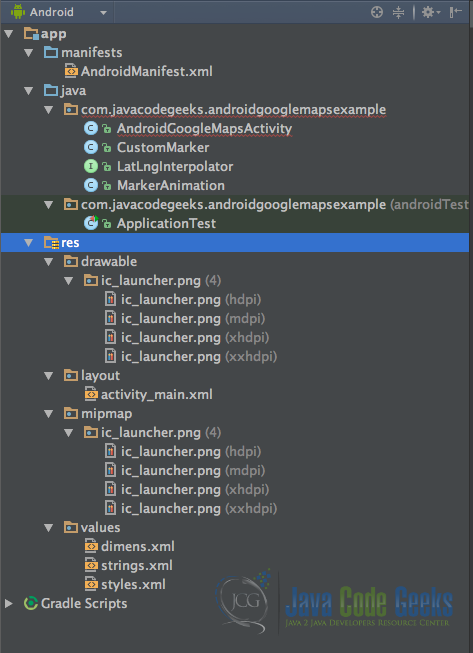
This is how our projects looks like, after we have also moved inside our Java and resource folders.
6. AndroidManifest.xml and build.gradle file
Then, we move on copying our AndroidManifest.xml file. In Android Studio project structure, we can find our manifest files inside the app/manifests folder. We overwrite the Android Studio project AndroidManifest.xml with our eclipse project manifest xml.
We should now have something like this:
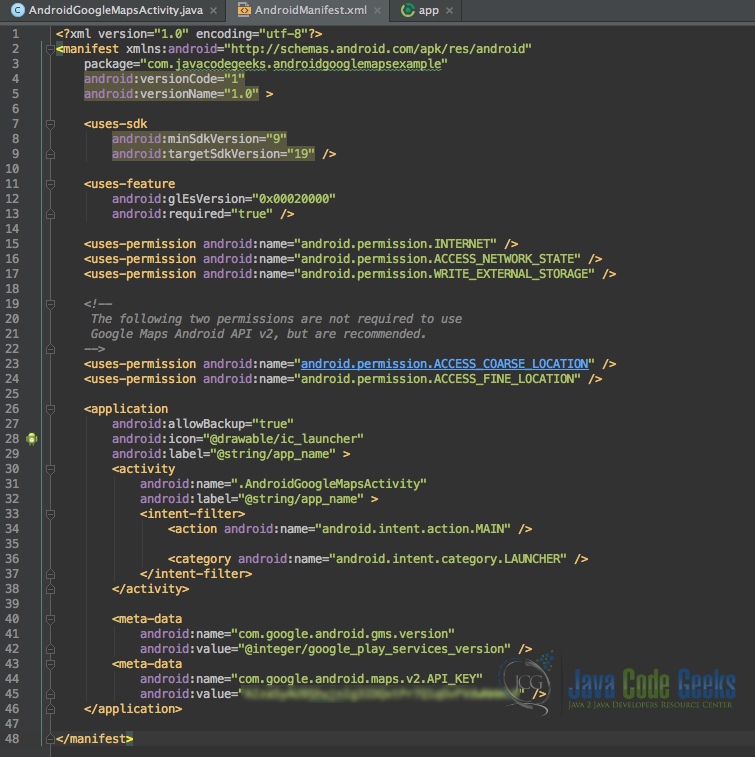
This is our AndroidManifest.xml. This is located in app/manifests folder.
Finally, we have our build.gradle file, that we should be very careful in its configurations.
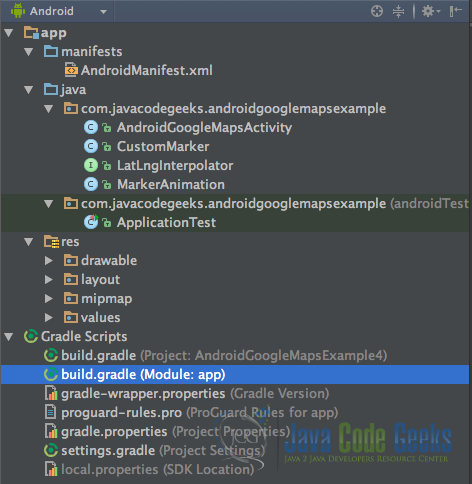
Here is our build.gradle file.
We write something like this:
With compile fileTree(dir: ‘libs’, include: [‘*.jar’]) we add in our Gradle configuration, any external library we might have added in the app/libs project folder. And with the next line compile ‘com.google.android.gms:play-services:8.1.0’ we add in our Gradle configuration the public repository in which Google supports Google Play Services library with Gradle. In this way we have added Google Play Services library in our project. This library is going to be compiled and packaged in our application project!

This is our build.gradle configuration file.
We, now, have to sync our project, and run this module, by pressing the “run” green button. If everything is the right place, and especially the application package names are the right ones, then we should see our project run.
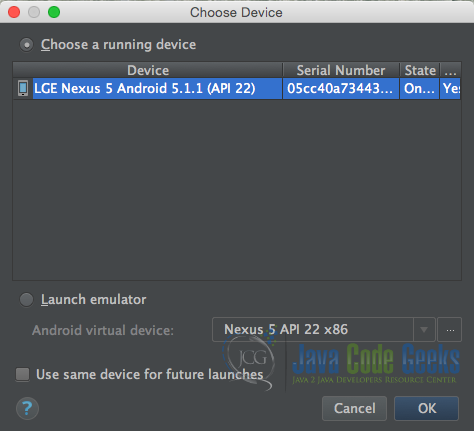
This is the “running” confirmation screen.
This was the Android Project migration from Eclipse to Android Studio example. This example was a theoretical one. From now on we are going to present examples in Android Studio IDE, as Google has stopped support on Eclipse ADT. Additionally, Android Studio is now the official Android IDE!
7. Download the Android Studio Project
This was an example of Android Google Maps v2 Tutorial migrated to Android Studio.
Источник
How to Migrate Android Project From Eclipse to Android Studio
Eclipse is the most popular open-source IDE for Application Development. It has various plugins and due to that it is possible to use Eclipse as and IDE for almost any programming language. For Android Application Development Eclipse is the most preferred IDE, but now Application developers are preferring Android Studio because of its feature and ease of use. Android Studio is in beta right now but its an IDE worth exploring.

In this post i will explain How to Migrate Existing Android Project From Eclipse to Android Studio
There are two ways to Migrate Existing Android App Project From Eclipse IDE to Android Studio
1. Import Directly Into Android Studio :
This is the easiest method to import your existing project from eclipse to android studio. Since Android Studio project structure is different from Eclipse, while importing using Android Studio Importer, it automatically make some changes to your Eclipse Project which are required to run your program in Android Studio. Required changes includes replacing existing JAR files and libraries with Gradle dependencies. It also replaces your source libraries and binary libraries with Maven dependencies, and due to that you don’t need to maintain these manually.
2. Export From Eclipse IDE :
This method is more complicated and time consuming than first one. If you prefer Eclipse Directory Structure then you can achieve this in Android Studio using Export option from Eclipse. Usually you should use this option when you have lot of Eclipse specific directory structure and Android Studio Importer is unable to resolve this.
Now lets do the migration one by one using both methods.
Steps to Import Eclipse Project Directly Into Android Studio
You should know you existing Eclipse project location before using this method. If you know it then you just need few more clicks to import. Follow these steps
- Launch Android Studio and from welcome screen, click on ‘Import Project’
- Navigate to your eclipse project location and click on ‘Import’
- Read the message about import process and then click on ‘Next’
- Android Studio will show you some option, leave them selected and click on ‘Finish’
After that Android Studio will import your Eclipse Project and show you import summary and it contains information about moved files, location, third party libraries and JAR files. This import summary contains everything you need to know, so make sure you read it carefully.
Steps to Export From Eclipse IDE and Import In Android Studio
If some how first method does not works for you then don’t worry you can use this method. In some cases first method may not work, because Android Studio is not fully compatible with Eclipse and Its in Beta right now. Before you use this method, make sure Eclipse ADT plugin is up to date because you will need version 22.0 or higher. Once you are ready follow these steps
- Select Export option from File menu
- A window will open, from that open ‘Android’ folder and select ‘Generate Gradle build files’ and click on ‘Next’
- Then select the project you want to export and click on ‘Next’
- From Export option decide the modules which Eclipse need to export and click on ‘Finish’
- After that you will get ‘Export Successful message’ and also the path of exported Project.
- Now open Android Studio, and from welcome screen click on ‘Import Project’
- Go to exported project location, selcect it and click on ‘Import’
- Android Studio will import your project and its now ready to use.
So these are the two methods by which you can import your existing Android project from Eclipse to Android Studio.
Related Post you should check :
I hope you liked the post, please give your suggestion and feedback in the comment. Support us by like, share and tweet. Also for future updates like our facebook page and follow us on Twitter.
Источник
Android studio from eclipse
How to migrate project from eclipse to android studio
Android Studio is the official integrated development environment (IDE) to develop android apps. It was announced in 2013 Google I/O conference. Based on JetBrains’ IntelliJ IDEA software, Android Studio is designed specifically for Android development. It has replaced Eclipse Android Development Tools (ADT) as Google’s primary IDE for native Android application development. And, now it is strongly recommended to migrate the projects to Android Studio from ADT.
Migrating to Android Studio requires changing the structure of the project and moving to a new build system. Here is the link with instructions for migrating eclipse project to android studio:
Tired of reading a lengthy documentation? Well, I have a simpler way to migrate and here you go!
Start off with a sample android studio project. Open android studio and create a new project (or) just download a ‘sample’ studio project here: https://github.com/AppLozic/eclipse-to-android-studio-migration.
Now, open the downloaded project in Android Studio by following the below instructions.
Import eclipse project modules into Android Studio. Select File -> New -> Import Module
ADT project importer
Next, select the path of the eclipse project and import the modules. In case, if you see the message “Failed to sync Gradle project”, then click on “Install Build Tools and sync project…”.
Now, remove the sample project modules by following the below simple steps:
Open settings.gradle and remove “include ‘:app’” Right click on “app” module and “Delete” it.
Now, what we have is the eclipse project open in android studio with the gradle build.
Hope this helps. Have queries? Feel free to comment below, would be happy to answer/resolve.
Источник


