- Android time from start device
- Warming Up The Cold Start: How To Reduce Cold Startup Time Of Your Android App
- Cold start? Enlighten me, please!
- How much is too much?
- How do I track the cold start performance of my app?
- And how do I get the exact number?
- Enough said! How do I fix it now?
- Good to Go. What next?
- RESTRUCTURING THE CODE
- OPTIMISING THE UI
- How To : Set Your Android to Atomic Time for a Perfectly Synced Clock
- Requirement
- Step 1: Install ClockSync
- Step 2: Set Automatic Syncing Options
- Step 3: Sync Your System Clock with Atomic Time
Android time from start device
TrueTime for Android

Make sure to check out our counterpart too: TrueTime, an NTP library for Swift.
NTP client for Android. Calculate the date and time «now» impervious to manual changes to device clock time.
In certain applications it becomes important to get the real or «true» date and time. On most devices, if the clock has been changed manually, then a new Date() instance gives you a time impacted by local settings.
Users may do this for a variety of reasons, like being in different timezones, trying to be punctual by setting their clocks 5 – 10 minutes early, etc. Your application or service may want a date that is unaffected by these changes and reliable as a source of truth. TrueTime gives you that.
You can read more about the use case in our blog post.
In a recent conference talk, we explained how the full NTP implementation works with Rx. Check the video and slides out for implementation details.
Also, once we have this information it’s valid until the next time you boot your device. This means if you enable the disk caching feature, after a single successful NTP request you can use the information on disk directly without ever making another network request. This applies even across application kills which can happen frequently if your users have a memory starved device.
Wiki has a lot of useful information
Take a look at the wiki sidebar which should have a lot of useful information.
Is this library still maintained?
The short answer is yes. We’re planning a complete rewrite of TrueTime (Version 4). See this branch. We juggle our personal time between doing this rewrite and using TrueTime in its current version. TrueTime is still used in its current form at Instacart by many many users.
As is the case with most open source libraries, maintenance is hard. We’ve not done a great job at answering the various issues, but we want to do better. We can only ask that you trust that the rewrite is coming and it should make things better. We don’t want to spend too much time making changes to the library in its existing state, because the rewrite is the better future for TrueTime.
Источник
Warming Up The Cold Start: How To Reduce Cold Startup Time Of Your Android App

Have you ever had your patience tested by apps that cheekily keep flashing their logos at you for a moment too long, while you just cannot wait to order food or book a cab or pay the cab driver and rush to work? If that sounds like you, you too have been a victim of poor cold startup time, and unless you want your app to add to that growing pool of the digitally downtrodden, read on!
Cold start? Enlighten me, please!
Cold start refers to an app starting from a scratch, that is the time taken from the moment the code is initialised till the UI is responsive to the user. It happens in cases such as your app is being launched for the first time since the device booted, or since the system killed the app. Needless to say, the lesser the cold startup time, the better the user experience.
developer.android provides a comprehensive explanation of app startup time here.
How much is too much?
For cold start, anything above 5 seconds is considered excessive.
How do I track the cold start performance of my app?
To check how your Android app is performing in comparison to other apps, go to Play Console > your app > Android Vitals > App Startup Time.
And how do I get the exact number?
In Android 4.4 and higher, logcat includes an output line containing a value called “Displayed”. This value represents the amount of time elapsed between launching the process and finishing drawing the corresponding activity on the screen. The reported log line looks similar to the following example:
ActivityManager: Displayed com.android.app/.StartupTiming: +3s534ms
P.S. if you are tracking the time in Android studio, make sure you disable filters in your logcat view because it is the system server, and not the app, that serves this log.
Don’t be confused if the “Displayed” line in the logcat output contains an additional field for “total” time. For example:
ActivityManager: Displayed com.android.gradeup/.StartupTiming: +3s534ms (total +1m22s643ms)
Here, the first time measurement is only for the activity that was first drawn and the “total” time measurement begins at the app process start, and could include another activity that was started first but did not display anything to the screen (for example a splash screen). This extra measurement is shown when there is a difference between the single activity and total startup times.
Enough said! How do I fix it now?
Before we delve into the code and start digging it for prospective flaws, let’s first try and identify the performance bottlenecks. Android provides us with some really cool tools that provide us with an in-depth analysis of our app’s behaviour.
- Android profiler: The new Android Profiler window in Android Studio 3.0 and higher replaces the Android Monitor tools. It provides realtime data for your app’s CPU, memory, and network activity. You can perform sample-based method tracing to time your code execution, capture heap dumps, view memory allocations, and inspect the details of network-transmitted files.
- Firebase Performance monitoring: It is a service that helps you to gain insights into the performance characteristics of your app. It automatically measures the app startup time and gives you the details about the rendering time and startup metrics of your activities in the Firebase console. You can also use it to measure custom traces by specifying the trace start and end points within the code.
- Traceview: Traceview is a tool that provides a graphical representations of trace logs. You can generate the logs by instrumenting your code with the Debug class. This method of tracing is very precise because you can specify exactly where in the code you want to start and stop logging trace data.
- Systrace: The Systrace command allows you to collect and inspect timing information across all processes running on your device at the system level. It combines data from the Android kernel to generate an HTML report that provides an overall picture of an Android device’s system processes for a given period of time and also inspects the captured information to highlight problems that it observes, such as UI jank, and provides recommendations about how to fix them.
- Hierarchy Viewer: Hierarchy Viewer allows you to measure the layout speed for each view in your layout hierarchy. It can help you find performance bottlenecks caused by the structure of your view hierarchy.
P.S. If you’re using Android Studio 3.1 or later, you should instead use Layout Inspector to inspect your app’s view hierarchy at runtime.
- Debug GPU Overdraw tool: It uses color-coding to show the number of times your app draws each pixel on the screen. The higher this count, the more likely it is that overdraw affects your app’s performance.
For those of you who are unfamiliar with these tools, Udacity provides a free course on Android performance that nicely explains how to leverage these tools to your benefit. Access the course here.
Good to Go. What next?
Now that you have analysed your app and zeroed in the problematic areas, let’s see how we can fix them for a better user experience and healthy app vitals.
RESTRUCTURING THE CODE
- Tweaking the onCreate() — The chief reason for a poor cold-startup time is doing too much of work in the onCreate of your launcher activity.
- Check the onCreate of your class and move all the independent and unblocking but time-consuming methods to a separate thread.
- Make sure you use lazy initialisations wherever you can, so that the onCreate is not bombarded by unnecessary method or class initialisations.
- Use Local variables wherever possible.
- Use a dependency injection: You can use Koin or Dagger or any other dependency injector that can lazily provide you with the dependencies you want, as and when you want them.
You can refer to this article for a detailed explanation of Koin and its usage, or this for Dagger 2.
- Using Handler with delay: Now this one might sound like a hack but it does wonders to your app startup performance- in cases where there is some piece of lethargic code which you cannot afford to shift from the main thread, you can put in in a Handler and use the postDelayed method, adding an appropriate delay(100 to 200ms should do just fine). This takes the weight off the onCreate and your app launches much quicker than before ,with unnoticeable delay in the execution of the delayed method.
new Handler().postDelayed(() -> < //your code >, 200);
OPTIMISING THE UI
- Restructure the splash screen: Image rendering is a time consuming process and can mess up with your startup time. If you app uses a splash screen that displays your logo in an ImageView, one optimization you can do is to remove the ImageView from the xml and instead add the logo to the theme of your activity as windowBackground. Add the following line of code to your activity’s theme:
- Flatten the view hierarchy: A nested hierarchy comes with a huge performance overhead called Overdraw. Overdraw refers to the system’s drawing a pixel on the screen multiple times in a single frame of rendering, where only the last drawn pixels are shown to the user while the others only add to the performance cost. For a better rendering performance, check your xml and flatten the view hierarchy as much as you can, removing any nested Relative or Linear layouts. Constrain layout suffices our need of creating a flat hierarchy to a large extent and gives great flexibility by providing multiple anchoring points, vertical and horizontal guidelines, chaining and more.
- Use View Stubs: Views with default visibility set to “gone” add an unnecessary rendering overhead because they are drawn every time the view is rendered, but used only when the user sets their visibility to visible e.g. an activity that needs to show coach marks in the first session only will still draw the coach marks every time it is opened, setting their visibility to gone otherwise. By replacing such views with a ViewStub, we can reduce this overhead. A ViewStub is an invisible, zero-sized View that can be used to lazily inflate layout resources at runtime. It is only when a ViewStub is made visible, or when inflate() is invoked, the layout resource is inflated.
ViewStub coachStub = findViewById(R.id.homeCoachLayoutStub); View stubView = coachStub.inflate();
whenever you need to show the view.
- Use WebP Images: WebP is an image file format from Google that provides lossy compression (like JPEG) as well as transparency (like PNG) but can provide better compression than either JPEG or PNG. Using images in WebP format instead of PNG can reduce the size of on image by about 75%, resulting in less memory consumption and hence better performance!
Thats all, folks! Needless to say, there are many other factors that impact your app’s start up performance like the memory allocation of your app or the efficiency of your mobile device but by employing the above mentioned technique we at Gradeup and GoPrep managed to reduce our startup time by a whooping 58%! Cheers!
Источник
How To : Set Your Android to Atomic Time for a Perfectly Synced Clock
For most Android phones, the system clock is set using a protocol called NITZ, which relies on a connection with your carrier to ensure that the time stays in sync. The trouble here is that this feature won’t work when you’re outside of cellular range, and a lot of times, the carriers themselves have technical difficulties that can result in your phone’s clock being minutes or even hours out of sync.
I’ve experienced this issue several times, personally, and it always makes me wish Android’s clock would simply sync with official time-keeping services like NTP or NIST. Well thanks to a recent update to a popular Android app, this can finally be accomplished on newer Android versions, meaning you can ensure that your system clock is always in sync with atomic time.
Requirement
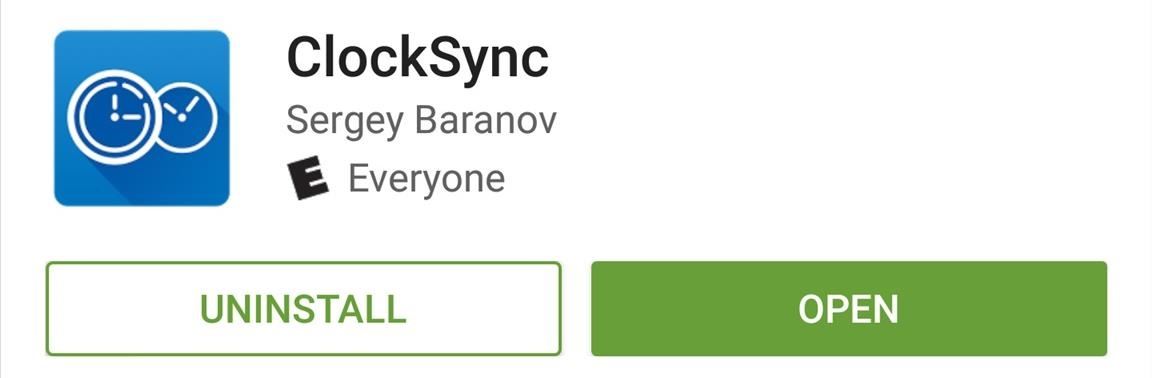
Step 1: Install ClockSync
The app that will sync your system clock with atomic time is fittingly called ClockSync, and it’s available for free on the Google Play Store.
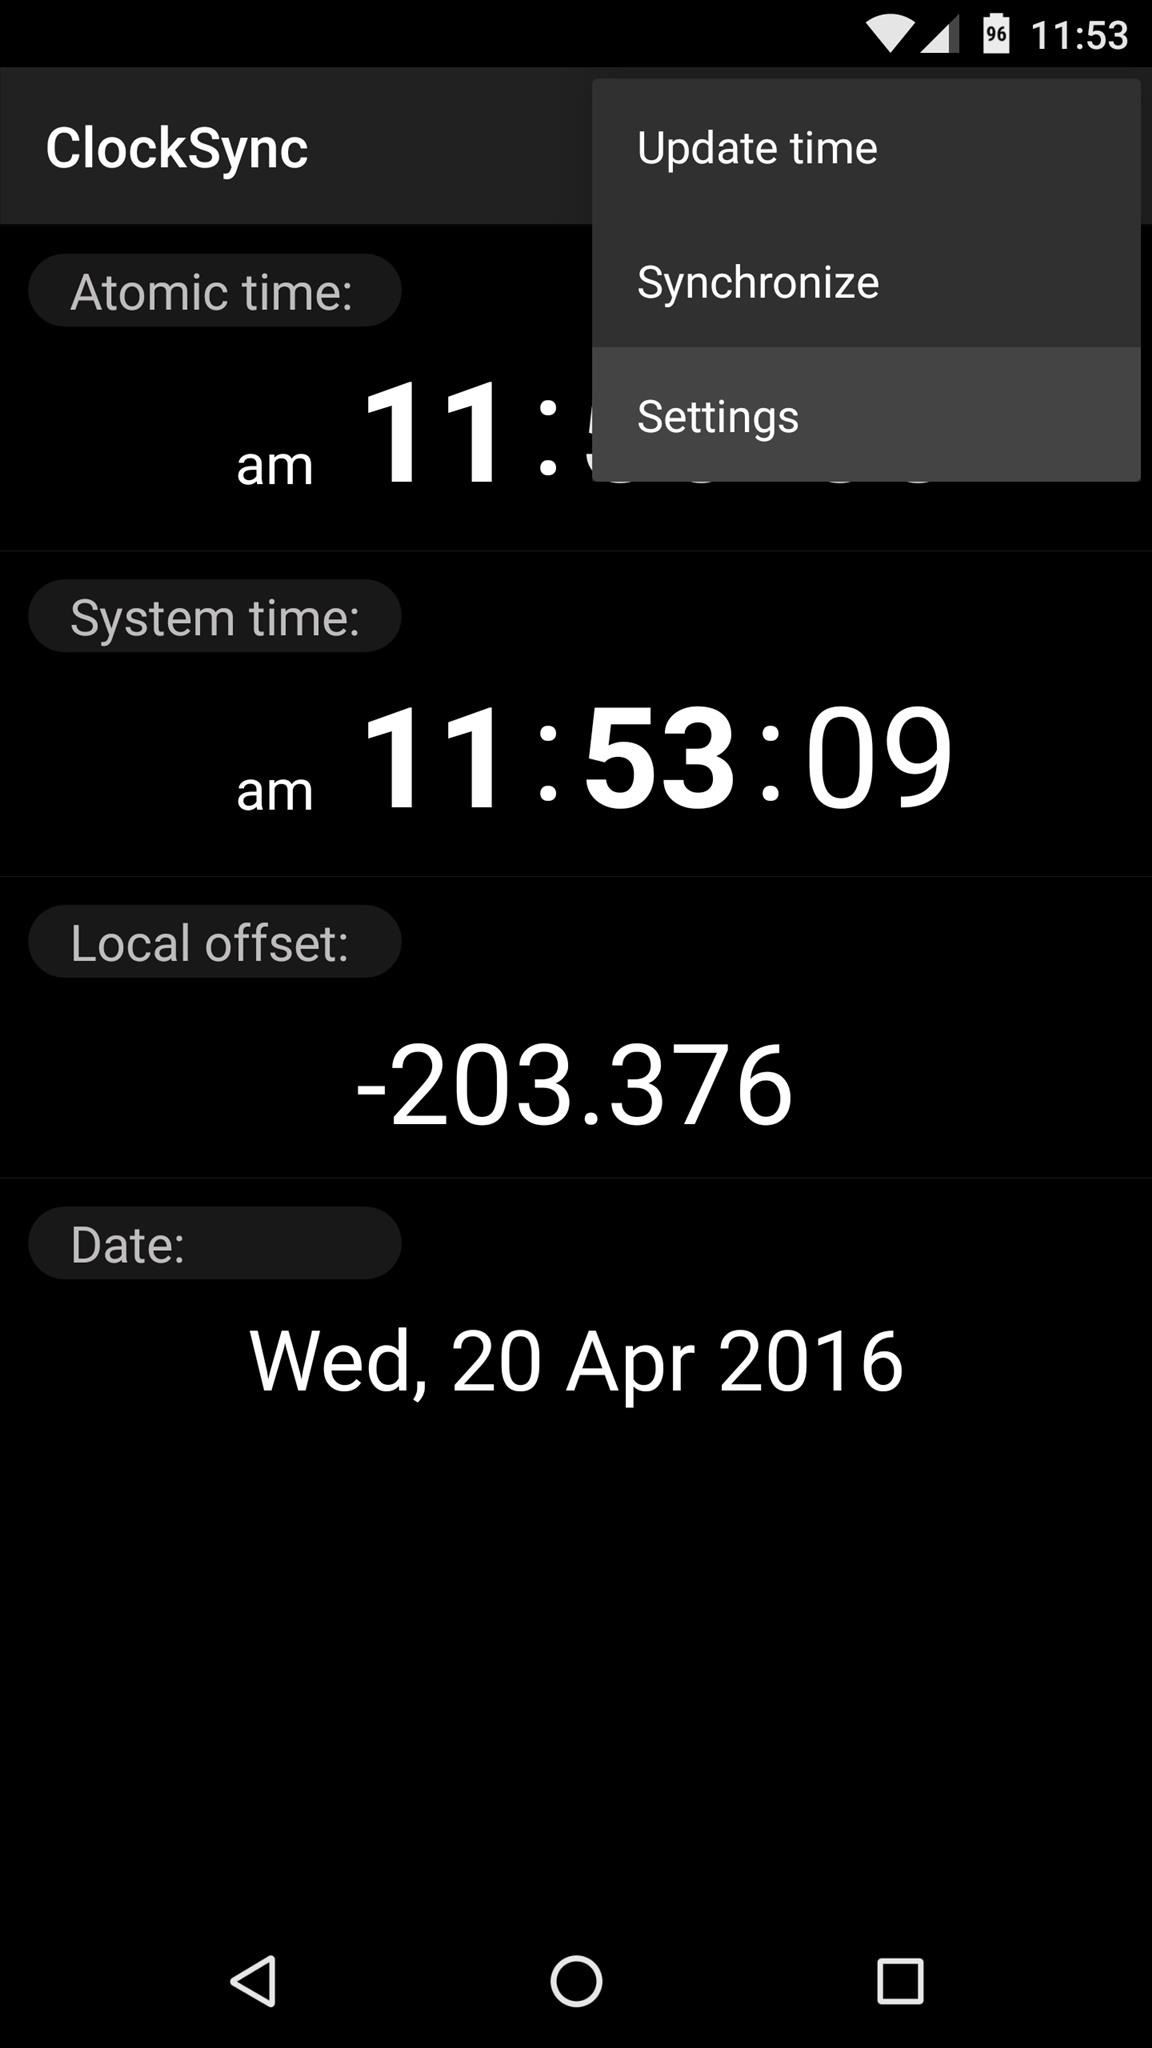
Step 2: Set Automatic Syncing Options
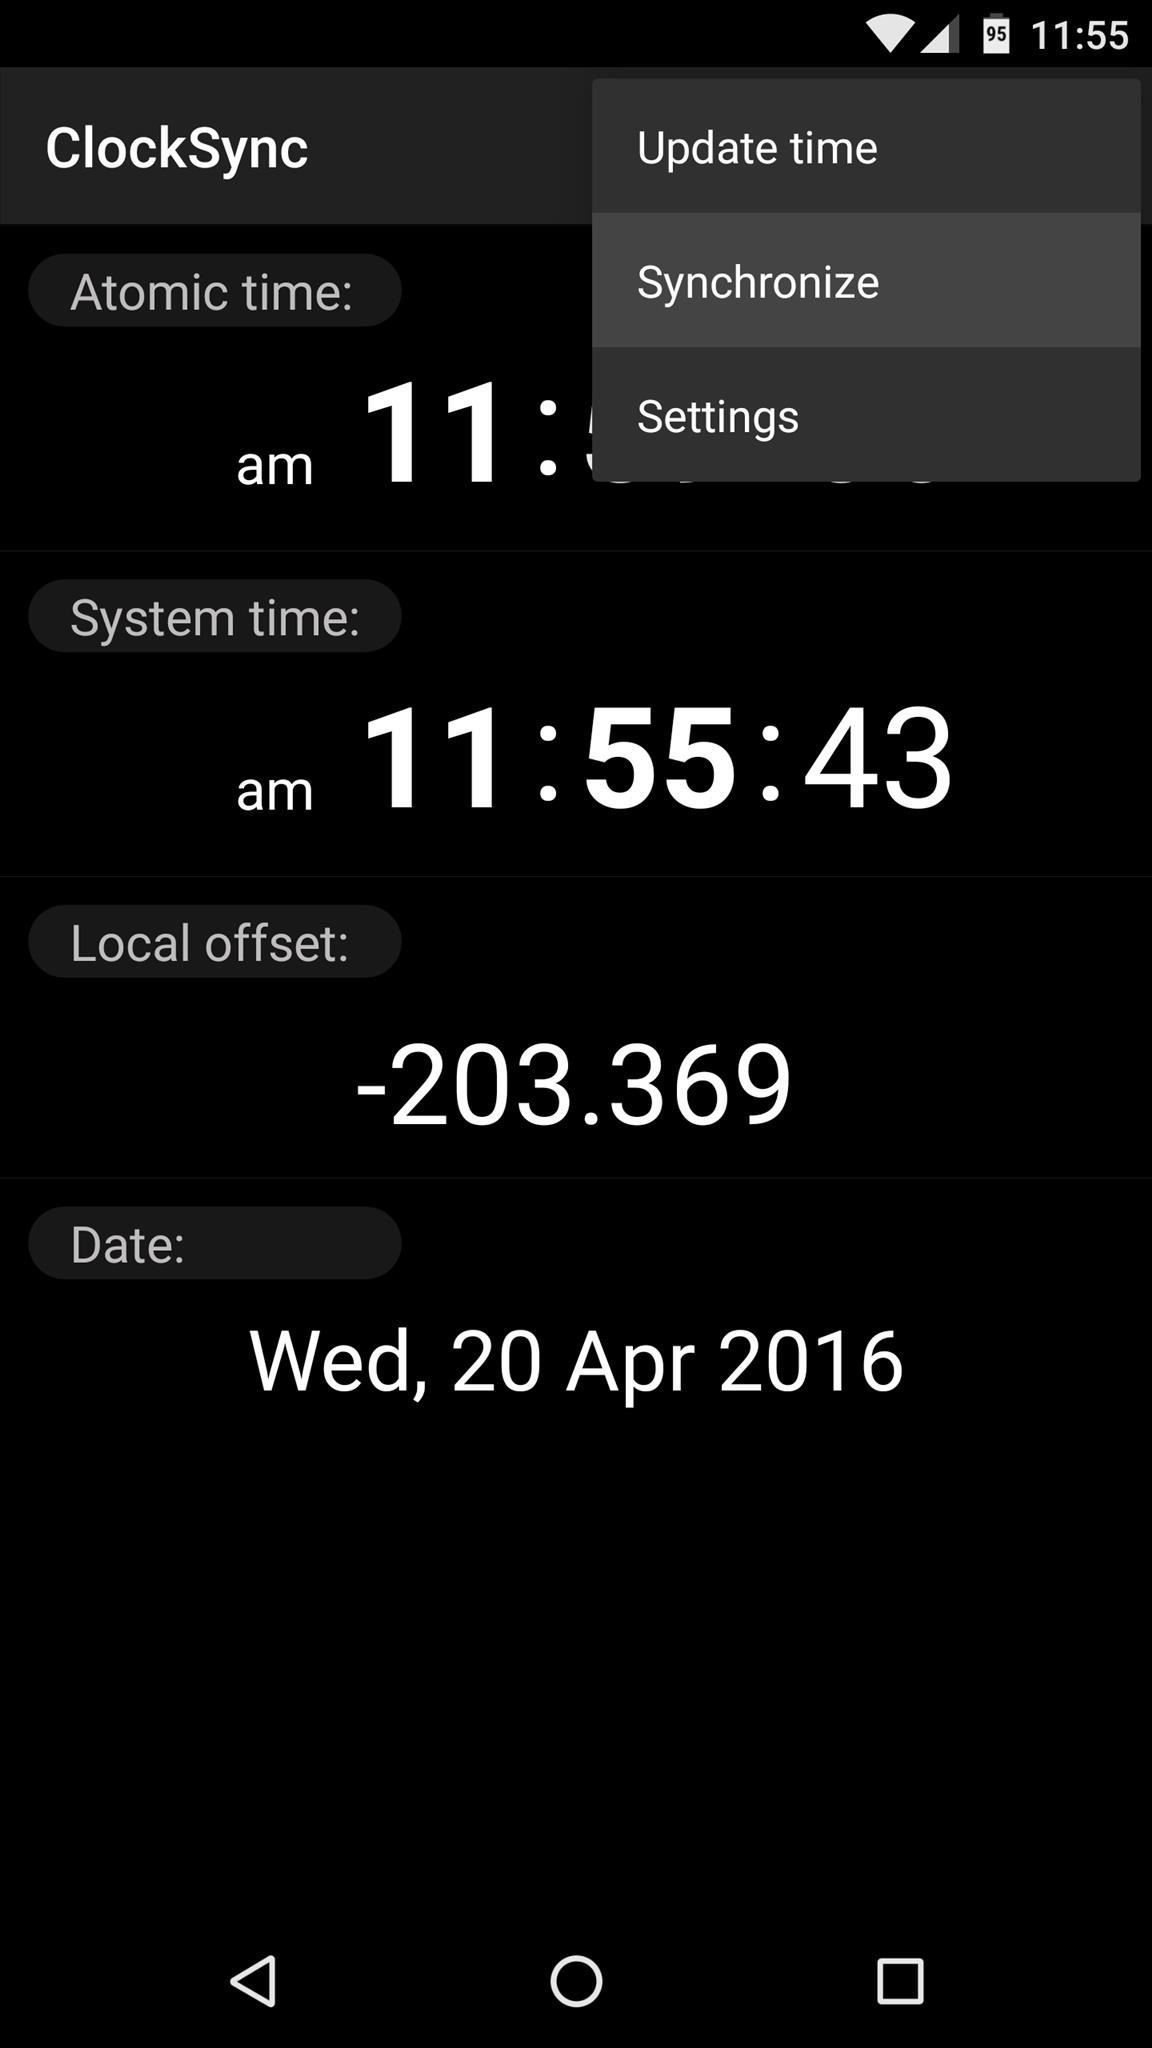
When you first launch ClockSync, you’ll probably notice that your system clock is already at least a couple of seconds out of sync with atomic time. Either way, though, start by tapping the three-dot menu button at the top of the screen, then choose the «Settings» option. From here, you can change the time service with the first option if you’d like, but the first thing you should do is tick the «Enable» box beneath the Automatic synchronization category.
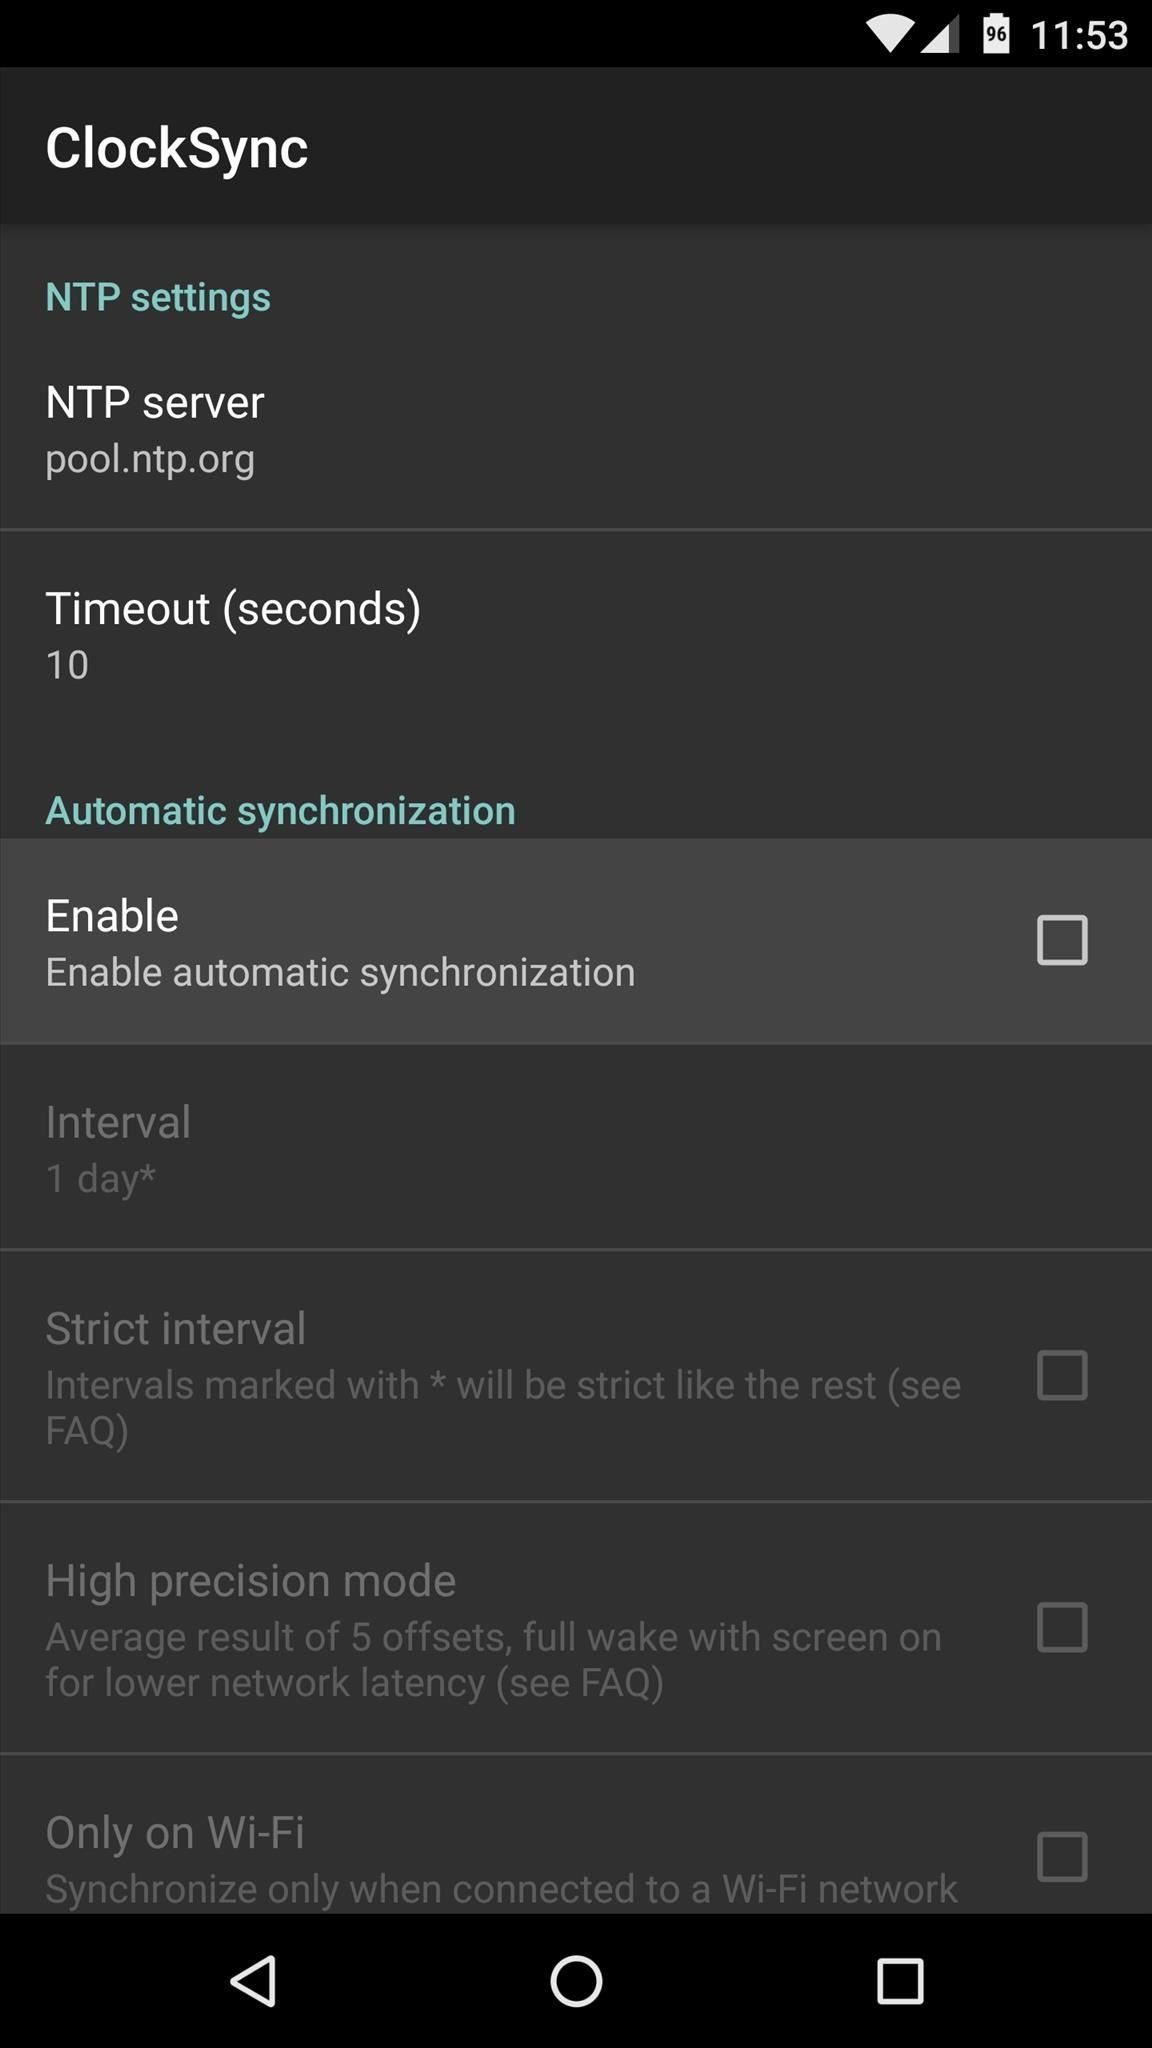
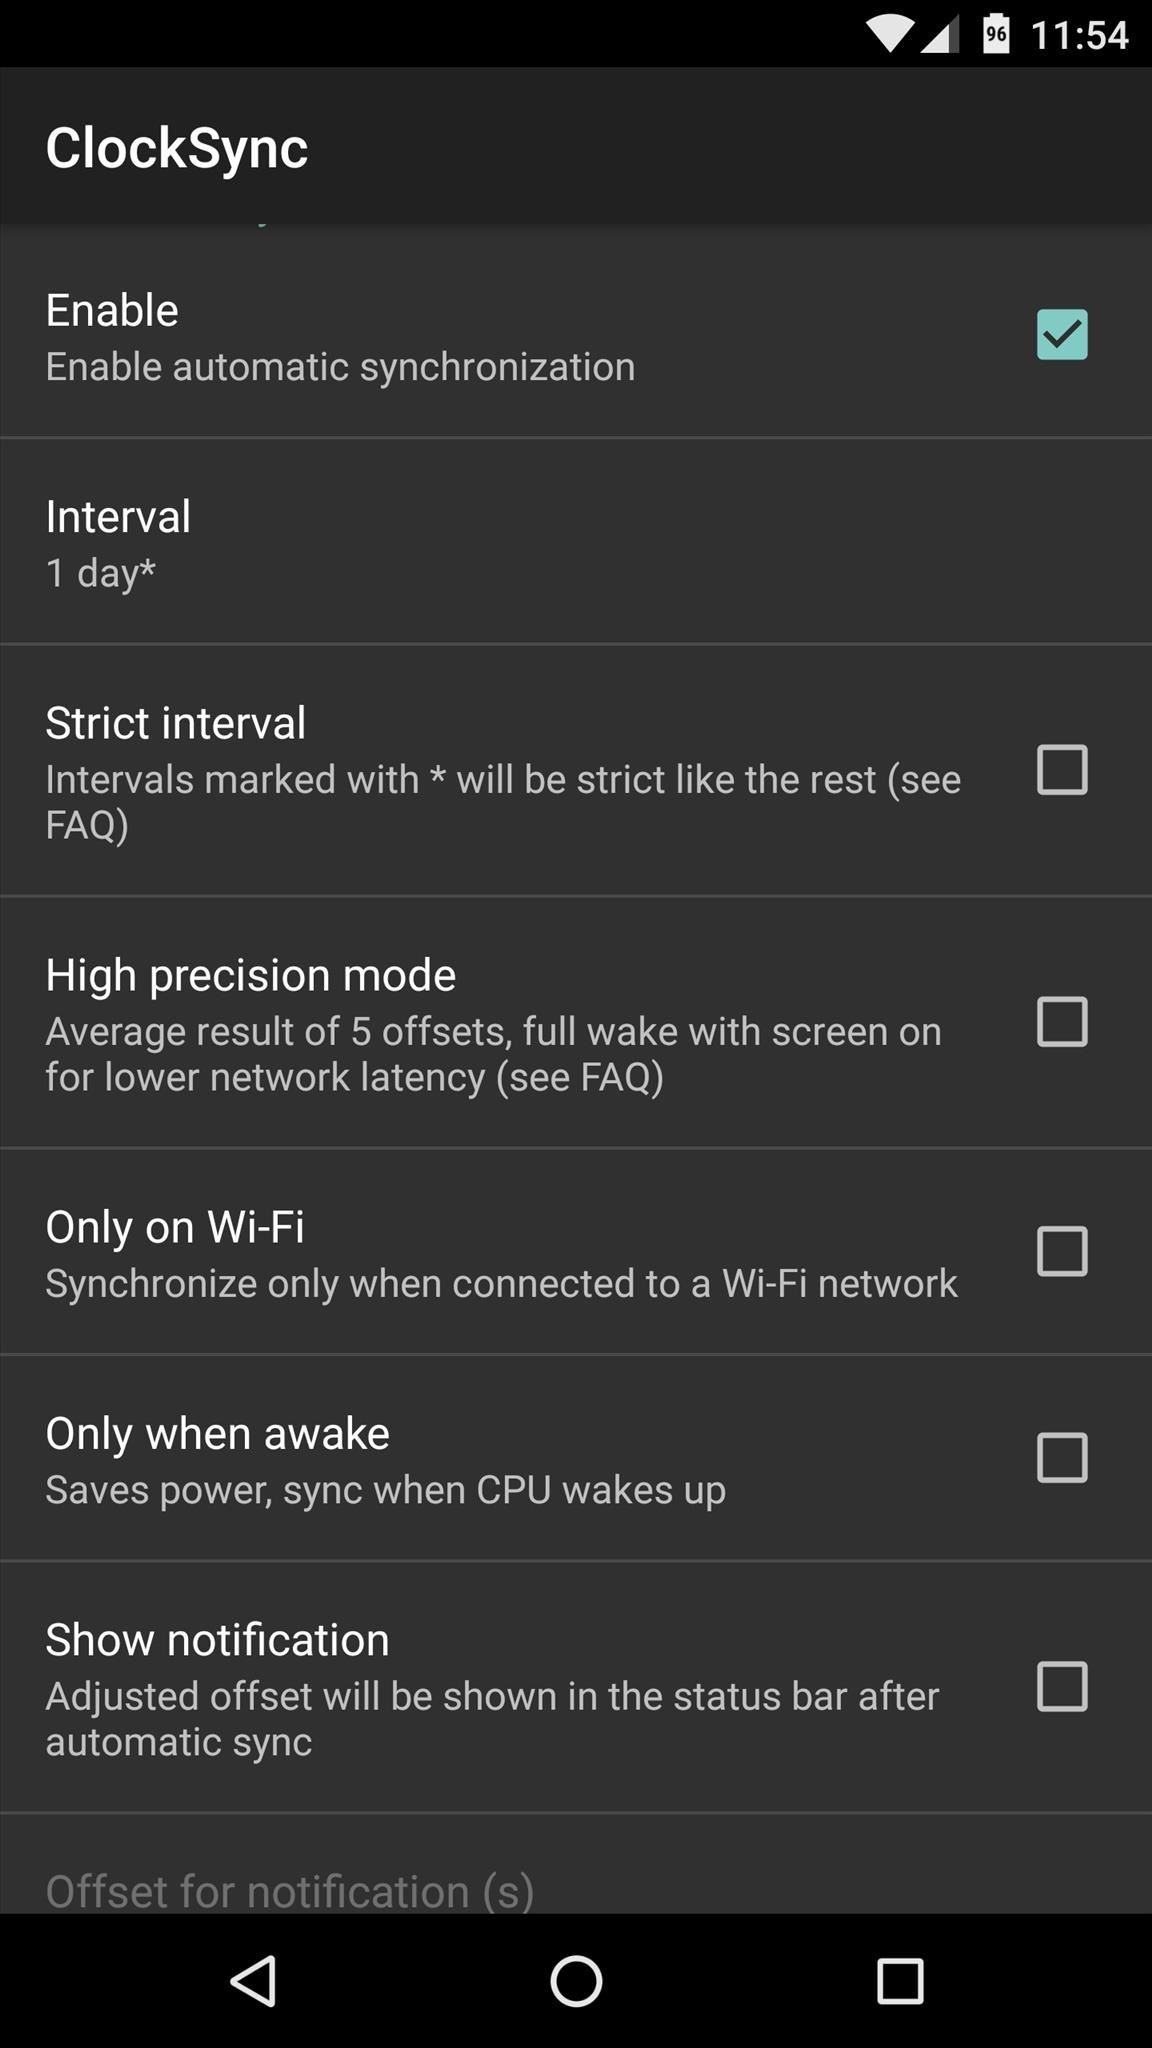
From here, there are additional options for tweaking the synchronization process to your liking, but most users should be satisfied with leaving these set to their default values. Aside from that, to ensure that your clock stays in sync when you’re traveling, tick the box next to the «Detect time zone» option.

Step 3: Sync Your System Clock with Atomic Time
With all of the options tweaked to your liking now, head back out to ClockSync’s main menu. From here, tap the three-dot menu button again, but this time choose «Synchronize.» At this point, the app will ask for root access, so tap «Grant» on the Superuser request popup.
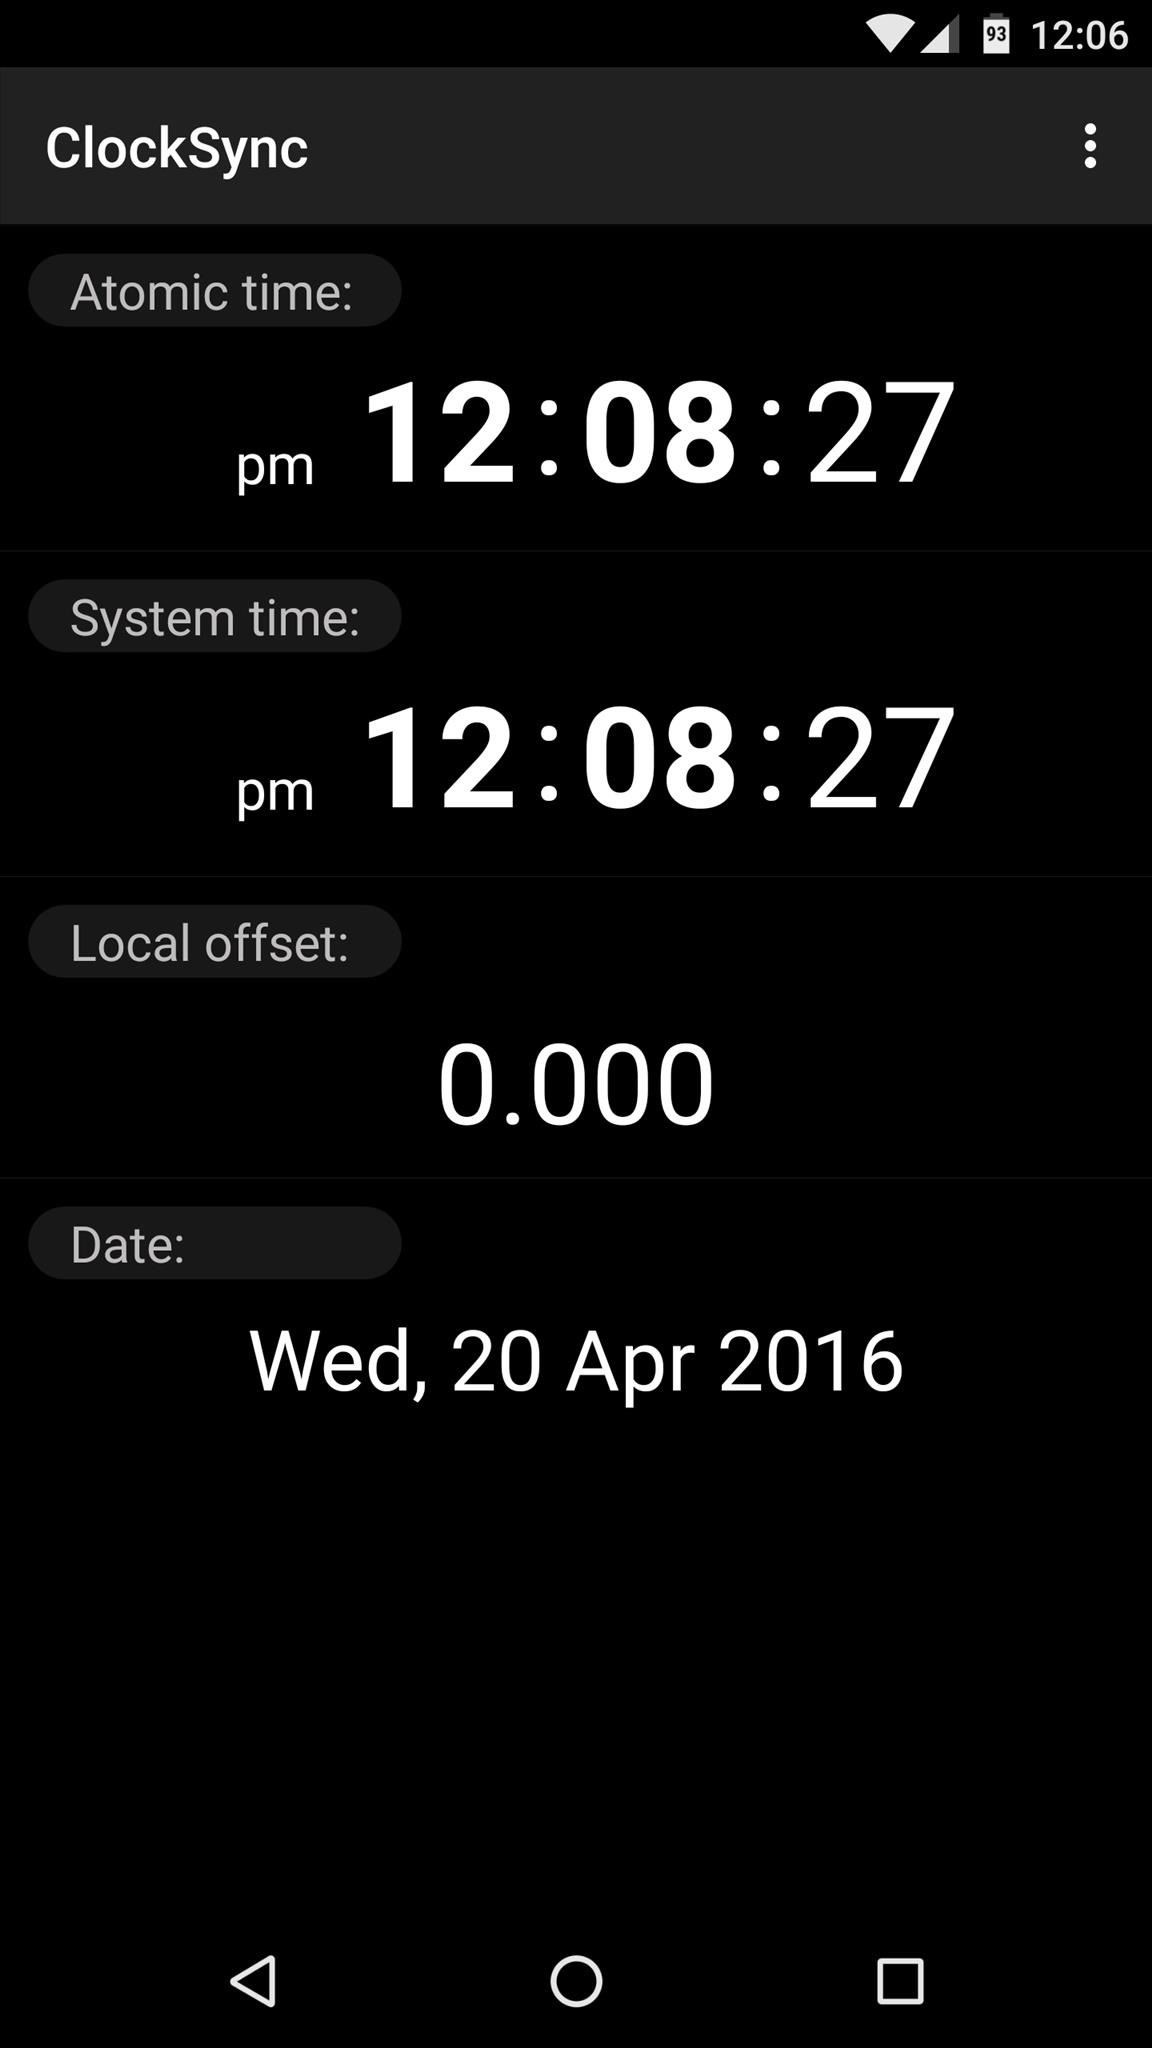
Once you’ve done that, you’ll notice that the System time becomes perfectly in sync with the Atomic time being reported by the time service. Since you set the app to automatically update your system clock, this will continue to be the case from here on out, provided your device is connected to either mobile data or Wi-Fi.

Keep Your Connection Secure Without a Monthly Bill. Get a lifetime subscription to VPN Unlimited for all your devices with a one-time purchase from the new Gadget Hacks Shop, and watch Hulu or Netflix without regional restrictions, increase security when browsing on public networks, and more.
Источник


