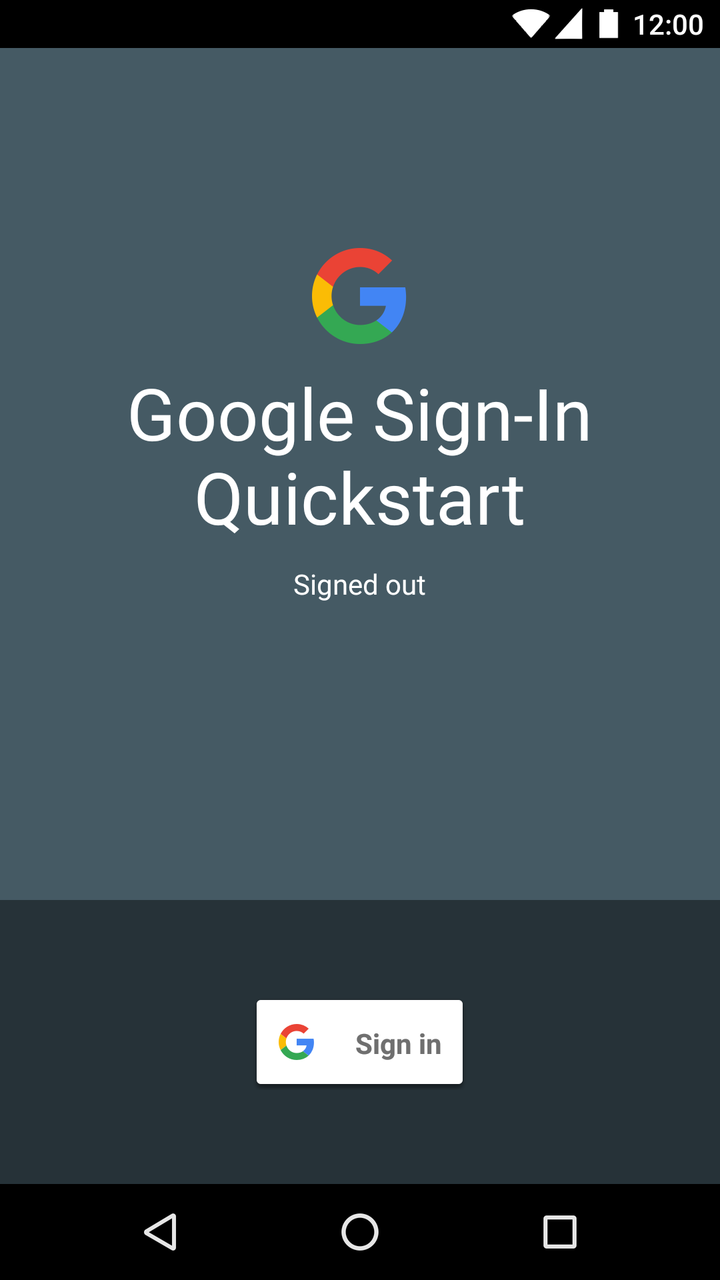
- Try Sign-In for Android
- Get the project
- Configure a Google API project
- Run the sample
- How it works
- Next steps
- Integrating Google Sign-In into Your Android App
- Before you begin
- Configure Google Sign-in and the GoogleSignInClient object
- Check for an existing signed-in user
- Add the Google Sign-in button to your app
- Start the sign-in flow
- Top 5 Ways to Add Google Account in Android Without Syncing
- Mehvish
- What’s the Problem with Google Sync
- 1. Quickly Disable Sync
- 2. Disable Apps
- Android use google account
Try Sign-In for Android
Use our Android sample app to see how Sign-In works, or add Sign-In to your existing app.
Get the project
If this is your first time using a Google services sample, check out the google-services repository.
Open Android Studio.
Select File > Open, browse to where you cloned the google-services repository, and open google-services/android/signin .
Configure a Google API project
To use the sample, you need to provide some additional information to finish setting up your project. Click the button below, and specify the package name com .google .samples .quickstart .signin when prompted. You will also need to provide the SHA-1 hash of your signing certificate. See Authenticating Your Client for information.
The sample’s IdTokenActivity and ServerAuthCodeActivity examples require you to specify an OAuth 2.0 web client ID. In a real app, this client ID would represent your app’s backend server. A client ID for this purpose was created when you configured the project above.
Find this value by opening the Google API Console:
Your web server client ID is displayed next to Web client (Auto-created for Google Sign-in). Copy and paste the client ID into your project’s strings.xml file:
Run the sample
Now you’re ready to build the sample and run it from Android Studio.
Build the sample and click the run button and select a connected device or emulator with the latest version of Google Play services.
How it works
The application builds a GoogleSignInClient , specifying the sign-in options it needs. Then, when the sign-in button is clicked, the application starts the sign-in intent, which prompts the user to sign in with a Google account.
Next steps
If you want to see how you can implement Google Sign-In in your own app, take a look at our implementation guide.
Did you have a good experience? Run into trouble? Let us know!
Except as otherwise noted, the content of this page is licensed under the Creative Commons Attribution 4.0 License, and code samples are licensed under the Apache 2.0 License. For details, see the Google Developers Site Policies. Java is a registered trademark of Oracle and/or its affiliates.
Источник
Integrating Google Sign-In into Your Android App
To integrate Google Sign-In into your Android app, configure Google Sign-In and add a button to your app’s layout that starts the sign-in flow.
Before you begin
Configure Google Sign-in and the GoogleSignInClient object
In your sign-in activity’s onCreate method, configure Google Sign-In to request the user data required by your app. For example, to configure Google Sign-In to request users’ ID and basic profile information, create a GoogleSignInOptions object with the DEFAULT_SIGN_IN parameter. To request users’ email addresses as well, create the GoogleSignInOptions object with the requestEmail option.
If you need to request additional scopes to access Google APIs, specify them with requestScopes . For the best user experience, on sign-in, only request the scopes that are required for your app to minimally function. Request any additional scopes only when you need them, so that your users see the consent screen in the context of an action they performed. See Requesting Additional Scopes.
Then, also in your sign-in activity’s onCreate method, create a GoogleSignInClient object with the options you specified.
Check for an existing signed-in user
In your activity’s onStart method, check if a user has already signed in to your app with Google.
If GoogleSignIn.getLastSignedInAccount returns a GoogleSignInAccount object (rather than null ), the user has already signed in to your app with Google. Update your UI accordingly—that is, hide the sign-in button, launch your main activity, or whatever is appropriate for your app.
If GoogleSignIn.getLastSignedInAccount returns null , the user has not yet signed in to your app with Google. Update your UI to display the Google Sign-in button.
Add the Google Sign-in button to your app
 Add the SignInButton in your application’s layout:
Optional: If you are using the default sign-in button graphic instead of providing your own sign-in button assets, you can customize the button’s size with the setSize method.
In the Android activity (for example, in the onCreate method), register your button’s OnClickListener to sign in the user when clicked:
Start the sign-in flow
 In the activity’s onClick method, handle sign-in button taps by creating a sign-in intent with the getSignInIntent method, and starting the intent with startActivityForResult .
Starting the intent prompts the user to select a Google account to sign in with. If you requested scopes beyond profile , email , and openid , the user is also prompted to grant access to the requested resources.
After the user signs in, you can get a GoogleSignInAccount object for the user in the activity’s onActivityResult method.
The GoogleSignInAccount object contains information about the signed-in user, such as the user’s name.
You can also get the user’s email address with getEmail , the user’s Google ID (for client-side use) with getId , and an ID token for the user with getIdToken . If you need to pass the currently signed-in user to a backend server, send the ID token to your backend server and validate the token on the server.
Except as otherwise noted, the content of this page is licensed under the Creative Commons Attribution 4.0 License, and code samples are licensed under the Apache 2.0 License. For details, see the Google Developers Site Policies. Java is a registered trademark of Oracle and/or its affiliates.
Источник
Top 5 Ways to Add Google Account in Android Without Syncing
Mehvish
21 Dec 2019
Did you notice that your contacts are appearing on another Android phone? That might be highly confusing at first. The answer to that question is simple. If you had logged into another Android phone using your Google account, then all contacts from that account will appear on that phone. In this post, we shall tell you how to add a Google account without syncing data.

Even when you add someone else’s account in your Android phone, their contacts will start showing up on your phone. The problem is — even though Google lets you stop syncing the contacts, the option appears after the contacts sync takes place. That makes the process useless. In short, you cannot choose what you want to sync from your Google account.
However, here we will tell you various ways to avoid syncing data on Android while adding a Google account. Before that, let’s understand the issue properly first.
What’s the Problem with Google Sync
When you add a Google account on your Android phone — be it a primary or secondary, it starts syncing everything related to that account. For instance, emails, contacts, images in Google Photos, Calendar, Drive, and more. Google doesn’t give you a choice. Now, most users use different Google accounts to keep things separate. Syncing everything to the Android phone defeats the purpose.

There could be many reasons for people to stop syncing their Google data to an Android phone. For instance, I don’t want contacts from all of my Google accounts to show up on my Android phone.
Similarly, when some people buy paid apps from their account, they want to share that with someone else, especially their kids. They do that by adding the Google account on the second device. But by doing so, all their personal data such as emails, contacts, and more show up on the kids’ device. Now that’s bad, in terms of both privacy and safety.
To avoid that, one needs to add a Google account without syncing everything. Let’s check how to do that.
Also on Guiding Tech
![]()
5 Best Apps to Transfer Music Between Android Phones
1. Quickly Disable Sync
As mentioned above, Google doesn’t let you choose what you want to sync and what you don’t when you add a Google account. You can disable it after the content has synced. That’s quite stupid.
To avoid syncing things from Google such as contacts before adding a Google account, you need to disable sync quickly.
Here’s how to go about it.
Step 1: Start the process of adding a Google account from Android settings as you would normally do. However, when you reach the last step after entering your password, quickly enable Airplane mode on your phone from quick settings. I recommend that you should do it within seconds.

Step 2: Once enabled, return to the newly added Google Accounts page — Settings > Accounts.

Step 3: Tap on your Google account. Then, tap on Account sync or Sync account.


Step 4: Turn off the toggle or uncheck the box next to the items that you don’t want to sync to your phone. For instance, if you only want to sync Gmail, keep it enabled and turn off the rest.

Step 5: Then, turn off Airplane mode from quick settings. Doing that will bring back the internet services on your phone and resume sync but only for the options that you selected.
2. Disable Apps
The problem with Google data is that even if you disable the sync in the settings, as shown above, the apps still have access to your Google account. Take the case of Gmail.
If you turn off sync for Gmail, the only thing that will stop are the notifications. Meaning, you won’t be notified about new mails. But if the person opens the Gmail app, then they can still see your Google account there. And the new emails will automatically populate by opening the app.
If you don’t want the app to have access to your personal data, you can disable it. Disabling the app will stop it from showing up on your home screen or in the app drawer. Of course, that would mean parting away with other Google accounts too. If you are okay with that, you can disable it in the following way.
Step 1: Open Settings on your Android phone and go to Apps & notifications or Apps.

Step 2: Under All apps, tap on Gmail or any other app that you want to disable.
Источник
Android use google account
Сообщение отредактировал slava_ussr — 11.12.20, 06:46
Взяла HTC Wildfire, всё вроде ок. НО не добавляется аккаунт google. Из- за этого не могу пользоваться телефоном в полной мере. сижу и мечтаю как года- нибудь откроется Маркет (
Сообщение отредактировал vmaxim — 05.02.13, 07:21
omikudzi,
Что значит не добавляется.
Описывайте проблему ЧЕТЧЕ:
— Что делаете?
— Что ожидаете?
— Что происходит или не происходит?
кстати, думаю у меня тоже самое
проблема вот в чем: есть гугл аккаунт, при входе в маркет с телефона он предлагает подключить аккаунт гугл, ввожу данные, затем экран показывает, мол, выполняется вход, это займет не более 5 минут. затем выскакивает сообщение «не удается установить надежное подключение к серверу для передачи данных. возможно, это временная неполадка либо ваш телефон не поддерживает передачу данных. » и так уже недели две
как бы что делать?
аппарат HTC Hero, ОС 2.1-update1, ПО 3.32.411.2
Если не ошибаюсь, в случае появления ошибки, связанной с «надёжным соединением» надо использовать режим GSM, а не WCDMA.
Сообщение отредактировал Бодтэк — 20.09.10, 17:02
У меня интернет и по GSM(EDGE) и по Wi-Fi, один хрен, не работает мастер подключения аккаунта. Через проводник нормально захожу. Почему аккаунт отвалился от отправки в picasa непонятно.
Я помню, что когда принёс телефон из магазина, стал первый раз подключать аккаунт, то тоже трабл был — по wi-fi не хотел подключаться ни в какую, пришлось на GSM переключать сеть, тогда проехало. А теперь вообще никак :beee:
Сообщение отредактировал Dimonira — 20.09.10, 21:21
Произвёл некие изыскания в сети и оказалось, что проблема с подключением основного/дополнительного аккаунта гугла МАССОВАЯ! И гугл её не решил.
Проблемы есть у людей по всему миру, — с подключением основного аккаунта, дополнительного, через wi-fi и даже после сброса установок до заводских.
У некоторых байда с аккаунтом случилась после обновления системы (как и у меня).
Вот пара тем из форума:
Error adding an additional Google account
Cannot add a Google account via WiFi
В первой теме есть ссылка на программу Android — Add Account (на сайте и исходники), которая «в ручную» добавляет аккаунт.
Программа находится здесь. Ссылки: скачать программу (apk) и исходники.
Сам пока не пробовал.
Сообщение отредактировал Dimonira — 21.09.10, 15:18
Замечу только, что обновление я не устанавливал. В разделе инфо о телефоне — Версия ОС 2.1 Update 1. Номер сборки 2.03.405
о пишет ошибку Error: java.lang.SecurityException: caller uid 12345 is different than the authenticator’s uid.
что делать? (HTC legend)
Сам столкнулся на Galaxy S
Получилось только после входа через программу YouTube в аккаунт.
То есть зашел в программу YouTube там в Аккаунты, там набрал свой ЛОГИН (полностью с @gmail.com) и ПАРОЛЬ (в инструкции выше написано что без пароля)
После этого этот аккаунт появился и в общем списке в настройках «Учетные записи и синхронизация».
НО что главное заработал СТАНДАРТНЫЙ аплет по добавлению аккаунтов google (то есть через стандартное меню «Учетные записи и синхронизация» -> «Добавить аккаунт»)
Столкнулся на планшете ZT-180. (android 2.1)
Источник


