- Android — Animations
- Tween Animation
- Example
- Using animations in Android application — Tutorial
- 1. Android Animations
- 1.1. Using animations
- 1.2. Define the rate of change for an animation
- 1.3. Using animations with arbitrary properties
- 1.4. Layout animations
- 1.5. Animations for Activity transition
- 2. Android Basics
- 3. Exercise: Using the properties animations API
- 4. Activity animations in Android with shared views
- Анимации в Android по полочкам (Часть 2. Комплексные анимации)
- Часть 2. Комплексные анимации
- 1. Анимация изменений лэйаута (aka animateLayoutChanges)
- 2. Transitions framework
- Анимации в Android по полочкам (Часть 1. Базовые анимации)
- Часть 1. Базовые анимации
- 1. Кадр за кадром
- 2. Анимация свойств объекта (aka Property Animator)
- 3. Анимация View (aka View animation)
- 4. Анимация векторных ресурсов (aka AnimatedVectorDrawable)
Android — Animations
Animation is the process of creating motion and shape change
Animation in android is possible from many ways. In this chapter we will discuss one easy and widely used way of making animation called tweened animation.
Tween Animation
Tween Animation takes some parameters such as start value , end value, size , time duration , rotation angle e.t.c and perform the required animation on that object. It can be applied to any type of object. So in order to use this , android has provided us a class called Animation.
In order to perform animation in android , we are going to call a static function loadAnimation() of the class AnimationUtils. We are going to receive the result in an instance of Animation Object. Its syntax is as follows −
Note the second parameter. It is the name of the our animation xml file. You have to create a new folder called anim under res directory and make an xml file under anim folder.
This animation class has many useful functions which are listed below −
| Sr.No | Method & Description | |||||||||||||||||
|---|---|---|---|---|---|---|---|---|---|---|---|---|---|---|---|---|---|---|
| 1 |
| Steps | Description |
|---|---|
| 1 | You will use Android studio IDE to create an Android application and name it as My Application under a package com.example.sairamkrishna.myapplication. |
| 2 | Modify src/MainActivity.java file to add animation code |
| 3 | Modify layout XML file res/layout/activity_main.xml add any GUI component if required. |
| 4 | Create a new folder under res directory and call it anim. Confim it by visiting res/anim |
| 5 | Right click on anim and click on new and select Android XML file You have to create different files that are listed below. |
| 6 | Create files myanimation.xml,clockwise.xml,fade.xml,move.xml,blink.xml,slide.xml and add the XML code. |
| 7 | No need to change default string constants. Android studio takes care of default constants at values/string.xml. |
| 8 | Run the application and choose a running android device and install the application on it and verify the results. |
Here is the modified code of MainActivity.java.
Here is the modified code of res/layout/activity_main.xml.
Here abc indicates about logo of tutorialspoint
Here is the code of res/anim/myanimation.xml.
Here is the code of res/anim/clockwise.xml.
Here is the code of res/anim/fade.xml.
Here is the code of res/anim/blink.xml.
Here is the code of res/anim/move.xml.
Here is the code of res/anim/slide.xml
Here is the modified code of res/values/string.xml.
Here is the default code of AndroidManifest.xml.
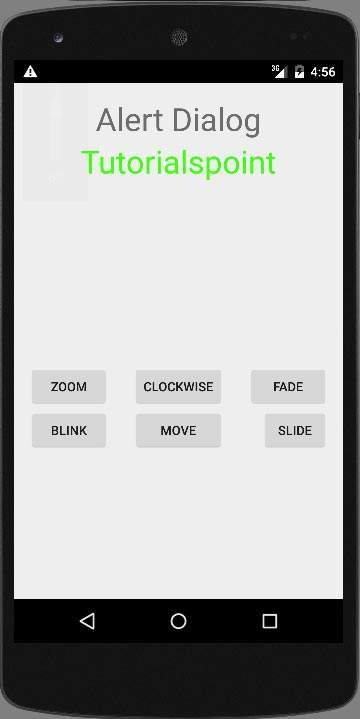
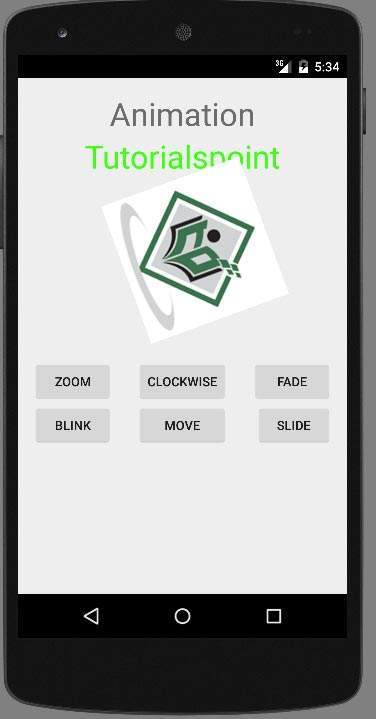
Let’s try to run your application. I assume you have connected your actual Android Mobile device with your computer. To run the app from Android studio, open one of your project’s activity files and click Run  icon from the toolbar. Android studio will display following images
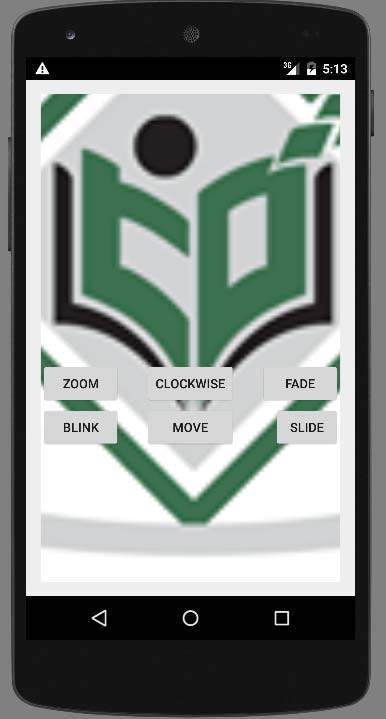
Select zoom button, it will display following screen −
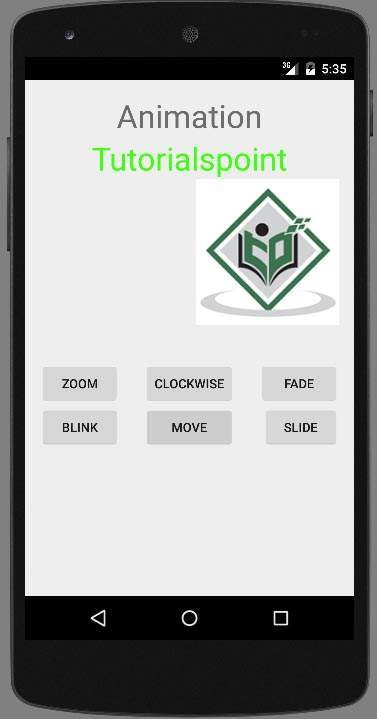
Now select slide button, it will display following screen
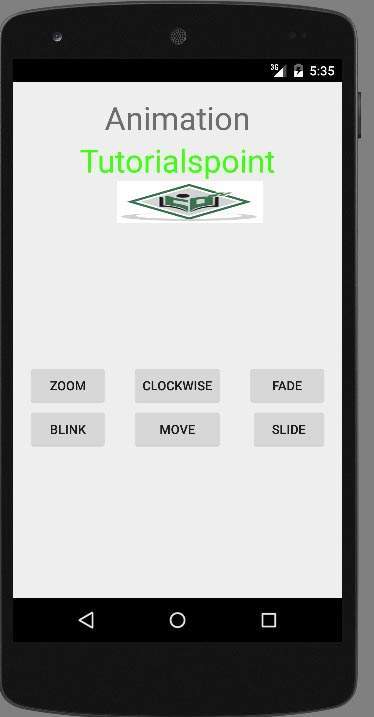
Now select move button, it will display following screen
Now the clockwise button, it will display following screen
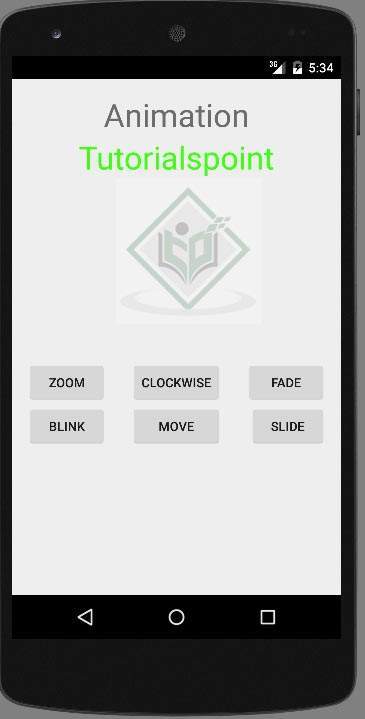
Now Fade button, it will display following screen
Note − If you run it in emulator , you may not experience smooth animation effect. You have to run it in your android mobile in order to experience the smooth animation.
Источник
Using animations in Android application — Tutorial
Android Property Animation API. This tutorial describes how to use the animation API in Android.
1. Android Animations
1.1. Using animations
Android allows changing object properties over a certain time interval via the properties animation API.
The superclass of the animation API is the Animator class. The ObjectAnimator class can be used to modify attributes of an object.
You can also add an AnimatorListener class to your Animator class. This listener is called in the different phases of the animation. You can use this listener to perform actions before or after a certain animation, e.g. add or remove a View from a ViewGroup .
The animate() method on a View object returns an ViewPropertyAnimator object for the view. It provides a fluent API to typical animations which can be performed on views.
The following code shows an example.
You can also register action, which are executed before the start or after the end of the animation.
1.2. Define the rate of change for an animation
Via the setInterpolator() method you register an TimeInterpolator object with an animation. It defines the rate of change for an animation.
The standard is linear. The Android platform defines a few default ones. For example, the AccelerateDecelerateInterpolator class defines that the animation starts and ends slowly but accelerates through the middle.
1.3. Using animations with arbitrary properties
The animation system cannot automatically understand every type. Via the setEvaluator method you can set an object of type TypeEvaluator . It allows creating animations for arbitrary types, by providing custom evaluators for these types.
1.4. Layout animations
The LayoutTransition class allows setting animations on a layout container and a change on the view hierarchy of this container will be animated.
1.5. Animations for Activity transition
Animations can be applied to Views but it is also possible to apply them on the transition between activities.
The ActivityOptions class allows defining defaults or customer animations.
2. Android Basics
The following description assumes that you have already basic knowledge in Android development.
Please check https://www.vogella.com/tutorials/Android/article.html — Android development tutorial, to learn the basics. Also see https://www.vogella.com/android.html — Android development tutorials, for more information about Android development.
3. Exercise: Using the properties animations API
This exercise demonstrates the usage of the Properties animation API.
Create a new Android project with the top level package name com.vogella.android.animation.views and an activity called AnimationExampleActivity. The layout file should be called activity_main.xml.
Change your layout file to the following code.
Create the following menu resource.
Change your activity similar to the following listing.
Create a new xml layout file called target like the following.
Create a new HitActivity activity.
If you run this example and press the different buttons, the animation should start. Via the toolbar, you can start your HitActivity .
4. Activity animations in Android with shared views
Android 5.0 adds the capability to animate between activities and to have shared views between these activity. If you define a shared part the old view with be animating into the position and size of the new view.
To test this create a project with the top level package called com.vogella.android.activityanimationwithsharedviews .
Create two activity with two different layout, both containing a ImageView with the same android:transitionName property.
Источник
Анимации в Android по полочкам (Часть 2. Комплексные анимации)
Приведённые в предыдущей части инструменты были относительно низкоуровневыми и в Android есть куда более простые способы добиться красивых анимаций не прибегая к прямому рисованию графики или изменению свойств объектов.
В этой части мы рассмотрим как можно минимумом усилий получить красивые анимации.
Часть 2. Комплексные анимации
1. Анимация изменений лэйаута (aka animateLayoutChanges)

Всё, что нам нужно сделать, чтобы добиться анимации как на гифке выше — это добавить флаг animateLayoutChanges в наш ViewGroup в xml. Теперь, когда мы удаляем или добавляем элемент в наш контейнер, либо изменяем его свойства, они автоматически будут анимированы.
Ладно, я немного слукавил когда говорил, что чтобы получить анимацию как на гифке выше, нужно всего лишь установить флаг. Добавление animateLayoutChanges на самом деле устанавливает LayoutTransition нашей ViewGroup. Но LayoutTransition по умолчанию анимирует только изменение видимости объектов в лэйауте. Поэтому если мы хотим изменять свойства объекта (например ширину и высоту) нужно включить эту опцию отдельно:
Теперь точно всё. Если захочется как-то кастомизировать это поведение, то у LayoutTransition есть метод setAnimator позволяющий задать свою собственную анимацию изменений. Ну самые хардкорные ребята всегда могут написать свой LayoutTransition .
• Применение:
Базовая анимация изменений объектов на сцене.
• Достоинства:
Минимальные трудозатраты
• Недостатки:
Слабая кастомизация
2. Transitions framework
Начиная с API 19 в Android появился новый фреймворк позволяющий создавать сложные анимации с участием большого количества элементов и минимумом кода.
Есть два основных варианта его использования:
1) Использование TransitionManager.beginDelayedTransition(ViewGroup)
Чтобы создать анимацию необходимо перед внесением изменений в наши View вызвать TransitionManager.beginDelayedTransition(ViewGroup) и передать в него ViewGroup, который мы хотим анимировать. Фрэймворк запомнит состояние View и запустит анимацию на следующем кадре.
2) Создание сцен
Создание анимации в этом случае сводится к созданию двух похожих xml, отвечающих за начальное и конечное состояние ваших анимаций. Соответственно, id объектов в xml должны совпадать, чтобы дать фреймворку возможность найти соответствие (На самом деле beginDelayedTransition тоже создаёт сцены, одну в момент вызова, а вторую на следующем кадре. После чего запускает анимацию между ними).
Кастомизация в Transitions framework достигается за счёт передачи объекта Transition вторым параметром. По умолчанию используется AutoTransition() , так что код ниже будет работать абсолютно так-же, как и код выше.
И если заглянуть внутрь AutoTransition можно заметить что анимации будут происходить в последовательно в следующем порядке:
— анимируются исчезающие объекты
— анимируются изменения размеров
— анимируются появляющиеся объекты
• Применение:
Анимация большого количества объектов
• Достоинства:
Минимальные трудозатраты
Доступная кастомизация
Источник
Анимации в Android по полочкам (Часть 1. Базовые анимации)
Сегодня я хочу немного рассказать про анимацию в Android. Думаю для всех достаточно очевидный факт, что анимации могут украсить наше приложение. Но я считаю, что они могут намного больше. Первое это — хорошие анимации даже при скромной графике могут вывести наше приложение на абсолютно новый уровень. Второе — это дополнительный инструмент для общения с пользователем, позволяющий фокусировать внимание, подсказывать механики приложения, и многое другое… но это отдельная большая тема.
Сегодня мы поговорим об инструментах для создания анимации. К сожалению, так получилось, что в Android достаточно много способов что либо анимировать, и по началу в них очень легко запутаться. Я постараюсь привести максимально общую классификацию и оставлю ссылки исключительно на документацию, т.к. туториалов можно найти предостаточно. Надеюсь эта статья поможет уложить в голове всё по полочками и, при необходимости создать анимацию, выбрать наиболее подходящий способ.
Часть 1. Базовые анимации
Часть 2. Комплексные анимации
Часть 3. «Низкоуровневые» анимации
Часть 1. Базовые анимации
1. Кадр за кадром
Предполагаю, что первая анимация в мире создавалась именно так, и в Android до сих пор доступна эта возможность.
Всё что нужно сделать это создать xml со ссылками на каждый кадр:
И запустить анимацию (Здесь и далее все примеры будут приведены на Kotlin):
Сложные по графике анимации, небольших размеров и подготовленные во внешнем редакторе.
Возможность достичь любой сложности эффектов
Большое потребление ресурсов и, как следствие, довольно затратный импорт в приложение с возможностью получить OutOfMemory. Если по каким-то причинам вам нужно показывать большое количество кадров, то придётся писать свою реализацию с постепенной подгрузкой изображений в память. Но если так пришлось делать, возможно проще прибегнуть к видео?
2. Анимация свойств объекта (aka Property Animator)
Если нам нужно всего-лишь передвинуть что-нибудь на несколько пикселей в сторону или изменить прозрачность, чтобы не плодить миллион очень похожих друг на друга кадров на помощь приходит Animator. Фактически с помощью него можно анимировать любое свойство любых объектов.
Базовый абстрактный класс называется Animator, у него есть несколько наследников, нам важны:
ValueAnimator — позволяет анимировать любое свойство
ObjectAnimator — наследуется от ValueAnimator и имеет упрощённый интерфейс для анимации свойств View.
ViewPropertyAnimator — Предоставляет ещё один удобный интерфейс для анимации View. Не унаследован от Animator и используется в методе View::animate()
Анимацию выше можно описать как в коде:
так и в XML ( animator/open_animator.xml ):
Так-же есть возможность описать нашу анимацию переходов между стейтами View, что соответсвенно, с лёгкостью позволит создать анимированные переходы между стейтами у любых View. Описанная в XML анимация будет автоматически запущена при смене состояния View.
animator/state_animator.xml
Анимация View объектов и любых их параметров
Анимация любых других параметров
В некоторой степени требовательны к ресурсам
3. Анимация View (aka View animation)
До появления Animator в Android были только Animations. Основной недостаток которых был в том что они анимировали только представление вида и никак на самом деле не изменяли его свойства. Поэтому если хочется анимировать перемещение какого-либо элемента, то дополнительно по окончанию анимации нужно изменить ещё его свойства. Такой подход так или иначе не очень удобен, если вам нужна чуть более сложная анимация или нужно отлавливать нажатия в момент анимации.
Анимацию можно запустить как в коде:
так и в XML (обратите внимание, что синтаксис отличается от xml для Animator):
anim/open_animation.xml
Там, где API не позволяет использовать Animator.
Устаревший API, меняет только представление вида.
4. Анимация векторных ресурсов (aka AnimatedVectorDrawable)
На мой взгляд самая интересная часть в Android анимациях. Можно относительно малыми силами добиваться сложных и интересных эффектов. Трансформации иконок в Android сделаны именно так.
VectorDrawable состоит из Path и Group элементов. Создание анимации сводится к тому, чтобы прописать движение к этим элементам. Андроид на картинке выше, в коде будет выглядеть так:
Чтобы не писать XML вручную можно воспользоваться онлайн инструментом.
Начиная с API 25 векторные анимации отрисовываются в RenderThread, поэтому, даже если мы загрузим чем-то наш UI Thread (но мы же никогда так не делаем, да?), анимации всё равно будут проигрываться плавно.
Иконки
Анимационные эффекты
Нет возможности вручную управлять точкой анимации во времени (т.е. фактически отсутствует какой-либо метод, вроде setCurrentTime)
Источник


