- 15 Must-Have Apps For Your iPhone
- 1. Google Maps (Free)
- 2. BillGuard (Free)
- 3. Buffer (Free)
- 4. Dashlane (Free)
- 5. Zillow (Free)
- 6. Fooducate (Free)
- 7. Sleep Cycle ($1.99)
- 8. Dropbox (Free)
- 9. Vine (Free)
- 10. Duolingo (Free)
- 11. MyFitnessPal (Free)
- 12. Onavo Extend (Free)
- 13. Shazam (Free)
- 14. Spotify (Free-ish)
- 15. Camera+ ($1.99)
- Read Next
- More by this author
- Trending in iOS
- More by this author
- Trending in iOS
- Read Next
- How to Make Private Browsing on Safari Truly Private
- What Does Private Browsing Do?
- The Terminal Archive
- Clearing Your Tracks
- Other Browsers and Private Browsing
15 Must-Have Apps For Your iPhone
An author and blogger who shares about lifestyle advice Read full profile
By this time next year, we could very well have over 1 million apps to pick from for our iPhone’s, as the App Store currently stands somewhere around 750k going strong. With all of these options, how can you know that you’re selecting the best apps to fill your home screen?
First of all, let’s define “must-have.” There are plenty of must-have apps you’ve probably already downloaded because you’re aware of their benefits. We’ll avoid the the obvious apps like these, such as Facebook, Twitter, and Gmail. While these are essential (for most), you’ve probably already decided on whether or not you’re going to download them.
Here are 15 must-have apps for your iPhone that you’ll want to download.
1. Google Maps (Free)
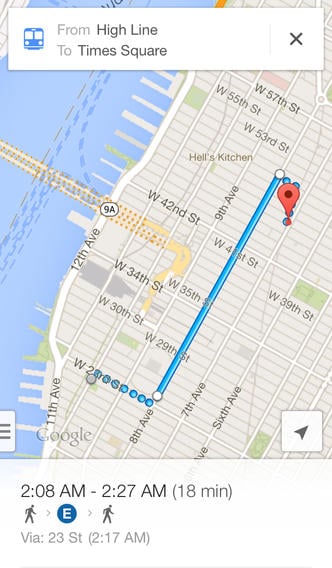
Sure, you have the official iPhone navigator app “Maps.” But if you want an app that fully delivers, add Google Maps to your list. Maps has been notorious for causing navigation problems, which none of us have the time or patience to deal with. Let’s put it this way: Even Tim Cook, CEO of Apple basically told everyone to get Google Maps.
2. BillGuard (Free)
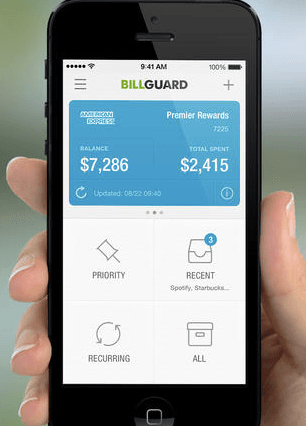
I’ll be the first to admit I don’t organize my finances as well as I should sometimes. This is why BillGuard is such a handy tool for iPhone users. Though it shares some of the same functions as a major bank app (Bank of America is mine for example and works fine), BillGuard goes further by helping you manage your spending habits. It’s geared toward keeping you aware of irregular spending and bills you need to pay for down the road. It will even notify you frequent charges for services you may not even use anymore.
3. Buffer (Free)
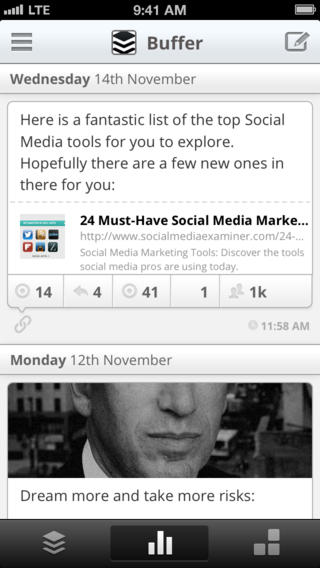
Want to be a social media whiz? Of course you (maybe) do. Buffer works a lot like Hootsuite. You can schedule Facebook, Twitter, LinkedIn and Google Plus posts based on when they’ll be most effective. Want to tweet something at a time when most of your followers will be listening? Buffer measures this and assigns an appropriate time. You can even see the stats of your posts and see how they’ve performed.
4. Dashlane (Free)
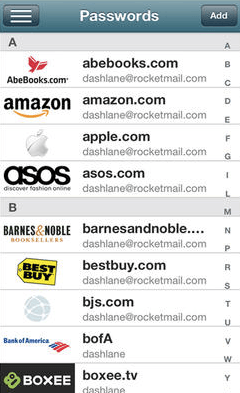
If you like to buy things online, Dashlane is a must-have app for you. It automatically saves payment and confirmation info that would have otherwise been lost in your email. It allows you to keep track of your online spending and makes it easier for you to find your receipts (unless you’ve had the foresight to add things like tickets to your Passbook app). Dashlane is free, but the premium option is worth getting if you spend a lot online.
5. Zillow (Free)
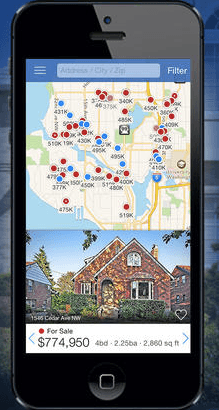
I wish someone could have better prepared me for finding a place to live. Real estate is a cutthroat business, and I’ve often found myself at the mercy of websites that hide the best properties from you for their own interest (or lack of information). Zillow is a godsend, as a result of this. The app crawls pretty much every property and real estate in your area, ranging from buying to renting. It proceeds to give you the information you need to get in touch with the property owner or leasing office, and the simple design makes all of this a breeze.
6. Fooducate (Free)
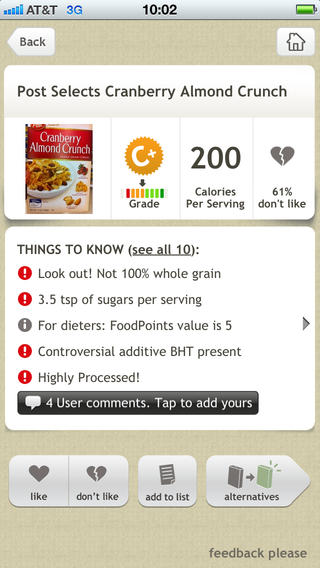
I wouldn’t be doing my fellow foodies justice if I didn’t recommend at least one health app. When you’re at the grocery store, you may determine the health value of an item you’re considering based on what you recognize on the label. The problem is that most of us don’t know what a lot of the ingredients and terms we see actually mean, which leads us to gambling on food that may not be good for us.
Fooducate helps by allowing you to scan the barcode of an item and view its “grade.” The database for the app grades food items based on everything from calories to controversial ingredients, giving you a clear picture of what you’re actually buying. It will even explain why an item has a particular grade and literally educates you on that item’s health value.
7. Sleep Cycle ($1.99)
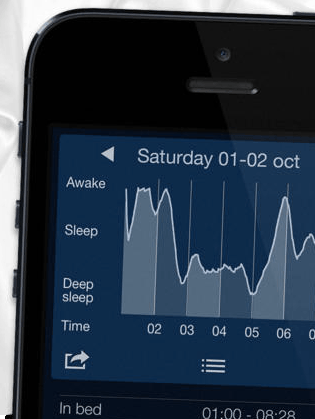
Sleep Cycle is essentially the ultimate alarm clock. Instead of selecting a time to be woken up at, you select a time frame (Say, between 7:00am and 8:00am). You then place the phone on your bed and go to sleep. The app measures your sleep cycle, analyzing how well you rested and when you hit R.E.M. sleep. It will then sound the alarm when you’re ready to be woken up, which will be at a time when you’re not feeling “groggy” or too tired to get up.
8. Dropbox (Free)
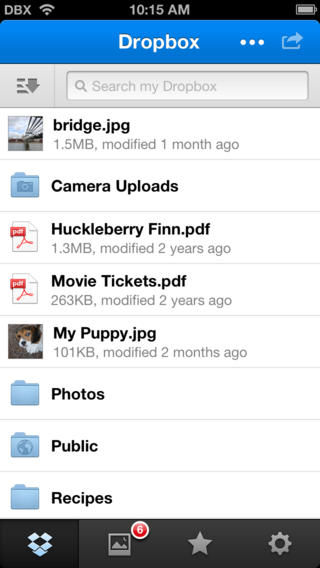
These days, there are a lot of cloud services to pick from, but Dropbox still ranks among one of the best, if only because it works so well on every platform. Dropbox allows you to save and view your files across multiple devices, including your desktop, laptop, phone or tablet, as long as you have the internet to access them. Another great cloud service app is Google Drive, if that’s what you’re more familiar with.
9. Vine (Free)
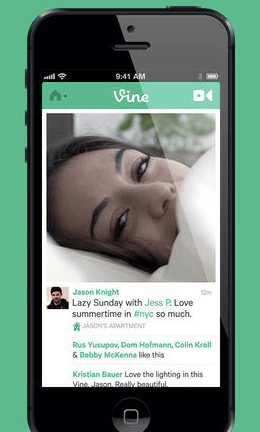
If there’s one social media app I can’t help but recommend, it’s Vine. Sure, everyone loves Instagram and Pinterest, but Vine provides instant entertainment pretty much everyone can appreciate. Vine allows you to create and view 6 second videos via a Twitter-esque newsfeed. The fun of Vine is following great and hilarious users, but the handy “re-vine” feature allows you do find the best videos pretty quickly.
10. Duolingo (Free)
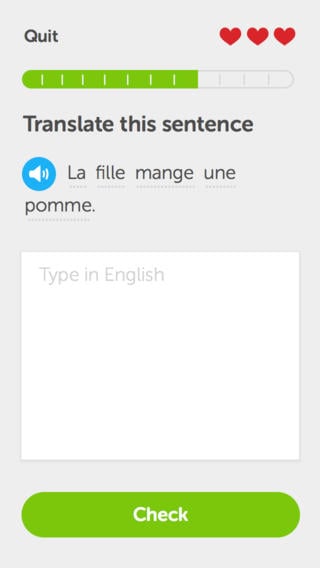
Imagine a world where language-learning tools that are as effective as Rosetta Stone are actually available for free on your iPhone. Actually, you don’t have to imagine this because Duolingo already exists. The visionaries behind Duolingo set out to create a premium-level language app that uses free lessons to make you a pro at (insert awesome language here).
11. MyFitnessPal (Free)
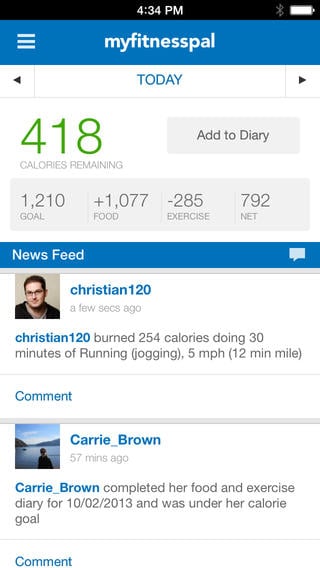
Let’s be real, here. I wouldn’t recommend an exercise app I didn’t find success with myself. I started used MyFitnessPal about 4 months ago to keep track of calories gained and burned. Since then, I’ve lost almost 50 pounds. The app works because it sets realistic goals for your fitness plan and gives you strict boundaries to adhere to. It allows you to keep track of all your meals, counting calories based on what you input (its database of food is huge) and calories burned through exercise. If you want your phone to help you stay in shape, don’t avoid this amazing app.
12. Onavo Extend (Free)
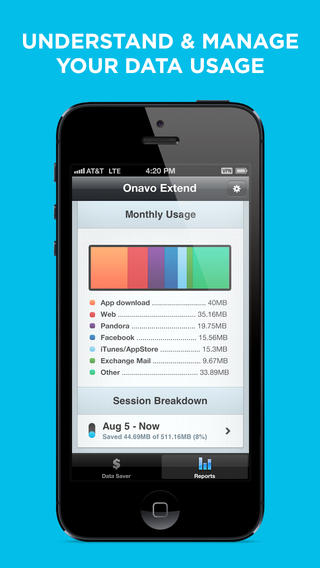
Nowadays, limited data plans are more common than ever, which means going over the limit can be a constant worry for data-lovers like me. Onavo is built to conserve the data you use and help you keep track of what’s draining your plan. The app is especially useful if you’re traveling and using up data more recklessly.
13. Shazam (Free)
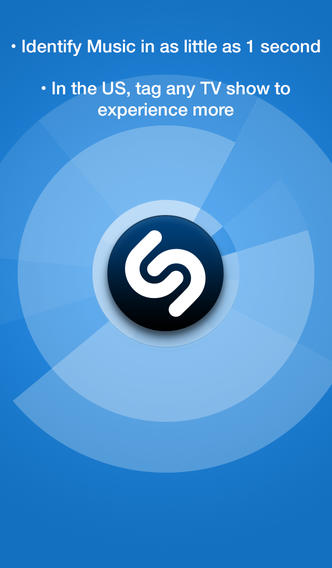
Have you ever heard a song in passing and wanted to figure out what it is? With Shazam, you can do this in a pinch. The app listens to the music being played and tells you what the song is in seconds. It also gives you more details and options, such as lyrics, band info and where to buy the song. I’ve been using Shazam for music discovery and even tagging commercials for years, allowing me to build a huge music library based on Shazam tags alone.
14. Spotify (Free-ish)
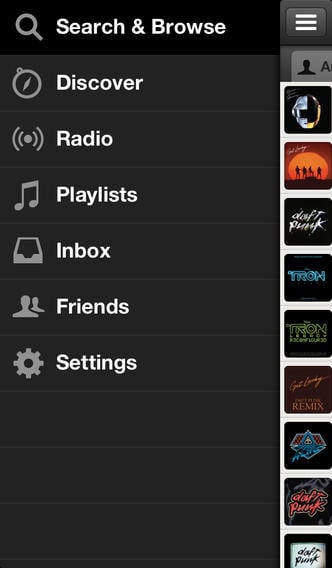
The best music app in the market is Spotify. I don’t care who knows it. Though other apps beat it in radio picks (Pandora) and custom stations (Slacker), Spotify delivers the best premium service overall. Offering millions of songs and a huge friend network, Spotify boasts the most seamless experience and bang for your buck. The app itself is free, but to access your playlists, you have to have the premium version, which is a standard $10 a month. Still, the ability to listen to playlists offline makes the fee much easier to accept.
15. Camera+ ($1.99)
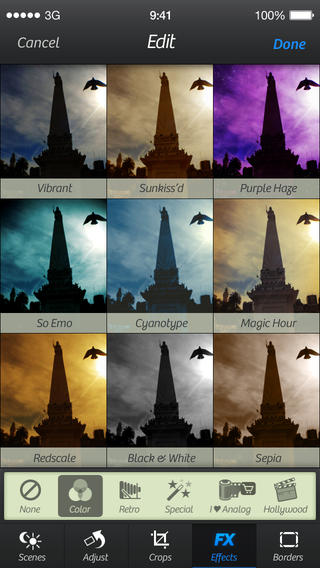
There are a lot of great camera options to pick from in the App Store, but Camera+ truly delivers one of the best platforms. For a couple of bucks, you’re getting an app that pretty much covers every feature you need for taking the best possible photo with your iPhone and editing it afterward. One of its best features is a stabilizer that waits until your phone is still before it takes the photo, preventing blurred shots. If you’re serious about taking some great pics, Camera+ doesn’t what its namesake begs.
Read Next
More by this author
Jon Negroni
An author and blogger who shares about lifestyle advice
Trending in iOS
More by this author
Jon Negroni
An author and blogger who shares about lifestyle advice
Trending in iOS
Read Next

5 Tips for Self-Care During the Holidays

20 Of The Most Inspiring Places Around The World

The 10 Most Beautiful Ski Resorts in the World

11 Cultural Date Ideas In Cheshire That Won’t Cost You A Penny
Last Updated on November 25, 2021
How to Make Private Browsing on Safari Truly Private
There comes a time when we may be searching online and don’t want the browser to remember our footsteps. The reasons don’t always have to be what we obviously think of as the main reason; for example, sometimes, you may not want Safari to remember your passwords or prompt you to enter your password when surfing the web.
Whatever the reason, we may think that we are totally in the clear with Private Browsing on Safari and the other browsers on a Mac. However, a quick Terminal command can bring up every website you’ve visited. How do you do this? Also, how do you clear your tracks for good? We will provide both answers and more today.
![]()
What Does Private Browsing Do?
When activated, Private Browsing on Safari prevents your browsing history from being kept in the history tab of the application. Along with this, it doesn’t autofill information that you have saved in the browser. In this mode, you essentially become incognito and any references of previous use is essentially hidden when you are in private mode.
For example: if you are on Facebook or filling out a form and some information or your login is already filled in in the spaces provided, this is called autofill. It’s activated by simply clicking Safari next to the Apple symbol in the menubar and selecting Private Browsing, then clicking “OK” to the prompt.
The reasons behind private mode differ for each individual. While we won’t go into all of those reasons, one thing that is important to remember is that private browsing doesn’t forget the websites you visit. As we will see later on, Macs keep a second copy of the websites you visit in either mode. If you are in frantic mode looking for a solution to this, look no further.
The Terminal Archive
While Safari does a good job of keeping your search history out of prying eyes in the history tab, there is a less-than-obvious way to view a full list of visited websites on Mac. This is done in Terminal; the command-line emulator that allows you to make changes to your Mac.
Terminal is located in the Utilities folder on your Mac. Once activated, simply add the command:
dscacheutil -cachedump -entries Host
Once you hit “enter”, a list of the visited sites appear. Showing only the domains, the sites appear in a format of:
Key: h_name :(website domain)ipv4 :1
However, there’s no need to fear—there is a way you can clear this information from Terminal with a command that’s just as simple.
Clearing Your Tracks
Just as simply as you were able to enter the command to view the websites, you can clear the cache that Terminal showed you with the comamnd:
dscacheutil -flushcache
As the command denotes, this literally “flushes” the domains from Terminal. This does not prevent the record from continuing to be recorded for future sites, however, so if that’s an issue for you, repeat this process regularly.
Other Browsers and Private Browsing
Other browsers have this form of privacy mode for their service. They promise many of the same things as Safari, but they do not have the same Terminal issue due to how this command only presents websites visited on Safari (the browser Macs come shipped with).
If you use Firefox, you’ll notice that its private mode is also known as Private Browsing. Chrome calls private mode Incognito, while Internet Explorer refers to it as InPrivate Browsing. Opera is the newest to the scene, denoting it as Private Tab. Safari is the oldest well-known browser with this feature.
As you can see, despite Private Browsing not being 100% private, Terminal allows for your browser to be. In what ways has Terminal helped your life or allowed you to become more productive? Let us know in the comments below.
Источник


