- WooCommerce With Apple Pay and Google Pay
- How to add Apple Pay to WooCommerce
- Reasons to add Apple Pay on WooCommerce
- How to add Apple Pay on WooCommerce
- Step 1: Installation
- Step 2: Enable payment request buttons
- Step 3: Add your domain to Apple Pay and download verification file
- Step 4: Upload verification file
- 4 Best WooCommerce Apple Pay Plugins
- 1. Stripe
- 2. CyberSource
- 3. Moneris
- 4. PayPal Powered by Braintree
- Conclusion
WooCommerce With Apple Pay and Google Pay
Got a WooCommerce store? It behooves you to offer a variety of payment methods. Just anecdotally, I’m sure both you and me have been annoyed and even abandoned purchases when a merchant, online or otherwise, doesn’t take the payment method we want to pay with. That’s just straight-up lost sales for the merchant. But you don’t have to entirely trust anecdotal evidence, there is data you can pour into, suggesting 7% of abandonment is from missing payment methods.
I’d suggest, at a minimum, you take credit cards and PayPal. There are a variety of payment gateways you can explore (and it’s worth doing so), including a number that take credit cards. The best bet there is WooCommerce Payments — supported in many big countries. It’s Stripe-backed, so it’s a lot like using the Stripe gateway anyway, except way better as it’s loaded with useful features like the fact that you manage all your payments directly in your WordPress dashboard, and Instant Deposits.
The PayPal plugin is free, so that’s kind of a no-brainer, and I’m just talking the basic integration that kicks people over to PayPal.com to pay. Some people like that, as it lets them use their PayPal account online where they may already carry a balance for online purchases and transfers.
The very next step? Apple Pay and Google Pay. Why? Like PayPal, some people strongly prefer it (including me) because of how quick and familiar it makes the checkout process. The Apple Pay and Google Pay functionality in WooCommerce goes so far as to even allow skipping the whole traditional cart and checkout process. That might allow you to make up even more than that 7% based on improved UX.
How does Apple Pay and Google Pay work on WooCommerce? Well if you’re already using WooCommerce Payments, like you should, you’re already almost there.
Enabling Apple Pay and Google Pay on WooCommerce
Apple Pay is supported via the Striple plugin or the Square plugin, but I’d say it’s easiest with WooCommerce Payments. Under Settings > Payments, you’ll see a checkbox for “Enable express checkouts” — flip that on and you’ll be enabling both Apple Pay and Google Pay — and will have an opportunity to pick where you want them to appear.

There are a handful of prerequisites, like having an HTTPS site, but with eCommerce in general, that is not optional and you’ve probably already got it in place.
One thing I experienced when activating it is this warning:

I was able to download the domain association file from the Strip docs, give it to my WordPress Host (Flywheel), and they manually installed it for me and it worked fine.
With PayPal, you need a PayPal account for yourself to make it work. That’s not the case with Apple Pay and Google Pay where you don’t have an account and they don’t keep a balance — they just kick that money directly over to WooCommerce Payments and you have access to that money like you would any other WooCommerce Payments transaction.
Here’s an order that came in (I get email notifications for orders):
 Notice I can see right in the email that Apple Pay was used.
I can see the order in my dashboard like any other, and have the ability to refund it directly from there and other actions:

I barely even notice it. What payment gateway someone chooses is of little consequence to me once it’s all set up.
The user experience
Apple Pay works on Safari, both on iOS and macOS. If a user both is using one of those browsers and has Apple Pay set up, they’ll see the special buttons show up on your store:

Press that button, and the user sees this immediate checkout step:

The user can change credit cards (that they have set up in Apple Pay), changing shipping address, and then if they approve it, it’s instantly done.

It’s a pretty satisfying user experience, I must say.
Even moreso on a mobile phone, where it feels like things like Apple Pay and Google Pay were really designed to shine. Here’s Apple Pay:


Google Pay works on Android phones nicely, but also works in desktop Chrome.


I did learn one super weird little caveat with Google Pay and desktop Chrome though! Cards that are in your desktop Chrome autofill area in settings that literally say “Google Pay” next to them don’t actually work for the WooCommcere Google Pay buttons. Only credit cards that are kinda manually added in there without that little label work. Just a little thing to be aware of when testing:

This is a rather compelling reason to use WooCommerce for eCommerce. I feel like I got this feature for free. I basically checked a box in settings, and it makes a material positive impact on my business.
Источник
How to add Apple Pay to WooCommerce
Apple Pay is a service that allows you to pay WooCommerce payments. It enables you to add Apple Pay’s power and simplicity to your WooCommerce store. Mobile payments are becoming more popular, particularly among young people. Contactless payments are expanding at the same time as they are.
This article will look at the growing popularity of contactless payments and how Apple Pay fits into it. We’ll also go through what Apple Pay is and how companies are receiving it. After that, we’ll go through a few reasons why you should use this payment gateway before giving you some pointers on how to get started.
In this article, we will show you How to add Apple Pay on WooCommerce to upgrade your online store.
Table of Contents
Reasons to add Apple Pay on WooCommerce
We’ve previously discussed a number of the reasons why retailers accept Apple Pay. Let us now elucidate and build on those grounds. There are seven reasons why you should allow Apple Pay on your WooCommerce store, according to this list.
- iOS’ Market Share
- Increase Conversions
- Simplicity
- Security
- Prevent Fraud and Chargebacks
- Available via Stripe for WooCommerce
- Future Proof Your Business
How to add Apple Pay on WooCommerce
Step 1: Installation
The Stripe payment gateway provides Apple Pay support, and it’s a reputable processor with reasonable fees and an intuitive setup process. There are also a few plugins to link Stripe with WooCommerce.
Install and activate the Stripe WooCommerce plugin for your WordPress site to get started. You should also create a Stripe account on the company’s website, filling out everything from your company’s information to your bank account information.
Go to the WordPress dashboard once you’ve finished putting everything together.
In your WordPress dashboard, go to WooCommerce → Settings.
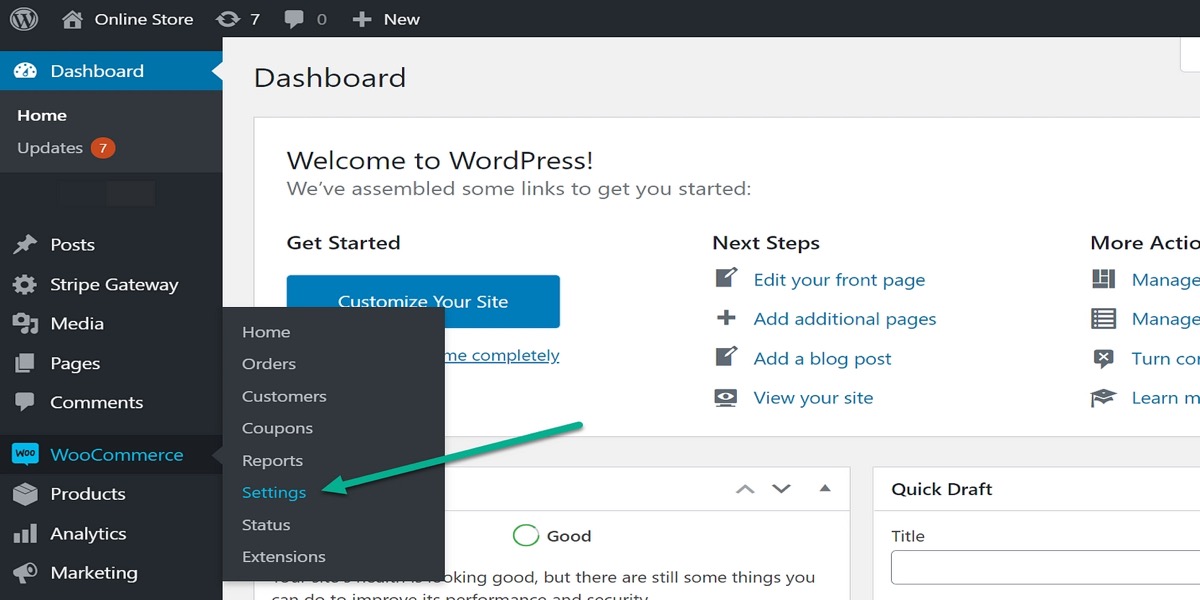
Click the Payments tab to reveal all available methods like Direct Bank Transfer, Check Payments, and Stripe.
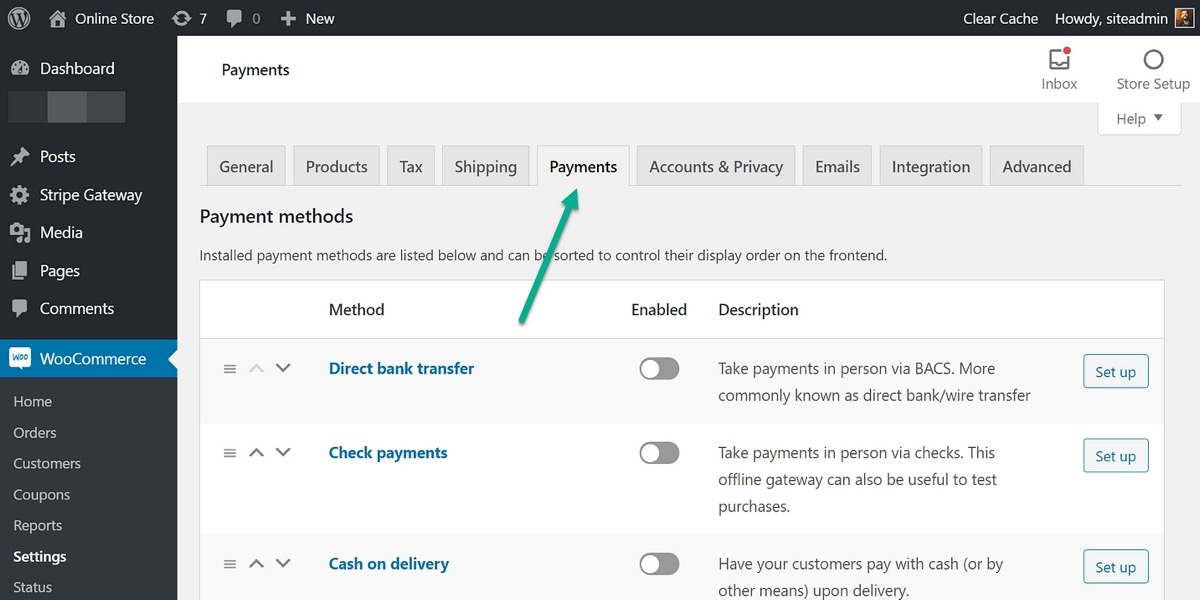
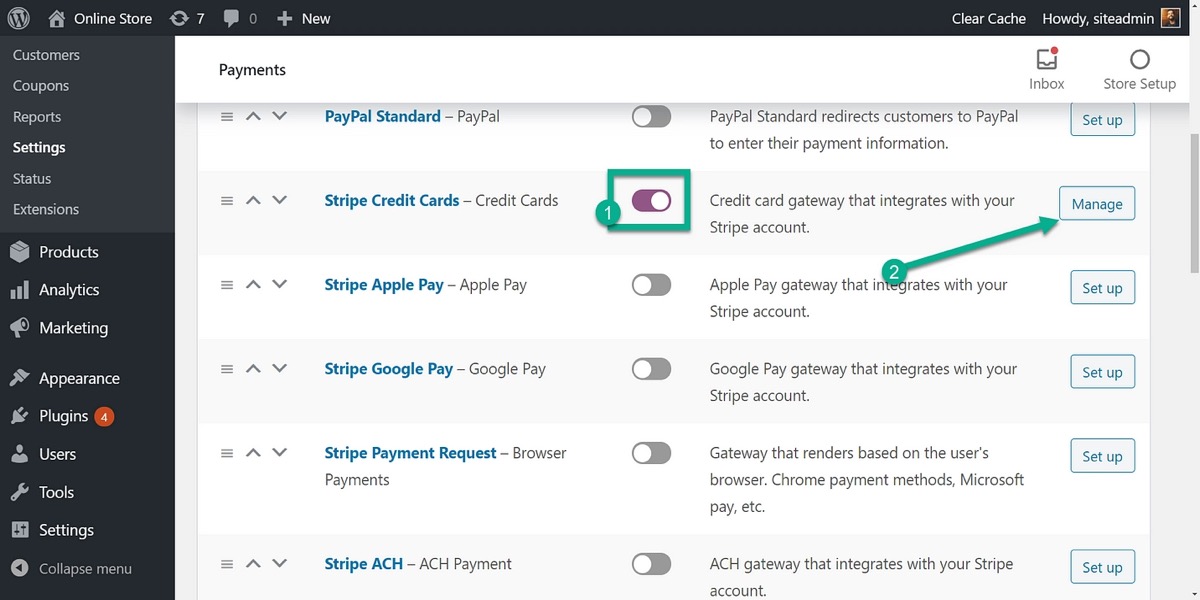
To find the Stripe Credit Cards payment option, scroll below. You’ll see several more fields with Stripe in the title, but ignore them for now; you’ll need to enable the basic Stripe Credit Cards capability first.
The Stripe Credit Cards switch should be turned on. Then, depending on which option displays for you, select Set Up or Manage.
Step 2: Enable payment request buttons
Currently, the Stripe connection with your WordPress site allows credit card processing when a consumer completes the store’s checkout procedure. And while this is an essential step toward adding the Apple Pay button, there are still a few more stages to complete.
Return to the WordPress dashboard and navigate to WooCommerce Payments Settings.
Under the Payments section, click the Apple Pay option.
Stripe is required by Apple Pay to verify that you own this domain.
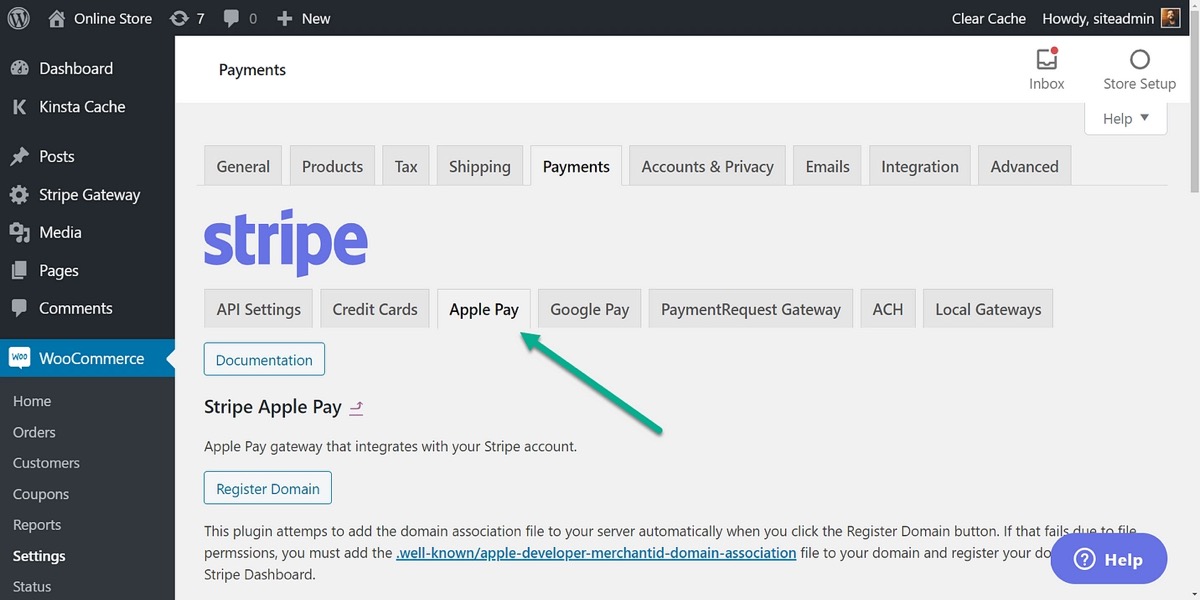
As a result, it requires you to upload a verification document to a part of your hosted website’s files.
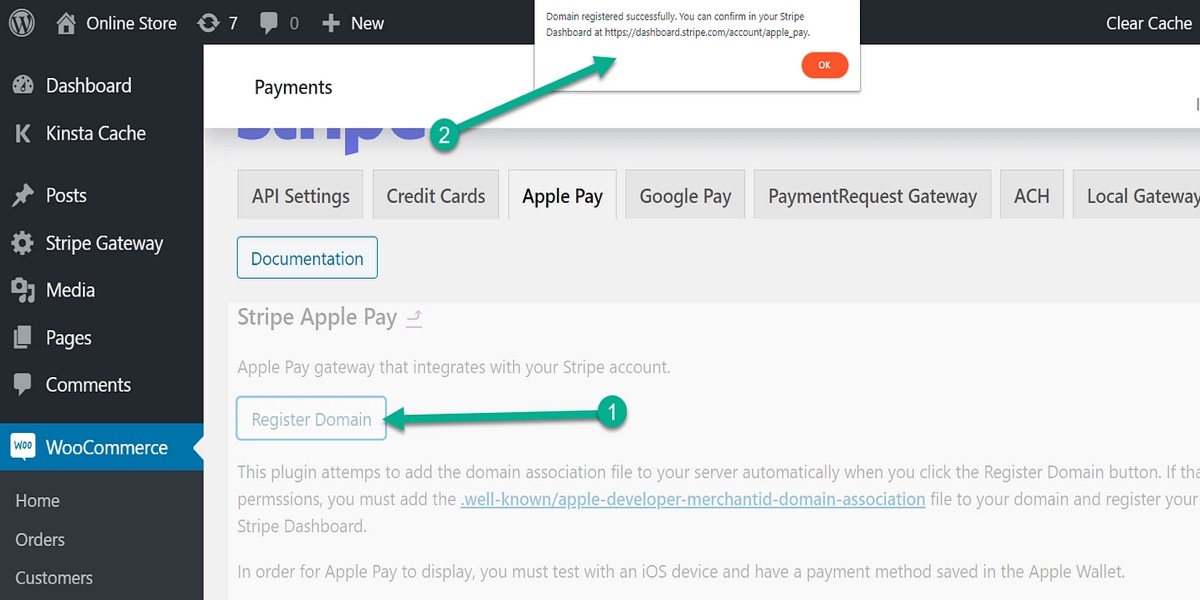
The good news is that you’ll almost never have to do this manually. Simply go to the Apple Pay area and click the Register Domain option.
After that, you should receive a notification stating that the domain has been successfully registered.
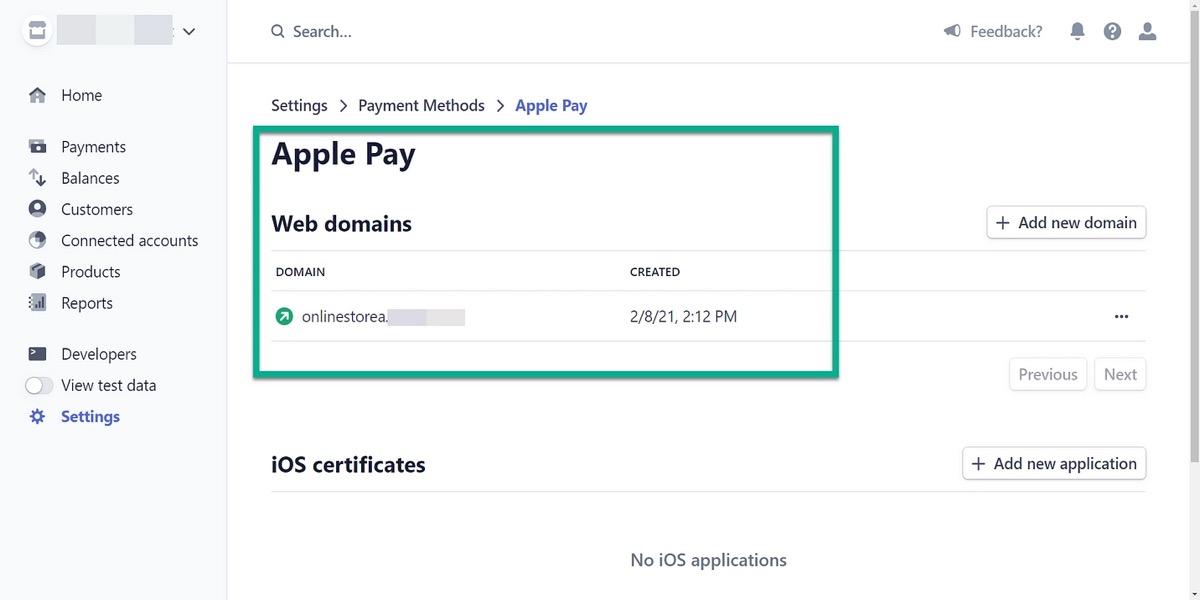
Go to the Stripe dashboard and select Settings Payment Methods Apple Pay to check sure everything is operating properly.
Your domain name should show up in the list of Web domains.
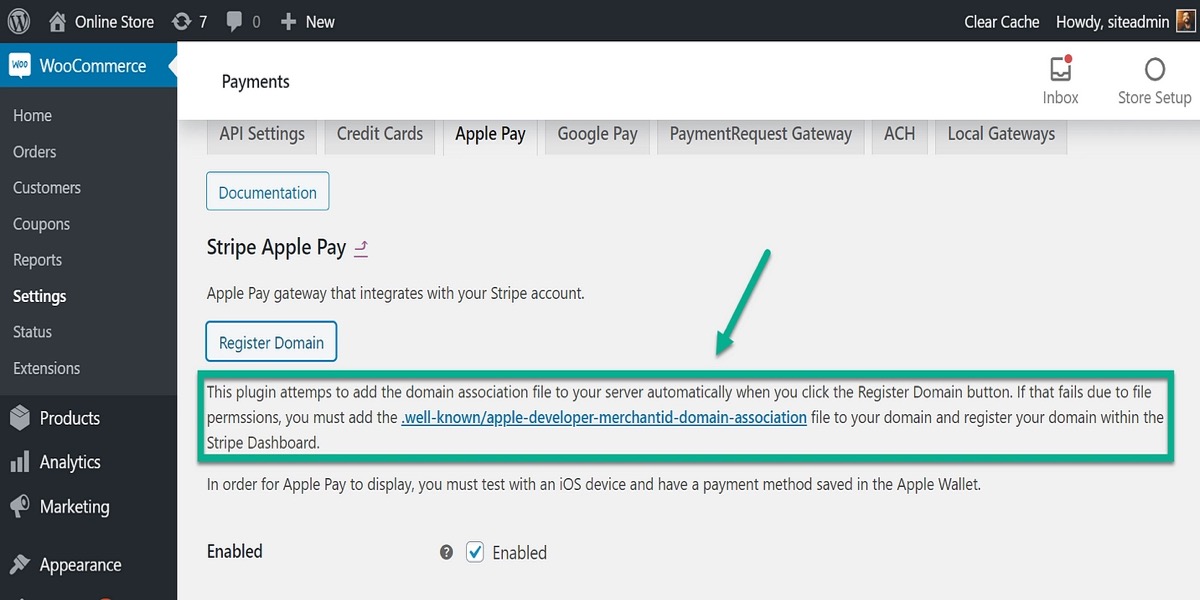
Follow the link in the WooCommerce Apple Pay Settings to manually submit the correct verification document if you receive a failure notice or can’t find the connected web domain on your Stripe dashboard.
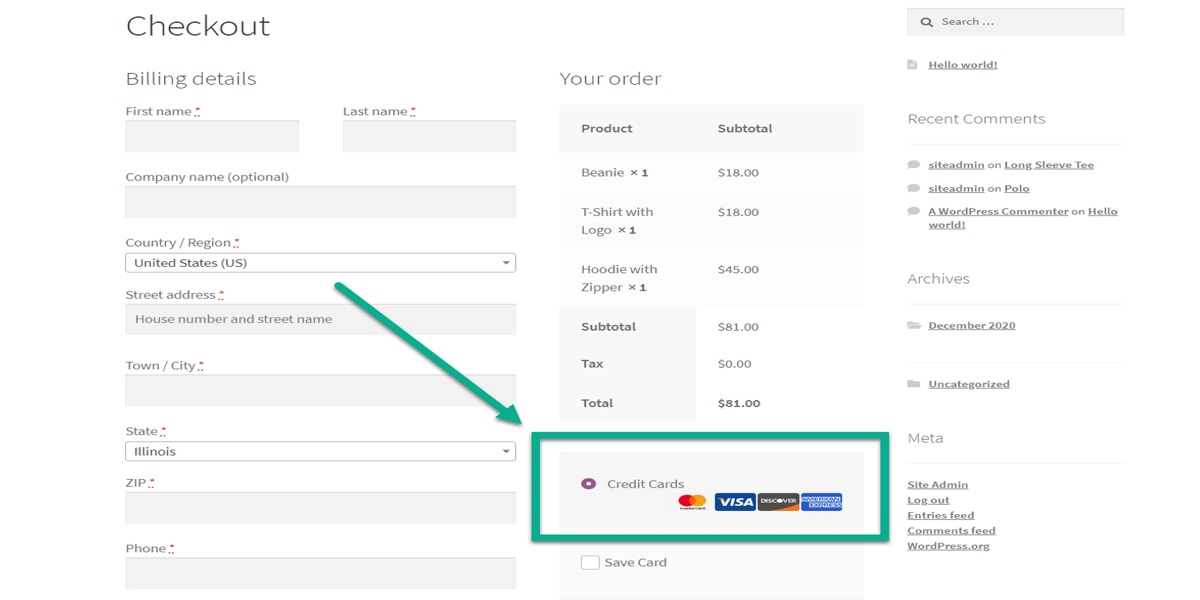
When a client enters your website through a mobile device with their Apple Pay account enabled, your checkout module displays the Buy With Apple Pay button once the domain name has been validated (either automatically or manually).
Step 3: Add your domain to Apple Pay and download verification file
After that, go to your Stripe dashboard and log in.
Then choose Settings > Payment Methods > Apple Pay from the drop-down menu.

After that, select “add domain” and type in your domain name.
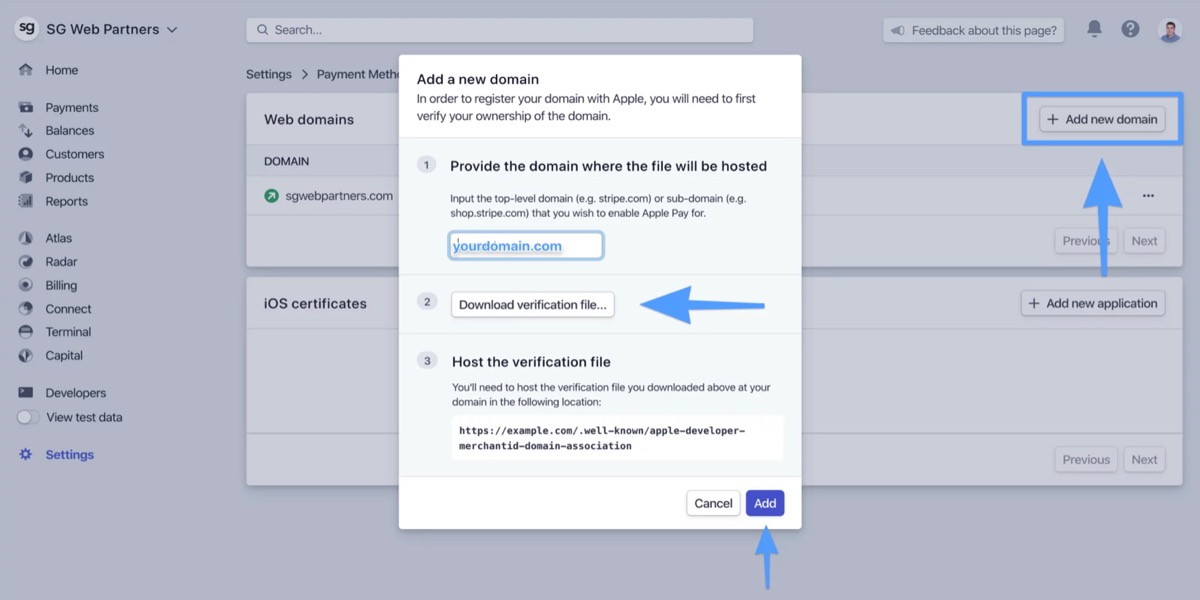
Finally, save the verification file to your hard drive.
Step 4: Upload verification file
Next, use a program like FileZilla to connect to your server through SFTP or SSH.
Then, in your document root, upload the apple-developer-merchantid-domain-association file to the.well-known folder.
A string of numerous randomly generated numbers should appear.

4 Best WooCommerce Apple Pay Plugins
1. Stripe
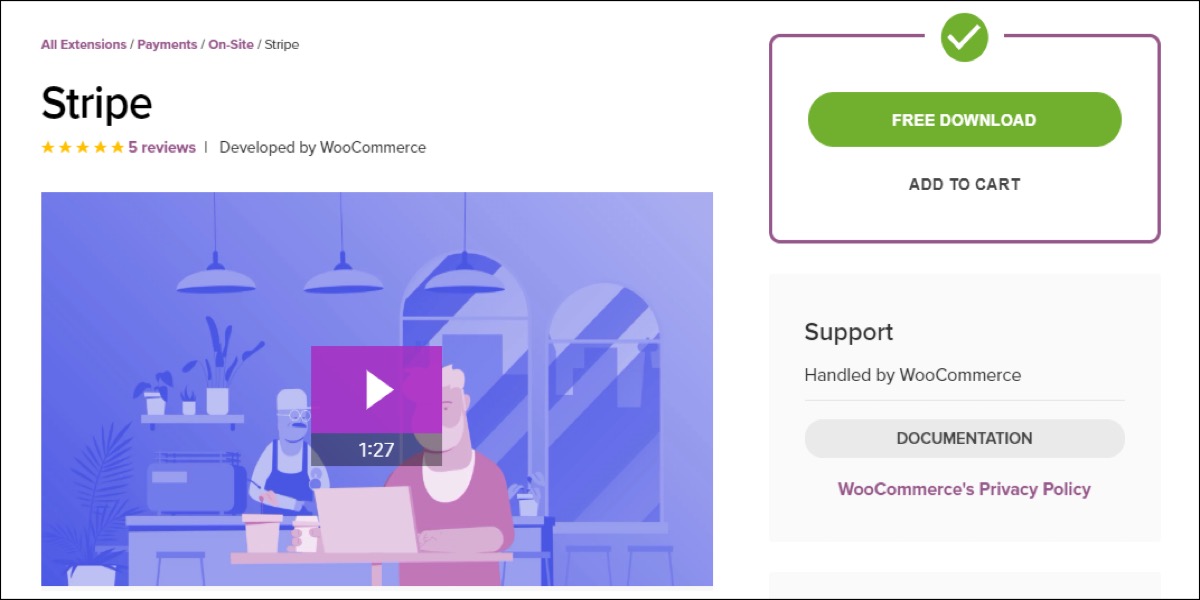
Stripe for WooCommerce is a popular WooCommerce plugin that takes payments for WooCommerce shops through mobile and online. It’s a completely free plugin that you can get from the WooCommerce extensions shop.
Because Stripe is compatible with Apple Pay, you won’t have to worry about complicated certification processes if you use it for the integration. It has built-in support for Apple Pay, Google Pay, and the Payment Request API, allowing for a quick and secure checkout.
Features:
- During checkout, you will not be routed to any other website.
- Increase your internet business’s conversion rate.
- Accept all major credit and debit cards, as well as almost 135 different currencies.
- Assist with Apple Pay, Google Pay, and other local payment options integration.
Price: Free
2. CyberSource
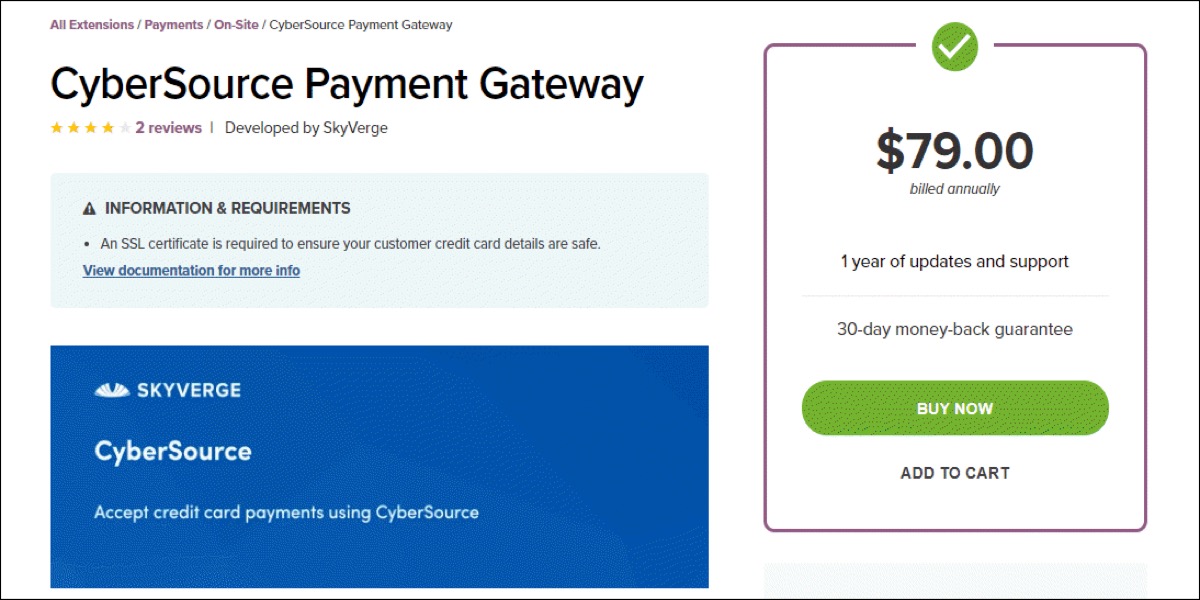
WooCommerce CyberSource payment gateway plugin is a premium plugin that allows you to accept credit card payments directly on your WooCommerce site via CyberSource. Customers will only need to submit their credit card information directly on your online store during the checkout process when this is installed. The CyberSource plugin will handle the remaining transactions and checkout processes.
Features:
- Make your consumers want to come back to your store after they’ve finished shopping.
- Assist in increasing the conversion rate
- Accept eCheck payments and have excellent fraud prevention systems.
- Allow customers to save payment methods in their accounts.
- Apple Pay is supported, however certificates must be produced manually.
- Apple Pay locations may be enabled individually, and it only supports locations and currencies in the United States.
Price: 79$
3. Moneris
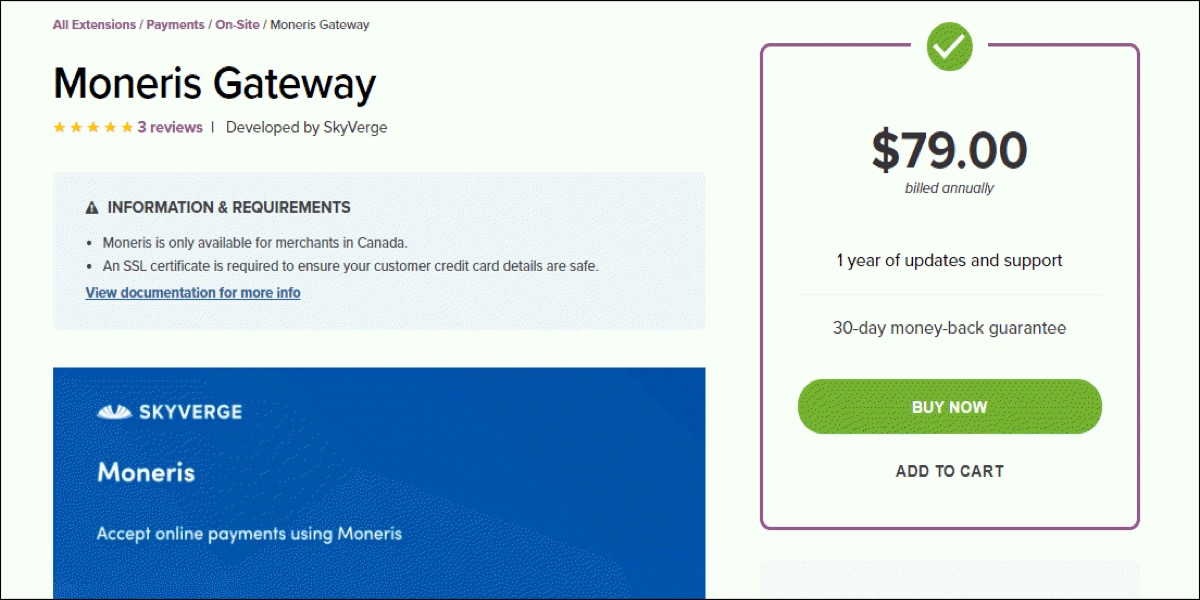
WooCommerce Moneris is a premium WooCommerce payment gateway plugin that processes over 3 billion credit and debit card transactions for over 350,000 merchant locations across North America.
Features:
- Provide high-quality processing and services for the Canada location.
- Give you complete control over your checkout process.
- PCI compliance necessitates the use of an SSL certificate.
- Support Apple Pay and assist in enabling Apple Pay sites in the United States and Canada.
- For integrating Apple Pay with an online store, you’ll need to manually generate certificates.
- For Apple Pay integration, the PEM file on the server is required.
Price: 79$
4. PayPal Powered by Braintree
Braintree is a free WooCommerce payment gateway plugin that accepts PayPal, credit card, and debit card payments. It’s easy to set up and use.
Features:
- Assist US and non-US shop operators in making transactions simple and quick.
- Support Apple Pay and assist with the individual activation of Apple Pay sites.
- Apple Pay is only available in the United States.
- Assist in avoiding certain time-consuming procedures while integrating WooCommerce with Apple Pay.
- Ensure greater transaction security by activating AVS, CVV, and configurable risk criteria, which assist to avoid and identify fraud.
Price: Free
Conclusion
Apple Pay, a digital wallet and mobile payment system, gives you another method to accept payments from customers who visit your website. Like other mobile payment gateways and money-transfer applications (such as Venmo, Amazon Pay, and Google Pay), Apple Pay makes it easier for customers to pay by allowing them to make safe purchases straight from their phones.
Apple Pay customers attach their debit and credit cards to their iPhone’s Wallet app and store them there. If an online or physical retailer accepts Apple Pay, payments can be processed in a matter of seconds.
I hope you find this post about How to add Apple Pay on WooCommerce necessary!
Источник


