- Install Windows 10 on your Mac with Boot Camp Assistant
- What you need to install Windows 10 on Mac
- How to install Windows 10 on Mac
- 1. Check your Secure Boot setting
- 2. Use Boot Camp Assistant to create a Windows partition
- 3. Format the Windows (BOOTCAMP) partition
- 4. Install Windows
- 5. Use the Boot Camp installer in Windows
- How to switch between Windows and macOS
- Learn more
- 6 Best Ways To Run Windows On Mac In 2021 (inc. M1 Macs)
- Are There Any Risks Installing Windows on Mac?
- Can You Install Windows 11 on a Mac?
- How To Play Windows Games on a Mac
- Will Windows Work on M1 Macs?
- Does Windows 365 Work on a Mac?
- 1. Virtual Machine (Best For Beginners)
- 2. Apple Boot Camp (Best For Gamers)
Install Windows 10 on your Mac with Boot Camp Assistant
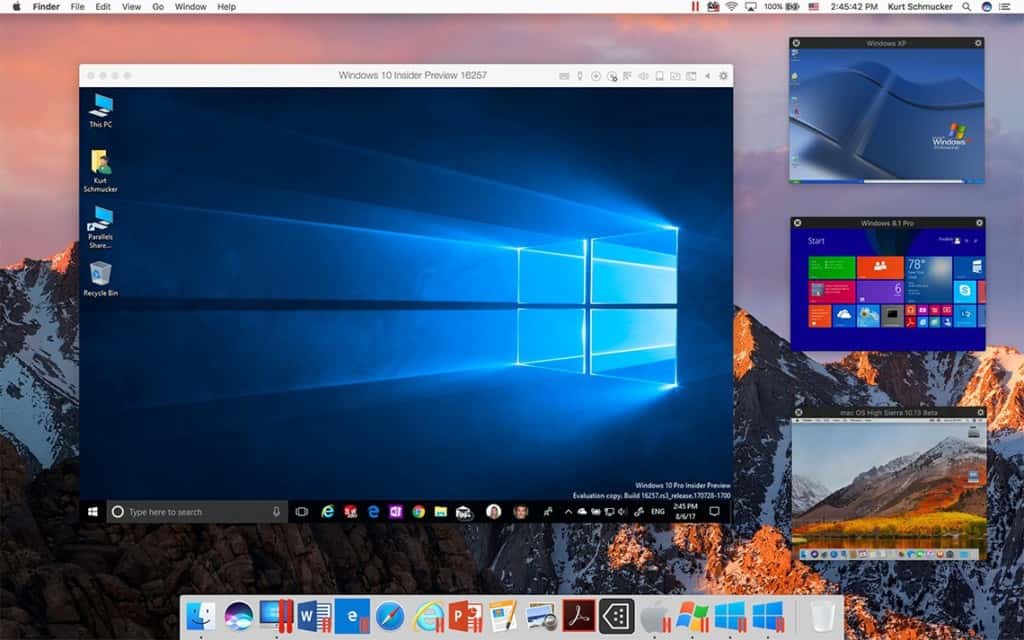
With Boot Camp, you can install Microsoft Windows 10 on your Mac, then switch between macOS and Windows when restarting your Mac.
What you need to install Windows 10 on Mac
- MacBook introduced in 2015 or later
- MacBook Air introduced in 2012 or later
- MacBook Pro introduced in 2012 or later
- Mac mini introduced in 2012 or later
- iMac introduced in 2012 or later 1
- iMac Pro (all models)
- Mac Pro introduced in 2013 or later
The latest macOS updates, which can include updates to Boot Camp Assistant. You will use Boot Camp Assistant to install Windows 10.
64GB or more free storage space on your Mac startup disk:
- Your Mac can have as little as 64GB of free storage space, but at least 128GB of free storage space provides the best experience. Automatic Windows updates require that much space or more.
- If you have an iMac Pro or Mac Pro with 128GB of memory (RAM) or more, your startup disk needs at least as much free storage space as your Mac has memory. 2
An external USB flash drive with a storage capacity of 16GB or more, unless you’re using a Mac that doesn’t need a flash drive to install Windows.
A 64-bit version of Windows 10 Home or Windows 10 Pro on a disk image (ISO) or other installation media. If installing Windows on your Mac for the first time, this must be a full version of Windows, not an upgrade.
- If your copy of Windows came on a USB flash drive, or you have a Windows product key and no installation disc, download a Windows 10 disk image from Microsoft.
- If your copy of Windows came on a DVD, you might need to create a disk image of that DVD.

![]()
How to install Windows 10 on Mac
To install Windows, use Boot Camp Assistant, which is included with your Mac.
1. Check your Secure Boot setting
Learn how to check your Secure Boot setting. The default Secure Boot setting is Full Security. If you changed it to No Security, change it back to Full Security before installing Windows. After installing Windows, you can use any Secure Boot setting without affecting your ability to start up from Windows.
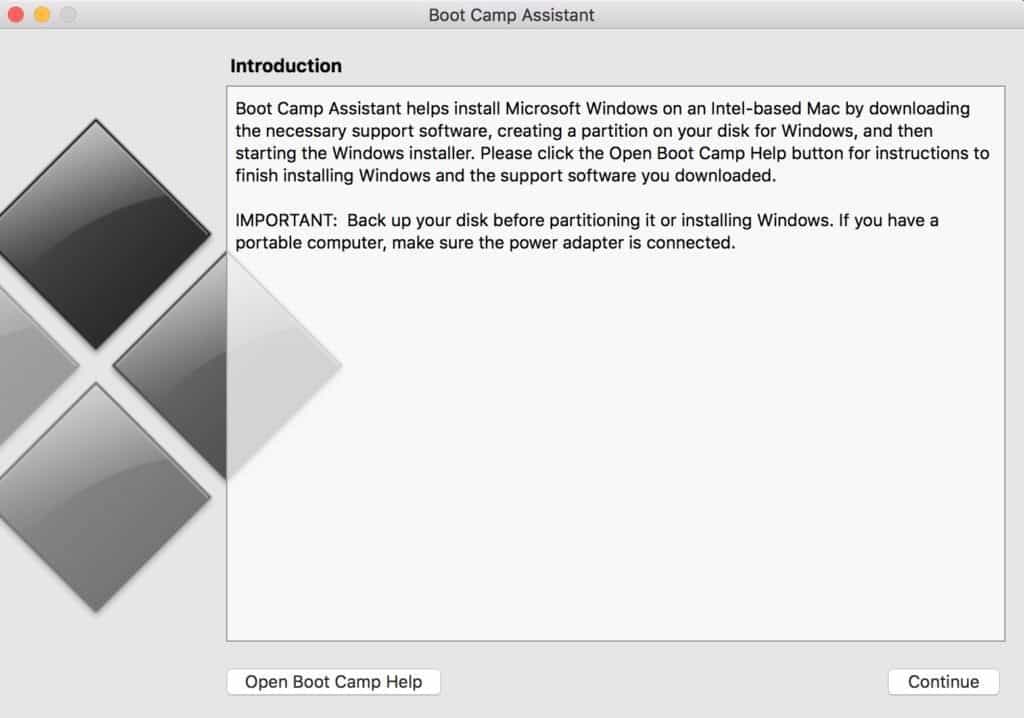
2. Use Boot Camp Assistant to create a Windows partition
Open Boot Camp Assistant, which is in the Utilities folder of your Applications folder. Follow the onscreen instructions.
- If you’re asked to insert a USB drive, plug your USB flash drive into your Mac. Boot Camp Assistant will use it to create a bootable USB drive for Windows installation.
- When Boot Camp Assistant asks you to set the size of the Windows partition, remember the minimum storage-space requirements in the previous section. Set a partition size that meets your needs, because you can’t change its size later.
3. Format the Windows (BOOTCAMP) partition
When Boot Camp Assistant finishes, your Mac restarts to the Windows installer. If the installer asks where to install Windows, select the BOOTCAMP partition and click Format. In most cases, the installer selects and formats the BOOTCAMP partition automatically.
4. Install Windows
Unplug any external devices that aren’t necessary during installation. Then click Next and follow the onscreen instructions to begin installing Windows.
5. Use the Boot Camp installer in Windows
After Windows installation completes, your Mac starts up in Windows and opens a ”Welcome to the Boot Camp installer” window. Follow the onscreen instructions to install Boot Camp and Windows support software (drivers). You will be asked to restart when done.
- If the Boot Camp installer never opens, open the Boot Camp installer manually and use it to complete Boot Camp installation.
- If you have an external display connected to a Thunderbolt 3 port on your Mac, the display will be blank (black, gray, or blue) for up to 2 minutes during installation.
How to switch between Windows and macOS
Restart, then press and hold the Option (or Alt) ⌥ key during startup to switch between Windows and macOS.
Learn more
If you have one of these Intel-based Mac models using OS X El Capitan or later, you don’t need a USB flash drive to install Windows:
- MacBook introduced in 2015 or later
- MacBook Air introduced in 2017 or later 3
- MacBook Pro introduced in 2015 or later 3
- iMac introduced in 2015 or later
- iMac Pro (all models)
- Mac Pro introduced in late 2013 or later
For more information about using Windows on your Mac, open Boot Camp Assistant and click the Open Boot Camp Help button.
1. If you’re using an iMac (Retina 5K, 27-inch, Late 2014) or iMac (27-inch, Late 2013) or iMac (27-inch, Late 2012) with a 3TB hard drive and macOS Mojave or later, learn about an alert you might see during installation.
2. For example, if your Mac has 128GB of memory, its startup disk must have at least 128GB of storage space available for Windows. To see how much memory your Mac has, choose Apple menu > About This Mac. To see how much storage space is available, click the Storage tab in the same window.
3. These Mac models were offered with 128GB hard drives as an option. Apple recommends 256GB or larger hard drives so that you can create a Boot Camp partition of at least 128GB.
Information about products not manufactured by Apple, or independent websites not controlled or tested by Apple, is provided without recommendation or endorsement. Apple assumes no responsibility with regard to the selection, performance, or use of third-party websites or products. Apple makes no representations regarding third-party website accuracy or reliability. Contact the vendor for additional information.
Источник
6 Best Ways To Run Windows On Mac In 2021 (inc. M1 Macs)
Nowadays it has never been easier to run Windows on a Mac so we’ve looked at the best ways to do so in 2021 including on M1 Macs.
Installing Windows 10 or Windows 11 on your Mac is useful for many reasons from running Windows only software to playing PC only games.
It’s also much cheaper and more convenient than buying a separate PC or laptop just to use Windows on.
However, there’s no doubt that some ways of installing Windows on a Mac are much easier, reliable and effective than others.
We’ve taken a closer look at the different options available so you can decide which one is best for you.
Are There Any Risks Installing Windows on Mac?
Because installing Windows on a Mac involves separating it into either a virtual environment or a separate partition on your hard drive, there are absolutely no risks installing Windows on your Mac.
Running Windows on a Mac effectively isolates the rest of your Mac from any potential problems with viruses, malware or adware.
If the Windows installation were to get a virus or corrupted in some way, it wouldn’t damage macOS. You can simply delete the installation and reinstall it.
It’s also extremely easy to install Microsoft Windows on a Mac nowadays and Virtual Machines like Parallels make it easy even for beginners to do it.
However, we always recommend backing-up your Mac to an external hard drive before making any major changes to it.
If you’re worried whether installing Windows on a Mac is illegal, there’s no need to.
Installing Windows on a Mac (or any other computer) is perfectly legal. In fact, Apple actively encourages it by providing Boot Camp in Intel Macs and there’s no issues with the Windows EULA installing Windows on a Mac using any of these methods.
Can You Install Windows 11 on a Mac?
Windows 11 was released by Microsoft on October 5th 2021 and you can now install Windows 11 on a Mac including M1 Macs.
Windows 11 requires a physical TPM chip to run and although Macs don’t have one, Parallels can now emulate a virtual TPM chip so that Windows 11 will run on both Intel and M1 Macs.
It’s important to be aware however that on M1 Macs, you can only run the Insider Preview versions of Windows 11 For ARM which is not compatible with many Windows games and applications.
How To Play Windows Games on a Mac
All of the following methods of installing Windows on a Mac are suitable for playing Windows games on a Mac but some are more suitable than other depending on the game you want to play.
For example, some games such as Valorant will not work with virtualization software because they are protected by the anti-cheat software Vanguard which will not run in a virtual environment.
Will Windows Work on M1 Macs?
You can install Windows on Apple Silicon M1 Macs although not all of these methods support it. We have indicated in these reviews which methods support the M1 chip and which do not.
At the moment, Parallels 17 is the only software that officially supports running Windows on M1 Macs including the latest M1 Pro and M1 Max chip Macs, although there is a Preview version of VMWare Fusion that now supports Apple Silicon M1 chips too.
Does Windows 365 Work on a Mac?
Windows 365 is a new Cloud service by Microsoft that will allow Mac users to use Windows 10 and 11 online in any browser.
At the moment, Microsoft Windows 365 is only available to Windows 365 Enterprise customers but is due to be rolled out to smaller businesses in Fall 2021.
However, it will eventually offer another way for Mac users to access Windows on a Mac including Windows 11 eventually.
You May Also Like:
With this in mind, here then are the best ways to install Windows on a Mac of 2021 in order of ranking.
1. Virtual Machine (Best For Beginners)
A virtual machine (also known as a virtual environment or virtualization software) allows you to run Windows “virtually” within macOS.
By far the two best virtual machines for Mac users are Parallels and VMWare Fusion.
There’s also VirtualBox which is free and open source but much harder to setup and use.
Although VMWare has improved a lot, we still think Parallels is the best way to run Windows on your Mac in 2021 for its ease of installation, speed, and the way it conveniently allows you to switch between macOS and Windows instantly.
Apple’s latest generation of Silicon Macs use a different ARM M1 chip and Parallels is the currently the only officially supported way to run Windows on Apple silicon M1 Macs.
At the moment, the only major rival to Parallels is VMWare Fusion which is not expected to officially support M1 Macs until Spring 2022 although there is currently an Apple Silicon Preview of VMWare Fusion version that does work with the M1 chip.
You can even install Windows on a Mac for free with Parallels as you only need to purchase a Windows 10 activation key nowadays if you want to customize it.
Or if you already have Windows 10 installed on a PC, you can use the same 25 figure activation key during the Windows installation process in Parallels to get another fully activated copy for free on your Mac.
Virtual Machines are by far the most convenient Windows on Mac solution for most users because they allow you to use your Mac as normal but switch to a a Windows application at any time when you need it.
You have full access to the rest of your Mac apps while enjoying the convenience of having the Windows available too.
Parallels has got this off to a tee nowadays with Coherence Mode blurring the line between macOS and Windows so that you can work in both with almost no separation between the two.
The main rival to Parallels is VMWare Fusion which has now released a free version for non-commercial use but we’ve found that nothing comes close to Parallels in terms of ease of setup, use and support.
Parallels costs $79.99 for a home license or $99.99 for a Pro License suitable for developers, testers and power users.
For a limited time you can also get 50% off Parallels with an educational discount for students and teachers.
If you want to learn more, check out our full Parallels Desktop review.
Pros:
- Very easy to install Windows
- Runs Windows and macOS simultaneously
- Excellent for gaming
- Fast startup and shutdown time
- Optimized for macOS Mojave, Catalina, Big Sur and Windows 10
- Now supports DirectX and Metal
- Officially supports running Windows on M1 Macs
Cons:
- Updates aren’t free
- Requires a separate license for each Mac you want to install it on
- Subscription pricing model
- Can’t accelerate graphics card for gaming as well as Boot Camp
2. Apple Boot Camp (Best For Gamers)
By far the most popular alternative to installing Windows with a virtualization software is by using Apple Boot Camp.
Using Boot Camp to run Windows and install Windows only games is especially popular with gamers because Boot Camp leverages more power from your graphics card as it doesn’t have to run a virtual machine like Parallels does.
This makes playing games like Valheim on a Mac much smoother and less choppy as there are far fewer dropped frames.
Boot Camp is a free tool in macOS which allows you to install Windows on a partition on your Mac hard drive so you can choose whether to boot your Mac in either Windows or macOS.
The advantage of this is that it dedicates all of your Mac’s resources to an application which may require a lot of RAM or processing power such as CAD software, graphic design apps or games.
Because Boot Camp only allows your Mac to boot in either Windows or macOS (rather than running both at the same time as with a virtual environment) your Mac can devote all of its resources to the high demands of games and other power hungry applications.
The other big advantage of Boot Camp is that it’s free in macOS – just search for “Boot Camp” using Spotlight on your Mac and you’ll see it.
The disadvantage of installing Windows with Boot Camp is that you’re restricted to using either Windows or macOS at one time – you can’t switch between the two instantly like with virtualization software.
Finally, be aware that Apple has confirmed that Boot Camp will not work with Apple Silicon M1 Macs which is the new chipset and ARM processors that powers new Macs from late 2020 onwards.
If you are thinking of buying a new Mac in 2021, Boot Camp is definitely not an option if you want to install Windows on it.
If you’re also interested in other ways to play Windows games on a Mac, you may also be interested in GeForce Now For Mac which is a gaming platform by NVIDIA which allows Mac users to play Windows only games in the Cloud.
Источник


