- How to cook the perfect roast ham
- WHAT’S THE DIFFERENCE BETWEEN GAMMON AND HAM?
- HOW TO BUY THE BEST GAMMON?
- PREPPING YOUR CHRISTMAS GAMMON
- ROASTED MARMALADE HAM
- GLAZES
- WHAT TO SERVE WITH HAM?
- How to cook and prepare gammon and ham
- What’s the difference between ham and gammon?
- How to prepare a gammon joint
- Apple juice recipe | How to make apple juice with & without a juicer
- How to make apple juice
How to cook the perfect roast ham
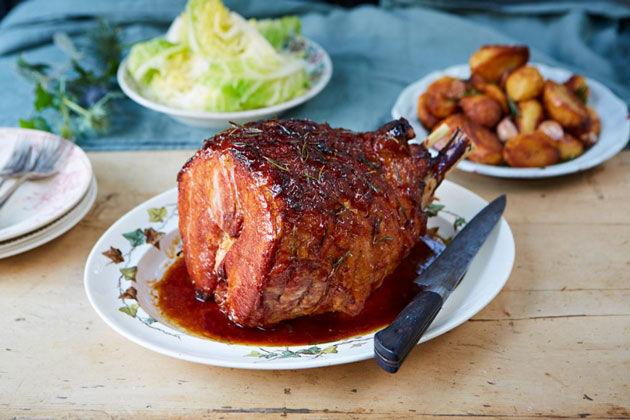
Thinking of trading your turkey for an alternative centrepiece this Christmas? A sweet and succulent roast ham could be just the showstopper you’re looking for. With a bit of prep, this festive favourite is really easy to make at home and is perfect for feeding a crowd. And, for anyone scaling down celebrations this year, you’ll have incredible leftovers to enjoy for days.
Take a look at our guide to buying and cooking the ultimate Christmas ham, plus ideas for delicious seasonal sides and serving suggestions.
WHAT’S THE DIFFERENCE BETWEEN GAMMON AND HAM?
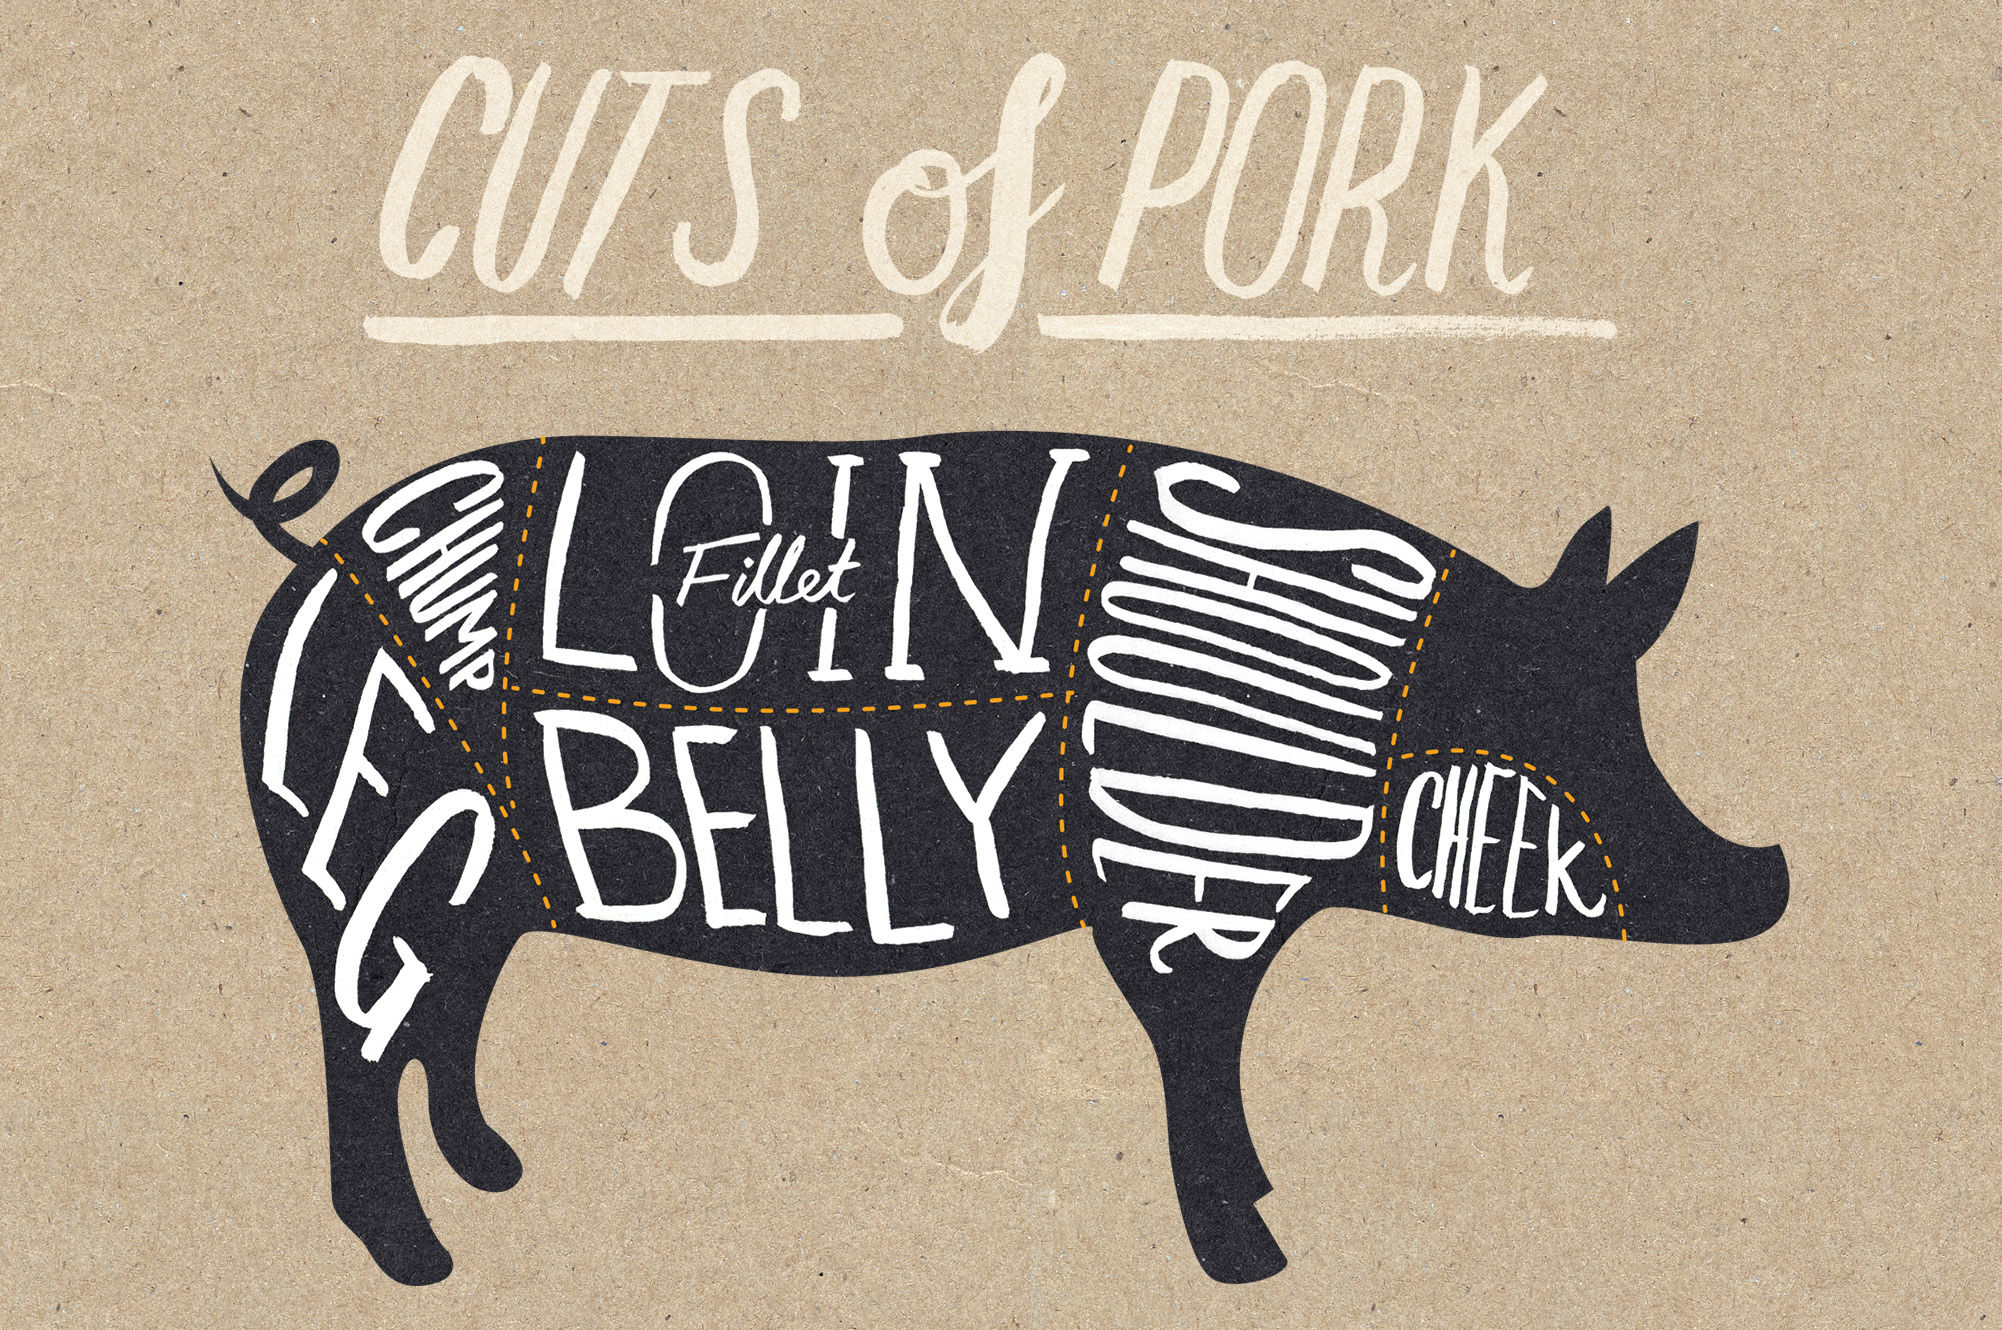
Pretty much any part of a pig can be cured to make ham, but the most common cuts are the shoulder and leg. In most supermarkets, you’ll find both gammon and ham. Gammon has been pre-cured in salt and requires cooking (similar to bacon), whereas ham has been dry-cured or cooked and is ready to eat. Once gammon is cooked, it is called ham.
HOW TO BUY THE BEST GAMMON?
In order to make your Christmas ham from scratch, you will need to get your hands on a gorgeous gammon joint. For the tastiest results, choose higher-welfare meat, if you can – look for welfare credentials like RSPCA Assured, ideally a named breed or that the meat comes from a small reputable farm, and is reared with access to the outdoors. It’s always a good idea to order from your butcher in advance, as these bigger cuts can be in high demand at this time of year.
The timings and measurements below are for a 3-4kg piece of meat, which will feed around 10 people. You might need to do a bit of measuring to make sure you’ve got a pot large enough to poach it in, which can also fit in your oven! Check out Jamie’s handy meat roasting guide for advice on times and sizes if your ham is bigger or smaller than ours.
PREPPING YOUR CHRISTMAS GAMMON
Pork becomes gammon by the process of ‘brining’, which means that it’s submerged in salted water, and left for a number of days or weeks. The salt penetrates the meat and acts as a preserver. This process also keeps the ham nice and pink when it’s cooked.
Before you cook a brined gammon, it’s a good idea to soak it in cold water overnight, to wash away some of the excess salt. Alternatively, pop it in a deep pot, cover with water, bring to the boil and poach it for half an hour or so. Remember, poaching liquor will be super-salty so don’t be tempted to use it for your gravy!
Now you’re ready to cook your ham!
ROASTED MARMALADE HAM
This sticky, sweet and salty ham is an absolute winner. Give it a whirl this Christmas, or at any other time of the year!
You’ll need:
3-4 kg middle cut higher-welfare gammon, with knuckle left on
2 carrots
2 sticks of celery
2 fresh bay leaves
16 black peppercorns
1 bouquet garni (1 piece of leek, 1 stick of celery, 1 fresh bay leaf, 1 sprig of fresh thyme)
2 lemons or oranges
1 jar of quality thin-rind marmalade
½ a bunch of fresh rosemary (15g)
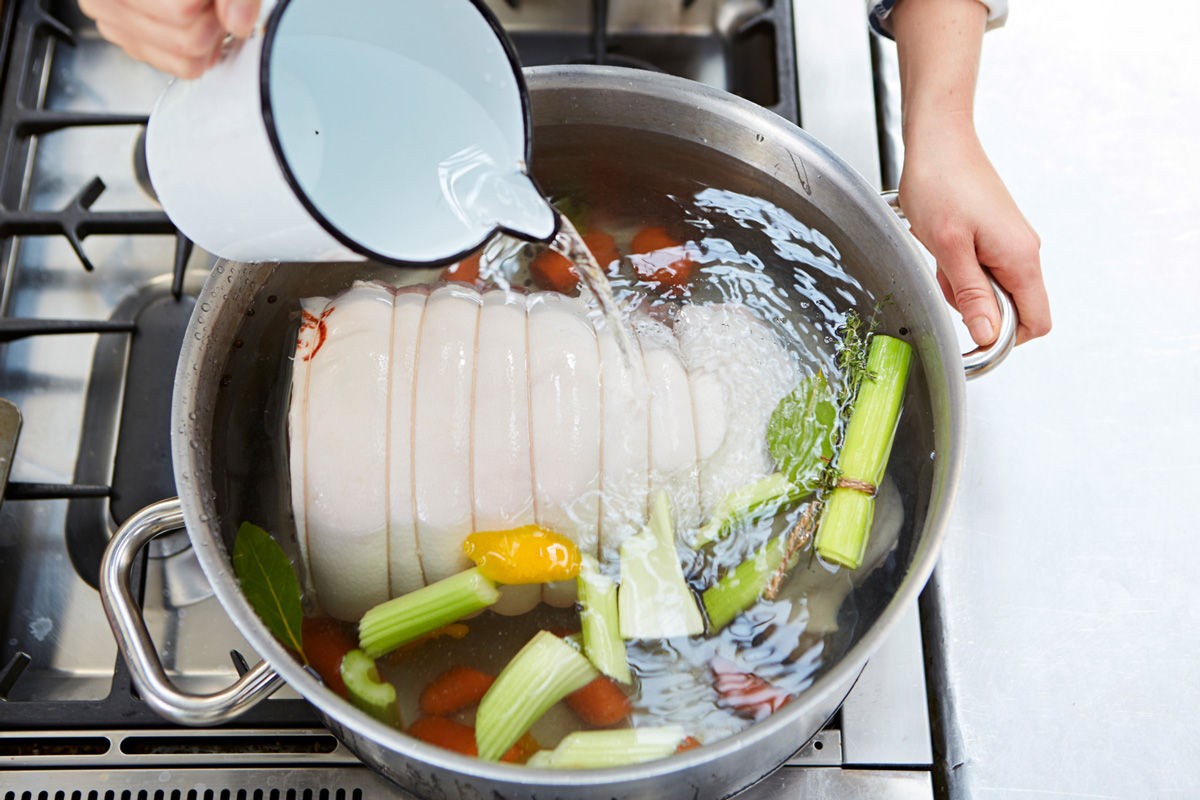
- Place the gammon in a large, snug-fitting pot.

- Roughly chop and throw in the carrots and celery, with the bay leaves, peppercorns and bouquet garni.
- Peel the zest from the lemons, then squeeze in the juice.
- Cover with water. Place the pot over a high heat, bring to the boil, then turn the heat down and simmer for 1 hour 15 minutes with a lid on, skimming away any scum that rises to the surface, as and when needed.
- When the time’s up, remove from the heat and allow to cool for half an hour in the broth – this will allow the flavours to really penetrate the meat. Remove the veg and put the broth in a container for freezing.
- Preheat the oven to 170°C/325°F/gas 3. Carefully remove the meat to a board and, using a knife, take off the skin.
- Depending on the breed and quality of the meat, you should have a nice layer of fat. Remove some of the fat, to leave you with about 1cm. The extra fat can be kept in the freezer for roasting with potatoes another time.
- Score the fat left on the meat in a criss-cross fashion and, while it’s moist, season it generously with black pepper.
- Place the ham in a roasting tray and roast for 20 minutes, or until the fat renders and becomes slightly crispy.
- Remove the tray from the oven, stir the marmalade to loosen, then brush it all over the meat, and strip over the rosemary.
- Return the ham to the oven for about 1 hour and baste frequently until beautifully golden and crisp.
- Serve as you would a roast dinner or as part of a festive spread.


Watch Jamie cook the perfect ham here:
GLAZES
Our simple recipe uses marmalade and rosemary, but you don’t have to stop there. Try one of our alternative glazes for something a bit different. Towards the end of the roasting time, simply cover your ham with one of these three marinades and return to the oven for the remaining time.
- ORANGE & CRANBERRY GLAZE: Simply zest and squeeze the juice of 1 orange into a bowl and mix well with 3 tablespoons of quality cranberry sauce .
- TEA-INFUSED GLAZE: Infuse 1 Earl Grey tea bag in 250ml boiling water and stir in 2 tablespoons of soft brown sugar until it dissolves. Stud the ham with whole cloves and brush over the glaze.
- DRY SPICE MARINADE: In a bowl, combine 2 teaspoons each of ground allspice, ground nutmeg, ground ginger, ground cinnamon and ground cloves . Then add 2 tablespoons of runny honey and 100ml of golden rum . Give it a good mix and massage evenly onto your ham.
Or, for delicious results with minimum fuss, you can always buy a pre-cooked ham and add your own gorgeous glaze. Simply cover the meat in one of our glazes and roast in the oven until golden. Follow from step 7 in the recipe above, for guidance.
WHAT TO SERVE WITH HAM?
For the main event, sweet and salty ham goes really well with buttery greens , tart cranberry sauce and lots of crunchy roasties .
When it comes to Boxing Day leftovers, serve your sliced ham with a fresh and zingy winter slaw , a crispy, caramelised bubble & squeak , or keep things simple and serve with a hunk of bread and a dollop of mustard .
For more ideas for your lovely leftovers, check out these delicious recipes:
Источник
How to cook and prepare gammon and ham
Discover the difference between gammon and ham, how to prepare and cook them, plus our best gammon recipes.
To some, snaffling a cold cut of ham from the fridge is one of the high points of the festive season. Once glazed and studded with decorative cloves, you have a real feast on your hands. And, the best bit is that it just keeps on giving – even a small ham joint will keep a household in sandwiches for up to five days. There’s a reason this cola ham with maple glaze is one of our most popular recipes at Christmas time.
A gammon isn’t just for Christmas, either – it’s good investment all year round, from picnic season, to birthday parties and New Year’s Eve. Glaze it and watch the masses flock.
What’s the difference between ham and gammon?

Both gammon and ham are cuts from the hind legs of a pig. Gammon is sold raw and ham is sold ready-to-eat. Gammon has been cured in the same way as bacon, whereas ham has been dry-cured or cooked. Once you’ve cooked your gammon, it’s then called ham.
To make your Christmas ‘ham’, you’ll need to buy a gammon – choose smoked or unsmoked and on or off the bone, according to your recipe and preference.
How to prepare a gammon joint
Soaking the gammon in water to remove saltiness is generally a thing of the past, but check with your butcher or look at pack instructions to be sure.
- To start, weigh your meat to calculate cooking times. You’ll need to cook for 20 mins per 450g, plus 20 mins.
- Put the meat in a large pan, cover with cold water and bring to the boil, adding any flavourings you may wish (cinnamon, bay, peppercorns, coriander seeds and onion work well).
- Boil for half the calculated cooking time, periodically skimming and discarding any white froth that rises to the surface.
- Drain, reserving the stock if you like, and leave to cool a little. Remove the top layer of skin, leaving a thin layer of fat around the meat.
- Place in a foil-lined roasting tin, cover with more foil and bake for the remaining cooking time at 180C/160C fan/gas 4. Twenty to thirty minutes before the end of cooking time, brush with the glaze of your choice – a mixture of maple syrup and coarse-grain mustard is good. Cook uncovered until the glaze is golden. Try Caroline’s ham recipe.
See this video guide for advice on how to glaze and roast a ham:
Источник
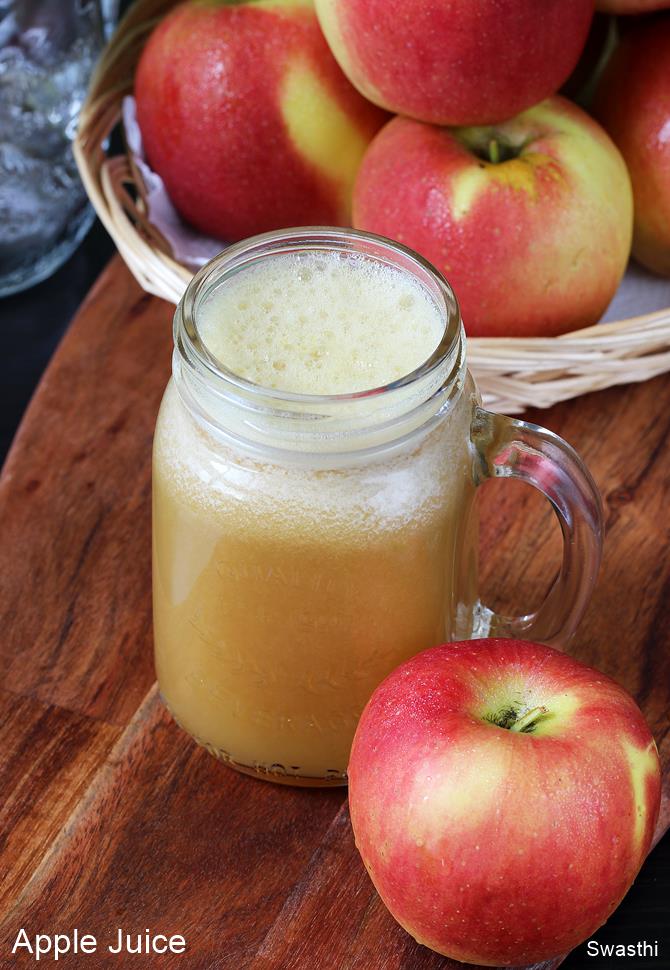
Apple juice recipe | How to make apple juice with & without a juicer
By swasthi , on August 20, 2019 , 15 Comments , Jump to Recipe
Apple juice recipe – with & without a juicer. Raw apple juice is one of the most refreshing & healthy beverages that is full of Vitamins & Minerals. There are 2 different ways of making apple juice. One – to boil the apples and make a juice which can be preserved for quite some time even without refrigeration. Second method is juicing fresh apples either in a blender, centrifugal juicer or a slow juicer / masticating juicer.
The first method may be good for those who grow apples in their orchard and want to use up the surplus. I am sharing the second method i.e Juicing raw apples for optimal health benefits.
Here are the health benefits of consuming raw apple juice
- Builds overall immunity helping the body to fight against frequent cold, coughs and infections.
- Beautiful, flawless and blemish free skin keeping wrinkles, acne and pigmentation at bay.
- Improves appetite and digestion.
- Detoxifies the body and reduces cholesterol.
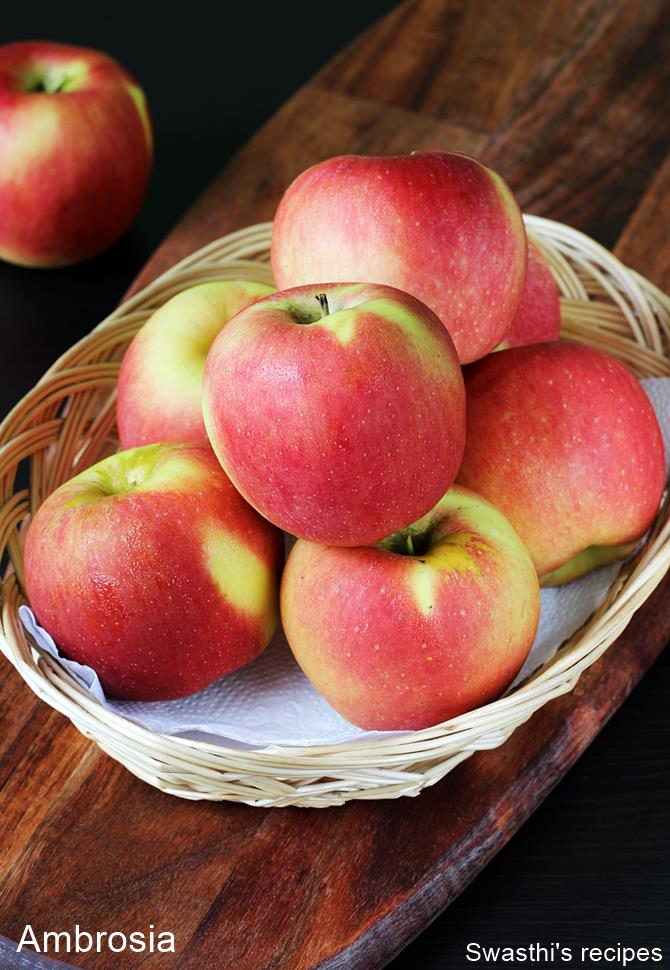
To make fresh apple juice, it is good to choose apples that are low acidic and sweet. Apples that are high in acid levels are sour tasting & are good for cooking, baking, making vinegar etc. To make raw apple juice low acidic apple varieties like Ambrosia, Juliet, Royal gala and Fuji are a good choice since they taste naturally sweet and sweetener can be avoided.
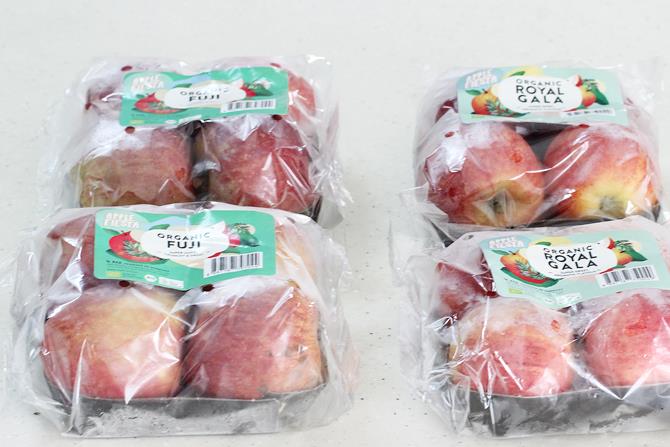
Apples are one of the fruits that are grown and maintained using lot of pesticides, wax etc. Though the freshness and look of the organic apples aren’t as great as the regular ones, we still buy organic apples since apples are one of the most consumed fruit in my home.
I had made this using a slow juicer, but I have also mentioned how to make it in a blender.
How to make apple juice
1. Wash apples under running water. If you prefer to use the skin, then make sure they are at room temperature and spray vinegar. Set these aside for 5 mins. Rub them gently with sea salt and rinse off under running water.
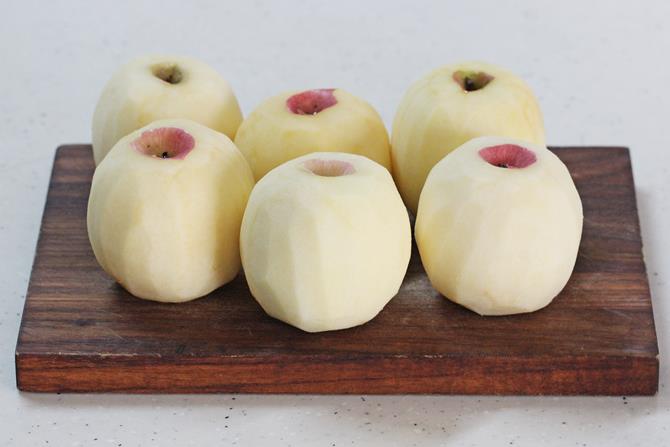
2. Though we use organic apples, I prefer to discard the skin before juicing. Apple skin has a natural substance known as pectin which is highly beneficial for health, so many folks prefer to use up the skin for juicing. Keep your juicer or blender jar ready before you begin to peel and cut them as they turn brown quickly.
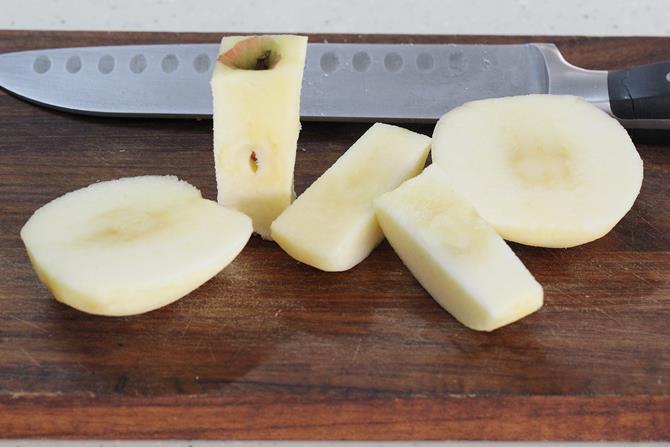
3. There may be many ways of cutting apples, but I do it as shown in the image below. You can also use a apple slicer or a corer. The whole apple can be directly added to many slow juicer chutes, but we prefer to discard the seeds and the core since there may be infestations inside the core.
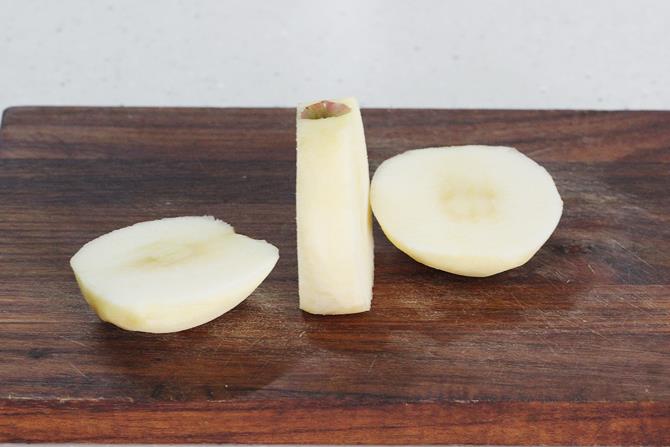
4. Cut the apples to a size that fits your juicer chute. If making in a blender then cut to small pieces. Since I made it in a slow juicer, I cut each apple to 4 pieces & discard the core.
5. If making in a blender, you may not be able to blend all 4 apples at one time. Start with 2 apples and add about ½ cup water or orange juice along with the other ingredients. For more pulpy varieties you may need to add more liquid. Keep blending and add more water or juice. Pour this to a strainer and collect the juice in a large bowl. With the help of a spoon press down the pulp.
If made in a slow juicer 8 large apples yield about 1 liter juice.
Serve apple juice immediately before it begins to oxidize and reduce the nutrition levels.
Источник


