- Android Capture Image From Camera Programmatically [Updated]
- Step to capture image from camera programmatically
- 1. Defining A FileProvider
- 2. Granting Permissions To A URI, Storage & Camera
- 3. Image Capture Using Camera
- 4. Manage Result And Show Image Over The ImageView
- Android Capture Image from Camera and Gallery
- Android Tutorial
- Android Capture Image Overview
- Android Image Capture Project Structure
- Android Capture Image Code
- Android’s New Image Capture from a Camera using File Provider
- How to take photos from the camera and gallery on android?
- RUN-Time Permission for Camera and External Storage
- Choose Image from Camera and Gallery
- Kotlin Android Capture From Camera or Pick Image
- Example 1 – Kotlin Android Capture From Camera or Select from ImagePicker
- Video Tutorial
- Step 1: Create our Project
- Step 2 : Layouts
- (a). activity_main.xml
- Classes
- (a). MainActivity.kt
- Resources
- Example 2: Android Select Image From Gallery and Show in ImageView
- Step 1: Create Project
- Step 2: Dependencies
- Step 3: Design Layout
- Step 4: Write Code
- Reference
- Oclemy
Android Capture Image From Camera Programmatically [Updated]
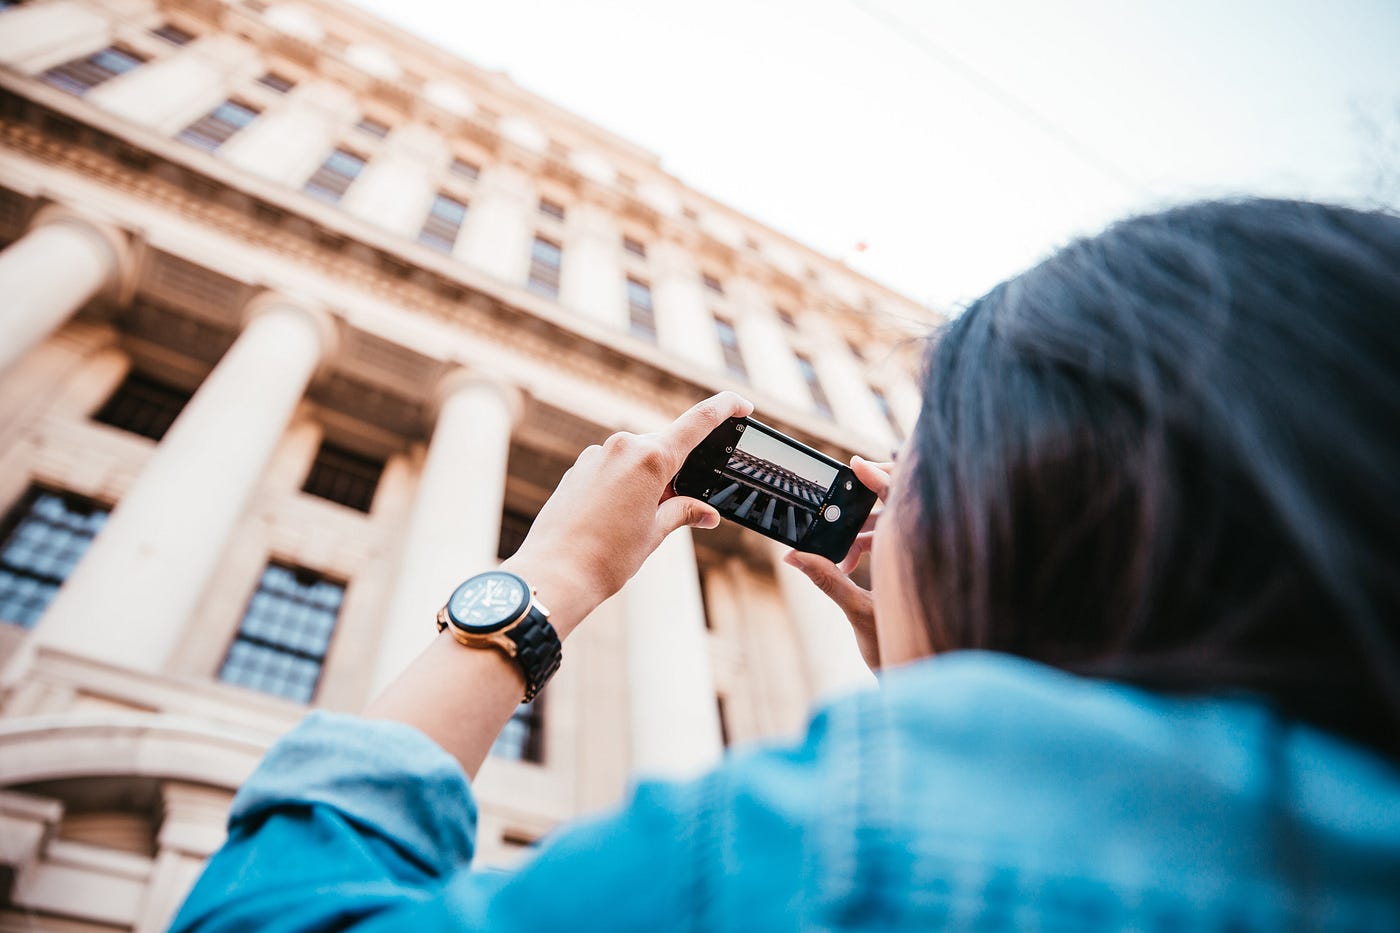
Do you want to capture an image from the camera and set it into imageview or upload it to the server? then, this is the right post to learn.
The camera is a very common feature that lots of apps provide. Most of the required image capture feature in own application. eg. profile image, creating a post with an image, every food or social media app required camera feature in own application.
Basically, Image capturing is a very simple task, even if you are using custom. In this article, we are going to see how to capture images from the camera using FileProvider in your Android app.
Google introduces FileProvider in version 22.1.0. FileProvider class is a derived class from ContentProvider. In other words you can say, FileProvider provide facilitates to secure file sharing in android via content://Uri instead of a file:///Uri
checkout my other useful post:
So, Let’s start with how can we achieve capturing an image from the camera and getting the file path, and load an image in an ImageView.
Table of Contents
Step to capture image from camera programmatically
- Defining a FileProvider
- Granting Permissions to a URI, Storage & Camera
- Image Capture using Camera
- Manage Result and show image over the ImageView
1. Defining A FileProvider
Define a list of file paths for FileProvider in XML file and save it in res/xml folder. Since we want to save only in the public picture directory, we’ll just add the path of it to XML.
 File Provider Location
In AndroidMenifest.xml you have to specify the FileProvider component by adding an element
Note — Replace com.example.captureimage with your package name
2. Granting Permissions To A URI, Storage & Camera
you need to add the permission in the manifest file as,
In the permission, the android:required=”true” is to tell Google’s play to filter all the Android devices which have a camera function.
If we use android:required=”false”, we need to check for the camera via programmatically.
Android 6, contains a permission system for certain tasks. Each application can request the required permission on runtime. So let’s open the Activity class add the below code for requesting runtime permission,
3. Image Capture Using Camera
Now let’s create a function to generate a random file name with .jpg extension in the external files directory.
We need to create an Image file
Create a new Intent with FileProvider URI
4. Manage Result And Show Image Over The ImageView
After action performing, we will manage the result on onActivityResult by using ResultCode and RequestCode. In onActivityResult, we have to manage three things.
- Get actual file path or file from result intent
- Compress a file using the FileCompressor utility
- Finally set final output over the ImageView in Android
Источник
Android Capture Image from Camera and Gallery
Android Tutorial
In this tutorial we’ll develop an application that picks an image from camera or gallery and display that in an ImageView.
Note: The below code works fine for pre-Android Nougat versions. For the latest working example check out the updated article.
Android Capture Image Overview
With the commence of Android Marshmallow, runtime permissions need to be implemented forefront.
Add the following permissions in the Android Manifest.xml file, above the application tag.
By adding android.hardware.camera, Play Store detects and prevents installing the application on devices with no camera.
Intent is the standard way to delegate actions to another application.
To start the native camera the Intent requires android.provider.MediaStore.ACTION_IMAGE_CAPTURE.
To choose an image from gallery, the Intent requires the following argument : Intent.ACTION_GET_CONTENT.
In this tutorial we’ll be invoking an image picker, that lets us select an image from camera or gallery and displays the image in a circular image view and a normal image view. Add the following dependency inside the build.gradle file.
compile ‘de.hdodenhof:circleimageview:2.1.0’
Android Image Capture Project Structure

Android Capture Image Code
The layout for the activity_main.xml stays the same barring the icon change for the FAB button to @android:drawable/ic_menu_camera .
The content_main.xml is given below:
The code for the MainActivity.java is given below
There are a lot of inferences to be drawn from the code above.
- We need to ask for the Camera runtime permissions when the user starts the activity.
- As we are starting the intent to get some result back, we need to call startActivityForResult with the relevant arguments
- Instead of using a dialog to separately call the Intents for Camera and Gallery, we’ve used a method getPickImageChooserIntent() that creates a single chooser intent for all the camera and gallery intents(note the documents intent). Intent.EXTRA_INITIAL_INTENTS is used to add the multiple application intents at one place
- For the camera intent, MediaStore.EXTRA_OUTPUT is passed as an extra to specify the image storage path. Without this you’ll be returned only a small resolution image.
- The URI path for the image returned by camera is fetched inside the method getCaptureImageOutputUri() .
- The onActivityResult essentially returns a URI to the image. Some devices do return the bitmap as data.getExtras().get(«data»); .
- When an image is clicked, the camera screen while returning restarts the activity thereby causing the URI stored from the method getCaptureImageOutputUri() to become null.
Hence it’s essential that we store and restore that URI using onSaveInstanceState() and onRestoreInstanceState() . - The bitmap is retrieved from the URI in the following line of code.
myBitmap = MediaStore.Images.Media.getBitmap(this.getContentResolver(), picUri); - Devices like Samsung galaxy are known to capture the image in landscape orientation. Retrieving the image and displaying as it is can cause it to be displayed in the wrong orientation. Hence we’ve called the method rotateImageIfRequired(myBitmap, picUri);
- ExifInterface is a class for reading and writing Exif tags in a JPEG file or a RAW image file.
- In the end we call the method getResizedBitmap() to scale the bitmap by width or height(whichever is larger) and set the image to the image view using setImageBitmap.
The output of the application in action is given below. Note: To capture and display an image from camera you’ll need to run the application on a smartphone for obvious reasons.

This brings an end to this tutorial. You can download the Android project for Image Capture from the link below.
Источник
Android’s New Image Capture from a Camera using File Provider

Prudhvi Raj Kumar
Jan 31, 2018 · 3 min read
From the latest version of Android, Nougat — Capturing an image through a default camera is exposing a FileUriExposedException. Google has launched a more generic way in order to capture the image through a File Provider which reduces the risk of exposing a content:// uri to another application. I have pushed the source code on github-Source and published one video here.
So, Let’s start how can we achieve capturing an image from the camera and getting the file path and load an image in an ImageView.
First, you need to add the permission in the manifest file as
In the permission, the android:required=”true” is to tell the Google’s play to filter all the Android devices which have camera function. If we use android:required=”false”, we need to check for the camera via programmatically.
So, next query for all the activities in the device which will handle the CAPTURE_REQUEST intent.
Now, get the result from onActivityResult() and load the image as following:
But if you want the imagePath to send the image to a server as a MultiPartRequest, you need to save the file in a directory as temporary file. From that file obtain the path and will send to the server.
Now, add the permission in the manifest to save the image file in to the external storage as
Now let’s create a function to generate a random file name with .jpg extension in the external files directory.
With this method available to create a file for the photo, you can now create and invoke the Intent like this:
If you observe the above code carefully, you may notice where the “com.example.android.provider” came? So, from the latest applications target API level 24, to access the files, they need to add a FileProvider Content Provider to their manifest file. Just follow the steps as:
The $ automatically gets the package name of your android application. On the above Statement also, we can use context.getPackageName() instead of hard-coded text of package name.
The “ @xml/file_paths” we need to add it separately in the resources directory. Just create a android resource directory of type xml and create a file named file_paths.xml in that and copy the code exactly with the following.
Note: The path component corresponds to the path that is returned by getExternalFilesDir() when called with Environment.DIRECTORY_PICTURES .
To obtain the imageFilePath we don’t need to use the same as what we have used earlier, a new approach is :
If you want to handle, what if the user cancelled the camera intent without taking a picture like, though we have the imagePath, but it’s not a valid image because the user has not taken the picture. So, just compare the resultCode integer to confirm whether the user cancelled or taken the picture.
Источник
How to take photos from the camera and gallery on android?

With respect to an Android novice, to test things out, you would require a straightforward and clear guide. As you can discover, there are numerous articles, sites, and aides on this subject. However, a large portion of them is not working as well as haven’t tried or too complex to even think about understanding. Let me take you through a guide on the most proficient method to execute this without any problem.
you can download the full source code from Github.
First, you must have a ImageView in your layout implemented to capture the image you upload either through the camera or Gallery.
Following is my ImageView implementation for the above purpose.
Now, after doing this your activity_main.xml will look like this.
Now in the MainActivity class, you have to declare the ImageView first.
In the onCreate override method, you have to initialize the ImageView element by adding the following,
RUN-Time Permission for Camera and External Storage
as you aware that if you are working with marshmallow or above version device then you need to take first run time permission. for our app, we will require two run time permission.
- Camera Permission
- External Storage Permission
So let’s see how you will get this permission
first you need to define this two permission in your manifest file ie. AndroidManifest.xml
Now, your AndroidManifest.xml will look like this:
Okay after adding this two permission on the manifest file you need to make a function to check runtime permission on MainActivity. This function will show a popup if the user doesn’t have permission so that the user can click on the allow button to grant permission to your APP.
Now you need to Override onRequestPermissionsResult where you will handle your permission result. if permission granted then you can proceed to call chooseImage function.
Choose Image from Camera and Gallery
Now let’s see chooseImage function, which will show a dialog with three option
- Take Photo
- choose a photo from the gallery
- Exit
Now to handle the result of your startActivityForResult, you need to override onActivityResult
Once you are done with all of the steps, then you call the permission check function in the onCreate method.
So after doing all of the things your MainActivity.java will look like this
That’s it, now you can run your app and enjoy the code.
I hope you enjoy this tutorial and you have learned how to get images from the gallery or capture images from the camera on Android.
Источник
Kotlin Android Capture From Camera or Pick Image
The ability to share capture and share images is one of the qualities that have propelled smartphone usages over the past decade. Multi-billion dollar tech franchises like Instagram and Pinterest have thus been born. This ability tells us about ourselves as human beings, we love stories. However stories don’t just have to be put in words. We can also use images and series of images called videos to convey our story.
If you are a developer you need to incorporate the ability to capture images or select already captured images and import them into your application. Then you can do all types of interesting things to these images.
Fortunately for us android sdk provides classes and APIs we can use to provide this capability seamlessly into our application. So in this tutorial we learn how to capture images via camera and show them in an imageview. Alternatively, we will see how to select images from the gallery and render them on an imageview.
Example 1 – Kotlin Android Capture From Camera or Select from ImagePicker
We are creating an app containing one activity. That activity has an imageview and two buttons below it. When the user clicks the first button, we will initiate the Camera via intent. Then we can capture and image and that image will be rendered on an imageview within our application. The second button allows us to open our system gallery. From the gallery we can select an image and have it rendered on our imageview.
Video Tutorial
Watch the video tutorial for more details and demo.
Step 1: Create our Project
Open app android studio and create a new project. Choose empty activity, choose Kotlin as our programming language. Make sure our app supports androidx artifacts. I will use Android API Level 15 as my minimum version.
Here is my app level build.gradle:
You can see there is no special dependency to be added.
Step 2 : Layouts
We will have just a single layout:
(a). activity_main.xml
That Layout contains the following components:
- LinearLayout – To order our elements linearly either vertically or horizontally.
- TextView – To render text
- ImageView – To render images.
- Button – To allow us choose/select an image or capture one from the camera.
Classes
We have only one class.
(a). MainActivity.kt
Star by adding imports:
Then make our class extend the AppCompatActivity:
Inside the class lets define our instance fields:
In the above, the imageview will render our image, the Uri is the uri of the image. btnCapture will allow us start our camera to capture the image. btnChoose will allow us open the gallery to choose image.
Let’s then create a method to initialize the above widgets:
Then a method to show our Toast message:
Next we will create a method to capture our photo or image:
In the above method you can see we have started by instantiating a File we are calling capturedImage. We have passed the location as well as the file name.
Then using the exists() method we have checked if a file with name as the captured image does exist. If so we delete.
Then we create a new file using the createNewFile() method. The we obtain the Uri for the file. Take note that if we are using a build sdk version of Android API Version 24 and above we use the FileProvider class, invoking its getUriForFile() method. Otherwise we use the good old fromFile() method of the Uri class.
Then we instantiate our intent and startActivityForResult.
Then to open our gallery and filter images:
We will be rendering our image as a bitmap:
To obtain our image path we will use this method:
Here is how we will handle our image on Android API Level 19 and above:
FULL Code
Here is the full code for MainActivity.kt:
Resources
Here are downlaod and reference resources:
| No. | Site | Link |
|---|---|---|
| 1. | Github | Browse |
| 2. | Github | Download |
| 3. | YouTube | Watch |
Now move to the next tutorial.
Example 2: Android Select Image From Gallery and Show in ImageView
This second example is super simple and is written in java. You simply click a button and via Intent we open the Gallery. You choose the image you want and we render it directly on an ImageView.
Check the Gallery demo below:
![]()
Step 1: Create Project
Start by creating an empty Android Studio project.
Step 2: Dependencies
No third party or special dependency is needed for this project.
Step 3: Design Layout
Simply place a button in your layout. When that button is clicked we will open the gallery. Also add an imageview that will render our selected image:
activity_main.xml
Step 4: Write Code
Here is how we open the Gallery for selecting images via Intent:
Here is how we get the real path of an image provided we have it’s Uri:
Then here is how we render the selected image on an imageview:
Here is the full code:
MainActivity.java
Copy the code or download it in the link below, build and run.
Reference
Here are the reference links:
| Number | Link |
|---|---|
| 1. | Download Example |
| 2. | Follow code author |
 report this ad
Oclemy
Thanks for stopping by. My name is Oclemy(Clement Ochieng) and we have selected you as a recipient of a GIFT you may like ! Together with Skillshare we are offering you PROJECTS and 1000s of PREMIUM COURSES at Skillshare for FREE for 1 MONTH. To be eligible all you need is by sign up right now using my profile .
Источник


