- How to build a custom launcher in Android Studio — Part One
- The game plan
- The Android manifest
- How to launch apps
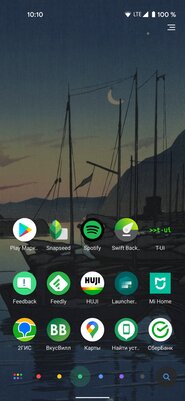
- How to create an app drawer
- The next steps
- 10 лучших лаунчеров для Android: от простых до многофункциональных
- Lawnchair
- Launcher 10
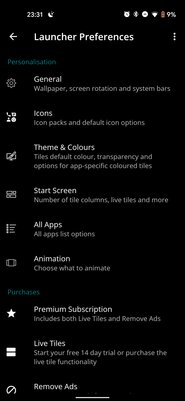
- Microsoft Launcher
- Nova Launcher
- No Launcher
- Niagara Launcher
- POCO Launcher
- Smart Launcher
- Linux CLI Luncher
- Rootless Pixel Launcher
How to build a custom launcher in Android Studio — Part One

When it comes to Android customization, the launcher is the holy grail. This is where it’s at. It’s the trump card Android has always had over iOS. It’s what makes Android the most customizable operating system on pretty much any platform.
How might you go about creating your own Android launcher? Read this post — and the upcoming part two — that’s how!
The game plan
Creating an Android launcher is obviously a rather in-depth project with a lot of factors. It is almost always running, so it needs to be as perfectly bug-free as possible.
It would be too large an undertaking to do a completely start-to-finish tutorial here. Instead, I’m going to go over all the crucial features you need to turn any app into a launcher and I’ll leave it to you to put them all together and add your own personal spin. (part two will include the full source for a very basic skeleton of a launcher!)
You’ll need some background knowledge before taking on this project. To that end, I recommend this post on creating your first app from Gary Sims.
What does an app need in order to become a launcher?
- It needs to be mapped to the home button and launch when your device starts up.
- It needs to display custom wallpapers.
- It needs to show and launch apps from the homescreen and from an app drawer.
- It needs multiple screens through which you can scroll.
- It needs widgets.
There’s more, but if you can get these basics down then you’ll be well on your way. Let’s dive in and get creating out homescreen launcher!
Create a new project with an empty activity and then follow these steps.
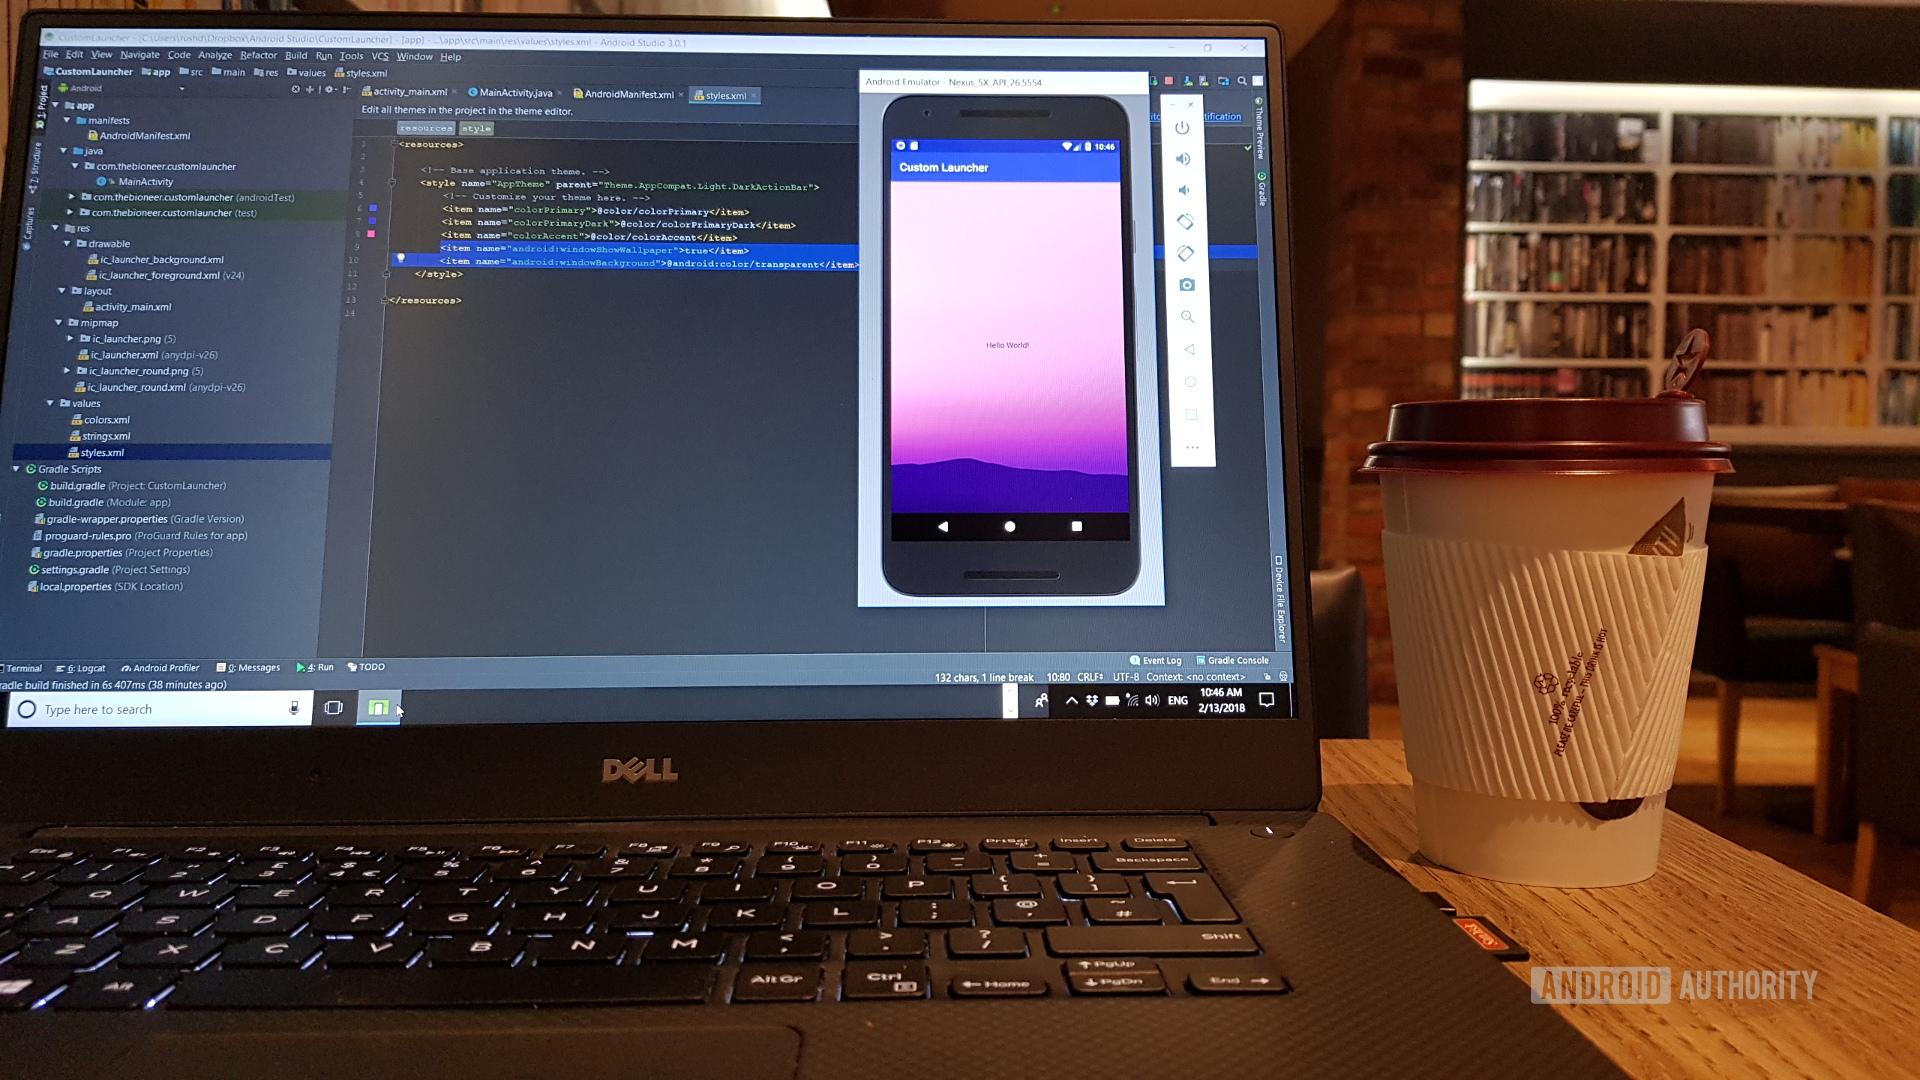
The Android manifest
The first item on our agenda is to make our app into a launcher. That means making sure the Android system identifies it as such, loads it up when the system first boots, and shows it whenever you hit the “home” button.
This is simple — you just need to add the following two lines to your Android manifest file inside the activity tag:
Now you’ll have the option to select this application as your launcher. Which technically means it is a launcher.

Right now, it doesn’t look like much of a launcher, and so the next thing to do is add a custom wallpaper. This is also pretty simple. You just have to add the following code to your styles.xml file in the resources folder.
Just a couple of lines added and we’ve got something that looks and behaves like a launcher. I’d say that’s a good start!

How to launch apps
Launching apps is a simple matter of using intents. Intents allow us to launch activities, apps, functions, and more. In this case, we’re going to launch Google Chrome using its package name, which is com.android.chrome.
To do that, you simply need this code:
Remember to import the Intent class (select it and press alt + return when it’s underlined). We could add a button instead of the TextView in our layout XML and set it to launch Chrome. We could also use this as a cool way to easily set any app as our default “home.” Place this in the onCreate method or onResume and any time you press home, you’ll launch Chrome or the app of your choosing!
But that’s probably not what most would want to do. So instead, let’s do the button thing. We’ll use an ImageView and give it the ID chromeButton. Choose any image for now. I picked a star.
Now add an onClick:
Wouldn’t it be nicer if we could use the correct icon? Surprise! we can.

To do this you’ll need to reverse-engineer a handy method to grab the icon from any app and return it as a drawable:
After that, we can simply set the icon as we like it in onCreate():
When using this method, you need both the package name and the activity name. I’m using an app called Package Names Viewer to get these. We’ll get to how to do this dynamically in a moment.
I’ve used a public static method so it’s accessible from other classes without creating multiple instances of our MainActivity. This method will likely prove to be a useful one.
You’ve already built enough of an app here to do something useful. You could very easily create a launcher simply showing your favorite apps in a line, for example. Most people will want to be a little more ambitious.
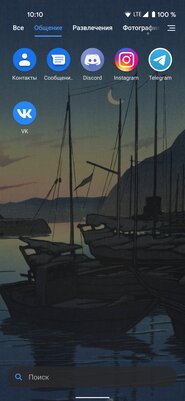
How to create an app drawer
Now that we can show and launch one app, we should be able to show and launch all apps. We just need to get a list of all the package names on the device, cycle through it, and load the icons into a recycler view.

Create a new activity in your project and call the java and xml files AppsDrawer.java and apps_drawer.xml respectively. Make sure you have some way for the user to launch this second activity too. I added a small menu button at the bottom of the screen.
In here, we’re going to display a list (recycler view) that will simply show all our icons and allow our user to select them in order to launch the app of their choice. Add a recycler view to apps_drawer.xml and give it the ID appsList.
Adding a recycler view is a whole other thing, so I won’t get into that now. Instead, check out this tutorial on recycler views and use the same names for my resource files and views as I did there. There is a method to this madness after all!
Create a separate XML file for the layout of the items in your row, and a new adapter class to populate the recycler view. You also need to create one more class, called appInfo and will have the simplest interface imaginable:
As you might have guessed, we’ll just be using this to store information about the apps in our list.
Now create your adapter class and add the following code:
Remember to import all classes as necessary. Check the comments for a bit more information on what everything does. I highly recommend reading through that Recycler View post if you’re not already familiar.
This is the main unique bit:
This simply loops through our runnable installed apps and grabs the necessary details, icons, and more from there.
Of course, row.xml includes an image view (img) and a text view (textView) which become our icon and our app label.

Meanwhile, the onClickListener added to the view holder allows us to run the app when clicked — just like a real launcher!
The next steps
At this point the end is in sight and you’re getting close to having a fully functional launcher! But there is still a bit left to do.
In part two, we’ll be populating our recycler view in an separate thread to keep things snappy. After that, we’ll add multiple homescreens to swipe through using fragments and take a quick look at how to host widgets.
Stay tuned for part two and be sure to post your questions down below!
Источник
10 лучших лаунчеров для Android: от простых до многофункциональных
Рано или поздно в жизни каждого владельца Android-смартфона наступает момент, когда хочется максимально кастомизировать своё устройство и радикально изменить интерфейс. Благо, «зелёный робот» позволяет это сделать даже без рут-прав. Смена стокового лаунчера способна перевернуть представление о взаимодействии с девайсом. Я собрал самые интересные и гибкие экраны запуска приложений в этой статье — вы найдёте лаунчер на любой вкус.
Lawnchair
- русский язык: есть.
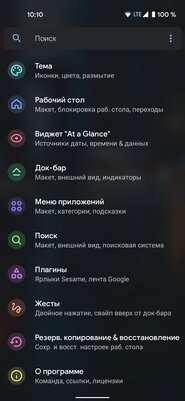
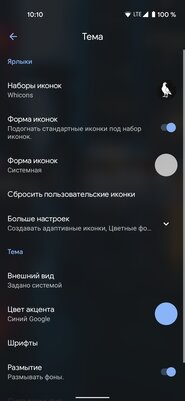
Lawnchair — это современный лаунчер с фирменным дизайном смартфонов Google Pixel. Имеет разнообразные функции для кастомизации рабочего стола: смена формы и размера иконок, настройка цвета и прозрачности док-панели, выбор шрифтов, особенные жесты, группировка приложений, переходы между рабочими столами. Это лишь малая часть того, что предоставляет Lawnchair. Немаловажную роль играет возможность создания бэкапов и восстановления из них: легко переносить все установки с одного смартфона на другой. Хотя обновления для лаунчера не выходили уже 2 года, разработчики недавно объявили о возрождении проекта, так что скоро он станет ещё стабильнее и удобнее.
Launcher 10
- русский язык: нет.
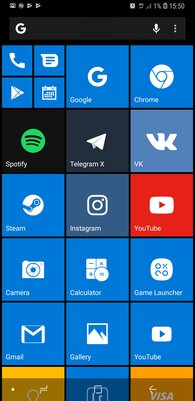
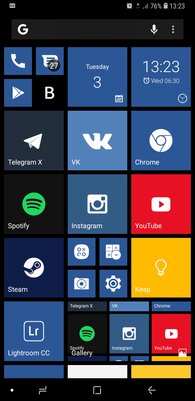
Фанаты Windows Phone могут точно сымитировать дизайн мобильной ОС от Microsoft на Android-девайсе благодаря Launcher 10. Приложение позволяет менять цвет и размер плиток, устанавливать сторонние наборы иконок, выбирать тёмную или светлую тему и даже настраивать анимации открытия приложений. Живые плитки здесь имеются, как и в оригинале. При этом никуда не делись стандартные виджеты, доступные на любых других оболочках.
Microsoft Launcher
- русский язык: есть.
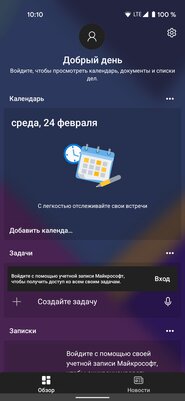

Почитателям более современных продуктов от Microsoft понравится официальный лаунчер от софтверной корпорации. У него собственный выделяющийся стиль, который легко подстроить под свои вкусы. Меняются и иконки, и акцентные цвета, и прозрачность панелей. Отдельного упоминания заслуживают специальная панель активности с предстоящими задачами и вкладкой новостей, раскрывающийся док-бар с тремя рядами для избранных приложений и нескучные обои. Вишенка на торте — синхронизация с сервисами Microsoft.
Nova Launcher
- русский язык: есть.
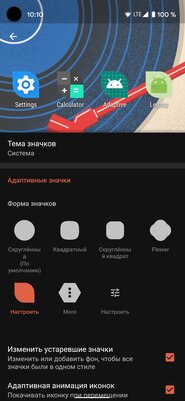
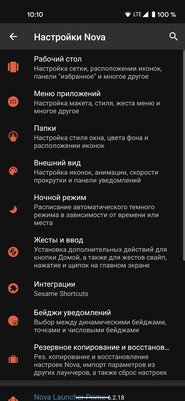
Лаунчер, заслуживший свою популярность широкими возможностями кастомизации — здесь меняется почти каждый элемент. Удивительно, что, несмотря на свои годы, он активно «допиливается» разработчиками и регулярно получает новый функционал. Ставший классикой быстрый и красивый рабочий стол предоставляет пользователю настройку переходов, гибкую сетку приложений, глубокую кастомизацию иконок, жесты и резервное копирование.
No Launcher
- русский язык: нет.
Легковесный лаунчер размером всего в 21 КБ, который полностью оправдывает своё название. Здесь нет вообще ничего, кроме списка установленных приложений и поиска по ним. Подойдёт для слабых девайсов и аскетичных пользователей.
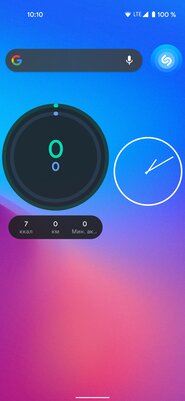
Niagara Launcher
- русский язык: есть.
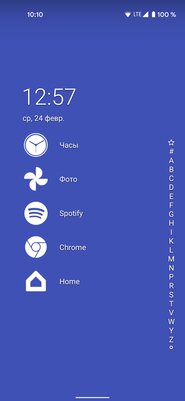
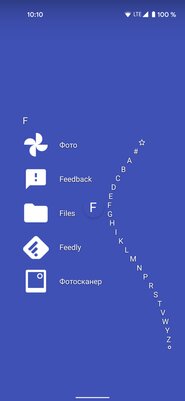

Минималистичный экран запуска, представляющий из себя панель с избранными программами и пролистывающийся в алфавитном порядке список всего установленного софта. Его скролл сопровождается плавной анимацией. При нажатии на любую программу появляется контексное меню, заменяющее стандартные шорткаты и добавляющее свой функционал вроде скрытия из списка. Niagara Launcher умеет выводить на главный экран адаптированные виджеты погоды и медиаплеера, важные уведомления, а также поддерживает смену иконок, обоев и шрифтов. В настройках можно включить жесты для открытия панели быстрых настроек или быстрой блокировки и добавить кнопку поиска Google.
POCO Launcher
- русский язык: есть.
Лаунчер из смартфонов Pocophone обладает знакомым по девайсам от Xiaomi интерфейсом и гибкими настройками. Его интересная особенность — автоматическое распределение приложений по категориям. Отдельно программы сортируются по цветам иконок, впрочем, это можно отключить. Кроме этого, есть функционал скрытия программ, смены сетки рабочего стола, темы и иконок.
Smart Launcher
- русский язык: есть.
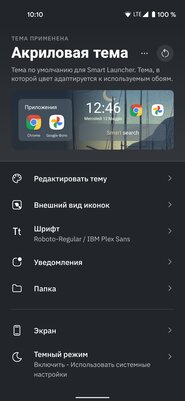
Очень функциональная, но простая с виду оболочка Smart Launcher содержит массу настроек внешнего вида. Здесь есть подстраивающаяся под обои тема, адаптивные иконки, собственные шрифты, автоматическая сортировка приложений по категориям. Отдельные приложения можно спрятать в папку с паролем. Поддерживаются собственные жесты: блокировка двойным тапом или шторка уведомлений свайпом вниз. Виджетам выделен специальный экран справа от главного рабочего стола.
Linux CLI Luncher
- русский язык: нет.
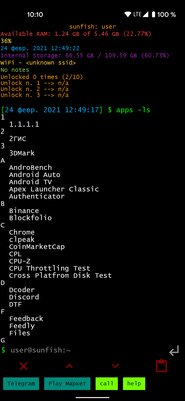

Лёгкий лаунчер наверняка понравится техногикам за счёт интерфейса в стиле Linux-терминала. В самом верху постоянно находится информация о состоянии девайса: его кодовое имя, уровень заряда, количество свободной памяти в ОЗУ и хранилище, а также дата. Запускаются приложения путём набора названия. Появляются подсказки, тапнув по которым открываются нужные программы. Есть небольшой набор дополнительных команд, с помощью которых можно быстро изменить системные параметры вроде громкости или яркости.
Rootless Pixel Launcher
- русский язык: есть.
Стандартный лаунчер со смартфонов Google Pixel, но с возможностью менять набор иконок и их форму. От более продвинутого Lawnchair отличается, в первую очередь, меньшим весом — 3 МБ против 20 МБ. Подойдёт для тех, кому не нужны все те настройки кастомизации, которые предлагают аналоги.
Источник


