- How to make Android apps without IDE from command line
- How to do Android development faster without Gradle
- IntelliJ IDE, but not Gradle
- 1. Install Java
- 2. Install all SDK tools
- Download Android Studio and SDK Tools | Android Studio
- Download the official Android IDE and developer tools to build apps for Android phones, tablets, wearables, TVs, and…
- 3. Code the application
- How to use JavaMail on Android (without Gradle)
- Hello guys!
- 4. Build the code
- 5. Sign the package
- 6. Align the package
- 7. Test the application
- 8. Make a script
- Notes
- The Application Plugin
- Building JVM applications
- Building applications using the Java Module System
- Building a distribution
- Customizing start script generation
- Tasks
- Application extension
- Create a Basic Android App without an IDE
- Break Down Your Android Studio Project
- Get Started with the Android SDK
- Initialize Gradle
- Create an Android Build
- Write the Java Application
- Add Authentication with Okta
- Why Okta?
- Authentication in Java
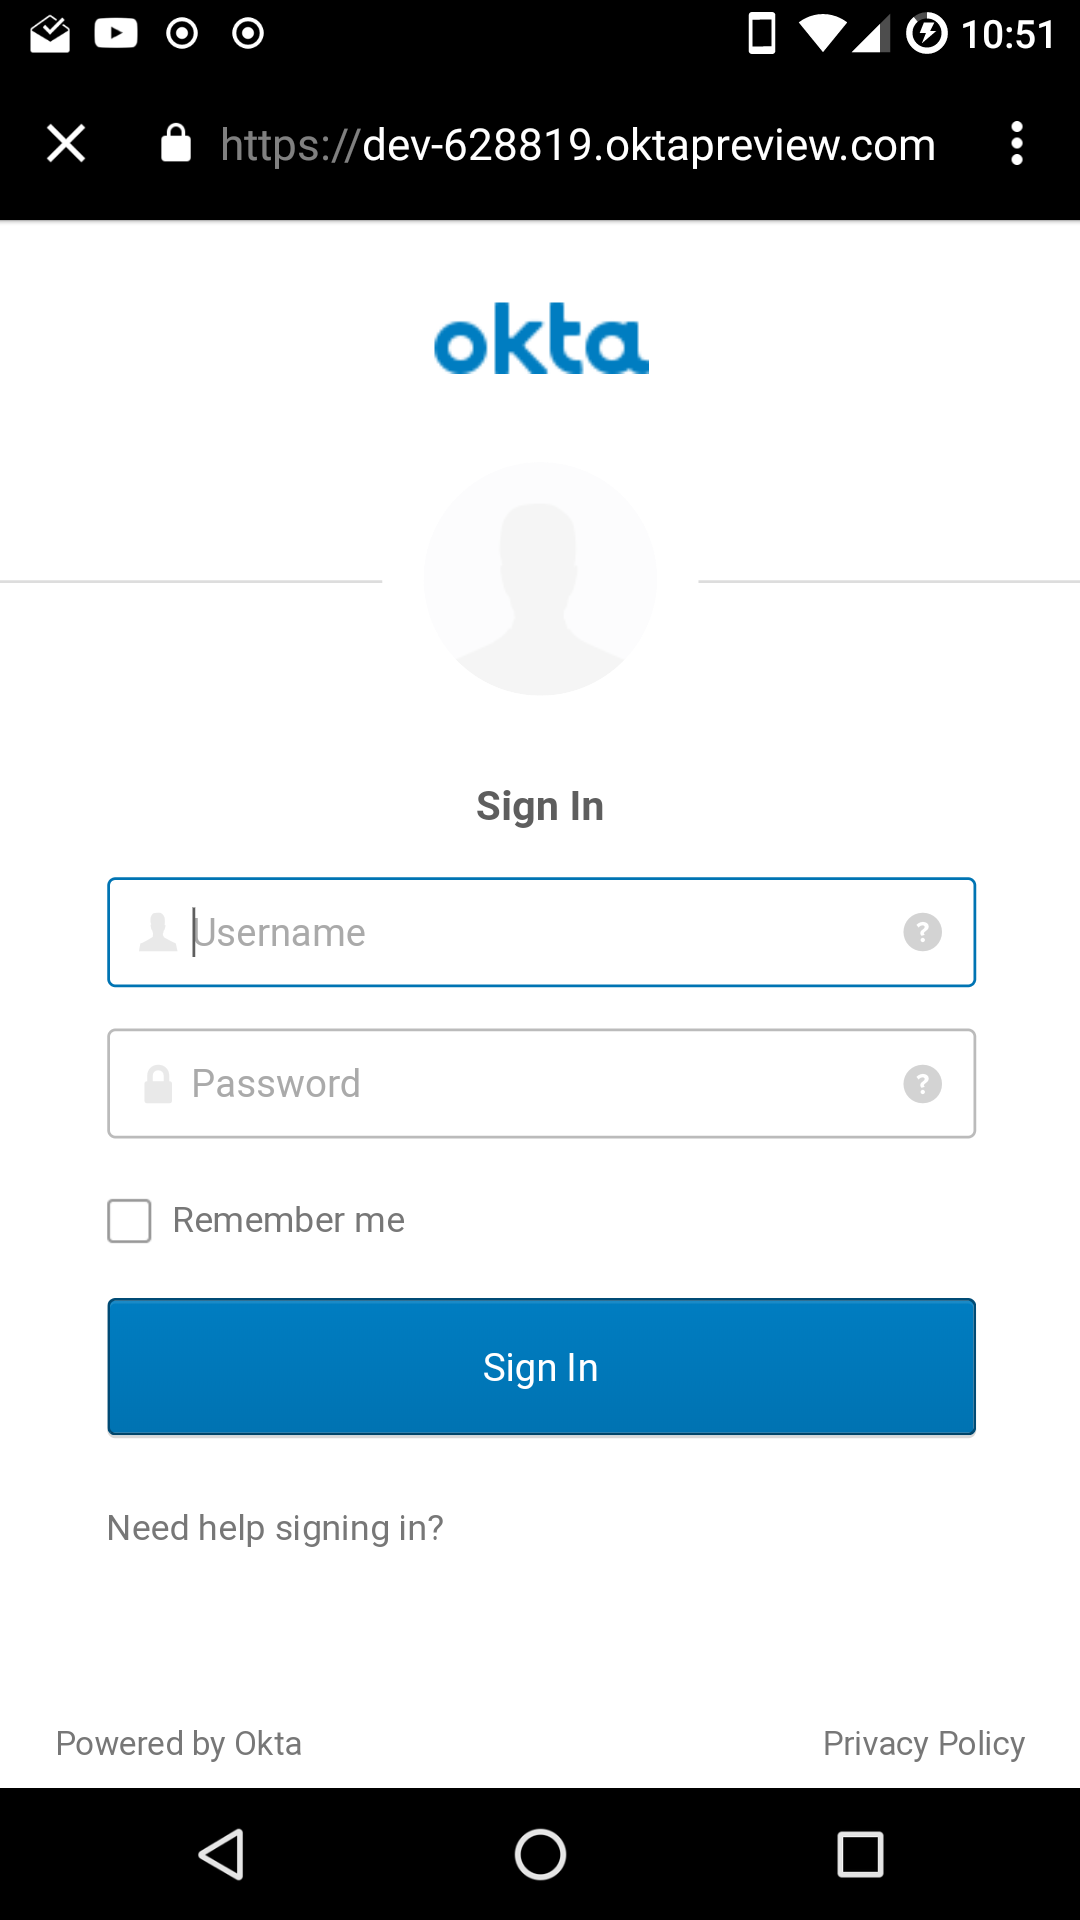
- Connect to Okta for Authentication
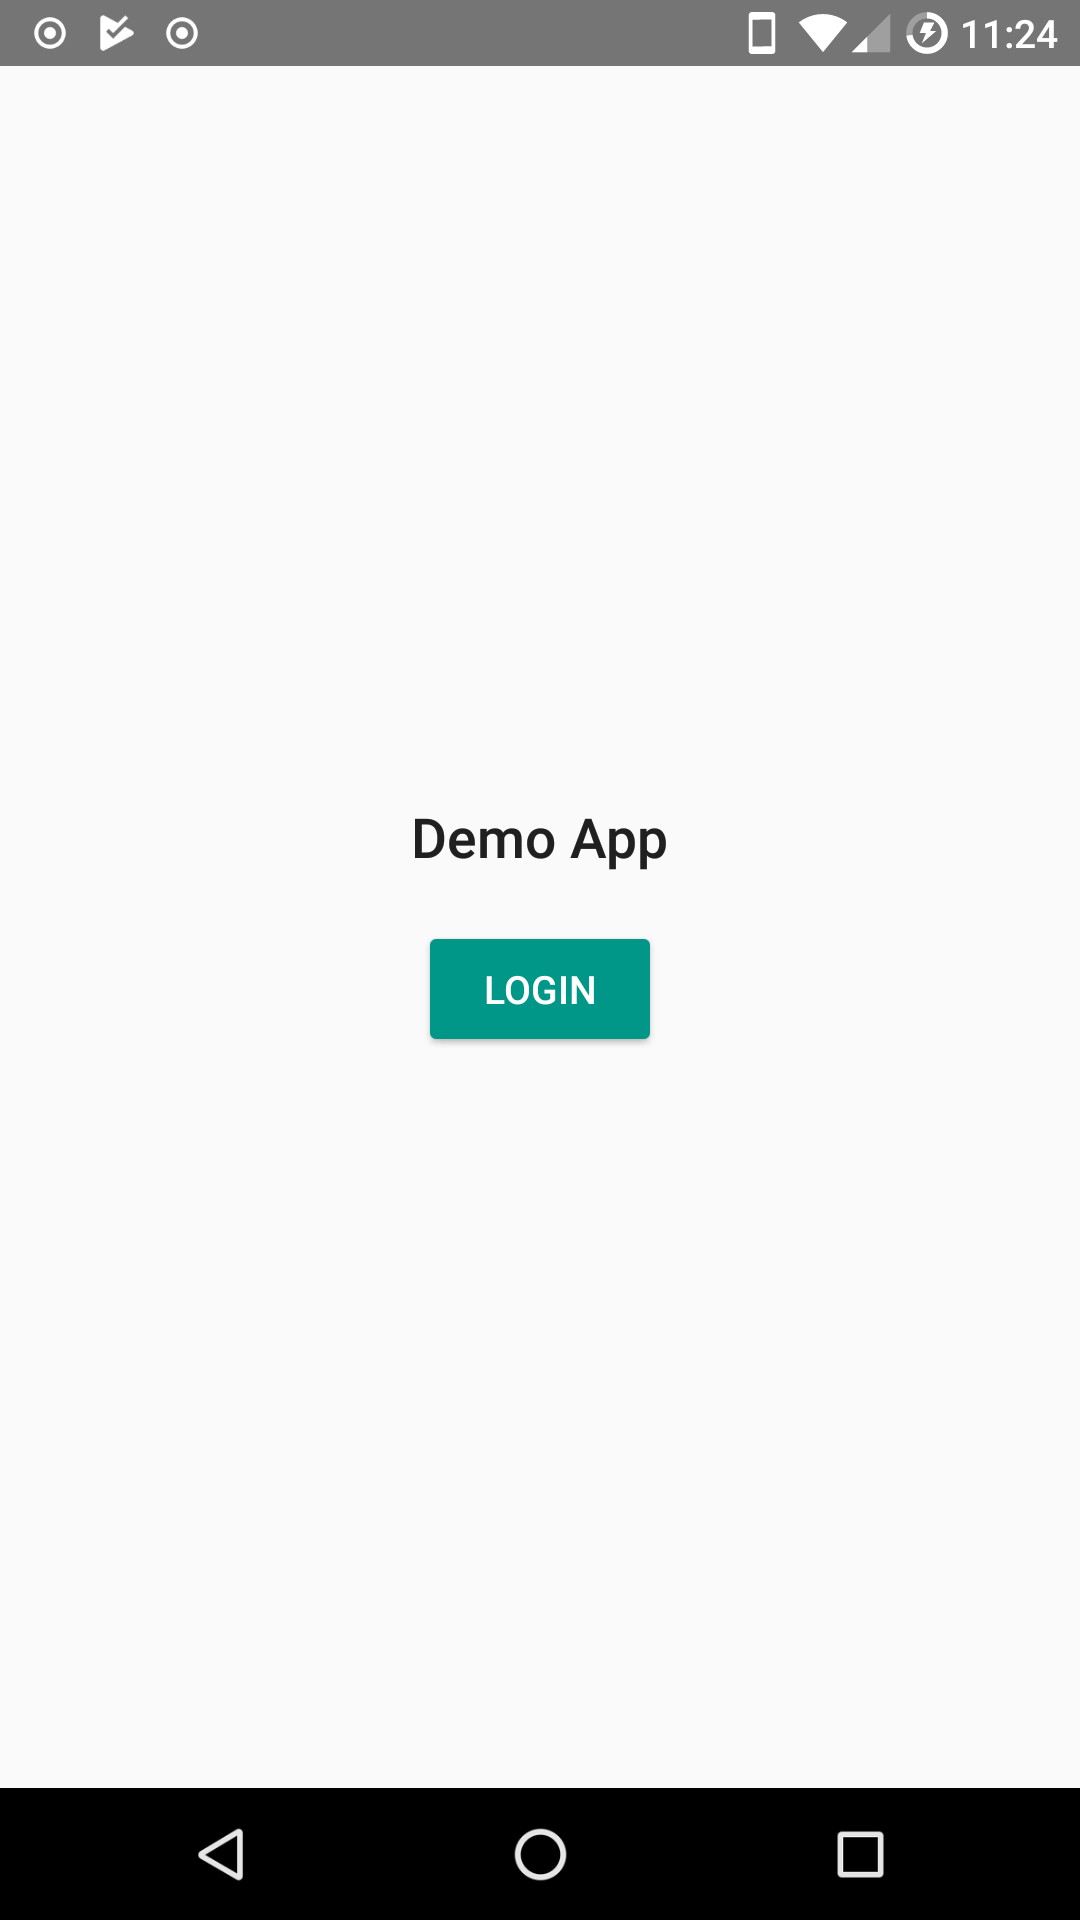
- Set Up Your Login Page
- Wire Up Login
- Learn More about Java and Secure App Development
How to make Android apps without IDE from command line

Nov 26, 2017 · 5 min read
A HelloWorld without Android Studio
Update: I’ve made a new course that explain how you can avoid Android Studio and Gradle, but still use IntelliJ iDE:
How to do Android development faster without Gradle
IntelliJ IDE, but not Gradle
In this tutorial, I will show you how you can build/compile an APK (an A n droid app) from your java code using terminal (on Linux) without IDE or in other words without Android Studio. At the end, I will also show you a script to automate the process. In this example, I will use Android API 19 (4.4 Kitkat) to make a simple HelloWorld. I want to say that I will do this tutorial without android command which is deprecated.
1. Install Java
First, you need to install java, in my case, I install the headless version because I don’t use graphics (only command line):
2. Install all SDK tools
Then download the last SDK tools of Android which you can find here:
Download Android Studio and SDK Tools | Android Studio
Download the official Android IDE and developer tools to build apps for Android phones, tablets, wearables, TVs, and…
I recommend to unzip it in the /opt directory inside another directory that we will call “android-sdk”:
Now, we have to install platform tools (which contain ADB), an Android API and build tools.
In fact, if you are on Debian, you can avoid installing platform-tools package and only install ADB like that:
3. Code the application
In this example, I want to compile a simple HelloWorld. So, first, we need to make a project directory:
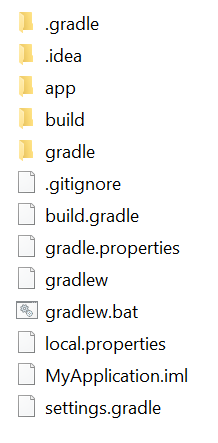
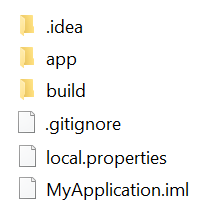
Then we have to make the files tree:
If you use exernal libraries (.jar files), also make a folder for them:
You have an example here:
How to use JavaMail on Android (without Gradle)
Hello guys!
Make the file src/com/example/helloandroid/MainActivity.java and put that inside:
Make the strings.xml file in the res/values folder. It contains all the text that your application uses:
The activity_main.xml is a layout file which have to be in res/layout:
You also have to add the file AndroidManifest.xml at the root:
4. Build the code
Now, I recommend to store the project path in a variable:
First, we need generate the R.java file which is necessary for our code:
- -m instructs aapt to create directories under the location specified by -J
- -J specifies where the output goes. Saying -J src will create a file like src/com/example/helloandroid/R.java
- -S specifies where is the res directory with the drawables, layouts, etc.
- -I tells aapt where the android.jar is. You can find yours in a location like android-sdk/platforms/android-/android.jar
Now, we have to compile the .java files:
If you have use an external, add it the classpath:
The compiled .class files are in obj folder, but Android can’t read them. We have to translate them in a file called “classes.dex” which will be read by the dalvik Android runtime:
But if you use external libraries, do rather:
If you have the error UNEXPECTED TOP-LEVEL EXCEPTION , it can be because you use old build tools and DX try to translate java 1.7 rather than 1.8. To solve the problem, you have to specify 1.7 java version in the previous javac command:
The -source option specify the java version of your source files. Note that we can use previous versions of Java even we use OpenJDK 8 (or 1.8).
We can now put everything in an APK:
Be aware: until now, we used three AAPT commands, the first and the second one are similar but they don’t do the same. You have to copy the classes.dex file at the root of project like above! Otherwise, AAPT won’t put this file at right place in the APK archive (because an APK is like a .zip file).
The generated package can’t be installed by Android because it’s unaligned and unsigned.
If you want, you can check the content of the package like this:
5. Sign the package
To do so, we firstly create a new keystore with the command keytool given by Java:
Just answer the questions and put a password.
You can sign an APK like this:
Note that apksigner only exist since Build Tools 24.0.3.
6. Align the package
It’s as simple as that:
Alignment increase the performance of the application and may reduce memory use.
7. Test the application
To test the application, connect your smartphone with a USB cable and use ADB:
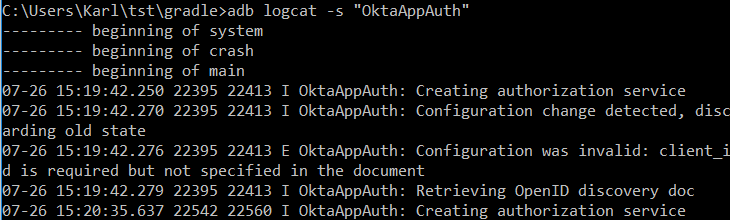
But before run this command, I recommend to run this one:
If there is an error during installation or running, you see it with that command.
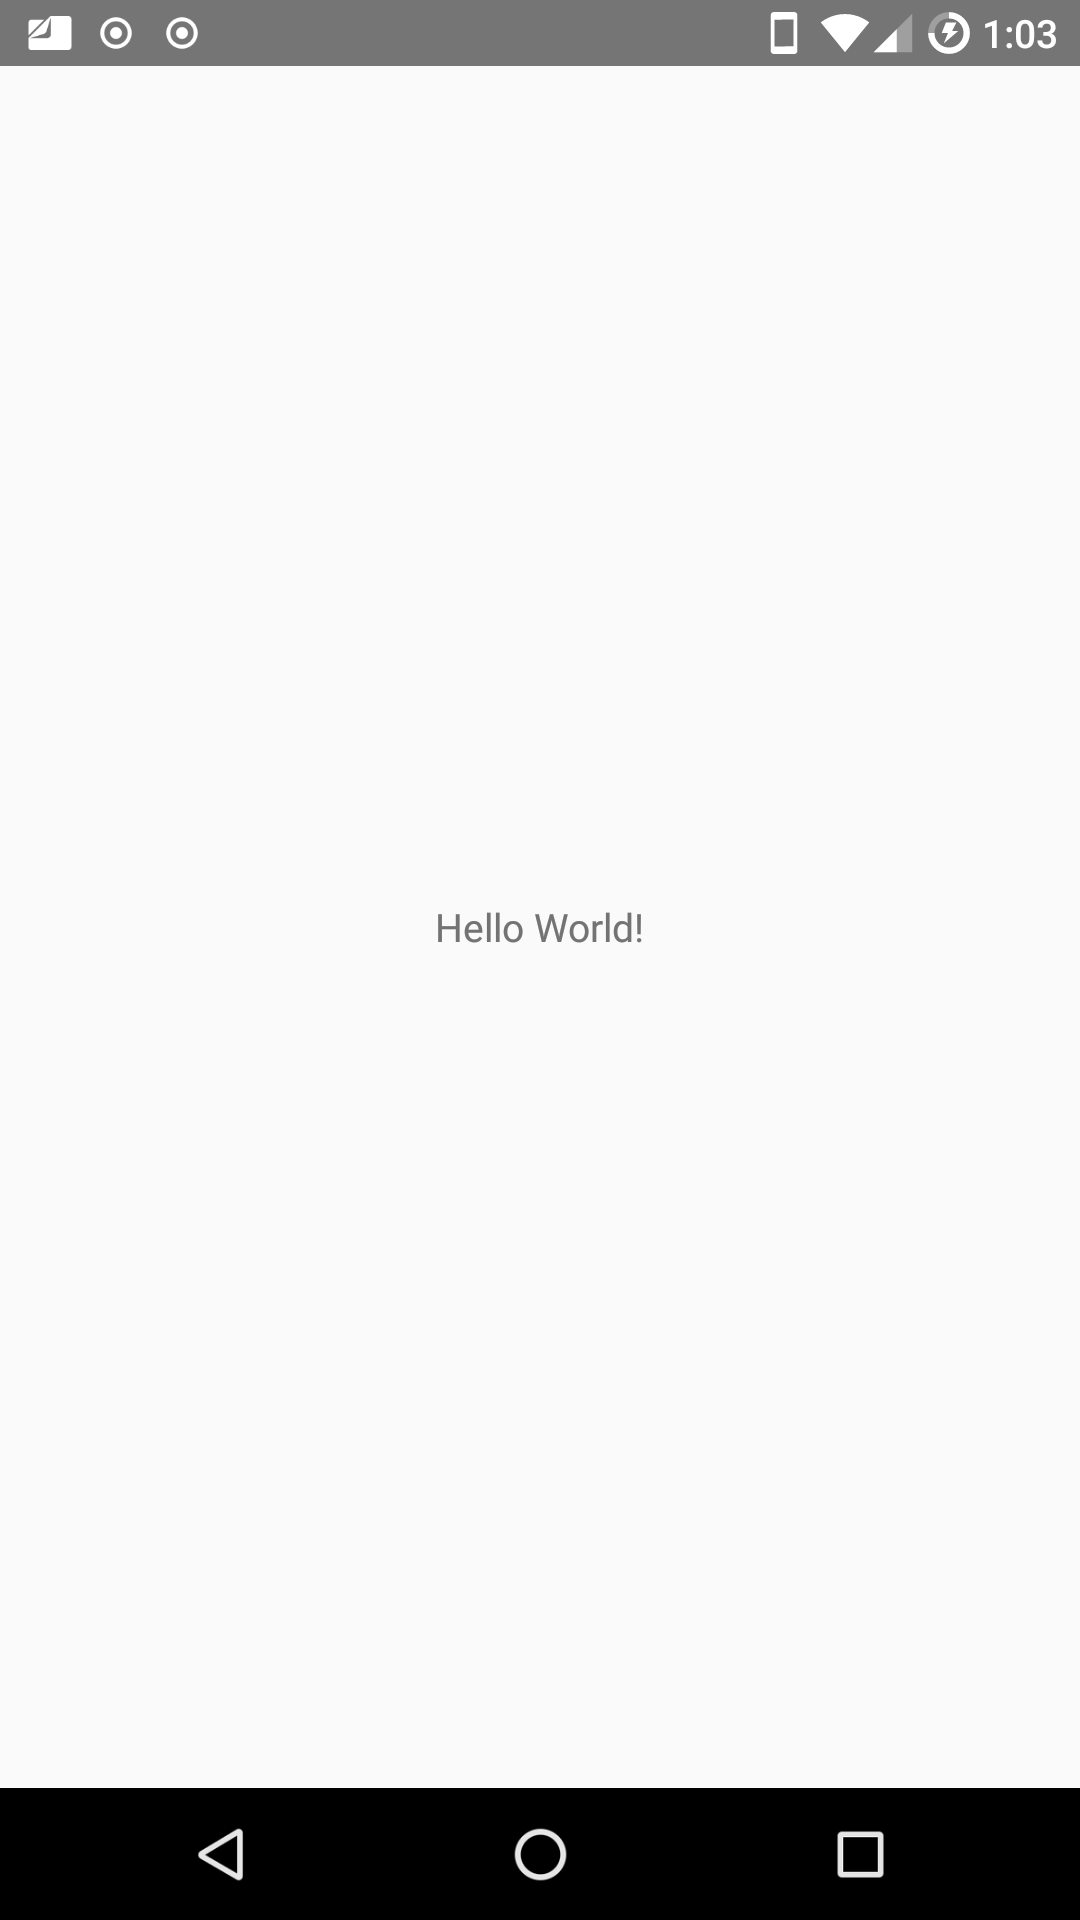
Voila! Here’s the result:

8. Make a script
If you don’t want to run all these steps every time you would like to compile your app, make a script! Here’s mine:
Notes
- You can remove “test” if you just want to compile without testing.
- This script only compile and run the app on the phone. But I can also make a script to automatically generate a new project like this one. I think I have a good idea to do so, but I need to know if you are interested. If it’s the case, please leave a comment or send me an e-mail.
- I can also complete the script for external libraries. Likewise, let me know if you want this.
If you have any questions, don’t hesitate to ask them below or by e-mail ;-)! EDIT: Well I’m very busy actually…
Источник
The Application Plugin
The Application plugin facilitates creating an executable JVM application. It makes it easy to start the application locally during development, and to package the application as a TAR and/or ZIP including operating system specific start scripts.
Applying the Application plugin also implicitly applies the Java plugin. The main source set is effectively the “application”.
Applying the Application plugin also implicitly applies the Distribution plugin. A main distribution is created that packages up the application, including code dependencies and generated start scripts.
Building JVM applications
To use the application plugin, include the following in your build script:
The only mandatory configuration for the plugin is the specification of the main class (i.e. entry point) of the application.
You can run the application by executing the run task (type: JavaExec). This will compile the main source set, and launch a new JVM with its classes (along with all runtime dependencies) as the classpath and using the specified main class. You can launch the application in debug mode with gradle run —debug-jvm (see JavaExec.setDebug(boolean)).
Since Gradle 4.9, the command line arguments can be passed with —args . For example, if you want to launch the application with command line arguments foo —bar , you can use gradle run —args=»foo —bar» (see JavaExec.setArgsString(java.lang.String).
If your application requires a specific set of JVM settings or system properties, you can configure the applicationDefaultJvmArgs property. These JVM arguments are applied to the run task and also considered in the generated start scripts of your distribution.
If your application’s start scripts should be in a different directory than bin , you can configure the executableDir property.
Building applications using the Java Module System
Gradle supports the building of Java Modules as described in the corresponding section of the Java Library plugin documentation. Java modules can also be runnable and you can use the application plugin to run and package such a modular application. For this, you need to do two things in addition to what you do for a non-modular application.
First, you need to add a module-info.java file to describe your application module. Please refer to the Java Library plugin documentation for more details on this topic.
Second, you need to tell Gradle the name of the module you want to run in addition to the main class name like this:
That’s all. If you run your application, by executing the run task or through a generated start script, it will run as module and respect module boundaries at runtime. For example, reflective access to an internal package from another module can fail.
The configured main class is also baked into the module-info.class file of your application Jar. If you run the modular application directly using the java command, it is then sufficient to provide the module name.
You can also look at a ready made example that includes a modular application as part of a multi-project.
Building a distribution
A distribution of the application can be created, by way of the Distribution plugin (which is automatically applied). A main distribution is created with the following content:
| Location | Content |
|---|---|