- Crispy Air Fryer Apple Chips
- How to Make Apple Chips in an Air Fryer
- Need a recipe for Apple Chips baked in an oven?
- Recipe Notes and Tips:
- Apple Chips
- Make Crispy Apple Chips Without A Dehydrator
- Apple Chips Recipe: A Crispy Success Story!
- Have you tried an apple chips recipe before and failed?
- Sad Truth About Store Bought Apple Chips
- Tips For CRISPY Homemade Apple Chips
- Pick your day
- Low and slow
- Practice those knife skills!
- Give chips their space
- Store them well
- Picking your apples
- Apple Chips Recipe: Baked and Crispy
- Ingredients
- Instructions
- About Sarah Ozimek
- More Posts You’ll Love
- Three Healthy Homemade Gummy Bears Recipes
- Water Glassing Eggs to Preserve Them for Years!
- Fermented Vegetables: Simple and Probiotic-Rich!
- Comments
- About Matt & Betsy
Crispy Air Fryer Apple Chips
Sharing is caring!
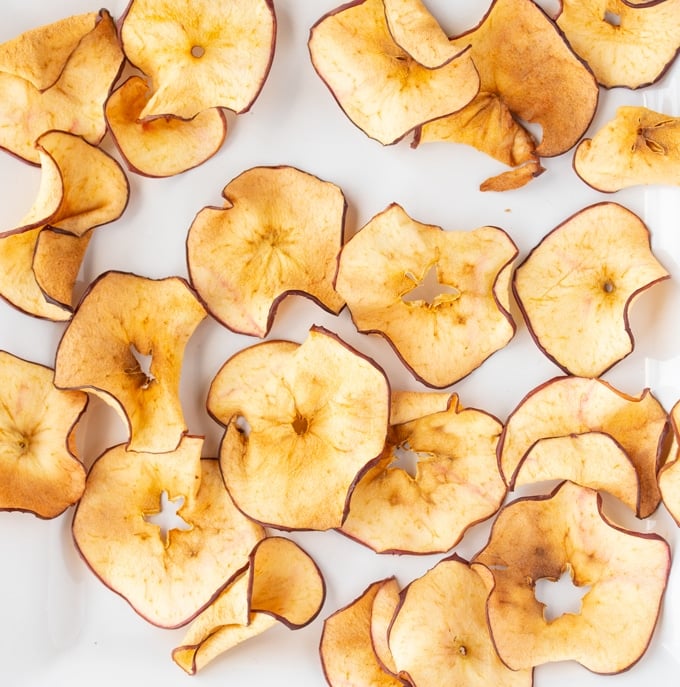
These no oil Air Fryer Apple Chips are crispy and delicious. It’s the perfect quick and healthy snack for any day of the week.
Full Recipe Ingredients/Instructions are available in the
recipe card at the bottom of the post.
You can find important tips/tricks in the
blog post.
They say an apple a day keeps the doctor away. I don’t know how true that is but I do know I love me some apples. Whether it’s a nice juicy apple on its own, an apple pie, or fried apples with morning breakfast, I love that amazing fruit.
I love using my air fryer for quick snacks, like these air fryer chickpeas. So it just made sense that I’d use my air fryer to make crispy apple chips. After testing different temps, different air fryers, and different apples, I finally perfected the best way to make apple chips in an Air Fryer.
Now you may wonder why even make apple chips in an air fryer? Here’s why:
- It’s faster. My apple chips are ready for snacking in just 20 minutes. Dehydrating them or oven baking them can and will take longer than the air fryer. These are perfect for a quick snack.
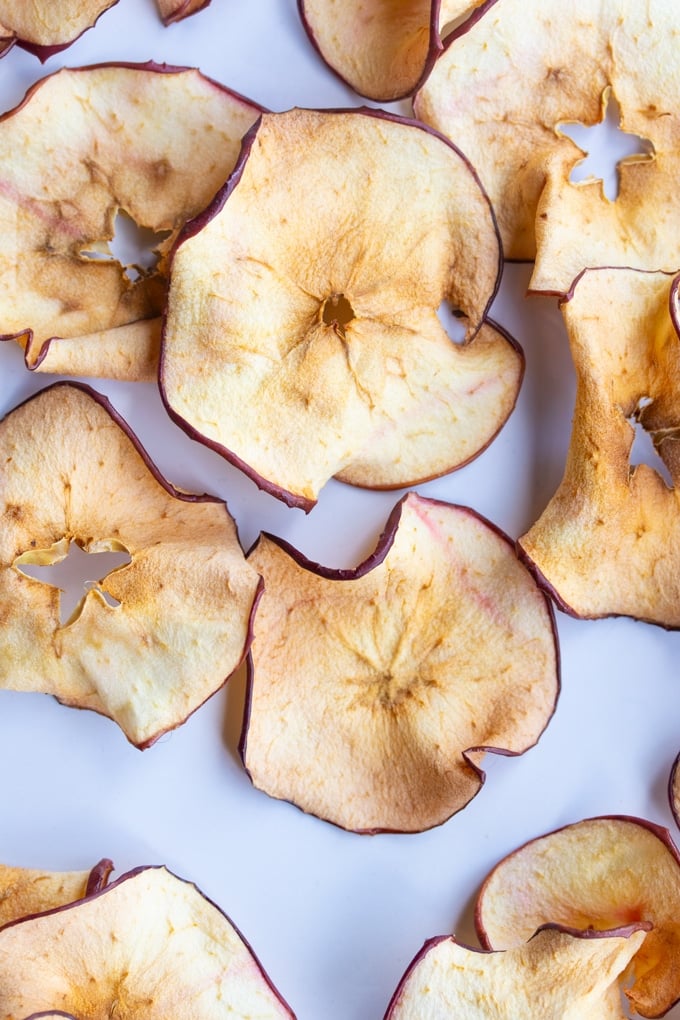
- The finished apples are nice and crispy, not chewy. Seriously, you can hear the crunch when you take a bite.
- It’s cheap! I like to use red and delicious apples to make my apple chips. They are pretty cheap and yummy.
In order to make this recipe you will need the following tools:
- An Air Fryer
- A Mandolin
- A low metal rack to cover the apple chips to stop them from flying around. I use the one in the accessory kit.
How to Make Apple Chips in an Air Fryer
First, you’ll prepare the apples. I use a mandolin on the thinest setting (2.5mm) to slice my apple chips quite thinly. This is one of those recipes that you’ll need a mandolin. If you can slice an apple as thin as a mandolin can than I’m truly impressed. I cannot.
I don’t worry about peeling or coring the apple, you want the skin on them and somehow, after slicing with a mandolin, the seeds kind of just fall out anyway.
If you don’t have a mandolin, your slices may be slighly thicker and you will need to adjust the cook time a bit.
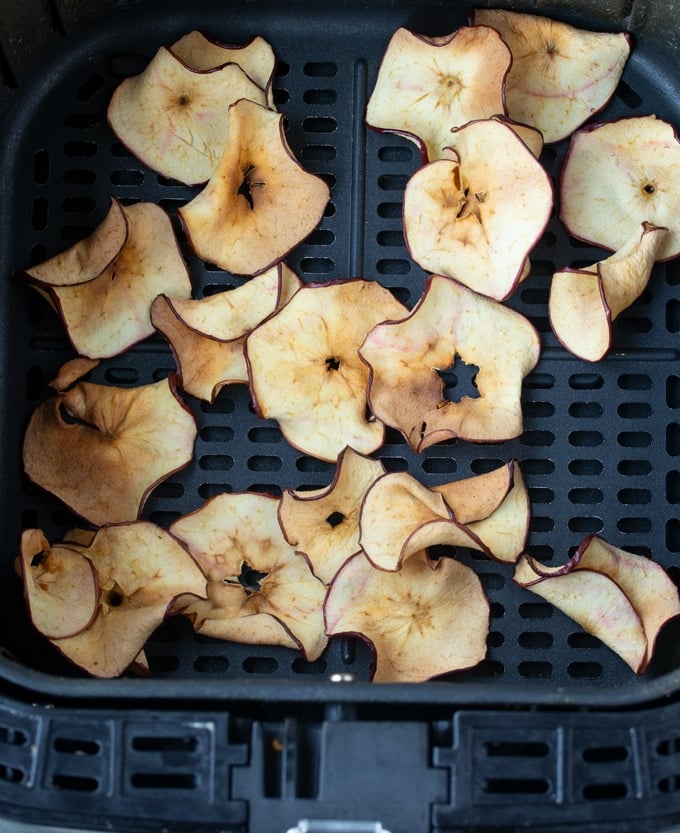
Place your apples in the air fryer basket, trying your best to get them in a single layer. Depending on the size of your Air Fryer, there may be some overlap. That’s ok as we are going to rotate the apple slices during air frying.
Place the rack over the apples so that they don’t fly up into the fan while they are air frying.
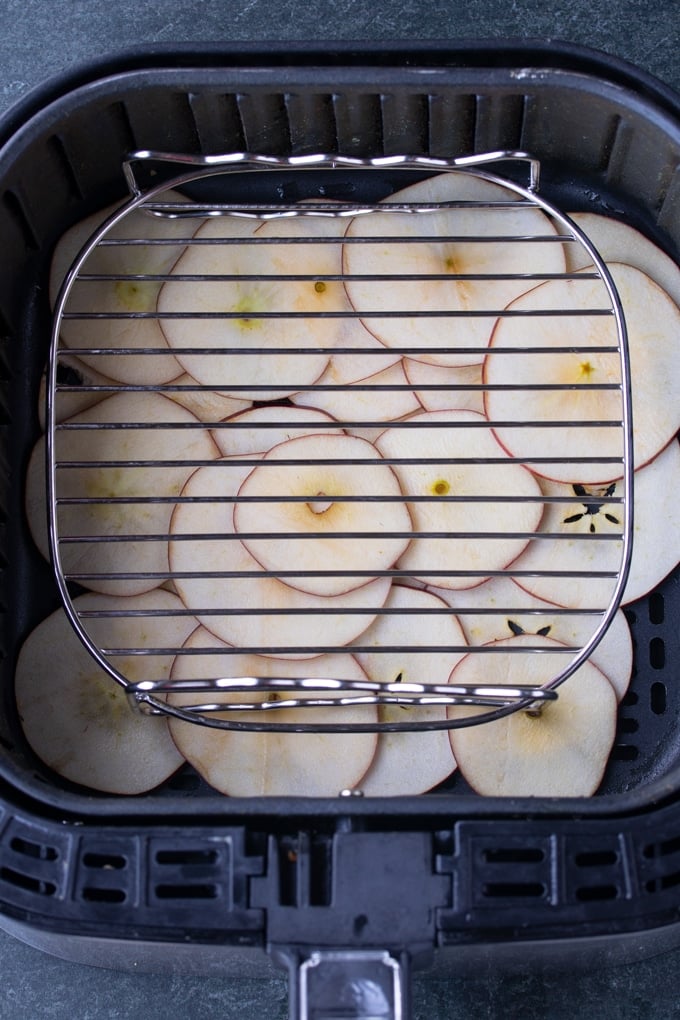
Close your Air Fryer basket and set it on 300 degrees Fahrenheit for 16 minutes. About every 5 minutes, open the basket and flip and rotate the apples.
Once your timer is done, the apple slices will not feel crisp but hardened, with a little flexibility. Remove the apples from the Air Fryer basket and lay them on a plate. Allow them to cool for 5-10 minutes and they will crisp up.
You can eat these as is or add a sprinkle of cinnamon if you like. I truly just eat these as is without anything added and they are simply amazing.
Need a recipe for Apple Chips baked in an oven?
Here’s an oven baked apple chips recipe to follow.
Recipe Notes and Tips:
- I usually stick to one apple for this recipe in order not to overlap my apple slices too much. I’ve also done it with two smaller sized apples.
- The apple chips can be stored in an airtight container. However, they are usually gone as soon as they are cooled. They are pretty addictive.
- Store or eat the apple chips as soon as they crisp up. If you leave them in the air for too long, they will soften again.
Looking for more snack recipes to make in your Air Fryer? Try these out:
Источник
Apple Chips
:max_bytes(150000):strip_icc()/leah-maroney-bw-final-b4464c5d3a454432bbd23ca62ee88b77.jpg)
:max_bytes(150000):strip_icc()/apple-chips-5082604-06-0b78bcd12516432888b4704943802d6b.jpg)
The Spruce / Leah Maroney
| Nutrition Facts (per serving) | |
|---|---|
| 197 | Calories |
| 0g | Fat |
| 52g | Carbs |
| 1g | Protein |
×
| Nutrition Facts | |
|---|---|
| Servings: 2 | |
| Amount per serving | |
| Calories | 197 |
| % Daily Value* | |
| Total Fat 0g | 1% |
| Saturated Fat 0g | 0% |
| Cholesterol 0mg | 0% |
| Sodium 9mg | 0% |
| Total Carbohydrate 52g | 19% |
| Dietary Fiber 6g | 20% |
| Total Sugars 44g | |
| Protein 1g | |
| Vitamin C 10mg | 51% |
| Calcium 21mg | 2% |
| Iron 0mg | 2% |
| Potassium 242mg | 5% |
| *The % Daily Value (DV) tells you how much a nutrient in a food serving contributes to a daily diet. 2,000 calories a day is used for general nutrition advice. | |
Baked apple chips are crunchy, sweet, and perfect for satisfying all of your chip cravings, without any of the guilt. Since they’re baked, there’s no oil, so the calories are significantly less. Kids and adults will enjoy snacking on these crispy delights.
You can use any kind of apple you like. We found firm and slightly sweet apples work best. Macouns, cortlands, and McIntosh apples are great choices. If you’re looking for a sweeter apple you can use fuji or gala. They couldn’t be easier to make! Our plain recipe involves just one ingredient, apples!
Enjoy them on their own or use them as a chip for sweet dips like caramel dip or sweet pumpkin dip. You can also serve them on a salad in place of croutons. for a nice crunchy bite.
Источник
Make Crispy Apple Chips Without A Dehydrator
This post may contain affiliate links.
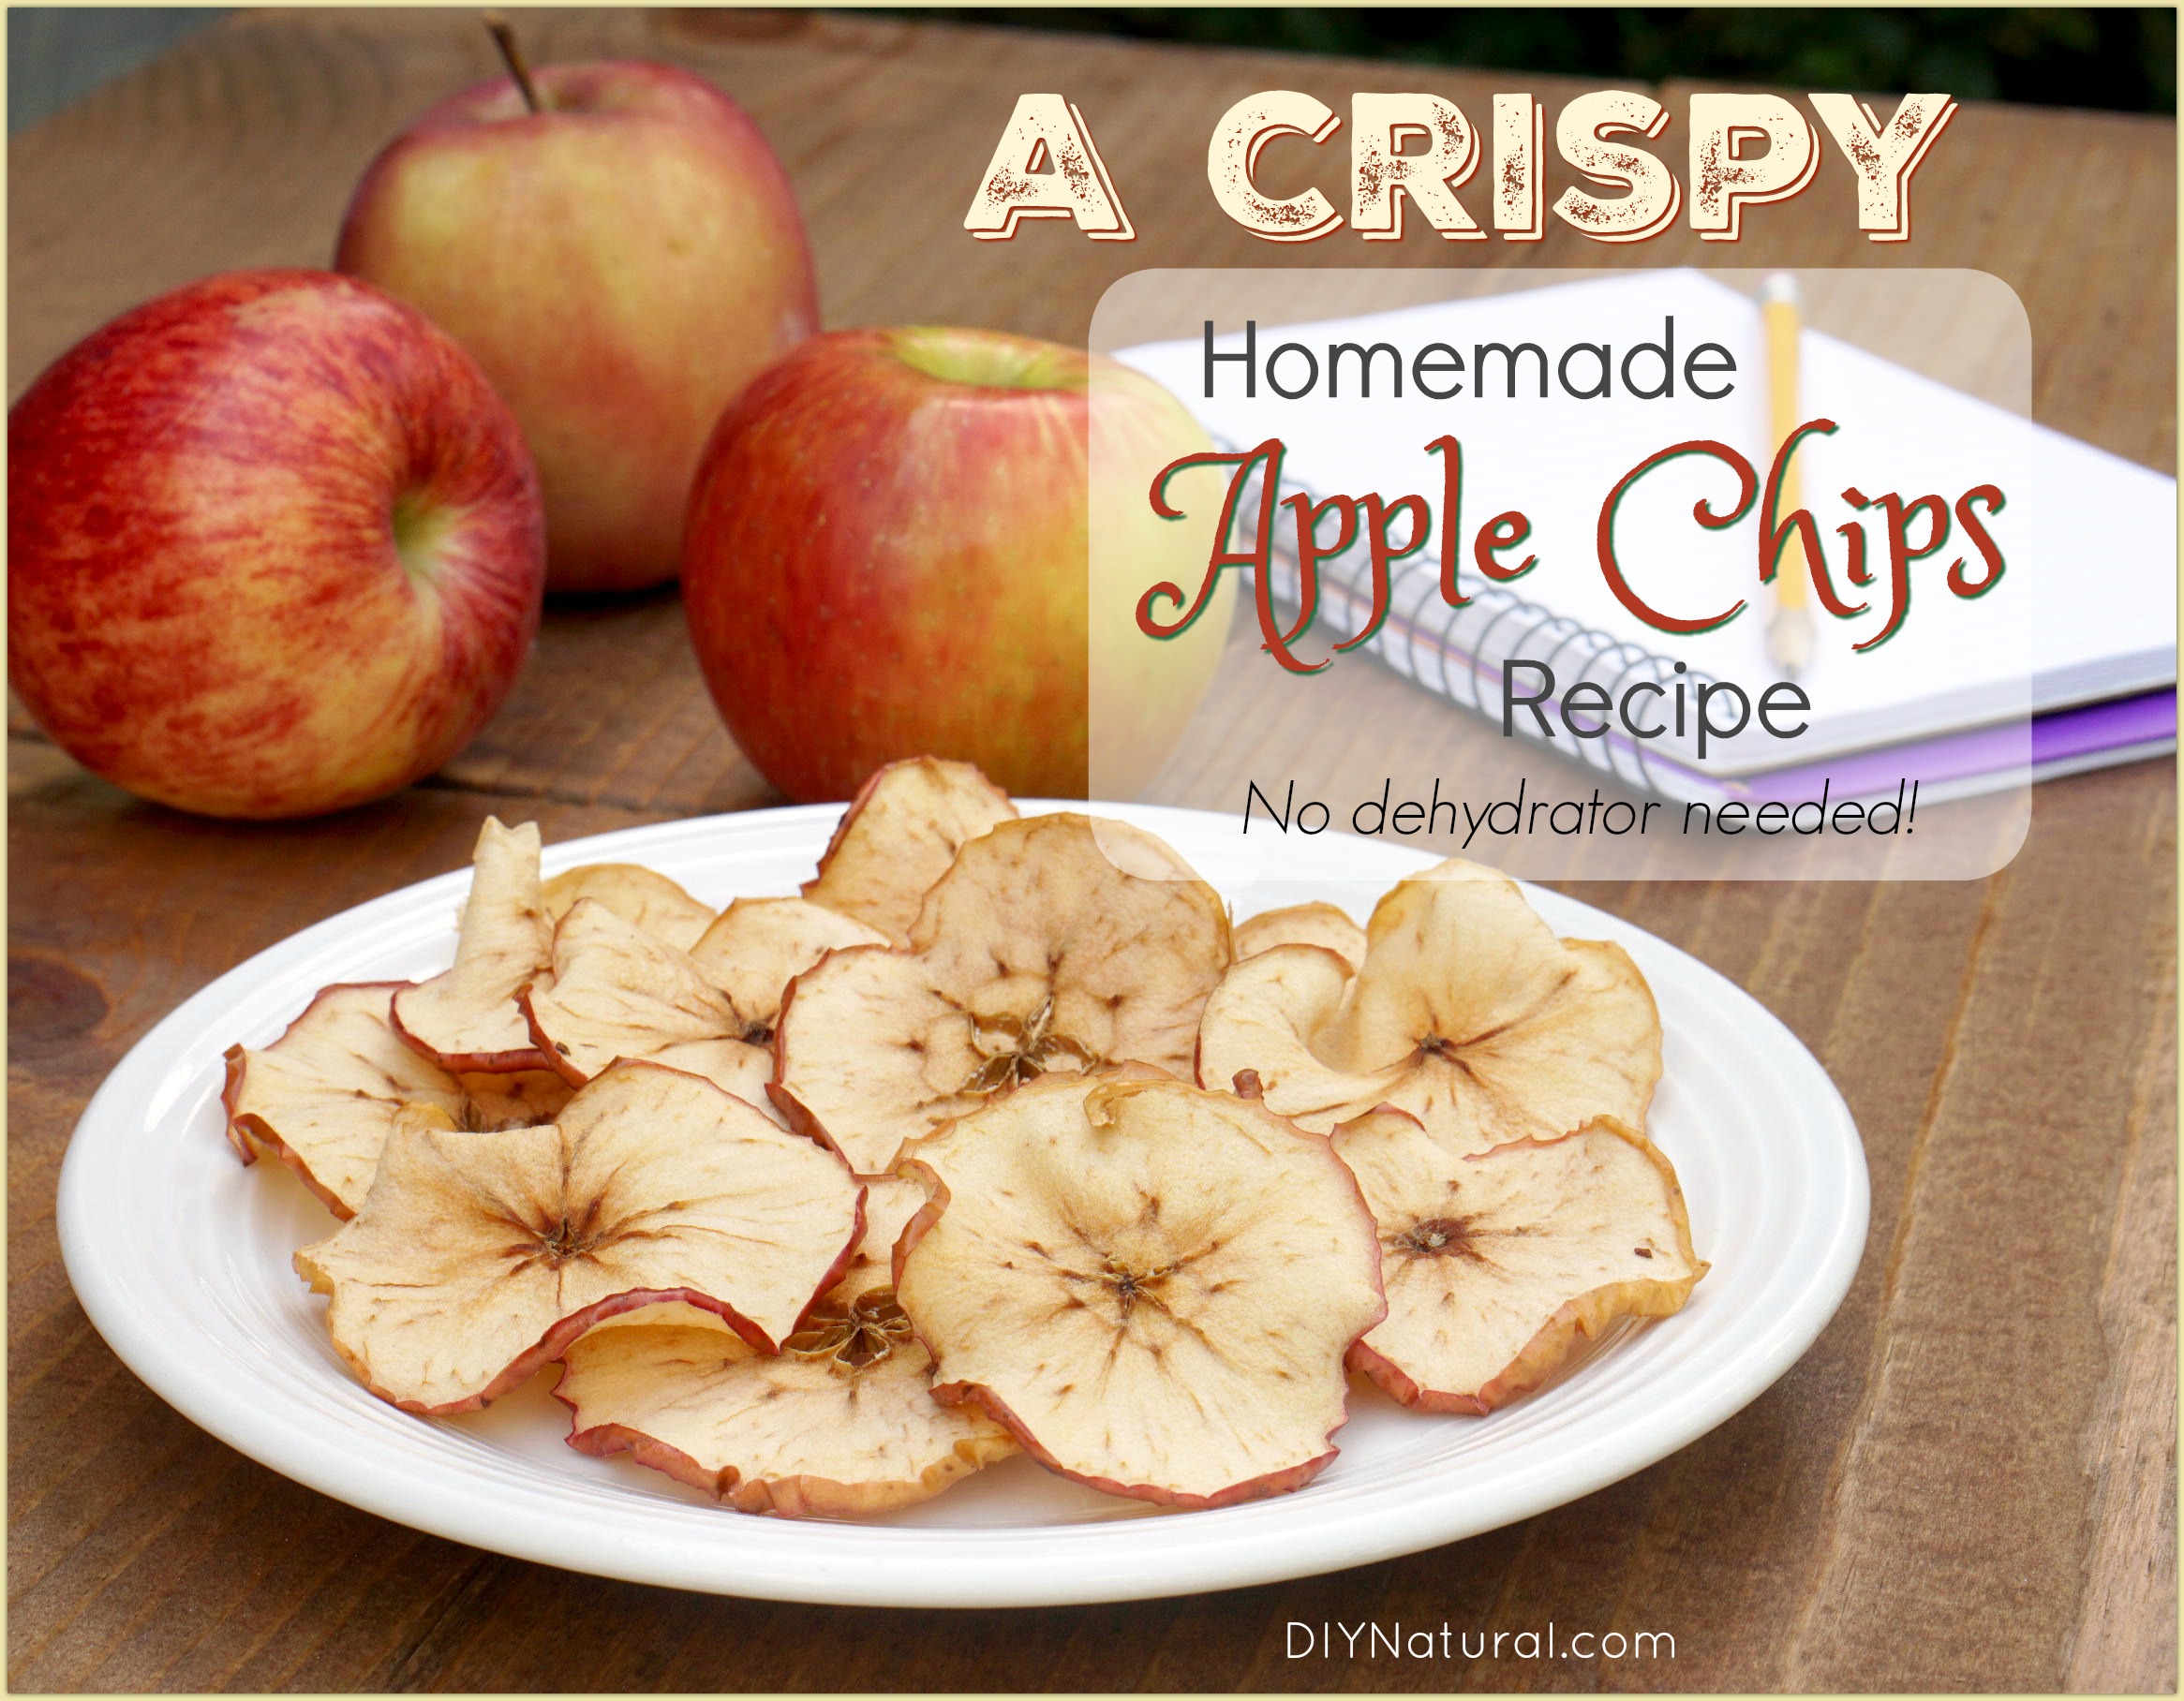
Apple Chips Recipe: A Crispy Success Story!
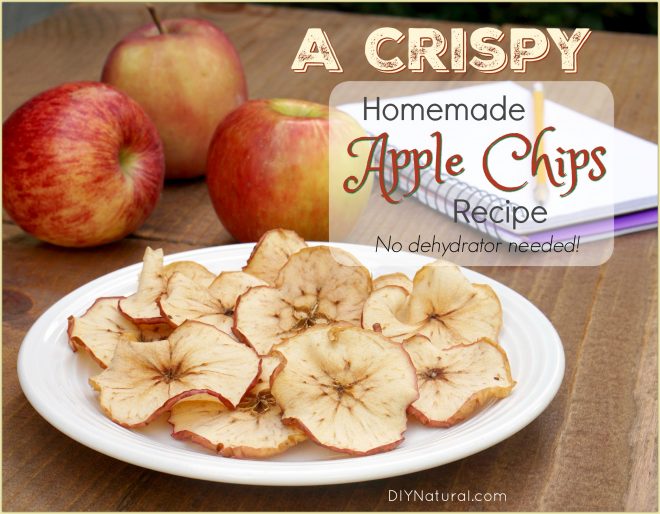
I was ecstatic when I first learned that you can make apple chips at home in the oven. Store bought apple chips were quite the treat. But their cost, and knowing they probably weren’t much better for you than regular chips, kept us from indulging often. Being able to make them at home, without any added unhealthy ingredients, meant we could enjoy apple chips more than just occasionally. They could be a go-to crunchy snack!
Have you tried an apple chips recipe before and failed?
The first time I made apple chips in the oven, I burnt those babies to a crisp. Oops!
The second time I was more careful, and they turned out great! We happily munched on them as they cooled from the oven, and left the remaining chips out on a plate for snacking. Imagine our surprise when we returned to the chips later that day, only to find them flimsy and rubbery. What.
Sad Truth About Store Bought Apple Chips
If you’ve ever dehydrated fruit, then you know that getting the “store-bought” texture on your dried fruit or chips can be tricky. It opens up the big question: “How do they keep it crispy like that?”
Most of the time I don’t like the answer.
How DO those store bought apple chips hold their crisp for SO LONG? Those little crisps that are supposedly a healthy snack are typically dried, fried, or popped with oil and added sweetener (corn syrup) to help them keep their crunch and addictive sweetness.
Tips For CRISPY Homemade Apple Chips
I wasn’t ready to throw in the towel just yet. After much trial and error, I came up with some guidelines that successfully give me crispy, healthful apple chips.
Pick your day
If you can, make your apple chips on a dry day with low humidity. Humidity is moisture in the air, and apple chips love to suck the moisture from the air just as you think you’ve gotten them dried to a crisp.
Low and slow
While you don’t need a dehydrator to dry your apples to a crisp, you do need to dry them slowly in the oven. 225°F is a good temperature that is low, but not so low that your apple chips take all day.
At this low temperature, it will take about 3 hours for chips to dry.
Practice those knife skills!
Your apple chips will dry out faster if apples are thinly sliced. Slices should be no more than ⅛ of an inch – thinner than this is even better.
Using a mandoline slicer is a great way to get even slices, but if you don’t have a mandoline or your mandoline won’t slice thin enough, you can easily slice the apples by hand.
When slicing the apples by hand, I like to cut the apple in half, vertically. Then I can place the cut side on the cutting board, and slice away. A half apple is much more stable and easy to slice.
If you have some slices that are thinner or thicker than others, be sure to watch the chips as they get close to the end of their baking time. Thinner slices will take less time to crisp up, while thicker slices will take longer.
Give chips their space
Air flow is important when making apple chips, so you want to place apples on a baking sheet in a single layer. They won’t try as quickly and evenly if overlapping.
Flipping the apples every hour or so releases them from the baking sheet and allows for better air flow on both sides. This helps apples dry out evenly, rather than from one direction.
Store them well
When apple chips are removed from the oven, they should feel dry and rubbery, but still be slightly bendy. They will crisp up as they cool.
Apple chips are great eaten right out of the oven once they’re cool. But leftovers should be placed into an airtight container right away. Particularly if you are making your apple chips on a humid day, chips should be exposed to as little humidity from the air as possible. Storing them in an air-tight container will ensure that you have crispy apple chips for days to come…. if they last that long!
Picking your apples
I have made apple chips out of many kinds of apples. Nearly any sweet, crisp apple works nicely. Red Delicious, Pink Lady, Honey Crisp, Gala, and Fuji are some of our favorites.
Apple Chips Recipe: Baked and Crispy
Cook Time: 3 hours
Ingredients
- apples (pick your favorite crisp, sweet apple)
- cinnamon for topping, optional (find organic cinnamon here)
Instructions
- Preheat oven to 225°F.
- Slice apples ⅛ of an inch or thinner using a sharp knife or mandoline slicer. (Find a safe mandoline slicer here.)
- Place apple slices in a single layer on a baking sheet that has been lined with parchment paper or a baking mat (like this). Sprinkle slices lightly with optional cinnamon.
- Bake apples for 3 hours, flipping the slices every hour.
- After 3 hours, the slices should look and feel dry. If not, continue baking, checking for dryness every half hour.
- Remove dry slices from the oven and cool on a wire rack for 5-10 minutes, until completely cool and crisp.
- The apple chips can be eaten immediately. If storing, place cooled apple chips immediately into an airtight container to help them retain their crispness.
If apple chips lose their crispness: Place in a low oven, 150°-170°F for 10-15 minutes. Turn oven off and allow chips to cool in the oven.
Have you ever made apple chips that turned out well? If so, what tips can you share?
![]()
About Sarah Ozimek
Sarah is a writer, recipe developer, traveler, gardener, and lover of (almost) all things outdoors. Together with her husband Tim, she writes the blog Curious Cuisiniere where they explore world cuisines and cooking using real ingredients and tried and true methods, the way our ancestors have done for ages. Connect with Sarah on Instagram, Facebook, and Twitter.
PAID ENDORSEMENT DISCLOSURE: In order for us to support our website activities, we may receive monetary compensation or other types of remuneration for our endorsement, recommendation, testimonial and/or link to any products or services from this website.
DISCLAIMER: Information on DIY Natural™ is not reviewed or endorsed by the FDA and is NOT intended to be substituted for the advice of your health care professional. If you rely solely upon this advice you do so at your own risk. Read full Disclaimer & Disclosure statements here.
More Posts You’ll Love
Three Healthy Homemade Gummy Bears Recipes
This homemade gummy bears recipe is a delicious, healthy snack! They’re simple to make and they contain no unhealthy chemical ingredients.
Water Glassing Eggs to Preserve Them for Years!
Water glassing eggs is a simple process of preserving eggs in lime water. Store in the pantry for up to 2 years and use as if they were fresh.
Fermented Vegetables: Simple and Probiotic-Rich!
At first, I was intimidated to make fermented vegetables but then I discovered that fermenting all veggies is as simple as making sauerkraut.
Comments
![]() Dolores says
Dolores says
Interested in the source for “Weston Roll of Nylon Mesh Netting Screen” to use for Dehydrating Apple Chips submitted to Sarah Ozimek’s website by Rosie onSept13, 2016. Thank you.
![]() Sarah Ozimek says
Sarah Ozimek says
Hi Dolores, I believe you can get the netting that Rosie was talking about from Amazon: https://www.diynatural.com/go/amazon.php?asin=B00271F6UY
Hope this helps!
![]() Sheryl Brazier says
Sheryl Brazier says
Have you tried drying bananas in the oven? How did they do
![]() Sarah Ozimek says
Sarah Ozimek says
Hi Sheryl! I have tried drying bananas, but they haven’t turned out as well as I would like. Bananas are tricky! I’m still hoping to perfect the technique though, so hopefully I will have something to share down the road.
If anyone has tips on drying bananas, I’d love to hear them!
![]() Rosie says
Rosie says
Overview of Weston Roll Of Nylon Mesh Netting Screen 13.5″ X 63″ , Model# 78-0201-W
You’re viewing our Weston roll of nylon mesh netting screen — 13.5″ x 63″. Our food dehydrator netting roll is 13.5″ wide and 63″ long, washable and reusable nylon mesh netting that can be easily custom sized into desired lengths. Cut to fit your dehydrator trays and see how much easier your dehydrating experience becomes! Weston’s dehydrator netting is ideal when drying vegetables and fruit, keeping smaller food items from falling through dehydrator racks. Can safely be used at temperatures up to 175° F.
If you have questions about our products we are here to help you. Scroll down to view our Weston roll of nylon mesh netting screen — 13.5″ x 63″.
Features:
Perfect for placing on dehydrator trays when drying small items that would otherwise fall through.
The non-stick netting makes cleanup a breeze!
Allows complete air flow around your food. Solid sheets, trays, and waxed paper block air from drying the underside of your food.
Can safely be used at temperatures up to 175° F.
Compatible with most dehydrators with similar rack dimensions. Simply cut to fit your dehydrator tray size.
Made out of Polypropylene. 1/4″ holes
Specifications:
Dimensions: 2.5″L, 5″W, 18.5″H
Weight: 1.0 lbs
I am going to make some and try using my dehdrating mesh in the oven.
![]() Sarah Ozimek says
Sarah Ozimek says
Thanks for sharing this resource Rosie!
![]() deb says
deb says
I picked up a set of wood framed screen racks at a thrift store with no directions. I tried it out with several fruits, for a longer period of time. Too crisp- nobody could eat them! I’ll give this a try! Have you dried fruit other than apples with the oven method?
![]() Sarah Ozimek says
Sarah Ozimek says
Hi Deb. You do have to watch the fruit carefully, particularly towards the end of drying time. It can dry quickly! We have dried mangoes and pineapples using this method as well. Enjoy!
![]() Bethany says
Bethany says
I have the same question as Annette. My first thought when reading the recipe was, “If I put them on wire racks on the baking sheets, I wouldn’t have to turn them.”
Please let us know why you chose not to do that.
Thank you!
![]() Sarah Ozimek says
Sarah Ozimek says
Hi Bethany. If you have a wire rack that you can put on a baking sheet, that would work quite well for increased circulation. They might even dry out a little faster! As I mentioned above, it’s all personal preference and what you have in your cupboard!
I hope you enjoy the chips!
![]() Annette says
Annette says
I love this and will try today but have a question:
What is the reason apple slices are placed directly on baking sheet and not on wire rack which would allow circulation?
![]() Heather F says
Heather F says
Good question, I was just thinking the same thing. I think I’m going to try them with a wire rack.
![]() Sarah Ozimek says
Sarah Ozimek says
Hi Anette and Heather. A wire rack would work perfectly! The chips might even dry out and crisp up more quickly because of the increased circulation.
We simply don’t have an oven-safe wire rack with grates that are close enough together to not worry about the apple slices sliding off. And, I’d rather not put the apple slices directly on our oven racks. It’s all personal preference.
I hope you enjoy them!
![]() Rosie says
Rosie says
You can purchase dehydrating mesh that you can use in your oven to dehydrate. I purchased a roll of it and cut it to the sizes I needed. The squares are very small.
![]() Sarah Ozimek says
Sarah Ozimek says
That’s a great idea Rosie! Thanks for sharing!
![]() Susan says
Susan says
I just did them on wire racks in the oven (my old traditional “cooling” racks) and it worked great… didn’t need to flip them… I did them longer in the oven at a lower temperature. Would definitely do this again. They’re delicious!
![]() Sarah Ozimek says
Sarah Ozimek says
Great to hear that you enjoyed these Susan!
About Matt & Betsy

Matt and Betsy are passionate about living naturally and building a like-minded community focused on the sustainable lifestyle.
DIY Natural is about rediscovering the traditional value of doing things yourself, doing them naturally, and enjoying the benefits. Welcome to the movement! (read more)
Источник


