- Пишем первое приложение для Android
- Установка необходимых программ и утилит
- Запуск виртуального устройства
- Список устройств
- Создание проекта
- Структура проекта
- Первые строки
- Square.java
- Player.java
- Game.java
- Определение победителя
- WinnerCheckerHorizontal.java
- WinnerCheckerVertical.java
- WinnerCheckerDiagonalLeft.java
- WinnerCheckerDiagonalRight.java
- Видео готового приложения
- Developer guide
- Prerequisites
- Work profiles
- Key features of a work profile
- Work profile benefits on Android 5.0+
- Considerations for work profiles
- Prevent intents from failing between profiles
- Share files across profiles
- Implement managed configurations
- Best practices for implementing managed configurations
- When first launching the app
- Listen for changes to managed configurations
- Dedicated devices
- Set up single sign-on with Chrome custom tabs
- Requirements
- How do I implement SSO with custom tabs?
- Test your app
- Use Test DPC to test your Android app
- Provision a work profile
- Provision a fully managed device
- End-to-end testing
Пишем первое приложение для Android
В любом деле самое сложное — это начало. Часто бывает тяжело войти в контекст, с чем столкнулся и я, решив разработать свое первое Android-приложение. Настоящая статья для тех, кто хочет начать, но не знает с чего.
Статья затронет весь цикл разработки приложения. Вместе мы напишем простенькую игру “Крестики-Нолики” с одним экраном (в ОС Android это называется Activity).
Отсутствие опыта разработки на языке Java не должно стать препятствием в освоении Android. Так, в примерах не будут использоваться специфичные для Java конструкции (или они будет минимизированы на столько, на сколько это возможно). Если Вы пишете, например, на PHP и знакомы с основополагающими принципами в разработке ПО, эта статья будет вам наиболее полезна. В свою очередь так как, я не являюсь экспертом по разработке на Java, можно предположить, что исходный код не претендует на лейбл “лучшие практики разработки на Java”.
Установка необходимых программ и утилит
Перечислю необходимые инструменты. Их 3:
- JDK — набор для разработки на языке Java;
- Android SDK and AVD Manager — набор утилит для разработки + эмулятор;
- IDE c поддержкой разработки для Android:
- Eclipse + ADT plugin;
- IntelliJ IDEA Community Edition;
- Netbeans + nbandroid plugin;
Утилиты устанавливаются в определенном выше порядке. Ставить все перечисленные IDE смысла нет (разве только если Вы испытываете затруднения с выбором подходящей). Я использую IntelliJ IDEA Community Edition, одну из самых развитых на данный момент IDE для Java.
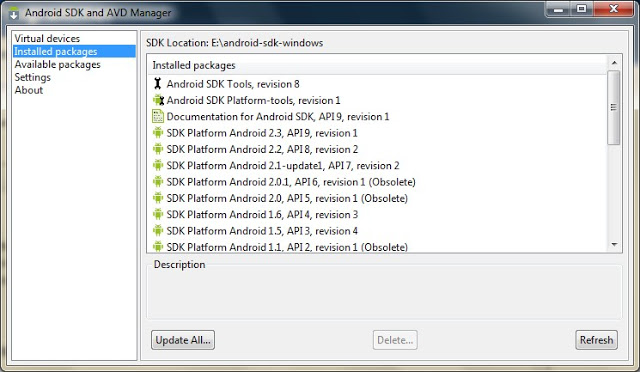
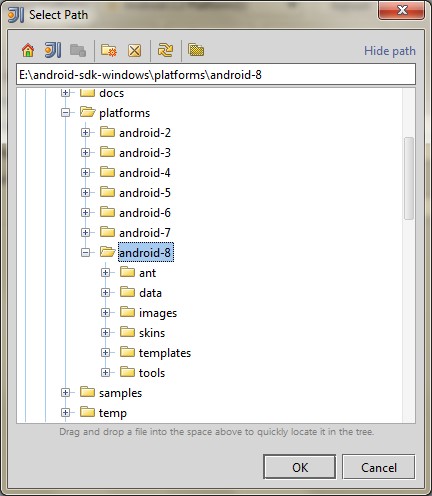
Запуск виртуального устройства
Запустив AVD Manager и установив дополнительные пакеты (SDK различных версий), можно приступить к созданию виртуального устройства с необходимыми параметрами. Разобраться в интерфейсе не должно составить труда.
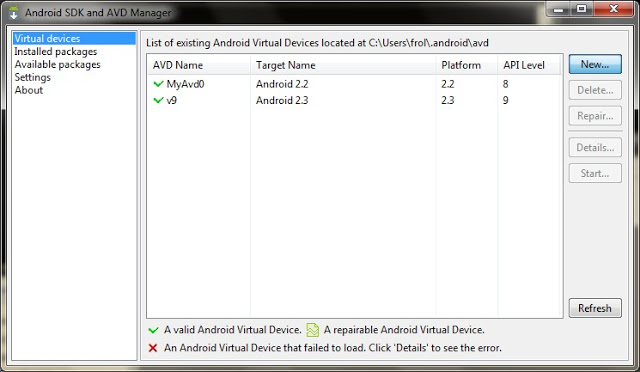
Список устройств
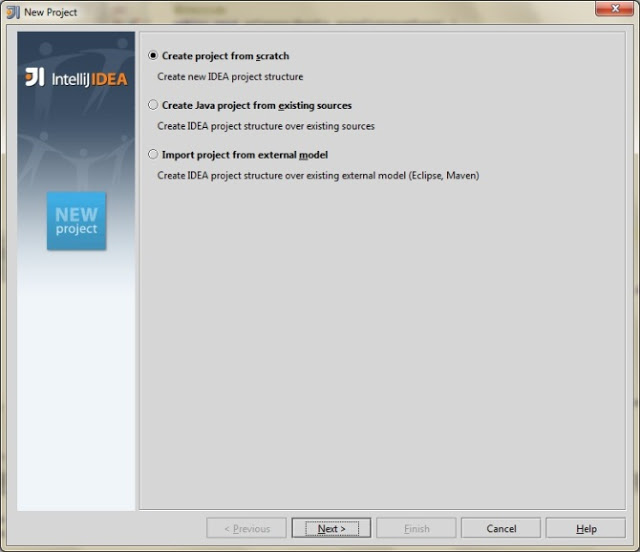
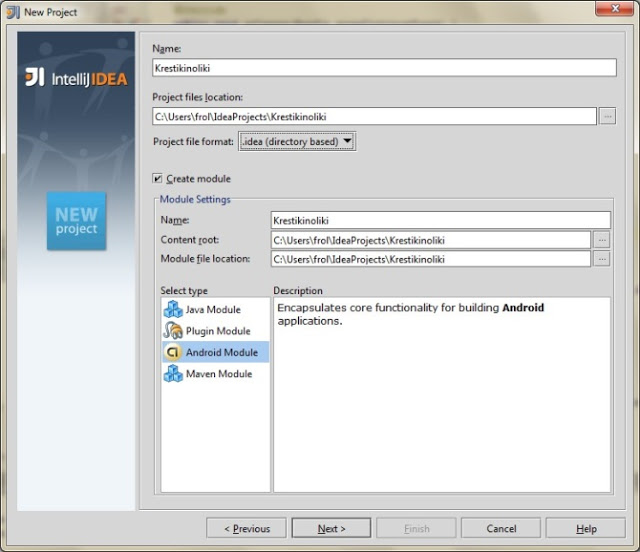
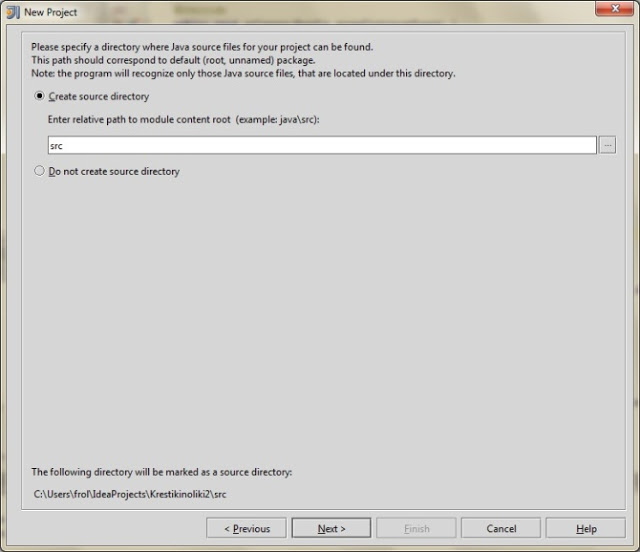
Создание проекта
Мне всегда не терпится приступить к работе, минимизируя подготовительные мероприятия, к которым относится создание проекта в IDE, особенно, когда проект учебный и на продакшн не претендует.
Итак, File->New Project:


По нажатию кнопки F6 проект соберется, откомпилируется и запустится на виртуальном девайсе.
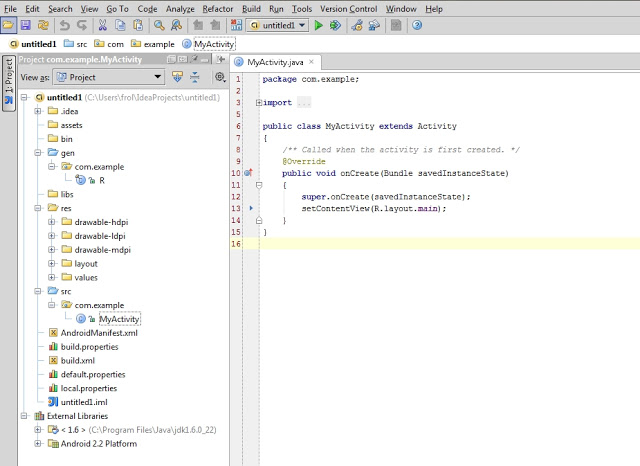
Структура проекта
На предыдущем скриншоте видна структура проекта. Так как в этой статье мы преследуем сугубо практические цели, заострим внимание лишь на тех папках, которые будем использовать в процессе работы. Это следующие каталоги: gen, res и src.
В папке gen находятся файлы, которые генерируются автоматически при сборке проекта. Вручную их менять нельзя.
Папка res предназначена для хранения ресурсов, таких как картинки, тексты (в том числе переводы), значения по-умолчанию, макеты (layouts).
src — это папка в которой будет происходить основная часть работы, ибо тут хранятся файлы с исходными текстами нашей программы.
Первые строки
Как только создается Activity (экран приложения), вызывается метод onCreate(). IDE заполнила его 2 строчками:
Метод setContentView (равносильно this.setContentView) устанавливает xml-макет для текущего экрана. Далее xml-макеты будем называть «layout», а экраны — «Activity». Layout в приложении будет следующий:
Для этого приложения идеально подойдет TableLayout. Id можно присвоить любому ресурсу. В данном случае, TableLayout присвоен При помощи метода findViewById() можно получить доступ к виду:
Теперь необходимо реализовать метод buildGameField(). Для этого требуется сгенерировать поле в виде матрицы. Этим будет заниматься класс Game. Сначала нужно создать класс Square для ячеек и класс Player, объекты которого будут заполнять эти ячейки.
Square.java
Player.java
Все классы нашего приложения находятся в папке src.
Game.java
Инициализация Game в конструкторе KrestikinolikiActivity.
Метод buildGameField() класса KrestikinolikiActivity. Он динамически добавляет строки и колонки в таблицу (игровое поле):
В строке 8 создается объект, реализующий интерфейс View.OnClickListener. Создадим вложенный класс Listener. Он будет виден только из KrestikinolikiActivity.
Осталось реализовать логику игры.
Определение победителя
К. О. подсказывает, что в крестики-нолики выирывает тот, кто выстроет X или O в линию длиной, равной длине поля по-вертикали, или по-горизонтали, или по-диагонали. Первая мысль, которая приходит в голову — это написать методы для каждого случая. Думаю, в этом случае хорошо подойдет паттерн Chain of Responsobility. Определим интерфейс
Так как Game наделен обязанностью выявлять победителя, он реализует этот интерфейс. Настало время создать виртуальных «лайнсменов», каждый из которых будет проверять свою сторону. Все они реализует интерфейс WinnerCheckerInterface.
WinnerCheckerHorizontal.java
WinnerCheckerVertical.java
WinnerCheckerDiagonalLeft.java
WinnerCheckerDiagonalRight.java
Проинициализируем их в конструкторе Game:
Победителя проверяем после каждого хода. Добавим кода в метод onClick() класса Listener
Метод gameOver() реализован в 2-х вариантах:
Для Java, gameOver(Player player) и gameOver() — разные методы. Воспользовавшись Builder’ом Toast.makeText, можно быстро создать и показать уведомление. refresh() обновляет состояние поля:
Готово! Надеюсь, эта статья помогла Вам освоиться в мире разработки под OS Android. Благодарю за внимание!
Видео готового приложения
PS: статья была опубликована по просьбе комментаторов этого поста.
Источник
Developer guide
Android’s enterprise features provide organizations with a secure, flexible, and unified Android mobility platform—combining devices, applications, and management. Android apps are compatible with Android’s enterprise features by default. However, there are additional features you can use to make your app work best on managed Android devices:
- Work profile compatibility—Modify your Android app so it functions best on a managed device.
- Managed configurations—Modify your app to allow IT admins the option to specify custom settings for your apps.
- Dedicated devices—Optimize your app so that it can be deployed on an Android device as a kiosk.
- Single Sign-On (SSO)—Simplify the sign-on process for users signing in to different apps on their managed Android device.
Prerequisites
- You’ve created an Android app.
- You’re ready to modify your app so that it works best for organizations.
- Minimum version: Android 5.0 Lollipop recommended version: Android 6.0 Marshmallow and later.
Note: Android’s enterprise features are built into most Android 5.0 devices; however, Android 6.0 and later offers additional features, especially with regard to dedicated devices.
Work profiles
You can manage a user’s business data and applications through a work profile. A work profile is a managed corporate profile associated with the primary user account on an Android device. A work profile securely isolates work apps and data from personal apps and data. This work profile is in a separate container from the personal profile, which your user controls. These separate profiles allow organizations to manage the business data they care about, but leave everything else on a user’s device under the user’s control. For a deep dive into best practices, see the Work profiles guide. For an overview of those best practices, see below.
Key features of a work profile
- Separate and secure profile
- Managed Google Play for application distribution
- Separate badged work applications
- Profile-only management capabilities controlled by an admin
Work profile benefits on Android 5.0+
- Full device encryption
- One Android application package (APK) for both profiles when there’s a personal profile and a work profile present on the device
- Device policy controller (DPC) is limited to the work profile
- Device administration via the DevicePolicyManager class
Considerations for work profiles
- The Android system prevents intents from crossing profiles and IT admins can enable or disable system apps.
- A file path (Uniform Resource Identifier [URI]) that’s valid on one profile may not be valid on the other.
Prevent intents from failing between profiles
It’s difficult to know which intents can cross between profiles, and which ones are blocked. The only way to know for sure is by testing. Before your app starts an activity, you should verify that the request is resolved by calling Intent.resolveActivity() .
- If it returns null , the request doesn’t resolve.
- If it returns something, it shows that the intent resolves, and it’s safe to send the intent.
Note: For detailed testing instructions, see Prevent Failed Intents.
Share files across profiles
Some developers use URIs to mark file paths in Android. However, because there are separate file systems when a work profile is present, we recommend:
| Use: Content URIs |
|
| Don’t use: File URI |
|
Next steps: Once your app supports managed profiles, test it in a work profile. See Test your app.
Implement managed configurations
Managed configurations are a set of instructions that IT admins can use to manage their users’ mobile devices in a specific way. These instructions are universal and work across any EMM, allowing admins to remotely configure applications on their users’ phones.
If you’re developing apps for business or government, you may need to satisfy your industry’s specific set of requirements. Using managed configurations, the IT admin can remotely specify settings and enforce policies for their users’ Android apps; for example:
- Configure if an app can sync data via cellular/3G, or only Wi-Fi
- Allow or block URLs on a web browser
- Configure an app’s email settings
- Enable or disable printing
- Manage bookmarks
Best practices for implementing managed configurations
The Set up Managed Configurations guide is the key source for information on how to build and deploy managed configurations. After you’ve reviewed this documentation, see recommendations below for additional guidance.
When first launching the app
As soon as you launch an application, you can see if managed configurations are already set for this app in onStart() or onResume() . Additionally, you can find out if your application is managed or unmanaged. For example, if getApplicationRestrictions() returns:
- A set of application-specific restrictions—You can configure the managed configurations silently (without requiring user input).
- An empty bundle—Your application acts like it’s unmanaged (for example, how the app behaves in a personal profile).
- A bundle with a single key value pair with KEY_RESTRICTIONS_PENDING set to true—your application is being managed, but the DPC isn’t configured correctly. You should block this user from your app, and direct them to their IT admin.
Listen for changes to managed configurations
IT admins can change managed configurations and what policies they want to enforce on their users at any time. Because of this, we recommend you ensure that your app can accept new restrictions for your managed configuration as follows:
- Fetch restrictions on launch—Your app should call getApplicationRestrictions() in onStart() and onResume() , and compare against old restrictions to see if changes are required.
- Listen while running—Dynamically register ACTION_APPLICATION_RESTRICTIONS_CHANGED in your running activities or services, after you’ve checked for new restrictions. This intent is sent only to listeners that are dynamically registered, and not to listeners declared in the app manifest.
- Unregister while not running—In onPause() , you should unregister for the broadcast of ACTION_APPLICATION_RESTRICTIONS_CHANGED .
Dedicated devices
Dedicated devices are kiosk devices used for a single purpose, such as digital signage displays, ticket printing kiosks, or checkout registers.
When an Android device is configured as a dedicated device, the user sees an application locked to the screen with no Home or Recent Apps buttons to escape the app. Dedicated devices can also be configured to show a set of applications, such as a library kiosk with an app for the library catalog and a web browser.
Set up single sign-on with Chrome custom tabs
Enterprise users often have multiple apps on their device, and they prefer to sign in once to access all of their work applications. Typically, users sign in through a WebView; however, there are a couple reasons why this isn’t ideal:
- Users often need to sign in multiple times with the same credentials. The WebView solution often isn’t a true Single Sign-On (SSO) experience.
- There can be security risks, including malicious applications inspecting cookies or injecting JavaScript® to access a user’s credentials. Even trusted developers are at risk if they rely on potentially malicious third-party SDKs.
A solution to both problems is to authenticate users using browser Custom Tabs, instead of WebView. This ensures that authentication:
- Occurs in a secure context (the system browser) where the host app cannot inspect contents.
- Has a shared cookie state, ensuring the user has to sign in only once.
Requirements
Custom Tabs are supported back to API level 15 (Android 4.0.3). To use Custom Tabs you need a supported browser, such as Chrome. Chrome 45 and later implement this feature as Chrome Custom Tabs.
How do I implement SSO with custom tabs?
Google has open sourced an OAuth client library that uses Custom Tabs, contributing it to the OpenID Connect working group of the OpenID Foundation. To set up Custom Tabs for SSO with the AppAuth library, see the documentation and sample code on GitHub.
Test your app
After you’ve developed your app, you’ll want to test it—both in a work profile and on a fully managed device. See the instructions below.
Use Test DPC to test your Android app
We provide the Test DPC app to help Android developers test their apps in an enterprise environment. Using Test DPC, you can set EMM policies or managed configuration values on a device—as if an organization managed the device using an EMM. To install Test DPC on a device, choose one of the following methods:
- Install Test DPC from GooglePlay.
- Build from the source on GitHub.
For more information on how to configure Test DPC, see the instructions below and the Test DPC User Guide.
Provision a work profile
To test your app in a work profile, you need to first provision a work profile on device using the Test DPC app, as follows:
- Install Test DPC on the device.
- In the Android launcher, tap the Set up Test DPC app icon.
- Follow the onscreen instructions.
- Install your app on the device and test to see how it runs in the work profile.
Android creates a work profile and installs a copy of Test DPC in the work profile. You use this work-badged instance of Test DPC to set policies and managed configurations in the work profile. To learn more about setting up a work profile for development, read the developer’s guide Work profiles.
Provision a fully managed device
Organizations use fully managed devices because they can enforce a full range of management policies on the device. To provision a fully managed device, follow these steps:
- Install Test DPC on the device.
- Confirm that there are no other users or a work profile on the device.
- Confirm that there are no accounts on the device.
- Run the following Android Debug Bridge (adb) command in your terminal:
- Once you’ve completed provisioning the device owner, you can test your app on that device. You should specifically test how managed configurations and intents work on that device.
You can also use other provisioning methods—see the Test DPC User Guide. To learn how IT admins typically enroll and provision Android-powered devices, read Provision devices.
End-to-end testing
After you’ve finished testing your app in the environments above, you’ll likely want to test your app in an end-to-end production environment. This process includes the steps a customer needs to take to deploy your app in their organization, including:
- App distribution through Play
- Server-side managed configuration
- Server-side profile policy control
You need to access an EMM console to complete the end-to-end testing. The easiest way to get one is to request a testing console from your EMM. Once you have access, complete these tasks:
- Create a test version of your application with a new ApplicationId.
- Claim a managed Google domain and bind it to your EMM. If you already have a testing domain that’s bound to an EMM, you may need to unbind it to test it with your preferred EMM. Please consult your EMM for the specific unbinding steps.
- Publish your application to the private channel for their managed Google domain.
- Use the EMM console and EMM application to:
- Set up work devices.
- Distribute your application.
- Set managed configuration.
- Set device policies.
This process will differ based on your EMM. Please consult your EMM’s documentation for further details. Congrats! You’ve completed these steps and verified that your app works well for enterprise users.
Content and code samples on this page are subject to the licenses described in the Content License. Java is a registered trademark of Oracle and/or its affiliates.
Источник


