- Изучаем файл настроек загрузки Mac OS X — com.apple.Boot.plist
- Редактирование файла
- Прописываем параметры загрузки в com.apple.Boot.plist
- com.Apple.boot.plist
- LePresident
- Going Bald
- LePresident
- Going Bald
- nickee812
- totenkopf4
- # Kernel Issues
- # Stuck on [EB|#LOG:EXITBS:START]
- # Booter Issues
- # Kernel Patch Issues
- # AMD Users
- # Intel Users
- # Legacy Intel users
- # UEFI Issues
- # Stuck on EndRandomSeed
- # Stuck after selecting macOS partition in OpenCore
- # Kernel Panic on Invalid frame pointer
- # Stuck on [EB|LD:OFS] Err(0xE) when booting preboot volume
- # Stuck on OCB: LoadImage failed — Security Violation
- # Stuck on OCABC: Memory pool allocation failure — Not Found
- # Stuck on Buffer Too Small
- # Stuck on Plist only kext has CFBundleExecutable key
- # Stuck on This version of Mac OS X is not supported: Reason Mac.
- # Couldn’t allocate runtime area errors
- # Stuck on RTC. , PCI Configuration Begins , Previous Shutdown. , HPET , HID: Legacy.
- # Stuck at ACPI table loading on B550
- # «Waiting for Root Device» or Prohibited Sign error
- # USB Issues
- # SATA Issues
- # Kernel panic with IOPCIFamily on X99
- # Stuck on or near IOConsoleUsers: gIOScreenLock. / gIOLockState (3.
- # Scrambled Screen on laptops
- # Black screen after IOConsoleUsers: gIOScreenLock. on Navi
- # Kernel Panic Cannot perform kext summary
- # Kernel Panic AppleIntelMCEReporter
- # Kernel Panic AppleIntelCPUPowerManagement
- # Kernel Panic AppleACPIPlatform in 10.13
- # macOS frozen right before login
- # Keyboard works but trackpad does not
- # kextd stall[0]: AppleACPICPU
- # Kernel Panic on AppleIntelI210Ethernet
- # Kernel panic on «Wrong CD Clock Frequency» with Icelake laptop
- # Kernel panic on «cckprng_int_gen»
- # Stuck at Forcing CS_RUNTIME for entitlement in Big Sur
- # Stuck on ramrod (^^^^^^^^^^^^^)
- # Virtual Machine Issues
- # Reboot on «AppleUSBHostPort::createDevice: failed to create device» on macOS 11.3+
Изучаем файл настроек загрузки Mac OS X — com.apple.Boot.plist
 В Mac OS X тысячи файлов настроек с расширением .plist, в которых прописаны абсолютно все параметры работы системы и отдельных программ. Но есть среди них и самый важный файл, отвечающий за параметры загрузки самой Mac OS X — com.apple.Boot.plist. Любой неверный параметр, прописанный там, серьёзно осложнит вам жизнь, потому что Мак может перестать загружаться. Тем не менее, знать устройство этого файла стоит любому пользователю, потому что через него можно настроить многие аспекты поведения компьютера. А особенно важно понимать устройство com.apple.Boot.plist владельцам хакинтошей, которым неизбежно придётся редактировать этот файл.
Кратко опишем, что позволяет сделать файл com.apple.Boot.plist:
- зафиксировать определённые режимы загрузки (см. здесь). Например, можно заставить систему всегда загружаться в 64-битном режиме, вместо того, чтобы держать клавиши 6 и 4 при загрузке.
- настроить графический режим загрузки: изменить разрешение экрана для заставки с яблочком или для текстового режима загрузки
- ограничить количество используемой памяти или ядер процессора
- загрузить систему с другим ядром
- настроить задержку загрузчика перед выбором системы по умолчанию
Последние опции будут полезны владельцам хакинтошей в случае возникновения проблем.
Редактирование файла
Теперь пару слов о том, как редактировать файл com.apple.Boot.plist. Он лежит в папке /Library/Preferences/SystemConfiguration/. Но открыв его в стандартном редакторе TextEdit, вы не сможете сохранить внесённые изменения, потому что сделать это вам не позволят права доступа к файлу.
Варианты есть такие:
1) Терминал. Вводите команды и нажмите Enter после каждой из них:
Введите пароль администратора (символы на экране не появятся) и нажмите Enter.
nano /Library/Preferences/SystemConfiguration/com.apple.Boot.plist
Если не хотите вводить такую длинную строку, можете сократить её, как показано ниже:
nano /L*/Pref*/SystemC*/com.apple.Boot.plist
Прямо в Терминале откроется окно редактора. Мышь в нём работать не будет, курсор нужно перемещать стрелками клавиатуры.
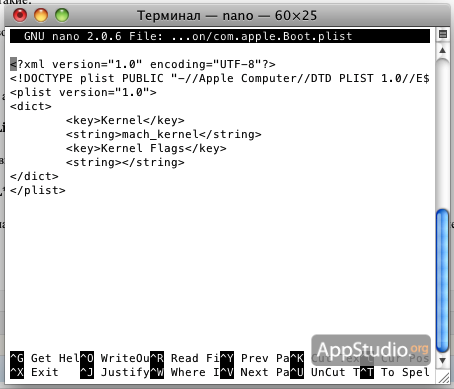
Когда закончите редактирование, нажмите Ctrl+X, затем Y и Enter.
2) TextMate. Этот вариант поудобнее — программа TextMate умеет редактировать почти любой код в любых файлах, даже защищённых системой. Открыть в ней com.apple.Boot.plist вы сможете через контекстное меню файла, через меню File-Open в самой программе или перетаскиванием файла на иконку TextMate в Доке.
 При сохранении файла вам попросят ввести пароль.
Источник
Прописываем параметры загрузки в com.apple.Boot.plist

Если при загрузке Hackintosh вы нажмете клавишу F8, то попадете в меню загрузчика Darwin с командной строкой. Используя специальные команды можно, например, указать загрузчику диск и раздел, с которого стоит загрузить операционную систему или тип платформы (ACPI), разрешение дисплея и другое. Но те же самые команды можно прописать как флаги загрузки (Boot flags) и вводить каждый раз при загрузке их уже не придется.
Необходимый нам файл com.apple.Boot.plist находиться в папке SystemConfiguration по адресу:
Mac HDD / Library / Preferences / SystemConfiguration / com.apple.Boot.plist.
Структура файла выглядит следующим образом:
[Parameters]
cpus=
«Graphics Mode»=
rd=
config=
platform=
idlehalt=
legacy
Kernel Name. Указывает имя и путь к ядру системы. Как правило это mach_kernel. Ядро должно находиться в корне диска с OS X, т.е. просто «/».
Kernel flags. Отладочные флаги (команды) ядра во время загрузки системы.
-s. Режим загрузки системы Single User». Загрузившись с ключем -s ядро системы загрузиться, но вы не увидите графического интерфейса и жесткие диски не будут смонтированы. Данный режим полезен при восстановлении OS X, в командной строке можно вводить различные команды.
-v. Режим загрузки OS X «Verbose». При загрузке с ключем -v вы сможете увидеть журнал загрузки. Режим полезен при отладке системы, т.к. позволяет выявить проблемы при загрузке операционной системы.
-f. Используя при загрузке ключ -f вы можете указать загрузчику пропускать кэш кекстов (драйверов) и создать его заново. Кэш находиться в файле Extensions.mkext в папке Library по адресу:
Mac HDD / System / Library / Extensions.mkext. Распаковать файл можно при помощи команды терминала mkextunpack, а запаковать обратно kextcache.
-x. Безопасный режим загрузки. Указав -x в командной строке вы запретите Darwin загружать кексты. Это поможет, если вы установиле кривой кекст и положили систему.
cpus. Данный параметр является загрузочным и указывает системе количество ядер вашего процессора. Если после устанвоки OS X система не видит второе ядро процессора, то необходимо прописать cpus=2, соответсвенно если у вас четырехъядерный процессор, то cpus=4.
“Graphics Mode”. Графический режим загрузки. Используя команду можно указать системе принудительное разрешение и частоту развертки монитора. Формат команды WidthxHeightxDepth@RefreshRate. Например, “Graphics Mode”=”1280x1024x32@72”.
rd. О данной команде терминала мы уже писали. Она позволяет указать загрузчик точный раздел жесткого диска, откуда необходимо грузить операционную систему. Формат команды rd=diskXsY, где X номер диска, а Y номер раздела на этом диске. Например, команда rd=disk0s1 укажет загрузчику, что ОС находиться на диске №0, на разделе №1.
config. Данная команда позволяет указать путь к альтернативному конфигурационному файлу. Стандартный файл находиться в Mac HDD / Library / Preferences / SystemConfiguration / com.apple.Boot.plist.
platform. Команда указывает на поддержку ACPI. Примеры использования: platform=ACPI (поддержка ACPI), platform=X86PC (без поддержки ACPI), platform=ACPI|86PC (поддержка ACPI, если это возможно). Обратите внимание на последний пример, пишется ACPI (большая i) , а делее вертикальная черта |.
idlehalt. Данный параметр принимает только два значения: 0 и 1. Параметр отвечает за энергопотребление процессора, а именно будет ли снижаться энергопотребление CPU при его простое. Желательно использовать значение 0, тогда при простое процессор будет снижать потребление энергии и соответсвенно снизиться температура камня. Примеры использования idlehalt=0 и idlehalt=1.
-legacy. Команда позволяет загрузить операционную систему в режиме 32бит, даже если ваша система поддерживает 64бит.
?memory. Команда выводит информацию о памяти в вашей системе.
?video. Команда выводит информацию о поддерживаемых режимах видеокартой вашей системы.
Также рекомендую ознакомиться с двумя полезными публикациями Boot Arguments и Terminal – учимся работать.
Источник
com.Apple.boot.plist

LePresident
Dear esteemed forum members,
I am running Snow Leopard 10.6.8 Hackint0sh and there is no com.Apple.boot.plist
It is not in: Library/Preferences/
It is not in: /Extra
Spotlight does not show anything, I need to edit the boot file to fix the boot screen resolution.

Going Bald
Moderator
Dear esteemed forum members,
I am running Snow Leopard 10.6.8 Hackint0sh and there is no com.Apple.boot.plist
It is not in: Library/Preferences/
It is not in: /Extra
Spotlight does not show anything, I need to edit the boot file to fix the boot screen resolution.
LePresident
No com.apple.boot.plist file!
Still nothing though,
Please tell possible file locations of this boot file please?
Going Bald
Moderator
No com.apple.boot.plist file!
Still nothing though,
Please tell possible file locations of this boot file please?

nickee812
You will first have to go to your Applications folder > Utilities
From there launch Terminal.
Type in «open /Library/Preferences/SystemConfiguration/com.apple.Boot.plist» (without quotes)
There you have it!

totenkopf4
You will first have to go to your Applications folder > Utilities
From there launch Terminal.
Type in «open /Library/Preferences/SystemConfiguration/com.apple.Boot.plist» (without quotes)
There you have it!
nickee812 and LaPresident
You want only one of these 2 files
they are hidden files not for the general public ( meaning you)
Use the hidden files utility know as SHowAllFiles which is in our DOWNLOADS + COMMUNITY SOFTWARE — ShowAllFiles — download and install that. THen search for it ( reboot maybe needed) — turn on show all files to see them (hidden files) you can turn it off so you dont get confused
Источник
# Kernel Issues
Issues surrounding from initial booting the macOS installer to right before the install GUI pops up.
# Stuck on [EB|#LOG:EXITBS:START]
This section will be split into 3 parts, so pay close attention:
# Booter Issues
The main culprits to watch for in the Booter section are:
DevirtualiseMmio
- Certain MMIO spaces are still required to function correctly, so you’ll need to either exclude these regions in Booter -> MmioWhitelist or disable this quirk outright. More info here: Using DevirtualiseMmio
- For TRx40 users, enable this quirk
- For X99 users, disable this quirk as it breaks with some firmwares
SetupVirtualMap
- This quirk is required for the majority of firmwares and without it it’s very common to kernel panic here, so enable it if not already
- Mainly Z390 and older require this quirk enabled
- However, certain firmwares(mainly 2020+) do not work with this quirk and so may actually cause this kernel panic:
- Intel’s Ice Lake series
- Intel’s Comet Lake series(B460, H470, Z490, etc)
- AMD’s B550 and A520(Latest BIOS on X570 are also included now)
- Many B450 and X470 boards with late 2020 BIOS updates are also included
- AMD’s TRx40
- VMs like QEMU
- X299 2020+ BIOS updates(This applies to other X299 boards on the latest BIOS that released either in late 2019 or 2020+)
EnableWriteUnprotector
- Another issue may be that macOS is conflicting with the write protection from CR0 register, to resolve this we have 2 options:
- If your firmware supports MATs(2018+ firmwares):
- EnableWriteUnprotector -> False
- RebuildAppleMemoryMap -> True
- SyncRuntimePermissions -> True
- For older firmwares:
- EnableWriteUnprotector -> True
- RebuildAppleMemoryMap -> False
- SyncRuntimePermissions -> False
- Note: Some laptops(ex. Dell Inspiron 5370) even with MATs support will halt on boot up, in these cases you’ll have two options:
- Boot with the old firmware quirk combo(ie. With EnableWriteUnprotector and disable RebuildAppleMemoryMap + SyncRuntimePermissions )
- Enable DevirtualiseMmio and follow MmioWhitelist guide
Regarding MATs support, firmwares built against EDK 2018 will support this and many OEMs have even added support all the way back to Skylake laptops. Issue is it’s not always obvious if an OEM has updated the firmware, you can check the OpenCore logs whether yours supports it(See here how to get a log):
- Note: 1 means it supports MATs, while 0 means it does not.
# Kernel Patch Issues
This section will be split between Intel and AMD users:
# AMD Users
(opens new window) (only applies for AMD CPUs, make sure they’re OpenCore patches and not Clover. Clover uses MatchOS while OpenCore has MinKernel and Maxkernel )
- Note outdated kernel patches will also have the same effect please ensure you’re using the latest patches from AMD OS X
# Intel Users
- AppleXcpmCfgLock and AppleCpuPmCfgLock
- Missing CFG or XCPM patches, please enable AppleXcpmCfgLock and AppleCpuPmCfgLock
- Haswell and newer only need AppleXcpmCfgLock
- Ivy Bridge and older only need AppleCpuPmCfgLock
- Broadwell and older need AppleCpuPmCfgLock if running 10.10 or older
- Alternatively you can properly disable CFG-Lock: Fixing CFG Lock
(opens new window)
- Missing CFG or XCPM patches, please enable AppleXcpmCfgLock and AppleCpuPmCfgLock
- AppleXcpmExtraMsrs
- May also be required, this is generally meant for Pentiums, HEDT and other odd systems not natively supported in macOS.
# Legacy Intel users
For macOS Big Sur, many firmwares have issues determining the CPU core count and thus will kernel panic too early for screen printing. Via serial, you can see the following panic:
- Enable AvoidRuntimeDefrag under Booter -> Quirks
- This should work for most firmwares
However on certain machines like the HP Compaq DC 7900, the firmware will still panic so we need to force a CPU core count value. Only use the below patch if AvoidRuntimeDefrag didn’t work:
Legacy CPU Core patch
To do this, Add the following patch(replacing the 04 from B8 04 00 00 00 C3 with the amount of CPU threads your hardware supports):
Key Type Value Base String _acpi_count_enabled_logical_processors Count Integer 1 Enabled Boolean True Find Data Identifier String Kernel Limit Integer 0 Mask Data MaxKernel String MinKernel String 20.0.0 Replace Data B804000000C3 ReplaceMask Data Skip Integer 0 # UEFI Issues
- ProvideConsoleGop
- Needed for transitioning to the next screen, this was originally part of AptioMemoryFix but is now within OpenCore as this quirk. Can be found under UEFI -> Output
- Note as of 0.5.6, this quirk is enabled by default in the sample.plist
- IgnoreInvalidFlexRatio
- This is needed for Broadwell and older. Not for AMD and Skylake or newer
# Stuck on EndRandomSeed
Same issues above, see here for more details: Stuck on [EB|#LOG:EXITBS:START]
# Stuck after selecting macOS partition in OpenCore
Same issues above, see here for more details: Stuck on [EB|#LOG:EXITBS:START]
- Note: Enabling DEBUG OpenCore can help shed some light as well
# Kernel Panic on Invalid frame pointer
So this is due to some issue around the Booter -> Quirks you set, main things to check for:
- Certain MMIO spaces are still required to function correctly, so you’ll need to either exclude these regions in Booter -> MmioWhitelist or disable this quirk outright
- More info here: Using DevirtualiseMmio
- This quirk is required for the majority of firmwares and without it it’s very common to kernel panic here, so enable it if not already
- However, certain firmwares do not work with this quirk and so may actually cause this kernel panic:
- Intel’s Ice Lake series
- Intel’s Comet Lake series
- AMD’s B550
- AMD’s A520
- AMD’s TRx40
- VMs like QEMU
- However, certain firmwares do not work with this quirk and so may actually cause this kernel panic:
Another issue may be that macOS is conflicting with the write protection from CR0 register, to resolve this we have 2 options:
- If your firmware supports MATs(2018+ firmwares):
- EnableWriteUnprotector -> False
- RebuildAppleMemoryMap -> True
- SyncRuntimePermissions -> True
- For older firmwares:
- EnableWriteUnprotector -> True
- RebuildAppleMemoryMap -> False
- SyncRuntimePermissions -> False
Regarding MATs support, firmwares built against EDK 2018 will support this and many OEMs have even added support all the way back to Skylake laptops. Issue is it’s not always obvious if an OEM has updated the firmware, you can check the OpenCore logs whether yours supports it:
Note: 1 means it supports MATs, while 0 means it does not.
# Stuck on [EB|LD:OFS] Err(0xE) when booting preboot volume
This can happen when the preboot volume isn’t properly updated, to fix this you’ll need to boot into recovery and repair it:
- Enable JumpstartHotplug under UEFI -> APFS(Recovery may not boot on macOS Big Sur without this option)
- Boot into recovery
- Open the terminal, and run the following:
Then finally reboot
# Stuck on OCB: LoadImage failed — Security Violation
This is due to missing outdated Apple Secure Boot manifests present on your preboot volume resulting is a failure to load if you have SecureBootModel set, reason for these files being missing is actually a bug in macOS.
To resolve this you can do one of the following:
- Disable SecureBootModel
- ie. set Misc -> Security -> SecureBootModel -> Disabled
- Reinstall macOS with the latest version
- Or copy over the Secure Boot manifests from /usr/standalone/i386 to /Volumes/Preboot/ /System/Library/CoreServices
- Note you will most likely need to do this via terminal as the Preboot volume isn’t easily editable via the Finder
To do this via terminal:
# Stuck on OCABC: Memory pool allocation failure — Not Found
This is due to incorrect BIOS settings:
- Above4GDecoding is Enabled
- CSM is Disabled(Enabling Windows8.1/10 WHQL Mode can do the same on some boards)
- Note on some laptops, CSM must be enabled
- BIOS is up-to-date(Z390 and HEDT are known for having poorly written firmwares)
# Stuck on Buffer Too Small
- Enable Above4GDecoding in the BIOS
# Stuck on Plist only kext has CFBundleExecutable key
Missing or incorrect Executable path in your config.plist, this should be resolved by re-running ProperTree’s snapshot tool(Cmd/Ctrl+R).
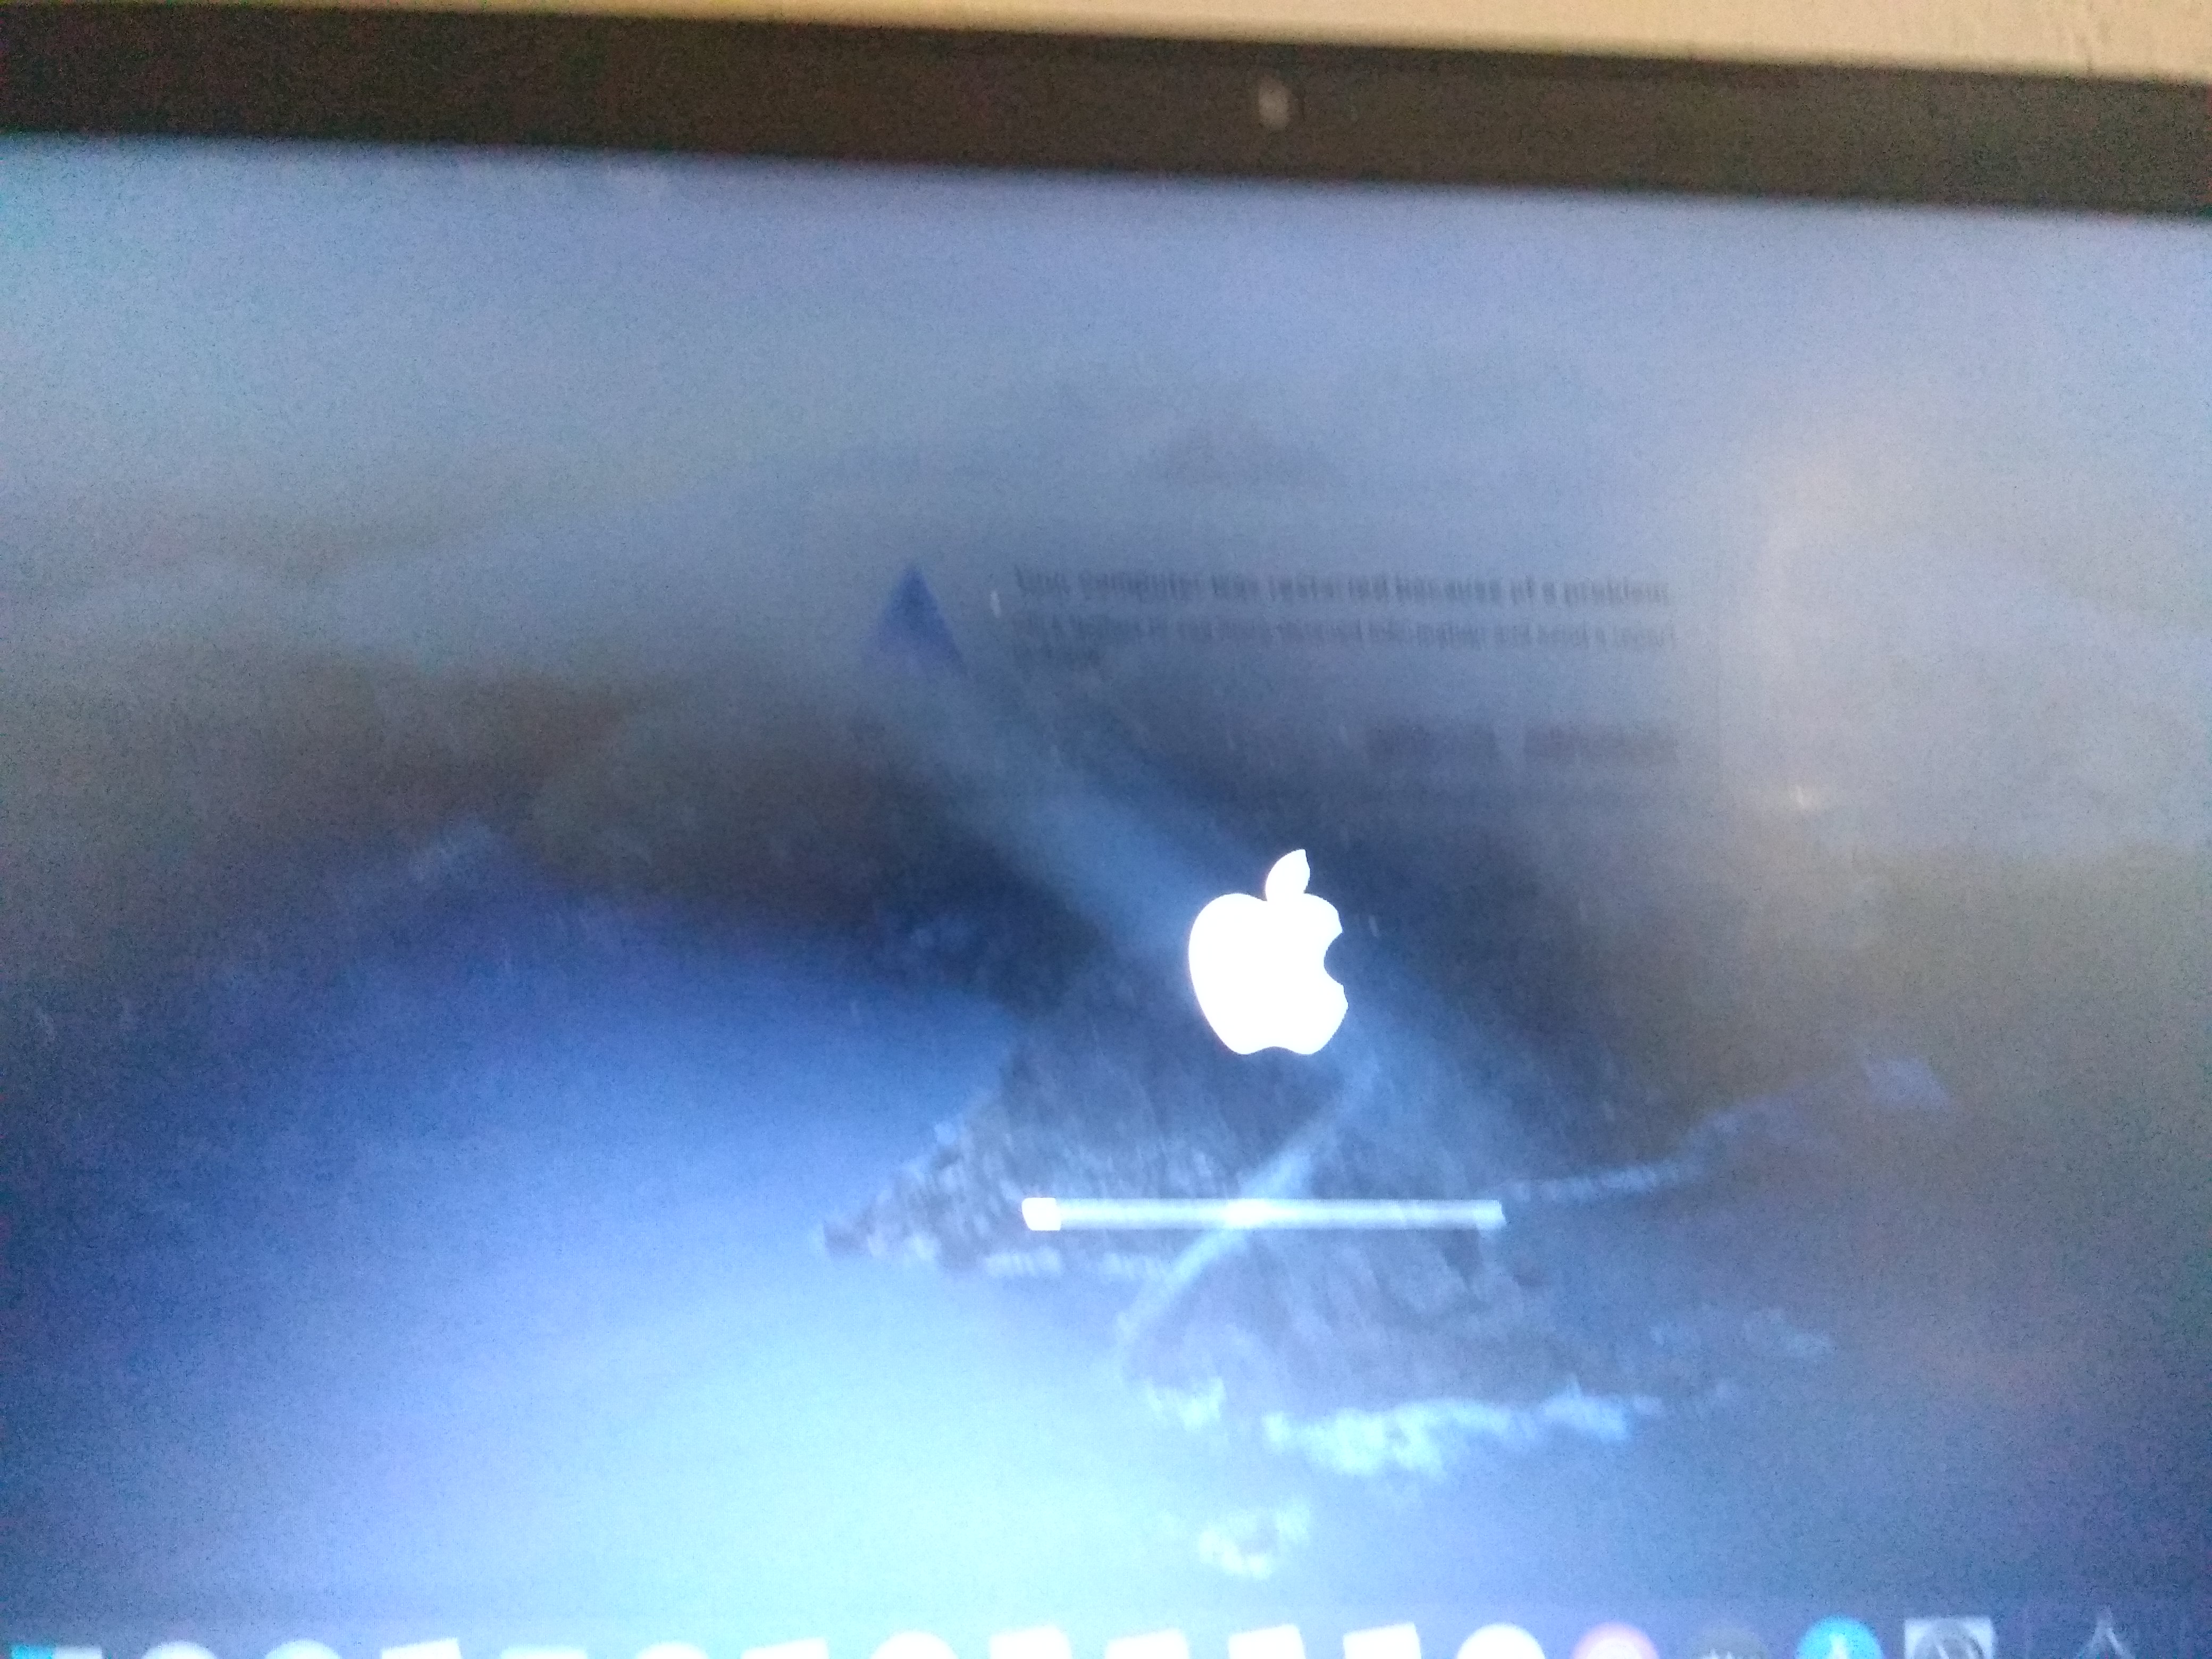
# Stuck on This version of Mac OS X is not supported: Reason Mac.
This error happens when SMBIOS is one no longer supported by that version of macOS, make sure values are set in PlatformInfo->Generic with Automatic enabled. For a full list of supported SMBIOS and their OSes, see here: Choosing the right SMBIOS
Supported SMBIOS in macOS 10.15, Catalina
- iMac13,x+
- iMacPro1,1
- MacPro6,1+
- Macmini6,x+
- MacBook8,1+
- MacBookAir5,x+
- MacBookPro9,x+
Supported SMBIOS in macOS 11, Big Sur
- iMac14,4+
- iMacPro1,1
- MacPro6,1+
- Macmini7,1+
- MacBook8,1+
- MacBookAir6,x+
- MacBookPro11,x+
Supported SMBIOS in macOS 12, Monterey
- iMac16,1+
- iMacPro1,1
- MacPro6,1+
- Macmini7,1+
- MacBook9,1+
- MacBookAir7,1+
- MacBookPro11,3+
# Couldn’t allocate runtime area errors
# Stuck on RTC. , PCI Configuration Begins , Previous Shutdown. , HPET , HID: Legacy.
Well this general area is where a lot of PCI devices are first setup and configured, and is where most booting issues will happen. Other names include:
- apfs_module_start. ,
- Waiting for Root device ,
- Waiting on. IOResources. ,
- previous shutdown cause.
The main places to check:
Missing EC patch:
- Make sure you have your EC SSDT both in EFI/OC/ACPI and ACPI -> Add, double check it’s enabled.
- If you don’t have one, grab it here: Getting started with ACPI
IRQ conflict:
- Most common on older laptops and pre-builts, run SSDTTime’s FixHPET option and add the resulting SSDT-HPET.aml and ACPI patches to your config( the SSDT will not work without the ACPI patches)
PCI allocation issue:
- UPDATE YOUR BIOS, make sure it’s on the latest. Most OEMs have very broken PCI allocation on older firmwares, especially AMD
- Make sure either Above4G is enabled in the BIOS, if no option available then add npci=0x2000 to boot args.
- Some X99 and X299 boards(ie. GA-X299-UD4) may require both npci boot-arg and Above4G enabled
- AMD CPU Note: Do not have both the Above4G setting enabled and npci in boot args, they will conflict
- 2020+ BIOS Notes: When enabling Above4G, Resizable BAR Support may become an available. Please ensure this is Disabled instead of set to Auto.
- Other BIOS settings that are important: CSM disabled, Windows 8.1/10 UEFI Mode enabled
NVMe or SATA issue:
- Sometimes if either a bad SATA controller or an unsupported NVMe drive are used, you can commonly get stuck here. Things you can check:
- Not using either a Samsung PM981 or Micron 2200S NVMe SSD
- Samsung 970 EVO Plus running the latest firmware(older firmwares were known for instability and stalls, see here for more info
(opens new window) )
- SATA Hot-Plug is disabled in the BIOS(more commonly to cause issues on AMD CPU based systems)
- Ensure NVMe drives are set as NVMe mode in BIOS(some BIOS have a bug where you can set NVMe drives as SATA)
- If your firmware supports MATs(2018+ firmwares):
NVRAM Failing:
- Common issue HEDT and 300 series motherboards, you have a couple paths to go down:
- 300 Series Consumer Intel: See Getting started with ACPI
(opens new window) on making SSDT-PMC.aml
HEDT(ie. X99): See Emulating NVRAM
(opens new window) on how to stop NVRAM write, note that for install you do not need to run the script. Just setup the config.plist
RTC Missing:
- Commonly found on Intel’s 300+ series(ie. Z370, Z490), caused by the RTC clock being disabled by default. See Getting started with ACPI
(opens new window) on creating an SSDT-AWAC.aml
X99 and X299 have broken RTC devices, so will need to be fixed with SSDT-RTC0-RANGE. See Getting started with ACPI
(opens new window) on creating said file
- Known affected models: HP 15-DA0014dx , HP 250 G6
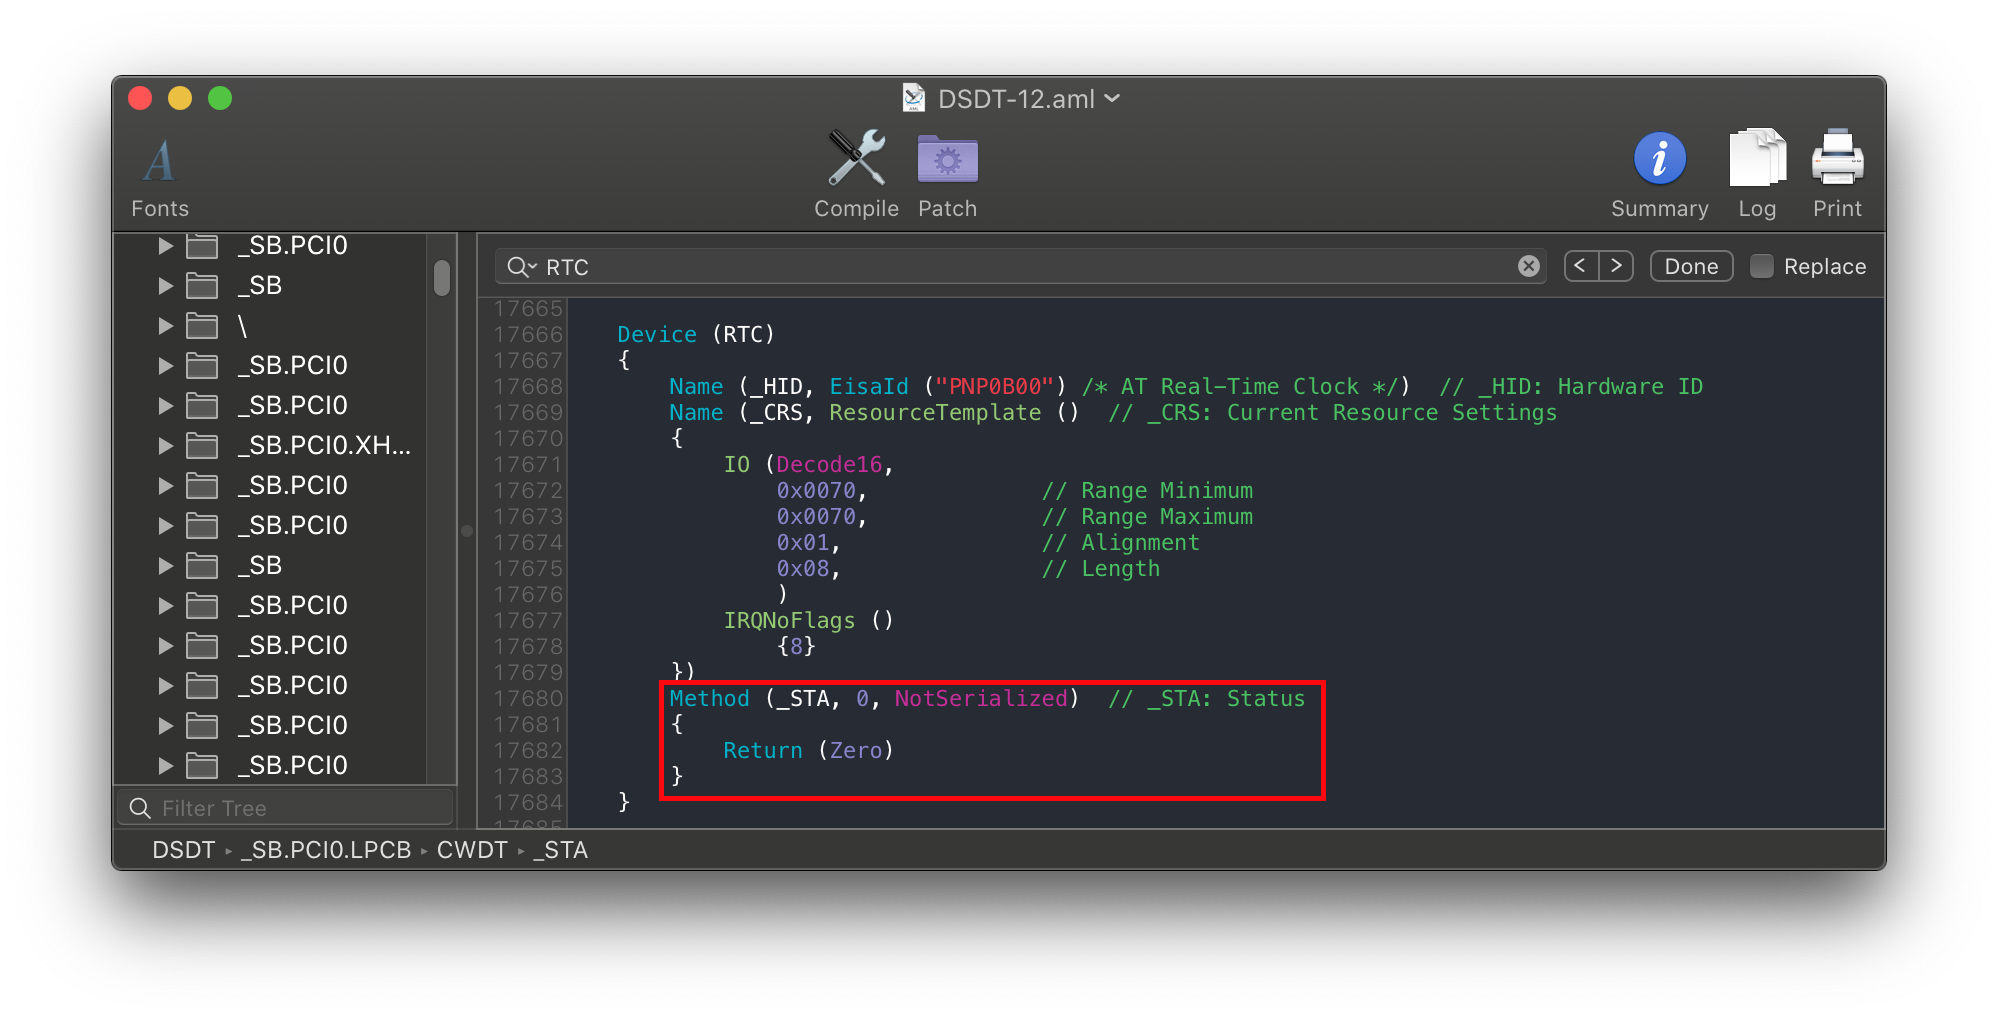
- For users cursed with such hardware you’ll need to create a fake RTC clock for macOS to play with. See getting started with ACPI for more details, as well as below image example:
Example of what a disabled RTC with no way to enable looks like(note that there is no value to re-enable it like STAS ):
# Stuck at ACPI table loading on B550

If you’re getting stuck at or near ACPI table loading with an AMD B550 or A520 motherboard, add the following SSDT:
And please remember to add this SSDT to both EFI/OC/ACPI and your config.plist under ACPI -> Add(ProperTree’s snapshot function can do this for you)
# «Waiting for Root Device» or Prohibited Sign error
- Other names: Stop Sign, Scrambled
This is generally seen as a USB or SATA error, couple ways to fix:
# USB Issues
This assumes you’re only booting the installer USB and not macOS itself.
If you’re hitting the 15 port limit, you can temporarily get around this with XhciPortLimit but for long term use, we recommend making a USBmap
- Kernel -> Quirks -> XhciPortLimit -> True
Another issue can be that certain firmware won’t pass USB ownership to macOS
- UEFI -> Quirks -> ReleaseUsbOwnership -> True
- Enabling XHCI Handoff in the BIOS can fix this as well
Sometimes, if the USB is plugged into a 3.x port, plugging it into a 2.0 port can fix this error.
For AMD’s 15h and 16h CPUs, you may need to add the following:
If XLNCUSBFix still doesn’t work, then try the following:
X299 Users: Enable Above4G Decoding
- Odd firmware bug on X299 where USB breaks otherwise
Missing USB ports in ACPI:
- For Intel’s Coffee Lake and older, we recommend using USBInjectAll
(opens new window)
For Intel’s Ice Lake and Comet Lake, we recommend SSDT-RHUB
(opens new window)
- SSDTTime’s 7. USB Reset option can do the same
# SATA Issues
On rare occasions(mainly laptops), the SATA controller isn’t officially supported by macOS. To resolve this, we’ll want to do a few things:
- Set SATA to AHCI mode in the BIOS
- macOS doesn’t support hardware RAID or IDE mode properly.
- Note drives already using Intel Rapid Storage Technology(RST, soft RAID for Windows and Linux) will not be accessible in macOS.
- SATA-unsupported.kext
(opens new window)
- Adds support to obscure SATA controllers, commonly being laptops.
- For very legacy SATA controllers, AHCIPortInjector.kext
(opens new window)
- For users running macOS 11, Big Sur and having issues. This backports the known working Catalina kext, SATA-unsupported is not needed with this kext
Note that you will only experience this issue after installing macOS onto the drive, booting the macOS installer will not error out due to SATA issues.
# Kernel panic with IOPCIFamily on X99
For those running the X99 platform from Intel, please go over the following:
- The following kernel patches are enabled:
- AppleCpuPmCfgLock
- AppleXcpmCfgLock
- AppleXcpmExtraMsrs
- You have the following SSDTs:
- SSDT-UNC(if not, see Getting started with ACPI
# Stuck on or near IOConsoleUsers: gIOScreenLock. / gIOLockState (3.
This is right before the GPU is properly initialized, verify the following:
- GPU is UEFI capable(GTX 7XX/2013+)
- CSM is off in the BIOS
- May need to be enabled on laptops
- Forcing PCIe 3.0 link speed
- Double check that ig-platform-id and device-id are valid if running an iGPU.
- Desktop UHD 630’s may need to use 00009B3E instead
- Trying various WhateverGreen Fixes
(opens new window)
- -igfxmlr boot argument. This can also manifest as a «Divide by Zero» error.
- Coffee Lake iGPU users may also need igfxonln=1 in 10.15.4 and newer
# Scrambled Screen on laptops
Enable CSM in your UEFI settings. This may appear as «Boot legacy ROMs» or other legacy setting.
# Black screen after IOConsoleUsers: gIOScreenLock. on Navi
- Add agdpmod=pikera to boot args
- Switch between different display outputs
- Try running MacPro7,1 SMBIOS with the boot-arg agdpmod=ignore
For MSI Navi users, you’ll need to apply the patch mentioned here: Installer not working with 5700XT #901
Specifically, add the following entry under Kernel -> Patch :
Note: macOS 11, Big Sur no longer requires this patch for MSI Navi.
# Kernel Panic Cannot perform kext summary
Generally seen as an issue surrounding the prelinked kernel, specifically that macOS is having a hard time interpreting the ones we injected. Verify that:
- Your kexts are in the correct order(master then plugins, Lilu always before the plugins)
- Kexts with executables have them and plist only kexts don’t(ie. USBmap.kext, XHCI-unspported.kext, etc does not contain an executable)
- Don’t include multiple of the same kexts in your config.plist(ie. including multiple copies of VoodooInput from multiple kexts, we recommend choosing the first kext in your config’s array and disable the rest)
Note: this error may also look very similar to Kernel Panic on Invalid frame pointer
# Kernel Panic AppleIntelMCEReporter
With macOS Catalina, dual socket support is broken, and a fun fact about AMD firmware is that some boards will actually report multiple socketed CPUs. To fix this, add AppleMCEReporterDisabler
(opens new window) to both EFI/OC/Kexts and config.plist -> Kernel -> Add
# Kernel Panic AppleIntelCPUPowerManagement
This is likely due to faulty or outright missing NullCPUPowerManagement. To fix the issue, remove NullCPUPowerManagement from Kernel -> Add and EFI/OC/Kexts then enable DummyPowerManagement under Kernel -> Emulate
- Note: On older Intel CPUs(ie. Penryn and older), it may be due to IRQ conflicts or the HPET device being disabled. To resolve, you have 2 options:
- SSDTTime’s FixHPET Option
(opens new window)
- Forcing the HPET Device on
- SSDT-UNC(if not, see Getting started with ACPI
Forcing the HPET Device on
Under ACPI -> Patch:
| Comment | String | Force HPET Online |
|---|---|---|
| Enabled | Boolean | YES |
| Count | Number | 0 |
| Limit | Number | 0 |
| Find | Data | A010934F53464C00 |
| Replace | Data | A40A0FA3A3A3A3A3 |
# Kernel Panic AppleACPIPlatform in 10.13
On macOS 10.13, High Sierra the OS is much stricter with ACPI tables, specifically a bug with how headers were handled
(opens new window) . To resolve, enable NormalizeHeaders under ACPI -> Quirks in your config.plist
# macOS frozen right before login
This is a common example of screwed up TSC, for most system add CpuTscSync
The most common way to see the TSC issue:
| Case 1 | Case 2 |
|---|---|
 |  |
# Keyboard works but trackpad does not
Make sure that VoodooInput is listed before VoodooPS2 and VoodooI2C kexts in your config.plist.
Check the order that your kexts load — make they match what is shown under Gathering Files:
- VoodooGPIO, VoodooInput, and VoodooI2CServices in any order (Found under VoodooI2C.kext/Contents/PlugIns)
- VoodooI2C
- Satellite/Plugin Kext
Make sure you have SSDT-GPIO in EFI/OC/ACPI and in your config.plist under ACPI -> Add in your config.plist. If you are still having issues, reference the Getting Started With ACPI GPIO page
# kextd stall[0]: AppleACPICPU
This is due to either a missing SMC emulator or broken one, make sure of the following:
- Lilu and VirtualSMC are both in EFI/OC/kexts and in your config.plist
- Lilu is before VirtualSMC in the kext list
- Last resort is to try FakeSMC instead, do not have both VirtualSMC and FakeSMC enabled
# Kernel Panic on AppleIntelI210Ethernet
For those running Comet lake motherboards with the I225-V NIC, you may experience a kernel panic on boot due to the I210 kext. To resolve this, make sure you have the correct PciRoot for your Ethernet. This commonly being either:
- PciRoot(0x0)/Pci(0x1C,0x1)/Pci(0x0, 0x0)
- By default, this is what Asus and Gigabyte motherboards use
- PciRoot(0x0)/Pci(0x1C,0x4)/Pci(0x0,0x0)
- Some OEMs may use this instead
For those who can to your PciRoot manually, you’ll want to install macOS fully and run the following with gfxutil
This should spit out something like this:
The ending PciRoot(0x0)/Pci(0x1F,0x6) is what you want to add in your config.plist with device-id of F2150000
# Kernel panic on «Wrong CD Clock Frequency» with Icelake laptop
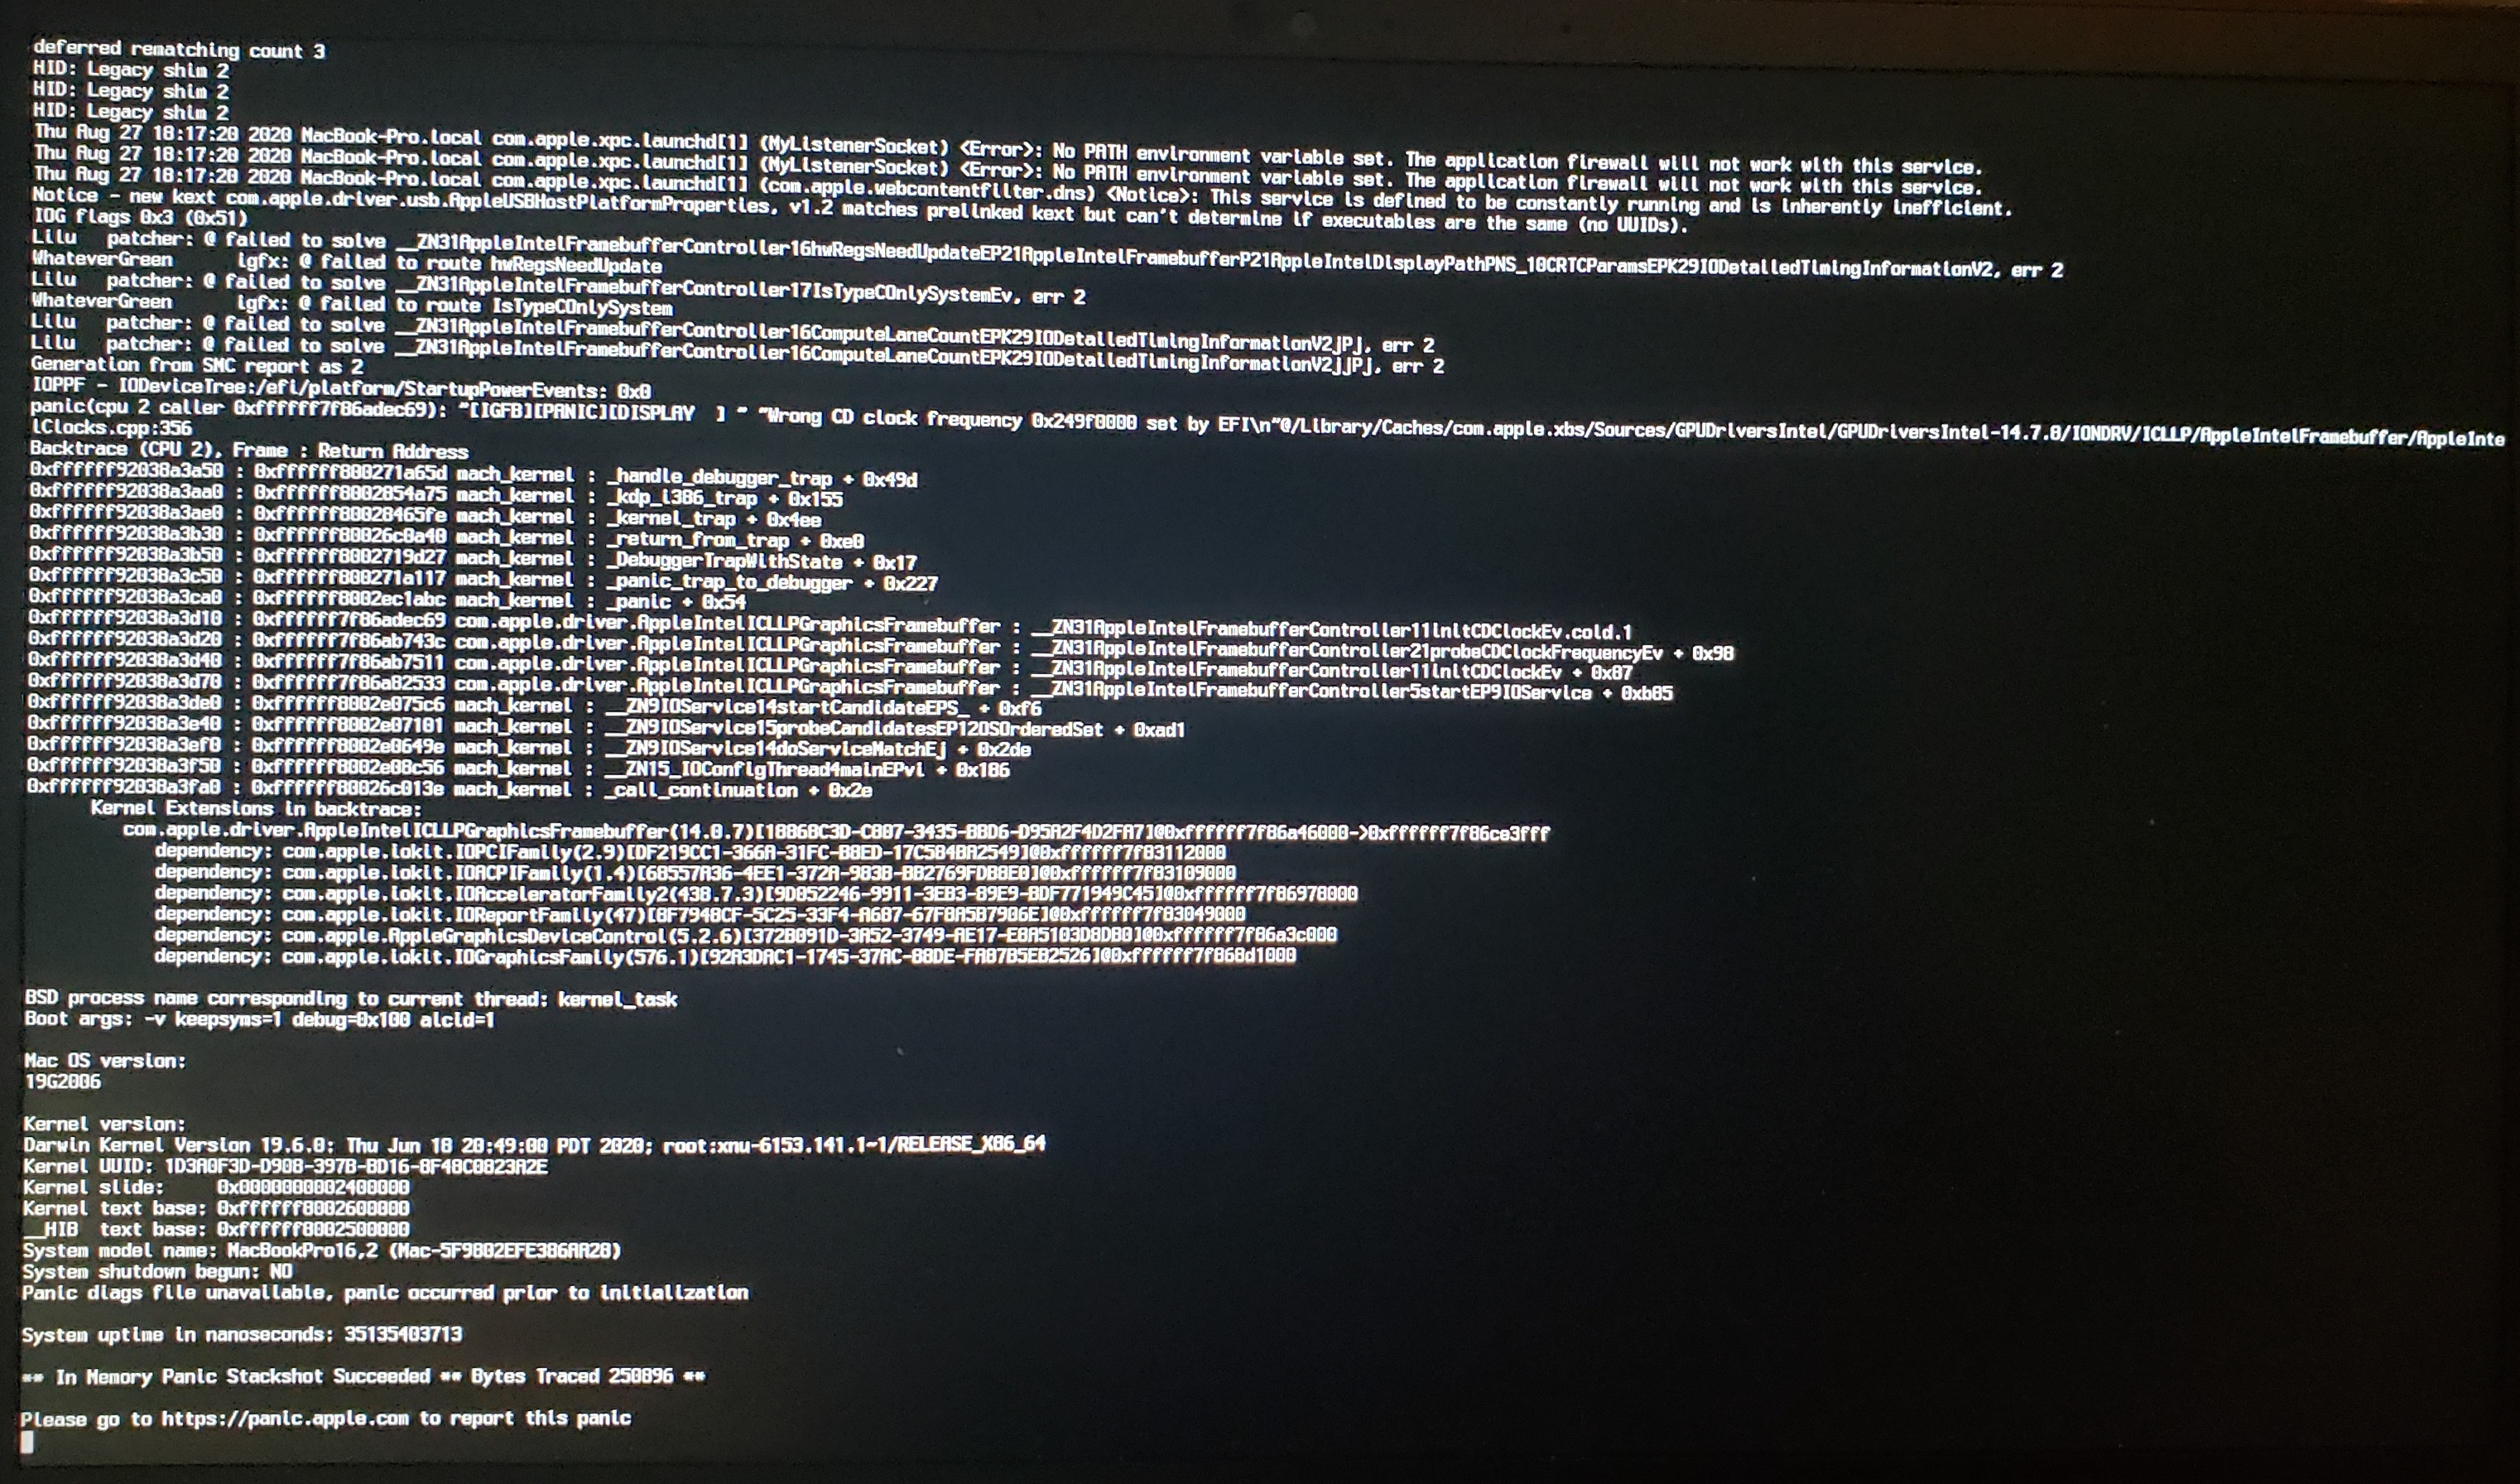
To resolve this kernel panic, ensure you have -igfxcdc in your boot-args.
# Kernel panic on «cckprng_int_gen»
This is likely to be 1 of 2 things:
- Missing SMC Emulator(ie. no VirtualSMC in your config.plist or EFI)
- Add VirtualSMC.kext
(opens new window) to your config.plist and EFI
For the latter, ensure you’re only using SSDT-CPUR with B550 and A520. Do not use on X570 or older hardware(ie. B450 or A320)
# Stuck at Forcing CS_RUNTIME for entitlement in Big Sur
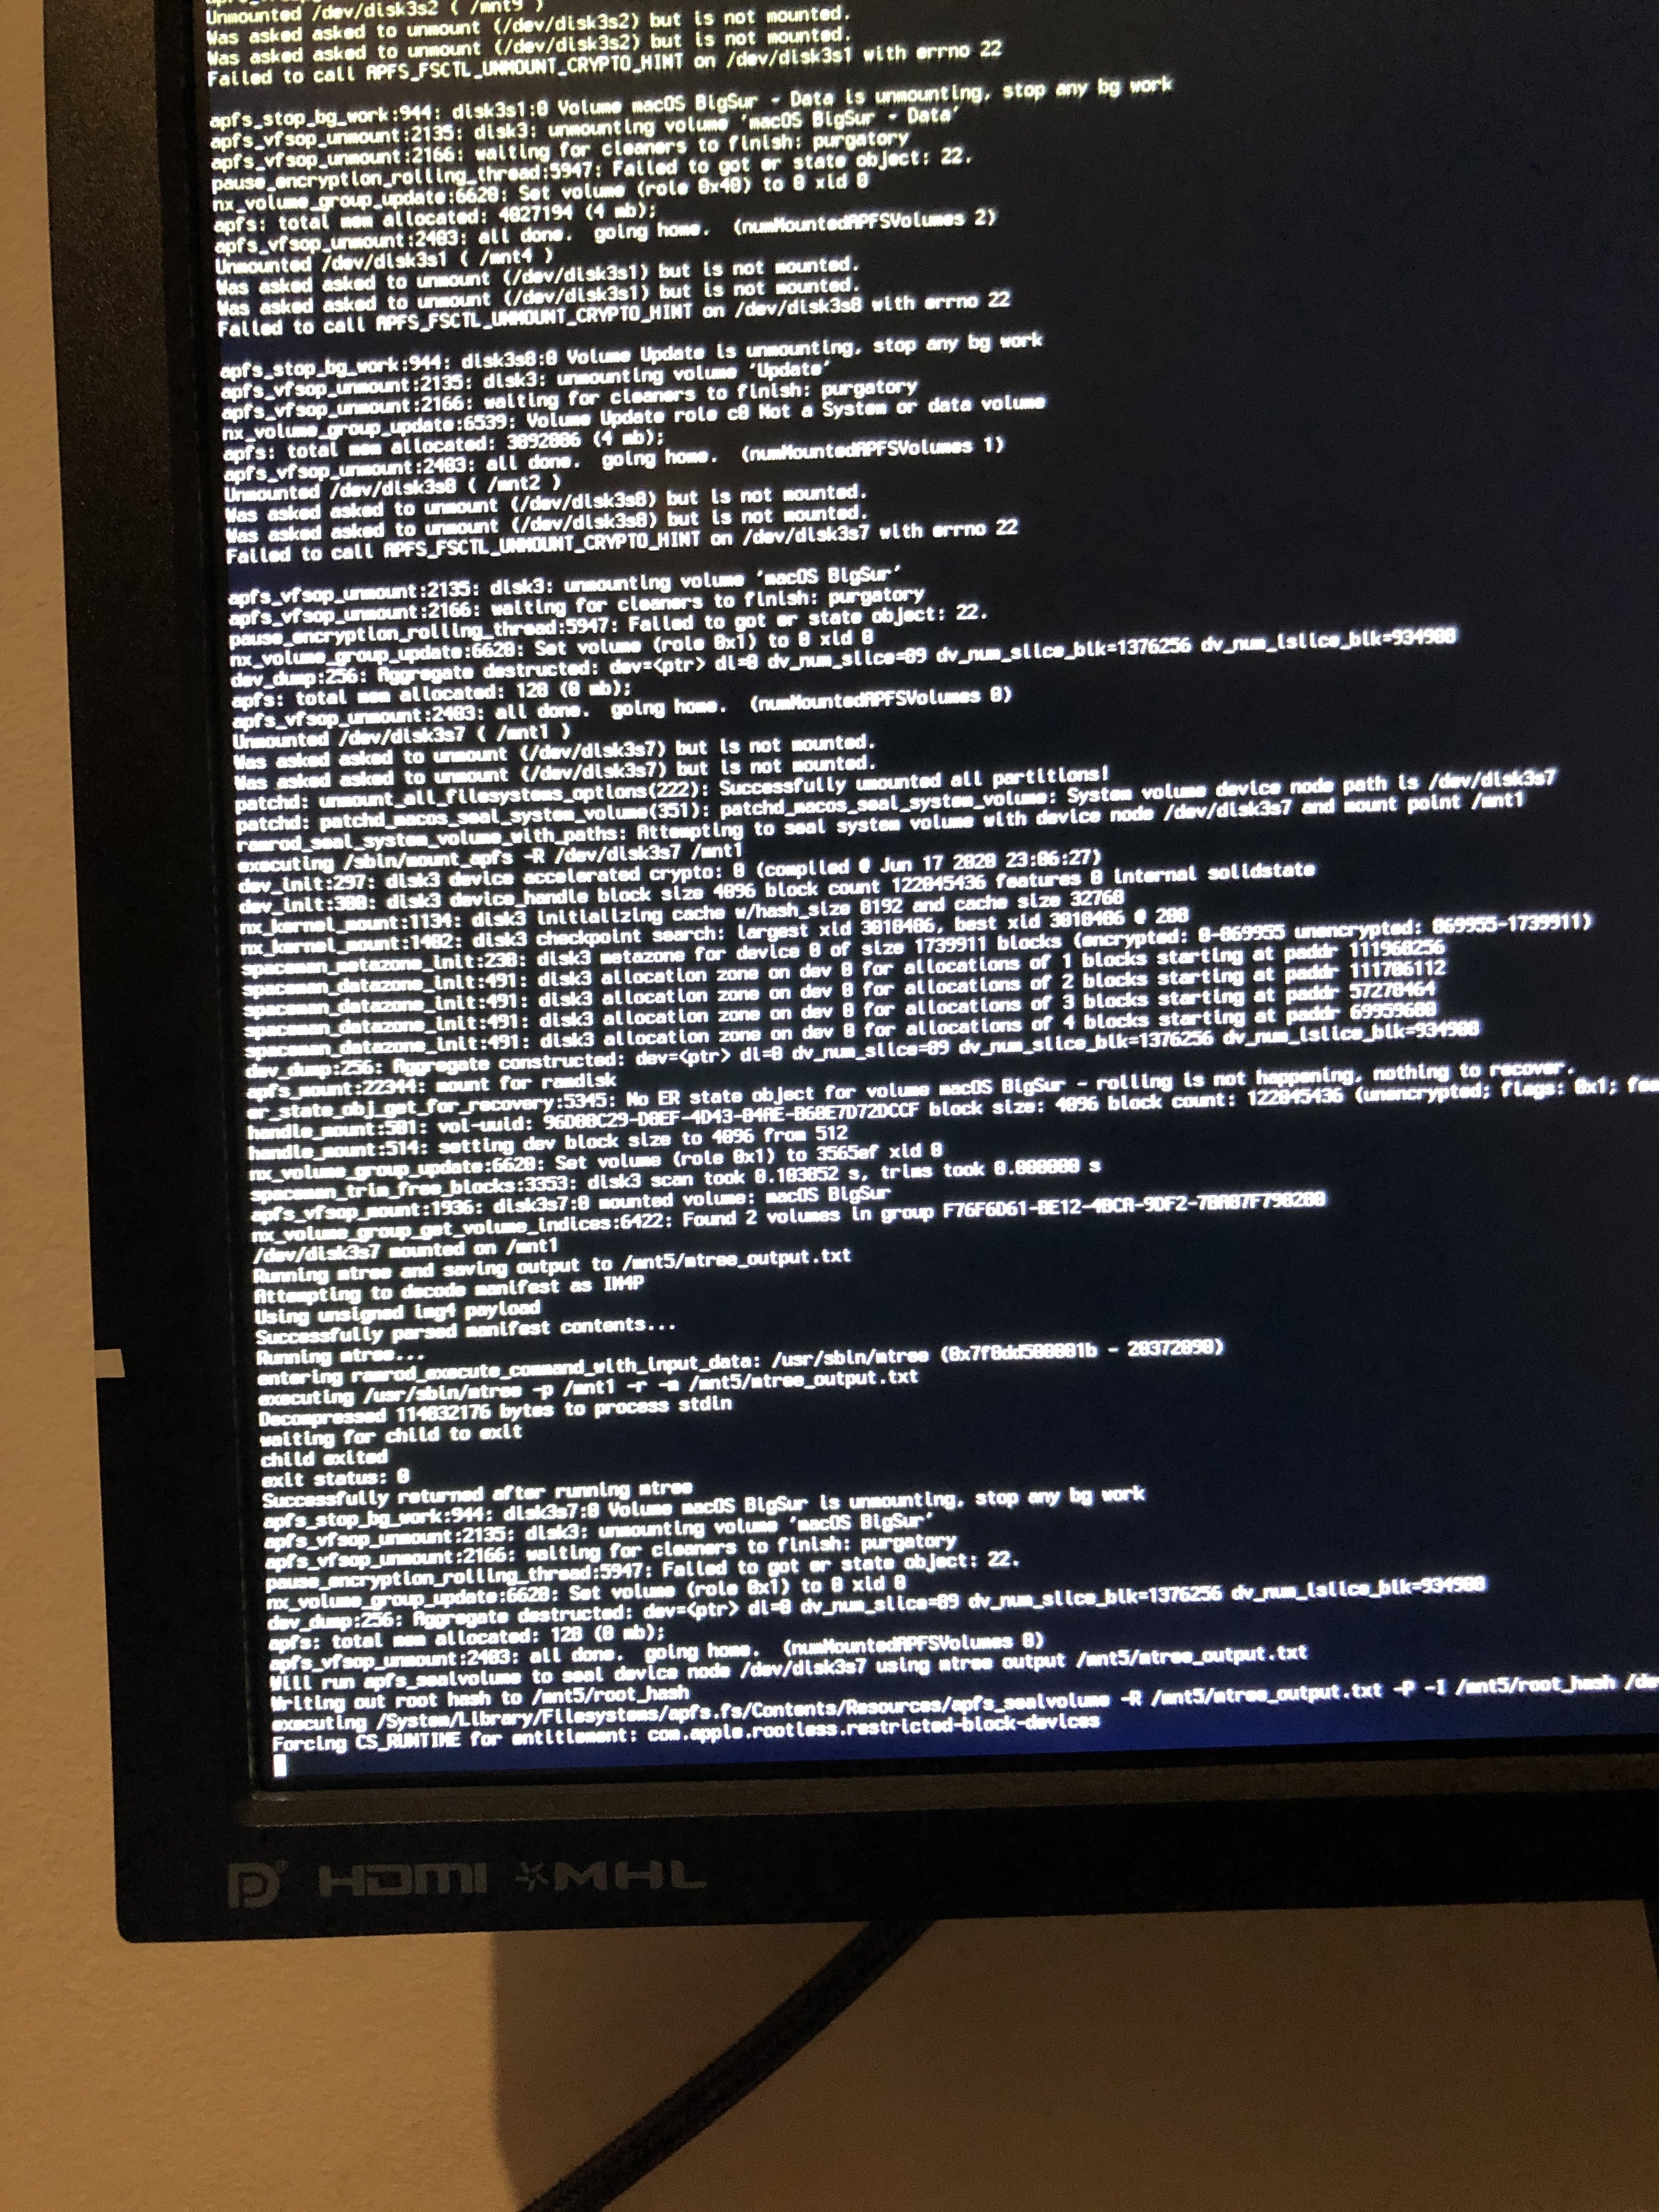
This is actually the part at where macOS will seal the system volume, and where it may seem that macOS has gotten stuck. DO NOT RESTART thinking you’re stuck, this will take quite some time to complete.
# Stuck on ramrod (^^^^^^^^^^^^^)
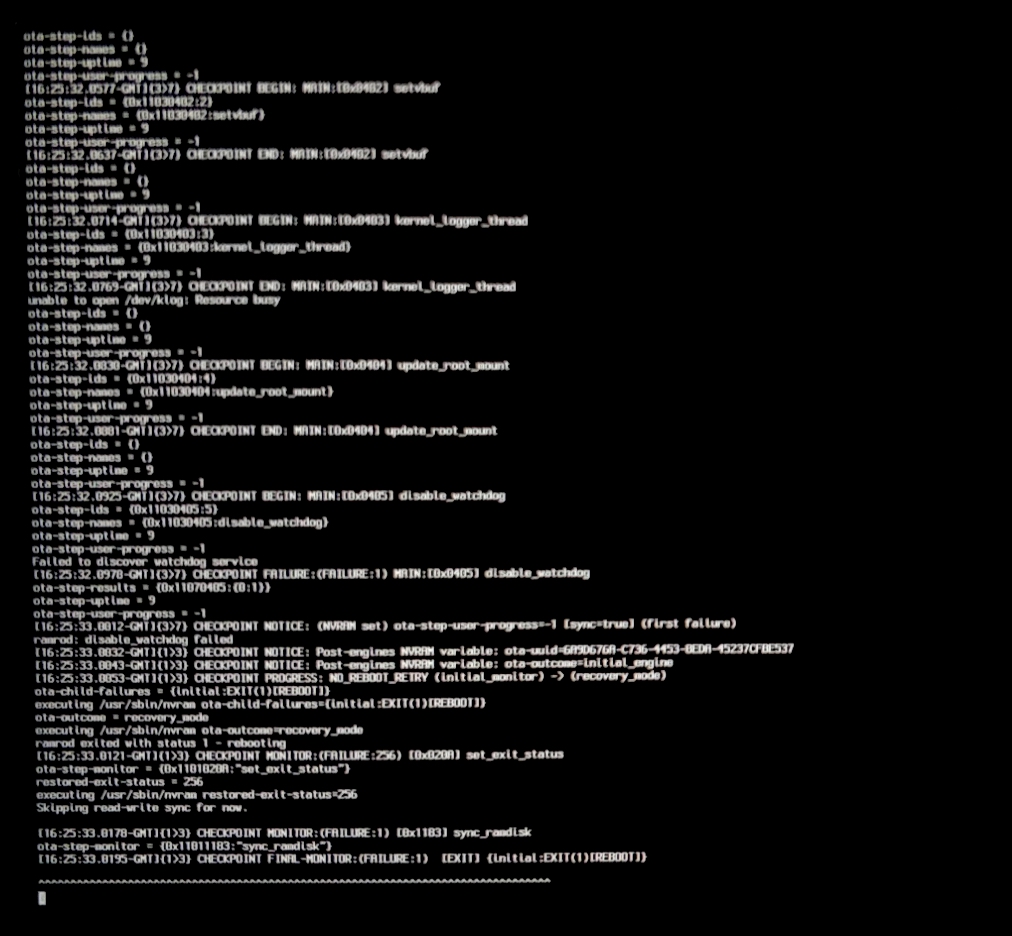
If you get stuck around the ramrod section (specifically, it boots, hits this error, and reboots again back into this, causing a loop), this hints that your SMC emulator is broken. To fix this, you have 2 options:
- Ensure you’re using the latest builds of VirtualSMC and Lilu, with the vsmcgen=1 boot-arg
- Switch over to Rehabman’s FakeSMC
(opens new window) (you can use the MinKernel / MaxKernel trick mentioned above to restrict FakeSMC to Big Sur and up
And when switching kexts, ensure you don’t have both FakeSMC and VirtualSMC enabled in your config.plist, as this will cause a conflict.
# Virtual Machine Issues
- VMWare 15 is known to get stuck on [EB|#LOG:EXITBS:START] . VMWare 16 resolves the problem.
# Reboot on «AppleUSBHostPort::createDevice: failed to create device» on macOS 11.3+
(opens new window) , to resolve you must disable XhciPortLimit under Kernel -> Quirks. Please ensure you’ve mapped your USB ports correctly
- Alternatively, you can boot macOS 11.2.3 or older to resolve
- For educational purposes, we’ve provided some images:
- macOS 11.2.3 InstallAssistant(macOS)
Источник


