- Создание мобильного приложения на React Native
- Что такое expo?
- Установка Expo
- Создание expo приложения
- Установка react-navigation
- Начало разработки
- Верстка
- How To Generate apk Using React Native Expo
- Introduction
- Install expo CLI
- Create expo account and login
- Login to expo CLI
- Edit Config
- Build
- Download apk
- Build Standalone Expo .apk and .ipa with Turtle CLI
Создание мобильного приложения на React Native

Всем привет. Это будет первой частью в создании нашего мобильного приложения.
Мобильное приложение мы будем делать с помощью react native и expo. Мы создадим не большое новостное приложение. Для этого мы будем использовать php через rest api.
В нашем приложении мы будем выводить статьи, которые будут находиться в phpmyadmin.
Что такое expo?
Expo, представляет собой набор инструментов, библиотек и сервисов, которые позволяют создавать собственные приложения для iOS и Android с помощью JavaScript. Звучит многообещающе. Проще говоря, Expo помогает вам просматривать проекты, пока вы еще их разрабатываете. Expo CLI создает URL-адрес для разработки (аналогичный локальному хосту в Интернете), который затем можно открыть в клиенте Expo для предварительного просмотра приложения.
Установка Expo
Перед тем, как установить expo, убедитесь что вы установили npm.
Expo дает вам варианты. Вы можете предварительно просмотреть свое приложение через клиентское приложение Expo на своем мобильном устройстве или с помощью симулятора iOS / Android на своем компьютере. Я при создании приложения использовал expo на android.
Создание expo приложения
После установки Expo открывается интерфейс Expo CLI и позволяет выбрать имя проекта и шаблон. Мы выберем пустую страницу.
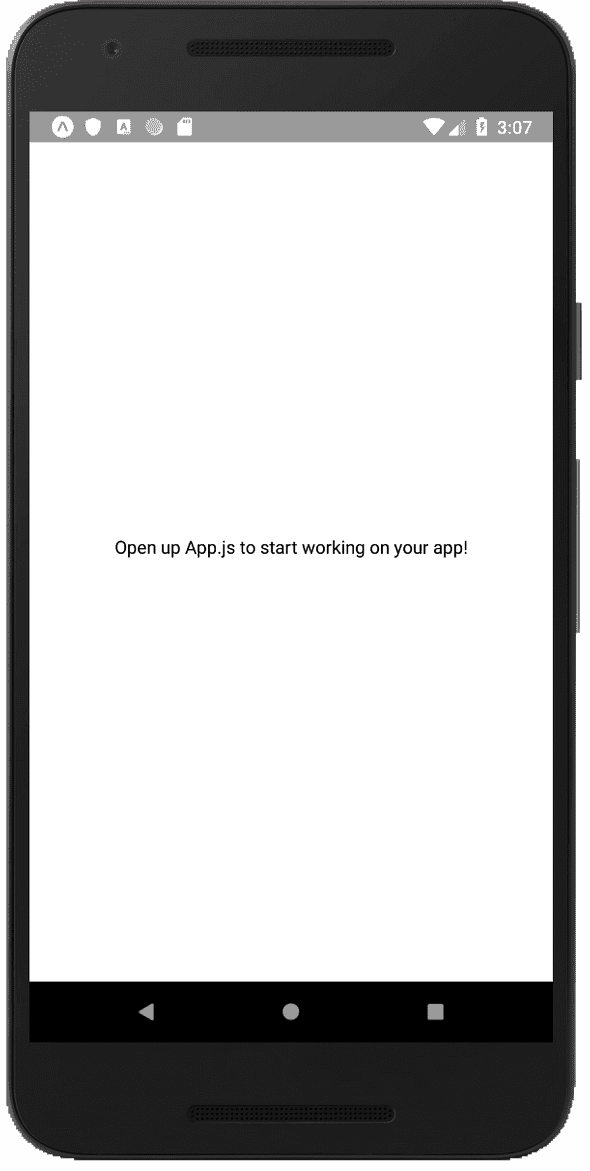
После этого, expo запустит локальный сервер разработки, откроет новое окно для просмотра сервера и предоставит вам QR-код, чтобы открыть ваш проект на вашем мобильном устройстве. Либо вы можете зарегистрироваться в мобильном приложении и expo cli, и он в мобильном приложение автоматически покажет текущие разработки.
Чтобы войти в expo на вашем компьютере используйте эту команду:
Установка react-navigation
Чтобы мы могли переходить с одного экрана на другой, нам нужно скачать react-nativation:
Начало разработки
Теперь давайте начнем нашу разработку.
Первое, что мы сделаем — это откроем App.js (наш главный файл).
Верстка
Чтобы наше приложение выглядело привлекательным, мы добавим пару элементов и добавим к ним стили.
Сначала добавим заголовок:
Теперь давайте добавим блок с выводом статей и стилизуем его.
На этой наш урок заканчивается.
В следующем уроке мы сделаем вывод данных mysql.
Если вам интересно, как все получиться перейдите и скачайте это приложение, там будет вкладка с новостями — мобильное приложение
Источник
How To Generate apk Using React Native Expo
Introduction
Hey everyone! Here is a quick article on how to generate an apk for your react native expo app.
Install expo CLI
I assume, if you are reading a blog on exporting the app , you have already installed the expo CLI 👀.
To check if you have expo CLI install run
Exit fullscreen mode
In the command line, If you get a version number that indicates you have expo install.

In case you don’t. You can install it using npm.
Exit fullscreen mode
Create expo account and login
First requirement for generating the apk file is creating an expo account.
Create an account here

After logging in, you will be redirected to your expo dashboard.

Login to expo CLI
- Open cmd
- Login to expo account using the command :
Exit fullscreen mode

To check which user you are logged in with, use the command
Exit fullscreen mode

Edit Config
If you want to add the app to the playstore. You should add «versionCode»: 1 in app.json under «android».
Exit fullscreen mode
Before uploading each build to the app store, you must increment the version number to distingush between the binaries.
You can check out more configuration for the app.json here.
Build
Open cmd in your app directory.
Run the build command
Exit fullscreen mode
Select apk 
Select generate keystore 
Wait for the build to complete.
Download apk
After the build is complete you can go to the builds section in your dashboard and download the apk.

Hope you found this useful. See you in the next one!
Источник
Build Standalone Expo .apk and .ipa with Turtle CLI
February 05, 2021 — 16 min
This article was updated on February 05, 2021.
A great way to start writing React Native applications is to use Expo. You don’t even need to setup a development environment to get started thanks to Snack, an online React Native application editor. Your application is public by default. Sharing has never been that easy.
 Brown turtle swimming underwater, Photo by Wexor Tmg on Unsplash
However, you would like to share an application exclusively with some people, not through an app store or any public channel. One possibility is to share the built application file, e.g. an .apk file for Android and an .ipa file for iOS.
Expo is so great a service (oh, and did I mention free?) that they offer you to publish your app on their servers and if you wanted to build these .apk and .ipa files, you could do so on their servers.
The flow looks like:
and you obtain a nice URL to the artifact created for you when the build finishes.
But, again, this is public. On a server you don’t control. (Although, if you made the same mistake as I did, a ticket to their support can delete any files you had wished to keep private. 🥇)
Luckily for you, Expo provide the tools they are using on their servers for free (did I mention they’re great!?). The build process relies on a CLI tool called turtle-cli . It is open-source and available on GitHub.
Let us go through an example of how to create your application file without resorting to Expo servers. That means you can keep an application private and also build your application while being offline.
The following instructions assume you have bash and Node.js available. In my experience, using the current LTS version of Node.js (version 14.15.4) works best.
Caveat: I could not complete the iOS instructions to the end since I do not have an Apple Developer paid account.
We will go through the following steps:
A condensed version of these steps without much explanation or context is available on the accompanying GitHub repository.
To install Turtle CLI, run
This will make command turtle globally available on your system. To verify it was correctly installed, let’s print the version:
2. Create a dummy application
Let’s create a dummy application using Expo CLI. In your terminal, run
It will ask you a few questions:
The blank template is enough for us.
If you have yarn installed, Expo will use it by default to install dependencies. You can use the —npm flag in the init command if you’d prefer to use npm instead.
Once it’s done setting up your project, you should see the following output in the terminal:
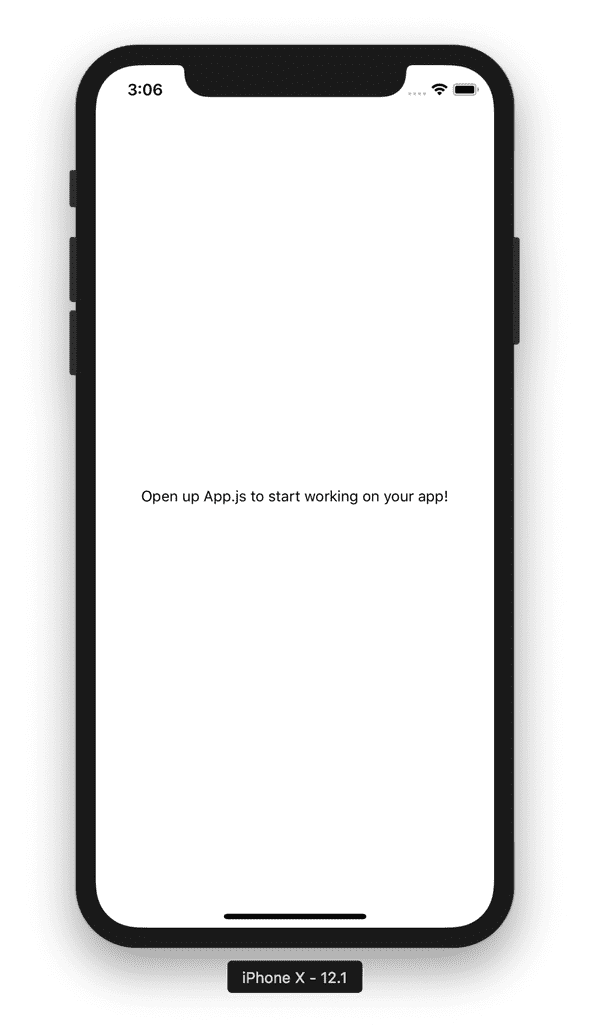
Let’s verify the generated boilerplate works:
To finish setting up the dummy application, you need to configure the app.json file because some configuration keys must be specified to build a standalone app.
If you would like to know more about these standalone app specific configurations, check Expo’s documentation for iOS and for Android.
For this tutorial, it is only necessary to specify the keys «bundleIdentifier» under «ios» , and «package» under «android» in your app.json file:
3. Publish Expo app on local server
Expo has this notion of app publishing: it allows you to share a link or QR code to Expo’s website and anyone can run your app through the Expo app on their devices.
Having your app published is also necessary for over-the-air (OTA) updates, allowing seamless updates to your application, and to publish your application (i.e. building your application files on Expo servers).
You would typically run
and your app would then be available at https://expo.io/ /NAME>.
To have your Expo app “published” on your local server (and avoid public publishing on Expo servers), you will use a different command:
The —dev flag is necessary because you will use a non-https server to publish your Expo app. Note that this prevents you from using OTA updates.
Your server does not need to be running for this step, but you do need to know which local URL you are going to use in advance. This tuorial assumes you will run a local server at http://127.0.0.1:8000.
You can now export the app:
This command will create a dist directory containing the iOS and Android JavaScript bundles and the different assets you are using.
You can now serve the dist directory on your web server, e.g.
Note: if for some reason you need to re-export your application (because you modified your app.json file since the last export, for instance), you must first remove the dist directory:
4. Create APK file — Android
First, verify that your local server is running. For example, you should see a similar output:
For Turtle CLI to work correctly to create an .apk file for Android, you need to make sure the following dependency is installed: Java Development Kit (version 8).
If you know which Expo SDK version you are going to use, you can run
This will take some time:
In the meantime, you can move on to the next section.
4.2. Create Keystore
Just like any other Android app, this app must be signed with some security certificates. In Android-land, as far as I understand, it’s called a keystore. The instructions to create such a keystore file are available on the Android Developers documentation.
Basically, just create a dummy Android project with Android Studio, and then go to Build > Generate Signed Bundle / APK. . Choose APK and press Next . The UI will ask you which app you want to sign, and your dummy app should be pre-selected. On the same screen, press on the button Create new. ; just fill the form and you’re good to go.
Alternatively, if you have keytool CLI utility available on your system (you can check that by trying keytool —help in your terminal), you can generate a keystore file with the following command
As a TL;DR, you can just download a dummy certificate on the accompanying repository under should-be-private/keystore.jks , for testing purposes only. The keystore file is hugely important if you ever plan to submit your app to Google Play store: it’s the only way to assert you’re the rightful owner to provide new updates to your app.
File: keystore.jks
Keystore Password: keystorepassword
Keystore Key Alias: keyalias
Keystore Key Password: keypassword
Make sure that you are serving the dist directory on http://127.0.0.1:8000 as explained above in Run a local server. Assuming you are using bash as your shell, from the root of your project, run:
Note that you need the flag —public-url to point to http://127.0.0.1:8000/android-index.json . In addition, it is also necessary to use the —type apk flag to produce an APK file since version 0.8.0 of turtle-cli .
The build may take some time:
Once it finishes, you should see this output in your terminal:
This message gives you the location of your built .apk file. You can now move on to the Distribute and install section below if you are not interested in creating an .ipa file for iOS.
5. Create IPA file — iOS
First, verify that your local server is running, e.g.
For Turtle CLI to work correctly to create an .ipa file for iOS, you need to make sure your system is macOS and that the following dependencies are installed:
- Xcode (version 11.4 or newer)
- fastlane
Note: make sure that you have run Xcode at least once and that you have agreed to the license agreements.
For more details, see Expo’s documentation.
If you know which Expo SDK version you are going to use, you can run
If it errors out, saying that you don’t have the right version of fastlane , try re-installing fastlane (guide). The version used in this article is fastlane 2.140.0 .
This will take some time:
In the meantime, you can move on to the next section.
5.2. Create Signing keys
This assumes you have an Apple Developer Account, which is a paid account.
To create your distribution certificate file, or .p12 file, you can follow this guide.
You will also need your Apple Team ID and a Provisioning Profile that you can generate through Xcode as well. This other guide covers in greater lengths what all these cerficates are for and how to obtain them.
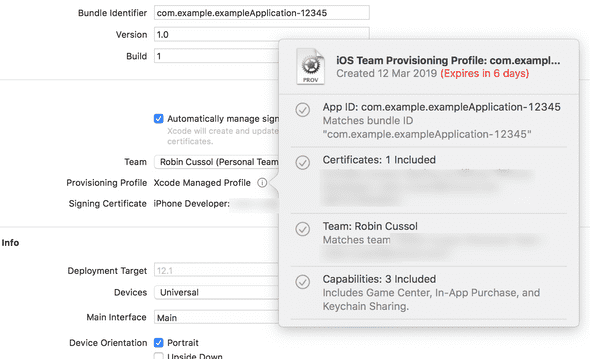
Note that the provisioning profile expires in 6 days in my case, since I do not have an Apple Developer paid account.
Sadly, it is not possible to share example files.
Make sure that you are serving the dist directory on http://127.0.0.1:8000 as explained Run a local server. Assuming you are using bash as your shell, from the root of your project, run:
Note that you need the flag —public-url to point to http://127.0.0.1:8000/ios-index.json .
Once the build finishes successfully, you should get the path to your .ipa file.
6. Distribute and install
Take your .apk and share it through some Google Drive link or other medium of your choice.
If you download this .apk file through an Android device, it should offer you to install the application on the device.
Trick: if the URL is really not friendly to type, and for whatever reason you have to type it manually, use a QR Code generator (e.g. http://www.barcode-generator.org/) and your device’s camera to simplify your life!
Alternatively, if you connect an Android device to your computer, you should be able to run:
to list all your connected Android devices and emulators. (In my case, only the emulator is “connected”.)
It is then possible to install the .apk file by running:

Caveat: I could not fully test this section, so my apologies if this does not work as intended.
Since you should have Xcode, the most promising solution is in this guide. It also mentions other ways to install the .ipa file.
That’s it for now, thank you for reading this far. You will find below the resources mentioned in this article.
If you have any questions or comments, please drop me a line on Twitter. I shall reply as soon as possible.
Stay tuned for more.
- Expo: https://expo.io
- Turtle CLI: https://github.com/expo/turtle#readme
- Expo’s guide to Building Standalone apps: https://docs.expo.io/distribution/building-standalone-apps/
- Configuring app.json : https://docs.expo.io/workflow/configuration
- Expo docs to configure CI with Turtle CLI: https://docs.expo.io/distribution/turtle-cli
- Expo docs to host application on your own servers: https://docs.expo.io/distribution/hosting-your-app/
- How to create a keystore for Android: https://developer.android.com/studio/publish/app-signing#generate-key
- Supporting GitHub repository: https://github.com/RobinCsl/build-standalone-expo-app/
Personal blog written by Robin Cussol
I like math and I like code. Oh, and writing too.
Источник


