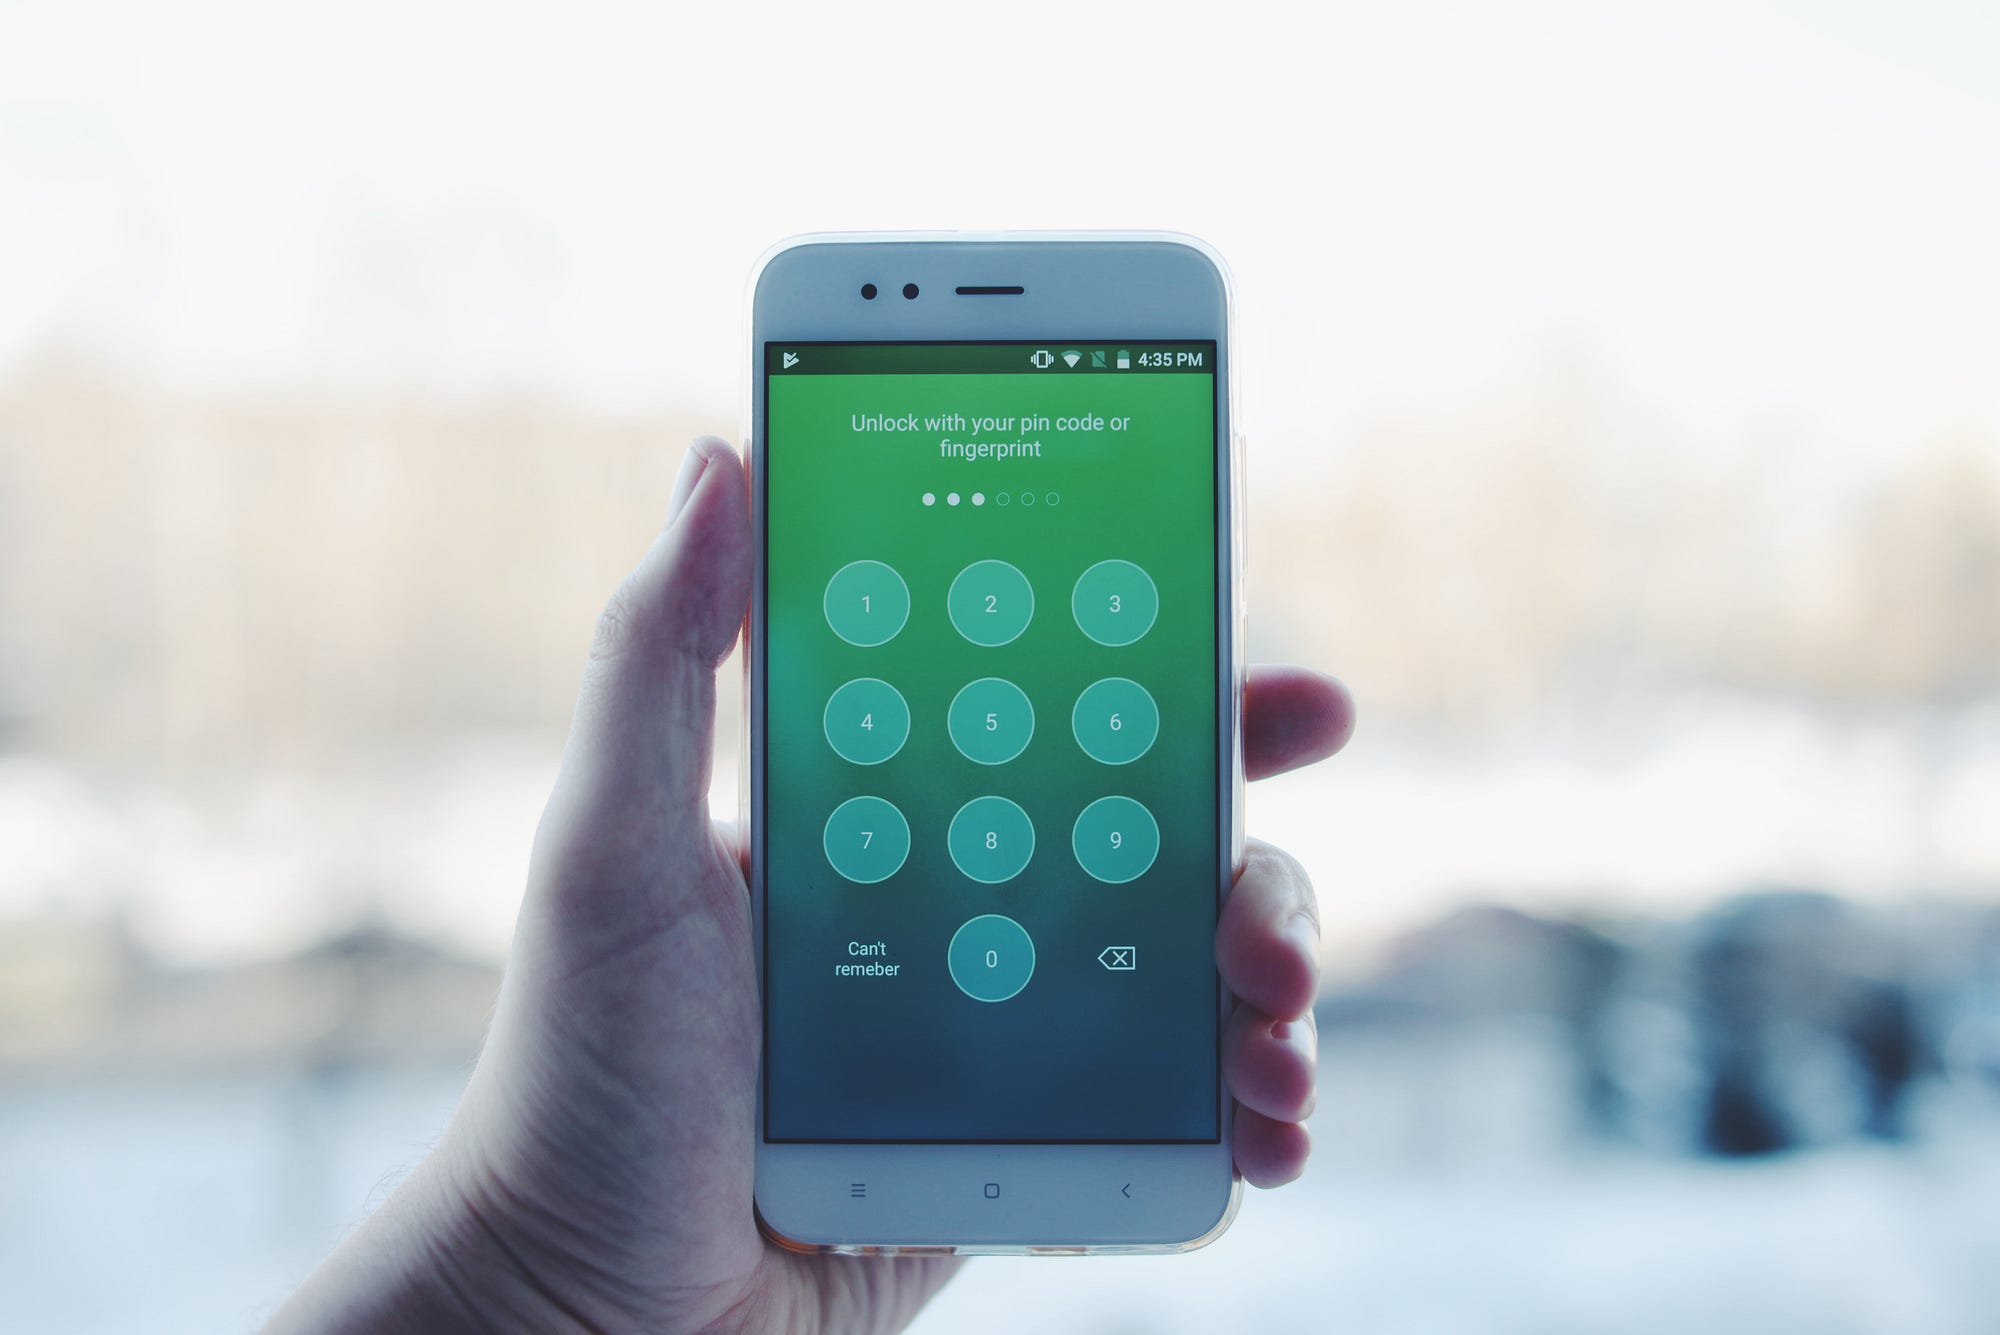
- Android Security, Keystore and Fingerprint API. Creating Lock Screen for your app.
- About Android Keystore.
- Encrypt
- Decrypt
- Using fingerprint API to confirm user and decryption.
- Integrate fingerprint authentication into your Android apps
- googlesamples/android-FingerprintDialog
- Contribute to android-FingerprintDialog development by creating an account on GitHub.
- Initial setup
- Keyguard Manager
- Fingerprint Manager
- KeyPermanentlyInvalidatedException
- Authentication Callbacks
- Don’t worry, be happy ! 🙂
- Android Fingerprint API: приделываем аутентификацию по отпечатку
- Кратчайший ликбез
- Где сенсор?
- Подготовка
- Хранилище
- Шифровальщик
- Шифровка и расшифровка
- Не тот палец
Android Security, Keystore and Fingerprint API. Creating Lock Screen for your app.

How to protect sensitive data in your Android application. In this article, I’ll tell about AndroidKeystore, Fingerprints and how to use it to protects some of your data such as passwords, tokens, etc.
This article is based on PFLockScreen library I created. You can use it in your application. If you have some issues or ideas fill free to create an issue on GitHub or write me a message.
About Android Keystore.
The Android Keystore system lets you store cryptographic keys in a container to make it more difficult to extract from the device. Once keys are in the keystore, they can be used for cryptographic operations with the key material remaining non-exportable.
You can use Android Keystore to encrypt some sensitive data like passwords. For example, your application required a password to make a purchase and you want the application to remember user’s password for some short amount of time (15 min — 30 min) so a user doesn’t need to input it again. The similar logic you can find, for instance, in Apple AppStore. Within this time input password again is not required. For this situation, you can use keystore to encrypt and save the password.
First, you need to load a keystore.
Next step is to generate an encryption key.
What is going on here? You initialize KeyGenerator, with your alias name and purposes (Encryption and Decryption).
Set encryption algorithm and parameters. You can use different algorithms to create a symmetric or asymmetric key, etc (Use KeyPairGenerator or KeyGenerator).
If you want you can protect this key with device pin code (The one you use to lock your device) or fingerprint with the setUserAuthenticationRequired method.
It’s mean that to get access to the encryption keys from keystore and decrypt your data you will need to use a device authorization.
But don’t worry. Only your application can get its keystore data. But in this case, there is additional security level required user participation.
After you load keystore and generate key next set is creating a Cipher object.
This class provides the functionality of a cryptographic cipher for encryption and decryption.
“RSA/ECB/OAEPWithSHA-256AndMGF1Padding” — “algorithm/mode/padding” or can be just “algorithm” depends on your key generator parameters.
Encrypt
To encrypt out data we need to initialize cipher object.
A known bug in Android 6.0 (API Level 23) causes user authentication-related authorizations to be enforced even for public keys. To work around this issue extract the public key material to use outside of Android Keystore.
After we did all the steps we finally do encoding. byte[] bytes = cipher.doFinal(input.getBytes()); String encoded = Base64.encodeToString(bytes, Base64.NO_WRAP);
This encoded string we got in result we can save somewhere in SharedPreferences or using Accounts API.
Decrypt
To decode string we got before, first, we need to preparing Cipher to decode.
If before we set the “user authentication required” parameter to false before, we can just decode.
Using fingerprint API to confirm user and decryption.
Google added Fingerprint API only in Android 6.0 and even new devices not always have a fingerprint scanner. So you have to check you if a device has fingerprint hardware.
To check if a device has a scanner: FingerprintManagerCompat.from(context).isHardwareDetected();
To check if a user added his fingerprint to the device: FingerprintManagerCompat.from(context).hasEnrolledFingerprints();
If we going to use Fingerprint API for decoding (KeyGenerator’s userAuthenticationRequired is true), then we need to check also if your screen is locked with pin or pattern.
If we are using Fingerprint for decryption we need to pass CryptoObject. Otherwise, CryptoObject can be null.
Next step is letting the system know that we are ready to try to authenticate with fingerprint:
If we want a system to stop listening for fingerprint we can cancel.
To get an event about successful or unsuccessful attempts use
You can find code example in my PFLockScreen library.
If you like the article please press 👏 button.
Источник
Integrate fingerprint authentication into your Android apps

This story will help you to understand how fingerprint scan is working and how to use fingerprint authentication in your application.

You can take a look at Google’s sample fingerprint dialog before coding.
googlesamples/android-FingerprintDialog
Contribute to android-FingerprintDialog development by creating an account on GitHub.
Initial setup
- First , add your permission to manifest file.
Since this permission is categorized as a normal permission , there is no need to add it as runtime permission.
2. Create your own fingerprint UI. Android gives you a default popup design which can be seen below. If you want to redesign your own screen , that’s okay. Just create your dialog and then call authenticate() method to start listening fingerprint scan. I’ll explain how this method works later.

3. Initialize KeyStore and generate key
A secret key should be created before authentication process. Generated key will be stored securely on device by using KeyStore instance and used for initializing cipher object a little later. First , gain access to keystore.
Generate a secret key after getting KeyGenerator instance. Arguments below are using to specify type of the key. KEY_STORE_ALIAS is container for key to be saved.
Before every use of the generated key , setUserAuthenticationRequired(true) method is used to decide whether this key is authorized to be used only if user has been authenticated. That is applied to secret key or private key operations.
Keyguard Manager
This class provides access to your lock screen.
Returns whether the keyguard is secured by a PIN, pattern, password or a SIM card is currently locked.
Fingerprint Manager
FingerprintManager is fundamental of using fingerprint scan. Most of the fingerprint related methods can be found under this class.
After getting instance of FingerprintManager , you will be able to use some methods of this class such as isHardwareDetected(), hasEnrolledFingerprints() and authenticate(…) .
Checks whether fingerprint sensor does exist or is available.
Checks if there is at least one enrolled fingerprint on device.
Tries to authenticate cypto object. The fingerprint hardware starts listening for scan after that call. Before calling this method , appropriate parameters should be prepared.
Parameter 1: CryptoObject
Before creating new instance of CryptoObject , you need to initialize Cipher object as follows
This initialization of Cipher object will be used to create CryptoObject instance. While initializing cipher , generated and stored key in keystore container is used. Successfully initialized cipher means that previously stored key is not invalidated and it is still available for use.
Passing CryptoObject as an argument
After cipher object is initialized , crypto object is created by using this cipher instance. Generated crypto object should be passed as a parameter for authenticate() method. That method has some useful callbacks which I’ll talk about later.
Parameter 2: CancellationSignal
CancellationSignal is used to cancel scan in progress. By calling cancel method and setting this object to null , you are able to stop listening fingerprint scan anytime. (error comes or user presses cancel button… etc.)
Parameter 3: Flags
It represents optional flags and can be set to zero.
Parameter 4: Authentication Callback
A class instance extends from FingerprintManager.AuthenticationCallback to receive authentication results.
Parameter 5: Handler
It’s an optional parameter. If it is set optionally , FingerprintManager will use Looper class from this handler for its inner MyHandler class.
KeyPermanentlyInvalidatedException
This exception is thrown when fingerprint enrollment has changed on device while initializing cipher. This exception occurs for keys which are to be used only if the user has been authenticated.
Keys are permanently invalidated once a new fingerprint is enrolled on device or all fingerprints on device are removed. Also, if secure lock screen is disabled or forcibly reset , keys are permanently and irreversibly invalidated.
If you need to authenticate user despite this exception , you must call initCipher() method again with a valid key.
You should generate a new key before initializing cipher because the old one is invalidated.
Authentication Callbacks
After a helper class extends from FingerprintManager.AuthenticationCallback is created, the following callbacks are called depending on result of authenticate(CryptoObject, CancellationSignal, int, AuthenticationCallback, Handler) method.
You can find defined help and error codes by following this link .
Don’t worry, be happy ! 🙂
It seems a little frightening at the beginning because of using encryption process. However , adding fingerprint to your application is really attractive and user friendly. I think it’s never too late to add fingerprint into your app. After proceed step by step , development becomes easier. It is worth a shot!
Источник
Android Fingerprint API: приделываем аутентификацию по отпечатку
Привет, Хабр! Прошло достаточно много времени, как появился Fingerprint API для Android, в сети много разрозненных сэмплов кода по его внедрению и использованию, но на Хабре по какой-то причине эту тему обходили стороной. На мой взгляд, настало время исправить это недоразумение. Всех заинтересовавшихся прошу под кат.

Кратчайший ликбез
Итак, что же представляет собой Fingerprint API? API позволяет пользователю аутентифицироваться посредством своего отпечатка, очевидно. Для работы с сенсором API предлагает нам FingerprintManager, достаточно простой в освоении.
Как его использовать? А вот это уже интереснее. Практически везде, где требуется аутентификация по паролю, можно прикрутить аутентификацию по отпечатку. Представьте себе приложение, состоящее из LoginActivity и MainActivity. При запуске мы попадаем на экран логина, вводим пин-код, проходим к данным. Но мы хотим заменить вход по пин-коду на вход по отпечатку. К слову, полностью заменить не получится, мы можем лишь избавить пользователя от ручного ввода пин-кода, подставляя ранее сохраненный пин-код (имеется ввиду клиент-серверное приложение, в котором нужно отправить пароль серверу).
Где сенсор?
Чтобы начать получать профит от нового API, первым делом нужно добавить permission в манифесте:
Само собой, использовать Fingerprint API можно только на устройствах, его поддерживающих: соответственно, это устройства Android 6+ с сенсором.
Совместимость можно легко проверить с помощью метода:
FingerprintManagerCompat — это удобная обертка для обычного FingerprintManager’а, которая упрощает проверку устройства на совместимость, инкапсулируя в себе проверку версии API. В данном случае, isHardwareDetected() вернет false, если API ниже 23.
Дальше, нам нужно понять, готов ли сенсор к использованию. Для этого определим enum состояний:
И воспользуемся методом:
Код достаточно тривиальный. Небольшое недопонимание может вызвать момент, когда мы проверяем заблокировано ли устройство. Нам нужна эта проверка, так как, хоть Android и не позволяет добавлять отпечатки в незащищенное устройство, некоторые производители это обходят, поэтому подстраховаться не помешает.
Различные состояния можно использовать для того, чтобы дать пользователю понять, что происходит и направить его на путь истинный.
Подготовка
Итак, не зацикливаясь на проверке пин-кода на валидность, прикинем следующую упрощенную логику действий:
- Пользователь вводит пин-код, если SensorState.READY, то мы сохраняем пин-код, запускаем MainActivity.
- Рестартим приложение, если SensorState.READY, то считываем отпечаток, достаем пин-код, имитируем его ввод, запускаем MainActivity.
Схема была бы достаточно простой, если бы не одно но: Гугл настойчиво рекомендует не хранить приватные данные пользователя в открытом виде. Поэтому нам нужен механизм шифровки и расшифровки для, соответственно, сохранения и использования. Займемся этим.
Что нам нужно для шифровки и расшифровки:
- Защищенное хранилище для ключей.
- Криптографический ключ.
- Шифровальщик
Хранилище
Для работы с отпечатками система предоставляет нам свой кейстор — “AndroidKeyStore” и гарантирует защиту от несанкционированного доступа. Воспользуемся им:
Следует принять, понять и простить, что кейстор хранит только криптографические ключи. Пароли, пин и другие приватные данные там хранить нельзя.
На выбор у нас два варианта ключей: симметричный ключ и пара из публичного и приватного ключа. Из соображений UX мы воспользуемся парой. Это позволит нам отделить ввод отпечатка от шифрования пин-кода.
Ключи мы будем доставать из кейстора, но сначала нужно их туда положить. Для создания ключа воспользуемся генератором.
При инициализации мы указываем, в какой кейстор пойдут сгенерированные ключи и для какого алгоритма предназначен этот ключ.
Сама же генерация происходит следующим образом:
Здесь следует обратить внимание на два места:
- KEY_ALIAS — это псевдоним ключа, по которому мы будем выдергивать его из кейстора, обычный psfs.
- .setUserAuthenticationRequired(true) — этот флаг указывает, что каждый раз, когда нам нужно будет воспользоваться ключом, нужно будет подтвердить себя, в нашем случае — с помощью отпечатка.
Проверять наличие ключа будем следующим образом:
Шифровальщик
Шифровкой и дешифровкой в Java занимается объект Cipher.
Адовая мешанина в аргументе — это строка трансформации, которая включает в себя алгоритм, режим смешивания и дополнение.
После того, как мы получили Cipher, нужно подготовить его к работе. При генерации ключа мы указали, что будем использовать его только для шифровки и расшифровки. Соответственно, Cipher тоже будет для этих целей:
где initDecodeCipher() и initEncodeCiper() следующие:
Нетрудно заметить, что зашифровывающий Cipher несколько сложнее инициализировать. Это косяк самого Гугла, суть которого в том, что публичный ключ требует подтверждения пользователя. Мы обходим это требование с помощью слепка ключа (костыль, ага).
Момент с KeyPermanentlyInvalidatedException — если по какой-то причине ключ нельзя использовать, выстреливает это исключение. Возможные причины — добавление нового отпечатка к существующему, смена или полное удаление блокировки. Тогда ключ более не имеет смысла хранить, и мы его удаляем.
Метод, который собирает всю цепочку подготовки:
Шифровка и расшифровка
Опишем метод, который зашифровывает строку аргумент:
В результате мы получаем Base64-строку, которую можно спокойно хранить в преференсах приложения.
Для расшифровки же используем следующий метод:
Опа, на вход он получает не только зашифрованную строку, но и объект Cipher. Откуда он там взялся, станет ясно позднее.
Не тот палец
Для того чтобы наконец использовать сенсор, нужно воспользоваться методом FingerprintManagerCompat:
Хендлер и флаги нам сейчас не нужны, сигнал используется, чтобы отменить режим считывания отпечатков (при сворачивании приложения, например), коллбеки возвращают результат конкретного считывания, а вот над криптообъектом остановимся поподробнее.
CryptoObject в данном случае используется как обертка для Cipher’a. Чтобы его получить, используем метод:
Как видно из кода, криптообъект создается из расшифровывающего Cipher. Если этот Cipher прямо сейчас отправить в метод decode(), то вылетит исключение, оповещающее о том, что мы пытаемся использовать ключ без подтверждения.
Строго говоря, мы создаем криптообъект и отправляем его на вход в authenticate() как раз для получения этого самого подтверждения.
Если getCryptoObject() вернул null, то это значит, что при инициализации Chiper‘а произошел KeyPermanentlyInvalidatedException. Тут уже ничего не поделаешь, кроме как дать пользователю знать, что вход по отпечатку недоступен и ему придется заново ввести пин-код.
Как я уже говорил, результаты считывания сенсора мы получаем в методах коллбека. Вот как они выглядят:
В случае успешного распознавания мы получаем AuthenticationResult, из которого можем достать объект Cipher c уже подтвержденным ключом:
Теперь можно с чистой совестью отправить его на вход в decode(), получить пин-код, сымитировать его ввод и показать пользователю его данные.
На этом на сегодня всё, замечания, комментарии, предложения и вопросы приветствуются.
Простейший вариант работы кода можете посмотреть на гитхабе.
Источник


