- Google MAPs API в android или как работать с картами быстрее
- Принцип работы Google MAPs API
- А как вообще работать с этой страшной штукой?
- Подключение библиотеки
- Встраиваем карту в приложение
- Пишем всякие интересности
- Создание андроид-приложения с картами Google Maps с использованием Google Services и Android Studio
- Настройка Android Studio
- Adding Maps to an Android App with Google Play Services
- Get an API Key
- Linux or OS X
- Windows
- Adding a Map
- Setting the Map State Programmatically
- Adding Markers on the Map
- Showing the User’s Current Location
- Conclusion
Google MAPs API в android или как работать с картами быстрее
Принцип работы Google MAPs API
Вся документация для работы с картами приведена на (логично) официальном сайте google maps api. Сегодня я рассматриваю только Directions API (документация). Для того что бы получить какую-либо информацию от большого числа, вам необходимо сделать запрос. Ответ прийдет в формате JSON.
Общий вид запроса:
Пример: https://maps.googleapis.com/maps/api/directions/json?origin=55.754724,%2037.621380&destination=55.728466,%2037.604155&key=»Your MAPs API key»
В качестве ответа нам (ожидаемо) пришел JSON с большим набором разных точек с координатами и названиями этих мест.
А как вообще работать с этой страшной штукой?
Если вы только начинаете работать с Android, то советую вам почитать про такую замечательную библиотеку Retrofit, которая превращает работу с запросами в код из 2 строк. Рассматривать сейчас я её не буду.
Но я сегодня хочу рассмотреть пример использования библиотеки Java Client for Google Maps Services. Библиотека как по мне замечательная, освобождает от необходимости писать (пусть даже очень короткие) запросы вручную и отлично подходит в случаях когда нужно писать очень быстро, как например на хакатоне. Я хочу показать живой пример использования данной библиотеки на примере работы с Directions API.
Подключение библиотеки
Для начала нам потребуется получить ключ для нашего приложения. Топаем на оф. сайт, находим сверху кнопку «получить ключ», создаем новый проект, нажимаем далее и готово!
UPD: теперь бесплатно получить нельзя. С лета 2018 года Google обновили план и необходимо ввести данные своей карты для получения 200$ для запросов каждый месяц бесплатно. Этого должно хватать, но конечно тенденция не радует.
Firebase
Для правильной работы приложения нам необходимо получить файл google-service.json. Идем на firebase выбираем наш проект и добавляем его. Далее нам нужно выбрать Android проект, ввести название пакета, регистрируем приложение. Скачиваем файл и перетаскиваем в папку app. К слову её не будет видно в дереве проекта, для этого надо в Android Studio поменять отображение с Android на Project или залезть в наш проект через файловый менеджер. Далее следуем инструкциям где какой код писать.
Включаем в консоли
Так же нам необходимо включить Directions API (или любую другую необходимую вам API) в консоли, для этого идем сюда, выбираем наше приложение и включаем Directions API.
Gradle
В Gradle файлы так же необходимо добавить еще пару строк. В итоге новые строки выглядят вот так:
Обязательно проверяйте, актуальная ли это сейчас версия!
Встраиваем карту в приложение
Google map в андроид реализовывается как фрагмент (или как MapView, но об этом в другой раз, нам сейчас особой разницы нет). Просто встраиваем его в наш layout. В нашем классе, который работает с картой, необходимо найти эту карту и заимплементить интерфейс.
Код для фрагмента выглядит вот так. Я буду работать с MainActivity, соответственно если вы используете другой класс вам необходимо поменять контекст.
Отлично, фрагмент встроили, Android Studio на нас не ругается, едем дальше. Переходим в MainActivity.class и имплементим интерфейс OnMapReadyCallback.
В onCreate пишем
Так же идем в Manifests и прописываем вот такие штуки внутри тэга application
Где вместо @string/google_maps_key должен подставиться ваш ключ для карт, который мы получили ранее. Соответственно вам нужно создать нужный ресурс в файле string.
Пишем всякие интересности
Отлично, карта у нас есть, давайте наконец напишем хоть что-нибудь интересное. Пусть нашей целью будет нарисовать маршрут по Москве через несколько точек:
- Гум (55.754724, 37.621380)
- Большой театр (55.760133, 37.618697)
- Патриаршие пруды (55.764753, 37.591313)
- Парк культуры (55.728466, 37.604155)
Кладу все наши места в List и делаю это как глобальную переменную.
Для начала создадим по маркеру на каждое место. Маркер это просто объект, которому передаются координаты, а затем они накладываются на карту. Код:
Далее мы пишем вот такой код все в том же методе onMapReady
При запуске приложения мы получили вот такую картину:

Хм, Москва, конечно, весьма запутанная, но не настолько же. Почему же такой странный маршрут нам вернул Google? Потому что он построил маршрут для автомобилей, который идет по умолчанию, но мы можем это изменить. Чтобы построить маршрут для пешеходов, меняем код на:
Теперь наш маршрут выглядит вот так
Существует еще множество настроек, о всех них можно прочитать в документации. Просто мы все параметры будем добавлять не в сырой запрос, а в код, поскольку методы библиотеки имеют те же названия что и просто в запросах.
Источник
Создание андроид-приложения с картами Google Maps с использованием Google Services и Android Studio
Чтобы наглядно увидеть процесс создания android-приложения с Картами Google, смотрите видео:
Скачать исходный код проекта можно по ссылке внизу урока.
Настройка Android Studio
Для того чтобы использовать новый Maps API, мы должны предоставить Google имя пакета нашего приложения. Поэтому нам необходимо создать новое приложение в Android Studio и настроить некоторые зависимости для успешного подключения к Maps API.
Откройте Android Studio и выберите создание нового проекта. На первом экране настройки нужно ввести данные, такие как имя проекта — здесь пишем MapApp, и домен компании — я укажу адрес своего сайта fandroid.info. Имя пакета вашего приложения формируется по умолчанию из перевернутого доменного имени и имени проекта. Запомните его, оно нам еще понадобится. 
При выборе Minimum required SDK, вы можете выбрать версию ниже 4.0, однако для этого потребуется загрузка дополнительной библиотеки поддержки в Android SDK. В этом уроке мы будем устанавливать Minimum required SDK версии API 14 Android 4.0. Около 94% android-устройств будут совместимы с нашим приложением (по данным Google Play на момент публикации).
Идите вперед и жмите кнопку Далее, ничего не меняя, до конца. Если вы впервые создаете проект, используя Android Studio, среда может также скачать файлы gradle сборки. Эти файлы весят около 50мб, так что процесс создания проекта займет немного больше времени.
После создания проекта Android Studio будет индексировать его, это может занять некоторое время в зависимости от мощности вашей машины. Вы можете увидеть, что индексация закончилась, когда кнопки в верхней части экрана станут активными.
Теперь, когда проект создан, мы должны убедиться, что у нас есть необходимые компоненты SDK, для подключения нашего приложения к сервисам Google. В верхней панели инструментов, выберите кнопку SDK менеджера  . Откройте папку Extras в SDK Manager и убедитесь, что у вас установлены следующие пакеты:
Источник
Adding Maps to an Android App with Google Play Services

In the past, traveling to a new or unfamiliar location typically required you to carry around a local map and/or ask locals for directions. Getting lost is becoming a thing of the past, as we can conveniently carry in our pockets a map of not just the whole planet, but one that will show you where you are, give directions to where you want to go, the estimated time it will take to get there, let you mark points of interest and save them for later, enable you to search for places that are close by and much more.
In this article, we’ll look at the Google Maps Android API which enables you to add maps based on Google Maps to your application. The API automatically handles access to Google Maps servers, data downloading, map display, and response to map gestures. You can use the API calls to add markers, polygons, and overlays to a basic map and to change the user’s view of a particular map area. These objects provide additional information for map locations and allow user interaction with the map.
We’ll create an application that will show some of the features available in the API. We won’t cover everything as that would take several posts, but we will cover common features like adding a map to the view, changing the map type, adding a marker to the map to mark a location and configuring the camera which will affect how the user sees a map.
The completed project can be downloaded here.
Get an API Key
To use the Google Maps Android API, you must register your app project on the Google Developers Console and get a Google API key to add your app.
The API key is based on a short form of your app’s digital certificate, known as its SHA-1 fingerprint. While you’re developing and testing, you should use a debug certificate (which we’ll cover shortly), but when publishing the app, you have to use a release certificate (you can find instructions for generating a release certificate here).
The Android SDK tools generate a debug certificate automatically when creating a debug build for the first time, so all we have to do is retrieve it. The file is named debug.keystore and by default, it’s stored in the same directory as your Android Virtual Device (AVD) files:
- OS X and Linux:
/.android/
To see details of the certificate, run the following:
Linux or OS X
Windows
The Terminal will show the MD5 and SHA1 certificate fingerprints, we want the SHA1. Keep the Terminal window open and head over to the to the Google Developer Console. Click the Create Project button to create a new project and name it SP Map Demo .
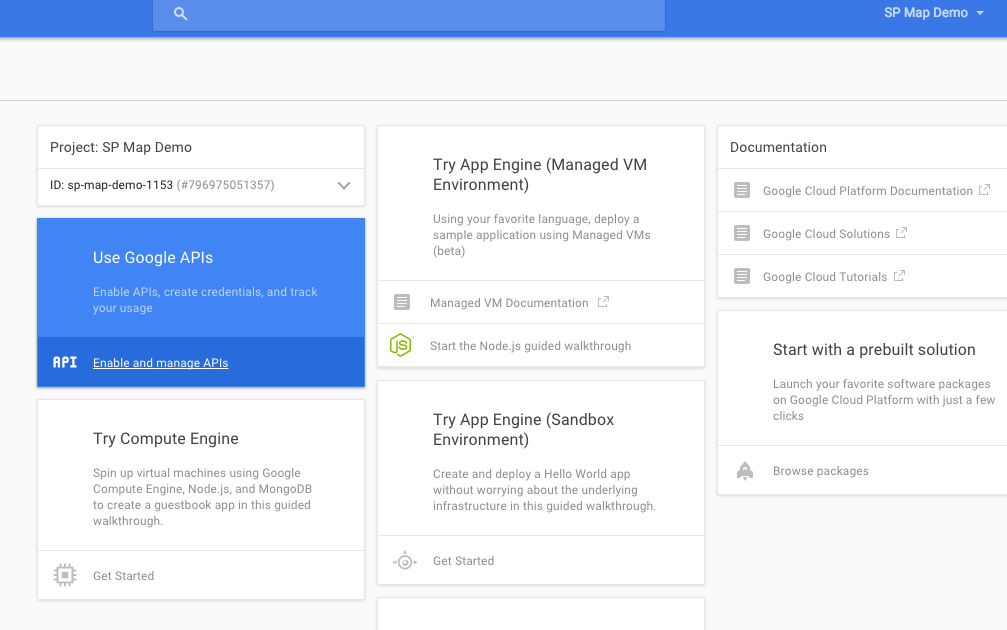
You will be taken to the project’s dashboard, in the center of the screen click вЂUse Google APIs’.
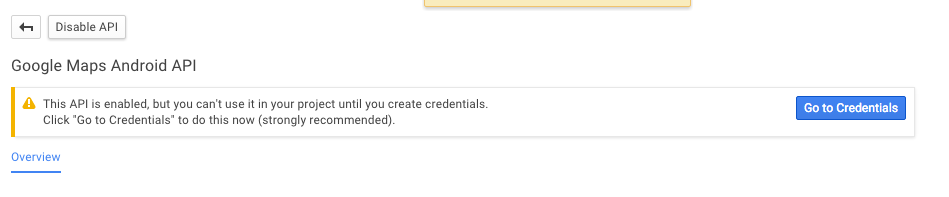
Select Google Maps Android API and click the Enable API button that appears on the next page.
After the API is enabled, click Go to Credentials, from the left panel.
From the Add Credentials menu , select API Key.
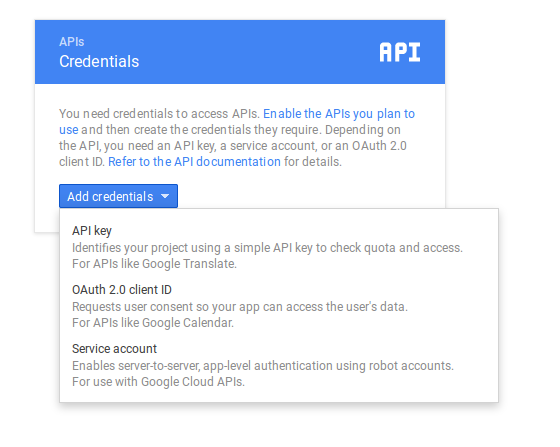
Select Android Key.

In the next dialog, you can change the key name but I left it as the default Android key 1
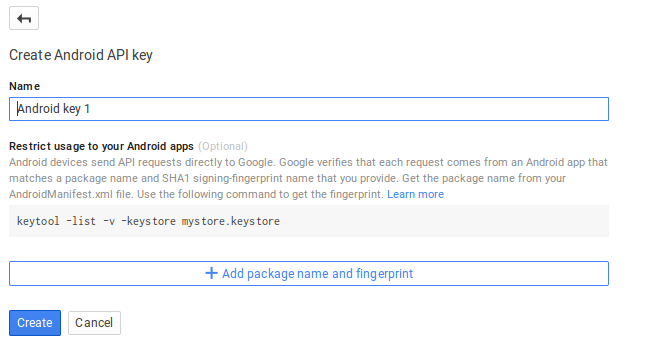
Use the Add package name and fingerprint button to add your app’s package name (I used com.echessa.mapdemo01 ) and your SHA1 fingerprint. After clicking the Create button, you will be shown an API key that we will use in our app.
In Android Studio, create a new project, I named mine MapDemo01. Make sure it has a package name that corresponds with what you used when generating a key on the Google Developer Console, otherwise you will have to edit the package name in the Developer Console to match your app.
Select API 15 as the Minimum SDK version. In the next window, select Empty Activity (Blank Activity if you are using Android Studio version 1.3 or earlier). Leave the last window as default and click Finish.
Adding a Map
Add the following to the build.gradle (Module: app) file and sync gradle.
In the manifest file, add the following as a child of the application tag. Replace your API key in the value attribute.
Add the following as a child of the manifest element in the manifest file.
The Google Maps Android API uses OpenGL ES version 2 to render the map. If OpenGL ES version 2 is not installed, your map will not appear. It’s recommended to include the above code in the manifest file which notifies external services of the requirement. In particular, it prevents the Google Play Store from displaying your app on devices that don’t support OpenGL ES version 2.
Note: In previous versions of the Google Play Services API, you had to include external storage and internet permissions in the manifest file, this is no longer the case.
If you’re targeting version 8.3 or later of the Google Play services SDK, you no longer need the WRITE_EXTERNAL_STORAGE permission to use the Google Maps Android API.
If you’re targeting earlier versions of the Google Play services SDK, you must request the android.permission.WRITE_EXTERNAL_STORAGE permission.
If your app is targeting API level 23 (Android 6.0), which requires the use of runtime permissions, you should target version 8.3 or later of the Google Play services SDK.
The following permissions are defined in the Google Play services manifest, and are automatically merged into your app manifest at build time. You don’t need to add them explicitly to your manifest:
- android.permission.INTERNET : Used by the API to download map tiles from Google Maps servers.
- android.permission.ACCESS_NETWORK_STATE : Allows the API to check the connection status to determine whether data can be downloaded.
Maps are represented in the API by the GoogleMap and MapFragment classes.
To add a map to your app, add a Fragment object to the Activity that will handle the map. You can do this in code or XML layout files. We’ll use the latter method.
Change activity_main.xml as below:
Above we added a fragment to the activity and set its android:name attribute to com.google.android.gms.maps.MapFragment . This attaches a MapFragment to the activity. If you need to support older devices, instead use com.google.android.gms.maps.SupportMapFragment from the support library.
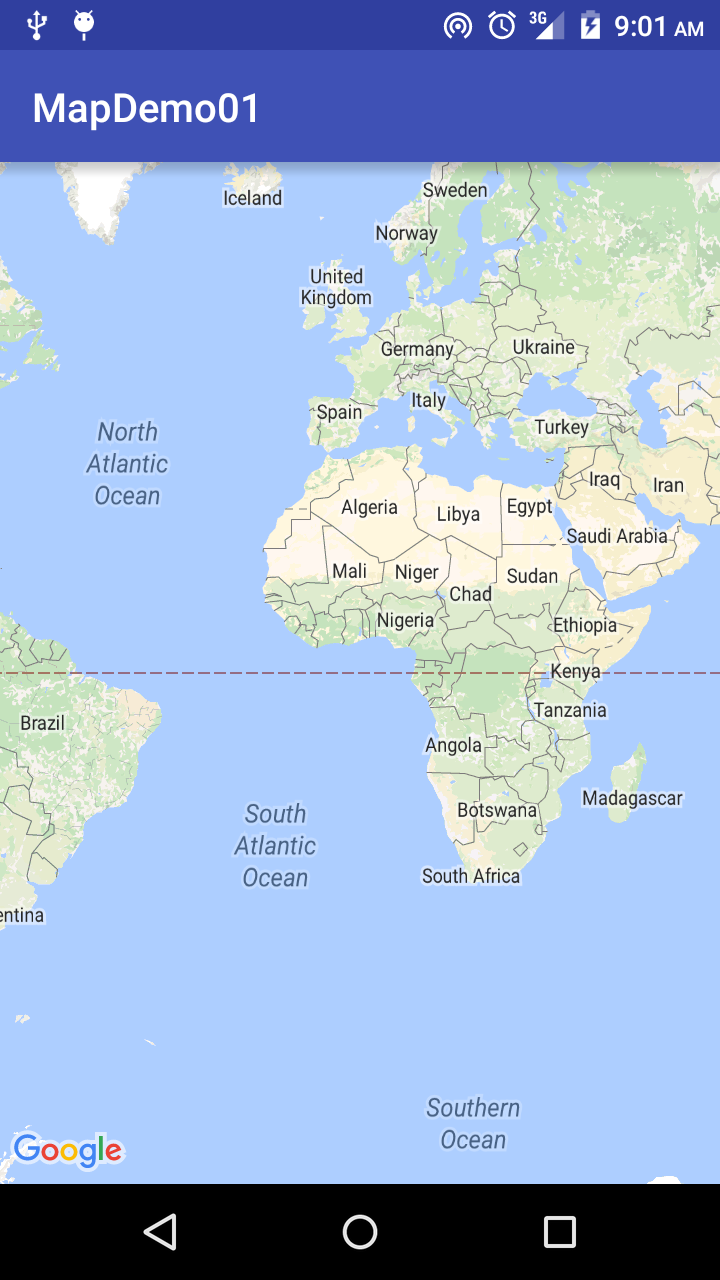
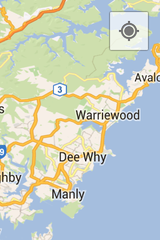
Run the app and you should see a map embedded on the view.
The default map view shows a view of the earth with the camera centered at the equator and perpendicular to the surface. You can configure the initial state of the map, changing settings such as the camera position (including: location, zoom, bearing and tilt), the map type, including the zoom or compass buttons on screen, the gestures a user can use to manipulate the camera, whether lite mode is enabled (a bitmap image of a map that supports a subset of the functionality supplied by the full API).
You can configure the initial state of the map either via XML or programmatically.
Update the fragment in activity_main.xml:
Run the app to see the changes to the initial state of the map.
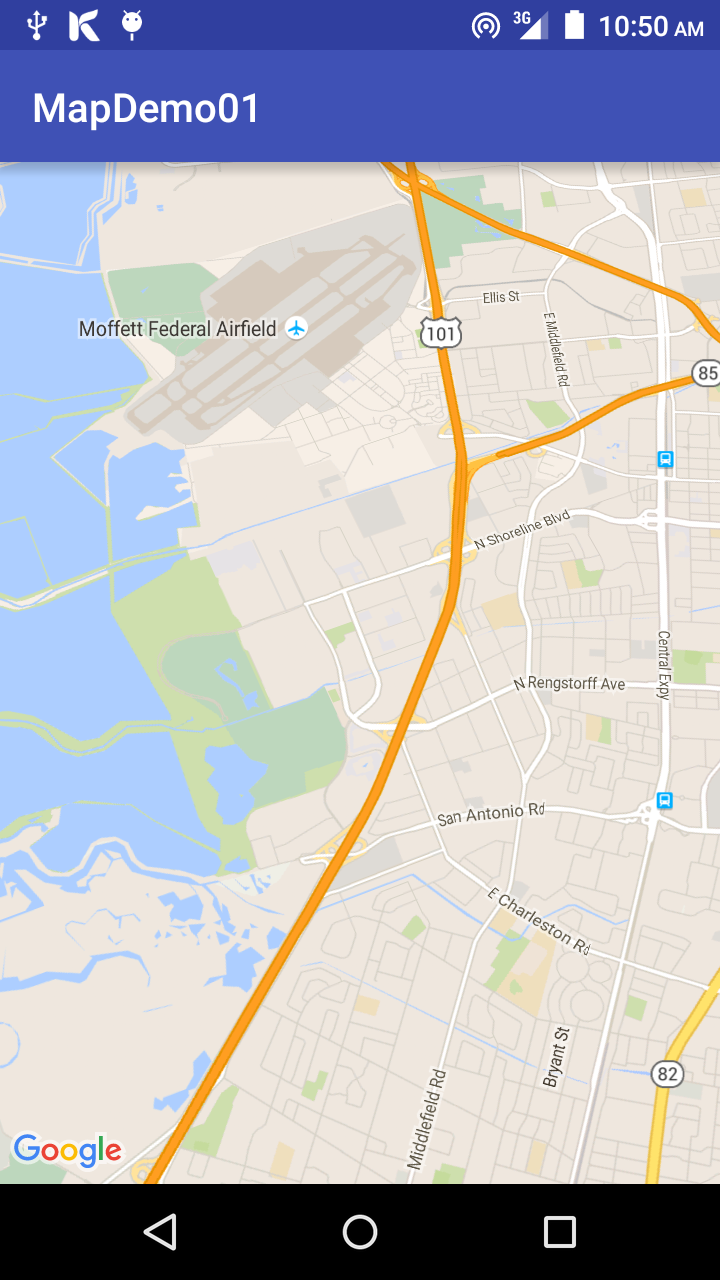
Above we included settings for the camera position such as location, zoom, bearing and tilt. cameraBearing sets the direction in which a vertical line on the map points, measured in degrees clockwise from north. cameraTargetLat and cameraTargetLng sets the location of the center of the map. cameraTilt sets the camera’s position on an arc between directly over the map’s center position and the surface of the Earth. cameraZoom determines the scale of the map, at larger zoom levels more detail can is on the screen, while at smaller zoom levels more of the world is on the screen.
We set the mapType to normal which is the default map type. The other available options are outlined below.
- Normal: Typical road map. Roads, some man-made features, and important natural features such as rivers are shown. Road and feature labels are also visible.
- Hybrid: Satellite photograph data with road maps added. Road and feature labels are visible.
- Satellite: Satellite photograph data. Road and feature labels are not visible.
- Terrain: Topographic data. The map includes colors, contour lines and labels and perspective shading. Some roads and labels are also visible.
- None: No tiles. The map is rendered as an empty grid with no tiles loaded.
The last set of settings determine whether the compass and zoom control appear on the screen and enable/disable some gestures.
The last attribute tools:ignore=»MissingPrefix» is not part of the MapView settings, but it gets rid of an error message (Unexpected namespace prefix map found for tag fragment) Android Studio shows for attributes that begin with the map: property. The project will still build and run despite Android Studio showing an error. According to this Gmaps bug report page, the problem seems to be a bug with the Android Lint tool. You can disable Lint checking, but since it’s useful in finding bugs, a better solution is to ignore the lint issue for specific tags, like we do for the fragment tag. The tools:ignore attribute can be set on any XML element, and is a comma separated list of lint issue ID’s to ignore on this element or any of its children, recursively.
Setting the Map State Programmatically
We’ve seen how to set the initial state of the map using the XML layout files, next we’ll look at how to do the same in code.
Change activity_main.xml as shown below to only include the basic MapFragment . We’ll add more configuration to the map in code.
In MainActivity , we’ll implement the OnMapReadyCallback interface and use the onMapReady callback method to get a handle to the GoogleMap object. The GoogleMap object is the internal representation of the map itself. To set the view options for a map, change its GoogleMap object.
Change the class definition:
Add the onMapReady callback method.
The above gets the GoogleMap object and sets the map type and the camera position, then it moves the camera to that position.
Add the following to the end of onCreate() . We call getMapAsync() on the fragment to register the callback.
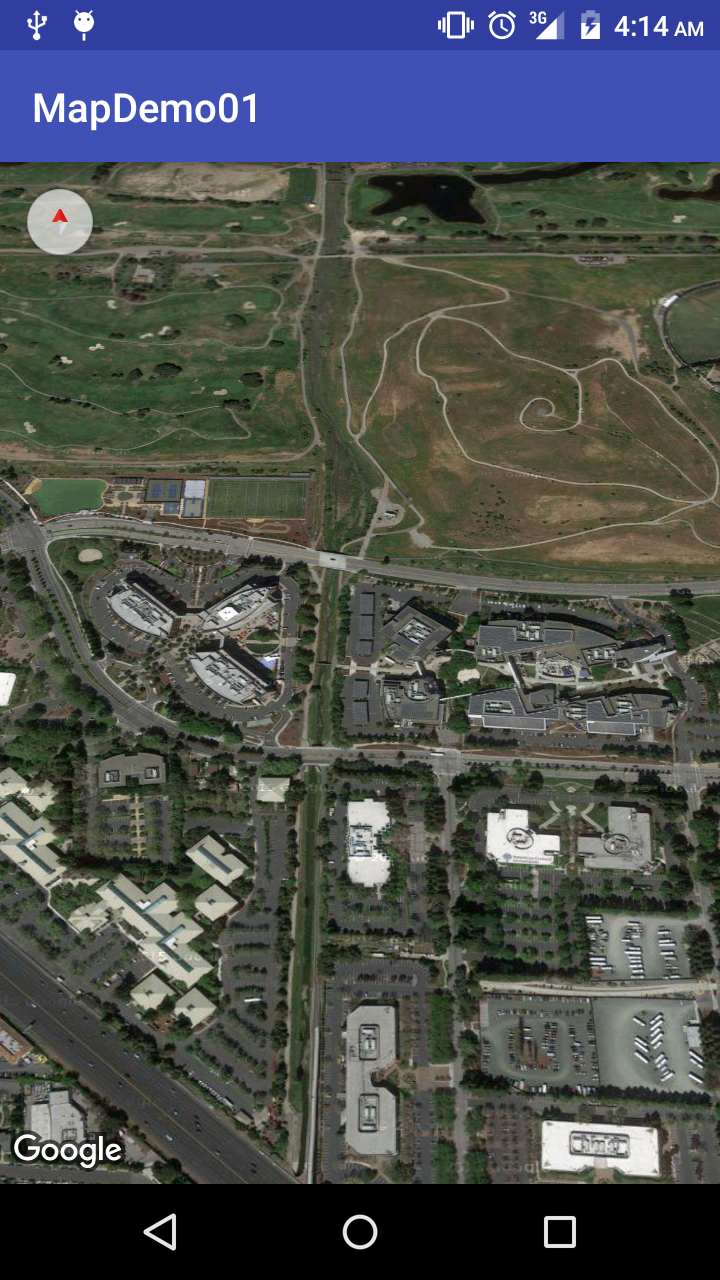
Run the app and you should see the map with the configuration set.
You can use animateCamera() instead of moveCamera() to get a nice effect of the camera moving into place as the map loads.
Adding Markers on the Map
You can add markers to the map to show single locations. You can customize the markers by changing the default color, or replacing the marker icon with a custom image. You can also add info windows which provide additional context to a marker.
Add the following to onMapReady() after the statement that initializes the CameraPosition object.
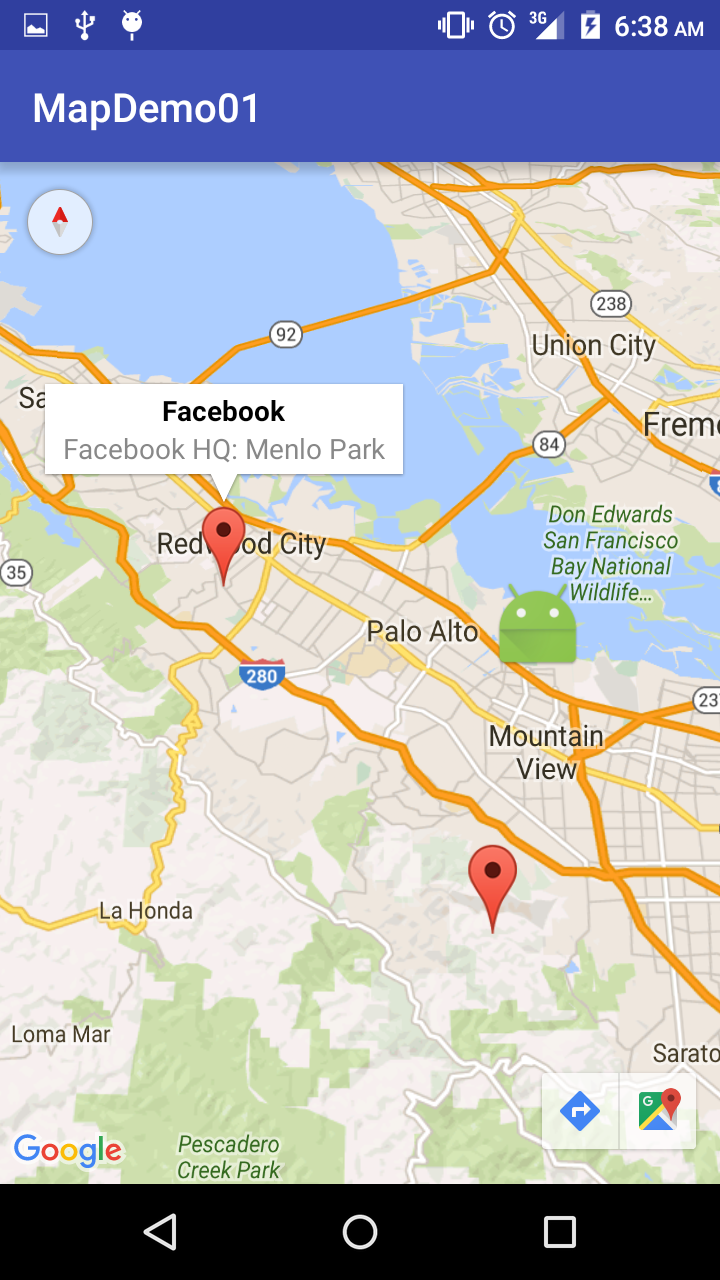
Here, we’ve created three markers. The first has a custom icon while the rest will have the default icon. The second marker uses snippet() to display more data in the Info Window when the marker is tapped. The other two will only display the title text.
Run the app to see the changes. I commented out the statement that sets the map type, so that it defaults to normal .
Showing the User’s Current Location
Your app might need to show a user’s location on the map. You can do this either by using the Google Play services Location API or by using the вЂMy Location’ layer and the вЂMy Location’ button to display the user’s current location on the map.
The вЂMy Location’ layer provides a simple way to display a device’s location on the map. To use this, you need location permission.
Add the following permission to the manifest file.
Here we ask for coarse location data, but for more accuracy you can ask for fine data.
For Android Marshmallow support, you need to use the runtime location permission. To keep this article short, we won’t go into runtime permissions, but the link above shows how to do that.
Add the following to onMapReady() after the code that creates the markers.
Run the app and you should see the My Location button on the top right corner of the map view. On tapping the button, the camera centers the map on the current location of the device, if known. The location is indicated on the map by a small blue dot if the device is stationary, or as a chevron if the device is moving.
The My Location layer does not return any data. If you wish to access location data programmatically, you should use the Google Play Services Location API.
The Google Play services Location API is the preferred method for adding location awareness to your Android application. It has other functionality not provided by the вЂMy Location’ layer that lets you:
- Determine the device location.
- Listen for location changes.
- Determine the mode of transportation, if the device is moving.
- Create and monitor predefined geographical regions, known as geofences.
We have already covered how to use the Google Play Services Location API, so won’t cover it here.
Conclusion
We’ve just touched on the capability of the Google Maps API, there are plenty more features it offers, including displaying heatmaps, drawing shapes on the map, converting KML (an extension of the XML data format) objects into geographical shapes and rendering them as a layer on top of a map and much more. For more on the API, check out the documentation.
Источник


