Android — UI Controls
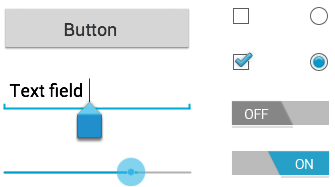
Input controls are the interactive components in your app’s user interface. Android provides a wide variety of controls you can use in your UI, such as buttons, text fields, seek bars, check box, zoom buttons, toggle buttons, and many more.
UI Elements
A View is an object that draws something on the screen that the user can interact with and a ViewGroup is an object that holds other View (and ViewGroup) objects in order to define the layout of the user interface.
You define your layout in an XML file which offers a human-readable structure for the layout, similar to HTML. For example, a simple vertical layout with a text view and a button looks like this −
Android UI Controls
There are number of UI controls provided by Android that allow you to build the graphical user interface for your app.
| Sr.No. | UI Control & Description |
|---|---|
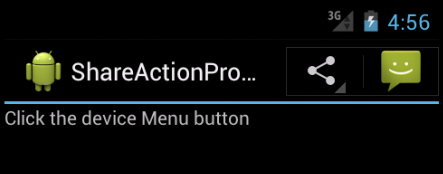
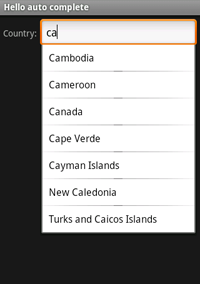
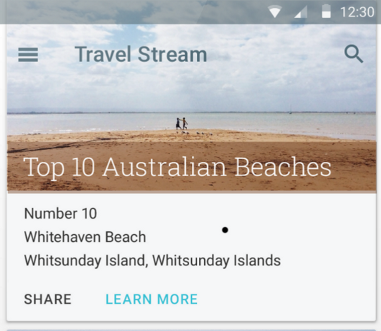
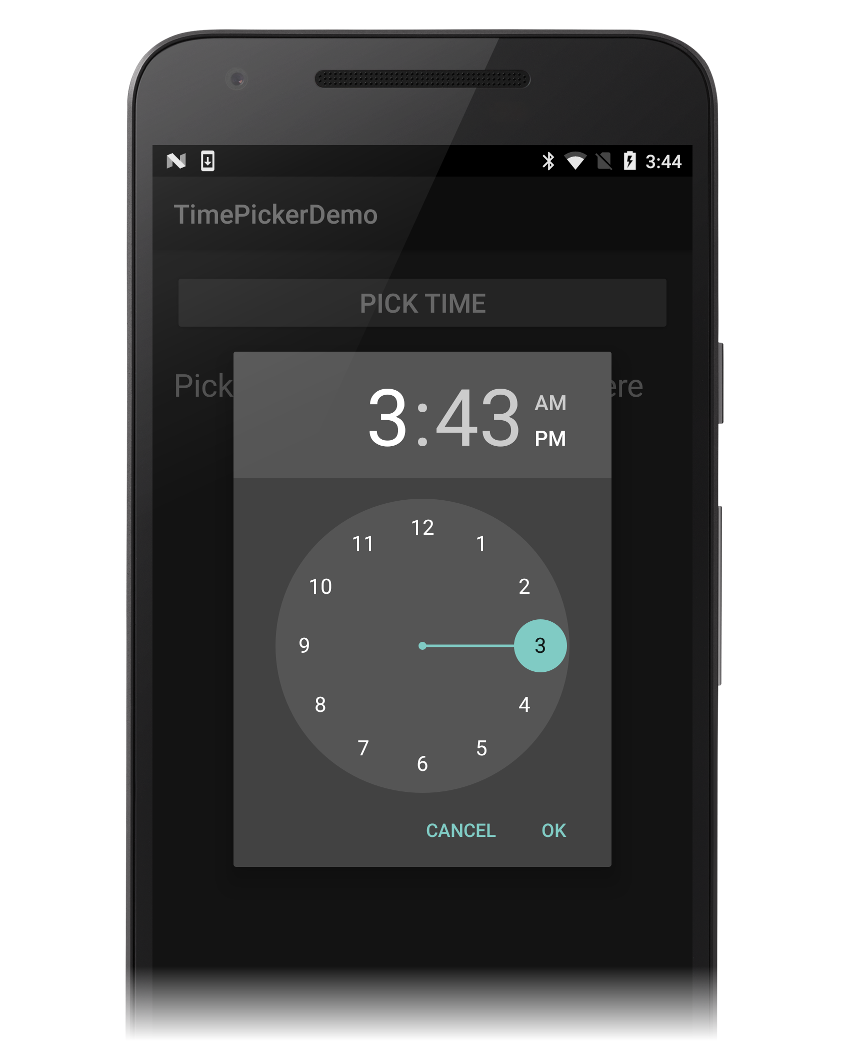
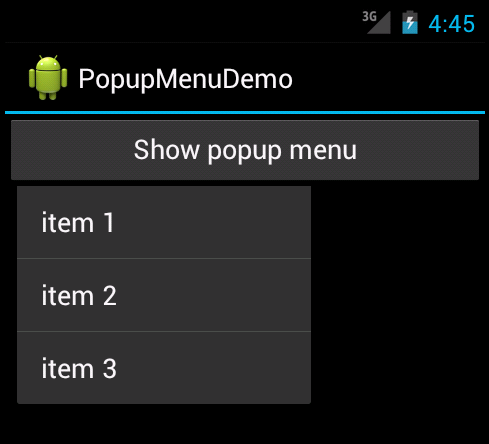
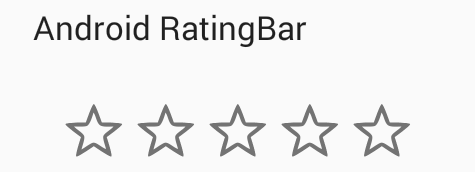
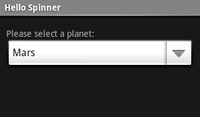
| 1 | TextView This control is used to display text to the user. EditText is a predefined subclass of TextView that includes rich editing capabilities. The AutoCompleteTextView is a view that is similar to EditText, except that it shows a list of completion suggestions automatically while the user is typing. A push-button that can be pressed, or clicked, by the user to perform an action. An ImageButton is an AbsoluteLayout which enables you to specify the exact location of its children. This shows a button with an image (instead of text) that can be pressed or clicked by the user. An on/off switch that can be toggled by the user. You should use check box when presenting users with a group of selectable options that are not mutually exclusive. An on/off button with a light indicator. The RadioButton has two states: either checked or unchecked. A RadioGroup is used to group together one or more RadioButtons. The ProgressBar view provides visual feedback about some ongoing tasks, such as when you are performing a task in the background. A drop-down list that allows users to select one value from a set. The TimePicker view enables users to select a time of the day, in either 24-hour mode or AM/PM mode. The DatePicker view enables users to select a date of the day. Create UI ControlsInput controls are the interactive components in your app’s user interface. Android provides a wide variety of controls you can use in your UI, such as buttons, text fields, seek bars, check box, zoom buttons, toggle buttons, and many more. As explained in previous chapter, a view object may have a unique ID assigned to it which will identify the View uniquely within the tree. The syntax for an ID, inside an XML tag is − To create a UI Control/View/Widget you will have to define a view/widget in the layout file and assign it a unique ID as follows − Then finally create an instance of the Control object and capture it from the layout, use the following − Источник Xamarin.Android Controls (Widgets)Xamarin.Android exposes all of the native user interface controls (widgets) provided by Android. These controls can be easily added to Xamarin.Android apps using the Android Designer or programatically via XML layout files. Regardless of which method you choose, Xamarin.Android exposes all of the user interface object properties and methods in C#. The following sections introduce the most common Android user interface controls and explain how to incorporate them into Xamarin.Android apps. Action BarActionBar is a toolbar that displays the activity title, navigation interfaces, and other interactive items. Typically, the action bar appears at the top of an activity’s window. Auto CompleteAutoCompleteTextView is an editable text view element that shows completion suggestions automatically while the user is typing. The list of suggestions is displayed in a drop down menu from which the user can choose an item to replace the content of the edit box with. ButtonsButtons are UI elements that the user taps to perform an action. CalendarThe Calendar class is used for converting a specific instance in time (a millisecond value that is offset from the epoch) to values such as year, month, hour, day of the month, and the date of the next week. Calendar supports a wealth of interaction options with calendar data, including the ability to read and write events, attendees, and reminders. By using the calendar provider in your application, data you add through the API will appear in the built-in calendar app that comes with Android. CardViewCardView is a UI component that presents text and image content in views that resemble cards. CardView is implemented as a FrameLayout widget with rounded corners and a shadow. Typically, a CardView is used to present a single row item in a ListView or GridView view group. Edit TextEditText is a UI element that is used for entering and modifying text. GalleryGallery is a layout widget that is used to display items in a horizontally scrolling list; it positions the current selection at the center of the view. Navigation BarThe Navigation Bar provides navigation controls on devices that do not include hardware buttons for Home, Back, and Menu. PickersPickers are UI elements that allow the user to pick a date or a time by using dialogs that are provided by Android. Popup MenuPopupMenu is used for displaying popup menus that are attached to a particular view. RatingBarA RatingBar is a UI element that displays a rating in stars. SpinnerSpinner is a UI element that provides a quick way to select one value from a set. It is similar to a drop-down list. SwitchSwitch is a UI element that allows a user to toggle between two states, such as ON or OFF. The Switch default value is OFF. TextureViewTextureView is a view that uses hardware-accelerated 2D rendering to enable a video or OpenGL content stream to be displayed. ToolBarThe Toolbar widget (introduced in Android 5.0 Lollipop) can be thought of as a generalization of the action bar interface – it is intended to replace the action bar. The Toolbar can be used anywhere in an app layout, and it is much more customizable than an action bar. ViewPagerThe ViewPager is a layout manager that allows the user to flip left and right through pages of data. WebViewWebView is a UI element that allows you to create your own window for viewing web pages (or even develop a complete browser). Источник Android. Вывод изображений, различные способыЭта статья будет полезна начинающим разработчикам, здесь я предложу несколько вариантов вывода изображений на Android. Будут описаны следующие способы: Обычный метод – стандартный способ, используя ImageView. Рассмотрены варианты загрузки картинки из ресурса, а также из файла на SD карте устройства. Продвинутый вариант — вывод изображения, используя WebView. Добавляется поддержка масштабирования и прокрутки картинки при помощи жестов. “Джедайский” способ – улучшенный предыдущий вариант. Добавлен полноэкранный просмотр с автоматическим масштабированием изображения при показе и поддержкой смены ориентации устройства. Исходники тестового проекта на GitHub github.com/Voldemar123/andriod-image-habrahabr-example В этой статье я не рассматриваю вопросы загрузки изображений из Интернета, кеширования, работы с файлами и необходимых для работы приложения permissions – только вывод картинок. Итак, задача — предположим, в нашем приложении необходимо вывести изображение на экран. Также допустим, мы уже записали на карту памяти несколько изображений (в тестовом проекте – загружаем из сети). Храним их в каталоге данных нашего приложения, в кеше. public static final String APP_PREFS_NAME = Constants.class.getPackage().getName(); Layout, где выводится картинка android:layout_width=»match_parent» Масштабирование по умолчанию, по меньшей стoроне экрана. private ImageView mImageView; Из ресурсов приложения (файл из res/drawable/img3.jpg) Задавая Bitmap изображения FileInputStream fis = new FileInputStream(Constants.APP_CACHE_PATH + this.image); Bitmap img = BitmapFactory.decodeStream(bis); Или передать URI на изображение (может хранится на карте или быть загружено из сети) mImageView.setImageURI( imageUtil.getImageURI() ); Этот способ стандартный, описан во множестве примеров и поэтому нам не особо интересен. Переходим к следующему варианту. Предположим, мы хотим показать большое изображение (например фотографию), которое размерами превышает разрешение нашего устройства. Необходимо добавить прокрутку и масштабирование картинки на экране. android:layout_width=»match_parent» В Activity, где загружаем содержимое protected WebView webView; установка черного цвета фона для комфортной работы (по умолчанию – белый) включаем поддержку масштабирования больше места для нашей картинки webView.setPadding(0, 0, 0, 0); полосы прокрутки – внутри изображения, увеличение места для просмотра загружаем изображение как ссылку на файл хранящийся на карте памяти webView.loadUrl(imageUtil.getImageFileLink() ); Теперь мы хотим сделать так, чтобы картинка при показе автоматически масштабировалась по одной из сторон, при этом прокрутка остается только в одном направлении. В AndroidManifest.xml для нашей Activity добавляем В код Activity добавлен метод, который вызыватся при каждом повороте нашего устройства. @Override В приватном методе описана логика пересчета масштаба для картинки Display display = ((WindowManager) getSystemService(Context.WINDOW_SERVICE)).getDefaultDisplay(); int width = display.getWidth(); Размеры изображения, выбранного для показа Bitmap img = imageUtil.getImageBitmap(); int picWidth = img.getWidth(); Меняем масштаб изображения если его высота больше высоты экрана. Прокрутка теперь будет только по горизонтали. if (picHeight > height) Подбрасываем в WebView специально сформированный HTML файл, содержащий изображение. webView.loadDataWithBaseURL(«/», StringBuffer html = new StringBuffer(); Такой способ я применил из-того, что после загрузки изображения в WebView через метод loadUrl, как в прошлом варианте, setInitialScale после поворота устройства не изменяет масштаб картинки. Другими словами, показали картинку, повернули телефон, масштаб остался старый. Очень похоже на то, что изображение как-то кешируется. Я не нашел в документации упоминания об этом странном поведении. Может быть местные специалисты скажут, что я делаю не так? Источник |
