- Android Take Photo From Camera and Gallery — Code Sample
- Objective
- Step 1 Create Layout
- Step 2 Create options Dialog box
- 2.1 Set Dialogbox Items
- 2.2 Requesting Permission at Runtime
- 2.3 Check for Camera Request
- 2.4 Check for Gallery Request
- 2.5 Grant Permission at Runtime
- Step 3 Handling Image
- 3.1 onActivityResult() Method
- 3.2 Handling Camera Request For Capturing an Image
- 3.3 Handling Gallery Request For Selecting Image
- Step 4 Add permission to manifest file
- Tejas Jasani
- How to take photos from the camera and gallery on android?
- RUN-Time Permission for Camera and External Storage
- Choose Image from Camera and Gallery
Android Take Photo From Camera and Gallery — Code Sample
To download the code, login with one of the following social providers.
Login Login 
Be patient. we are fetching your source code.

Objective
User will have two choices:
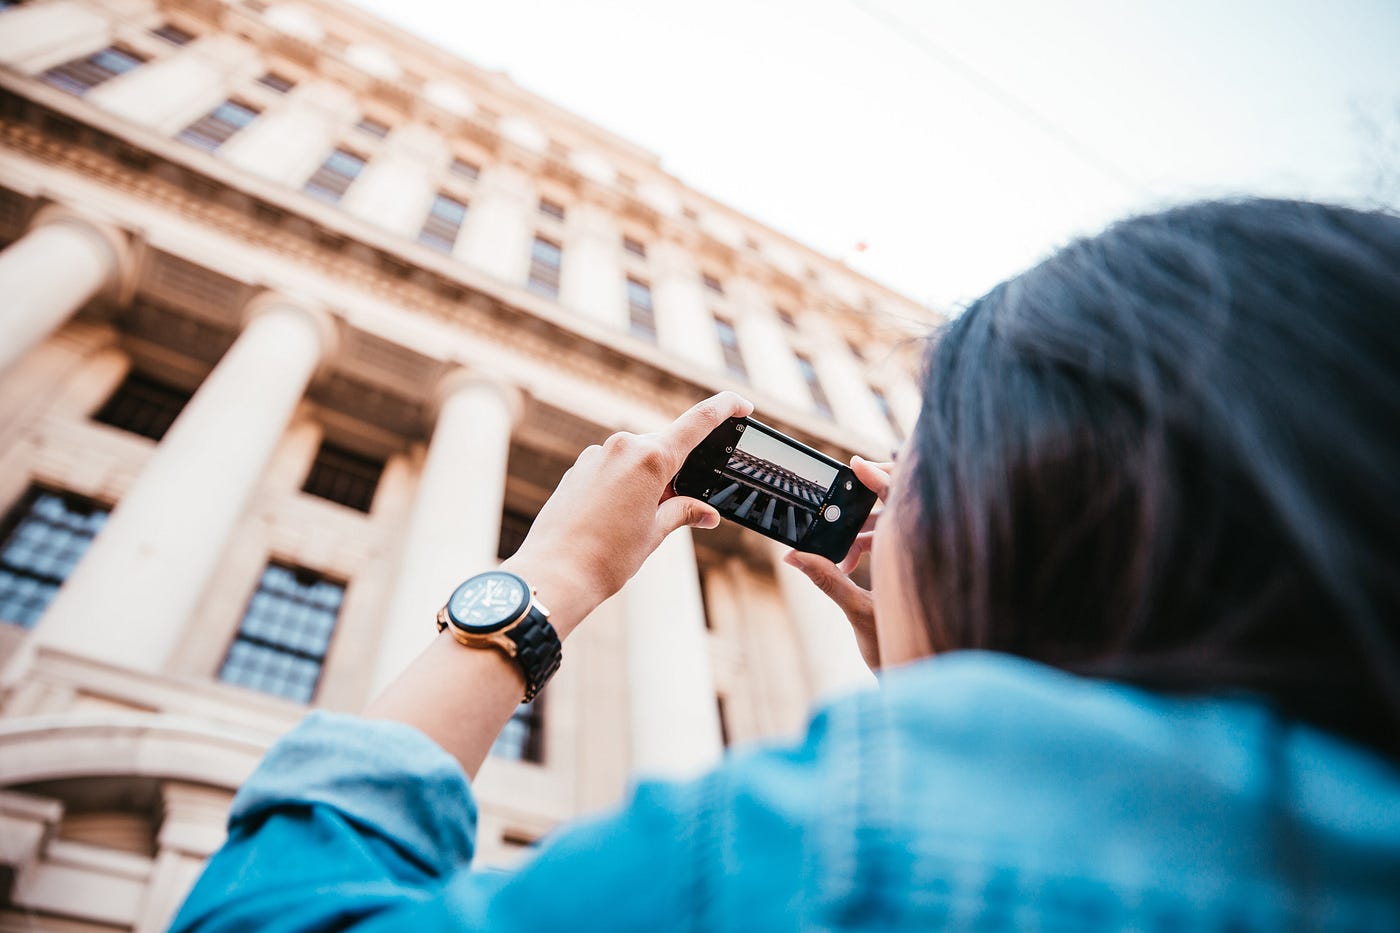
- Capture photo/ image from camera in Android
- Choose photo/ image from gallery in Android
User will need to choose one option from the above two options and then depending on the option chosen by the user, we will either capture an image from the camera or open the gallery.
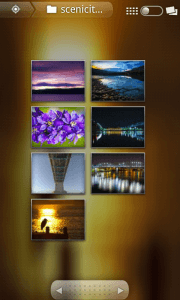
You will get Final Output:

Step 1 Create Layout
First, we’ll show a button to user – user can click the button and we’ll give an option to user where he can get image from the camera or get image from gallery in Android. Lets get started with creating the layout
>> We are creating this layout:

Step 2 Create options Dialog box
>> We want show the dialog box to user with options when user clicks on the Select Photo button.
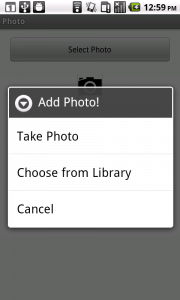
So for this, we will create new method into MainActivity File called selectImage() Method. In this method we’ll create the dialog box with the three options you can see in the screenshot above.
Let’s dig deeper and see what exactly we are doing in this method (if you have already understood what this class does, you can directly go to Step 3)
2.1 Set Dialogbox Items
We are creating an AlertDialog with three items as given in an array called items, And in last line we are setting the title for the Dialog box as Add Photo! Now, lets see what we are doing when user chooses any of the options.
2.2 Requesting Permission at Runtime
If you are using a device having MarshMallow version of Android, then your application will definitely crash or will not work properly without calling below method.
Here, checkPermission() method checks the permission for storage group at runtime. Even if you have declared permission in AndroidManifest file, you need to check Runtime Permission in MarshMallow.
Let’s look at checkPermission() method:
This method will check permission at runtime for Marshmallow & greater than Marshmallow version.
If current API version is less than Marshmallow, then checkPermission() will return true, which means permission is granted (in Manifest file, no support for runtime permission).
If current API version is Marshmallow or greater, and if permission is already granted then the method returns true. Otherwise, the method returns false and will show a dialog box to a user with allow or deny options.
2.3 Check for Camera Request
If user chooses Take Photo option:
Here, I stored Take Photo in String variable userChoosenTask. This variable will be used in onRequestPermissionsResult() method to check which item is selected.
If permission has already been granted previously, then ‘result’ variable will contain true & call cameraIntent() method.
Let’s look at cameraIntent() method:
We are calling Implicit Intent to open the camera application on user’s phone.
Learn more about Implicit Intent here please refer the following link:
Check the list of Common Intents here from the below link:
>> We are starting the Camera Activity, but instead of passing the intent in startActivity() we are passing the intent in method startActivityForResult() . This method will give us a result back. In our case, it will give us an image capture by camera.
Learn more about startActivityForResult() please refer the following link:
Now, we’ll learn how to pick image from gallery in Android.
2.4 Check for Gallery Request
If user chooses Take Photo option:
- Here, I stored “Choose from Library” in String variable userChoosenTask. This variable will be used in onRequestPermissionsResult() method to check which item is selected.
- If permission has already been granted previously, then ‘result’ variable will contain true & call galleryIntent() method.
Let’s look at galleryIntent() method:
Similar to what we have done with the previous option, again we are calling an implicit intent to open the gallery and than calling startActivityForResult() and passing the intent.
This line is used to select only images from the media storage.
Tip: if you want to get images as well as videos, you can use following code
- intent.setType(«image/* video/*»);
I think rest of the stuff is self-explanatory in this file. Lets move forward.
2.5 Grant Permission at Runtime
If permission has not been granted, then checkPermssion() method will display a dialog to user with two options.
- Allow the permission request or
- Deny the permission request
onRequestPermissionsResult() is inbuilt method which receives a callback of this dialog action for particular activity from which checkPermssion() has been called
If permission has been granted then the value of grantResults[0] would be PERMISSION_GRANTED. And if permission has been revoked then the value of grantResults[0] would be PERMISSION_DENIED.
Here, if permission has been granted, then I am calling method for specific Intent according to value of userChoosenTask variable.
Step 3 Handling Image
Now, we have got the image either from camera or from gallery, its time to handle that image. We need handle the result we have received by calling startActivityForResult() Method. So add onActivityResult() Method into Main activity class.
>> The code will look something like this:
As mentioned earlier, onActivityResult() Method handles the results we have received.
Lets dissect the code and see what it does.
When we are taking an image from the camera:
3.1 onActivityResult() Method
Arguments:
| int requestCode | |
| intent data | The intent carries the result data – in our case it is the image we have captured from the camera. |
You can learn about onActivityResult() from the below link:
Next, we are handling the input we have received from Camera
3.2 Handling Camera Request For Capturing an Image
Here we are just checking if our operation was successful by checking RESULT_OK and then checking if the requestCode is REQUEST_CAMERA. If the both the conditions are satisfied, we move forward.
We get our data in our Intent, so we are first getting that data through data.getsExtras().get(«data») and then we are casting that data into Bitmap since we want it as an image.
We want to make thumbnail of an image, so we need to first take the ByteArrayOutputStream and than pass it into thumbnail.compress() method.
Arguments:
| Bitmap.CompressFormat format | |
| OutputStream stream | The stream to write the compressed data. |
Learn more about Bitmap.compress() method please refer the following link:
Now, we are storing the file we have created into External Storage.
If you want to learn more about it, please refer the following link:
And in the end, we are just setting up the bitmap in our imageView.
When we select image from the gallery
3.3 Handling Gallery Request For Selecting Image
On selecting image from gallery, onSelectFromGalleryResult(data) will be called
Android saves the images in its own database. We can fetch it using different ways. I have used MediaStore.Images.Media.getBitmap() here.
Learn more about MediaStore.Images.Media please refer the following link:
Here, I am fetching image from specific path(here, data.getData() ) as Bitmap by calling getBitmap() method & displaying it in ImageView.
Step 4 Add permission to manifest file
For generating bitmap we need to add WRITE_EXTERNAL_STORAGE and READ_EXTERNAL_STORAGE permission.
I hope you enjoy this tutorial and you have learnt how to get image from gallery or caputre image from camera in Android.
Learning Android sounds fun, right? Why not check out our other Android Tutorials?
Got an Idea of Android App Development? What are you still waiting for? Contact us now and see the Idea live soon. Our company has been named as one of the best Android App Development Company.
Tejas Jasani

An entrepreneur who has founded 2 flourishing software firms in 7 years, Tejas is keen to understand everything about gaming — from the business dynamics to awesome designs to gamer psychology. As the founder-CEO of a company that has released some very successful games, he knows a thing or two about gaming. He shares his knowledge through blogs and talks that he gets invited to.
Источник
How to take photos from the camera and gallery on android?

With respect to an Android novice, to test things out, you would require a straightforward and clear guide. As you can discover, there are numerous articles, sites, and aides on this subject. However, a large portion of them is not working as well as haven’t tried or too complex to even think about understanding. Let me take you through a guide on the most proficient method to execute this without any problem.
you can download the full source code from Github.
First, you must have a ImageView in your layout implemented to capture the image you upload either through the camera or Gallery.
Following is my ImageView implementation for the above purpose.
Now, after doing this your activity_main.xml will look like this.
Now in the MainActivity class, you have to declare the ImageView first.
In the onCreate override method, you have to initialize the ImageView element by adding the following,
RUN-Time Permission for Camera and External Storage
as you aware that if you are working with marshmallow or above version device then you need to take first run time permission. for our app, we will require two run time permission.
- Camera Permission
- External Storage Permission
So let’s see how you will get this permission
first you need to define this two permission in your manifest file ie. AndroidManifest.xml
Now, your AndroidManifest.xml will look like this:
Okay after adding this two permission on the manifest file you need to make a function to check runtime permission on MainActivity. This function will show a popup if the user doesn’t have permission so that the user can click on the allow button to grant permission to your APP.
Now you need to Override onRequestPermissionsResult where you will handle your permission result. if permission granted then you can proceed to call chooseImage function.
Choose Image from Camera and Gallery
Now let’s see chooseImage function, which will show a dialog with three option
- Take Photo
- choose a photo from the gallery
- Exit
Now to handle the result of your startActivityForResult, you need to override onActivityResult
Once you are done with all of the steps, then you call the permission check function in the onCreate method.
So after doing all of the things your MainActivity.java will look like this
That’s it, now you can run your app and enjoy the code.
I hope you enjoy this tutorial and you have learned how to get images from the gallery or capture images from the camera on Android.
Источник


