- ImageView
- Общая информация
- Метод setImageResource()
- Метод setImageBitmap()
- Метод setImageDrawable()
- Метод setImageURI()
- Другие методы
- Масштабирование через свойство Scale Type
- Атрибут android:adjustViewBounds=»true»
- Загрузка изображения из галереи
- Получить размеры ImageView — будьте осторожны
- Копирование изображений между ImageView
- Примеры
- Kotlin Android – ImageView Example
- Kotlin Android – ImageView
- Syntax
- Example – ImageView in Android Application
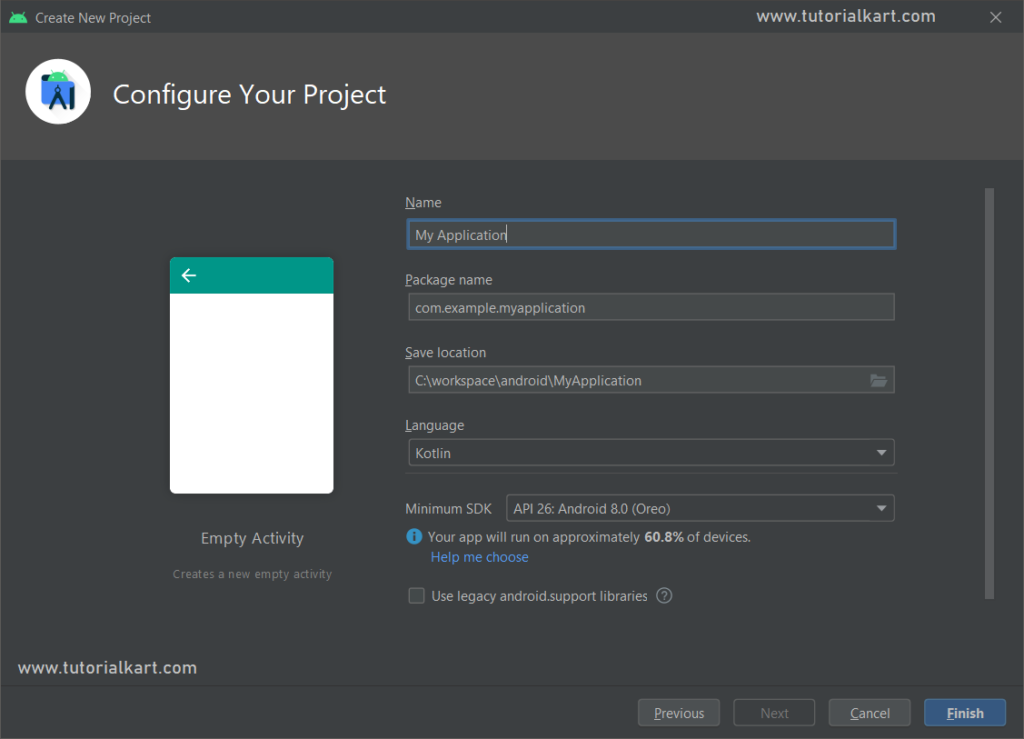
- Step 1 – Crate an Android Application
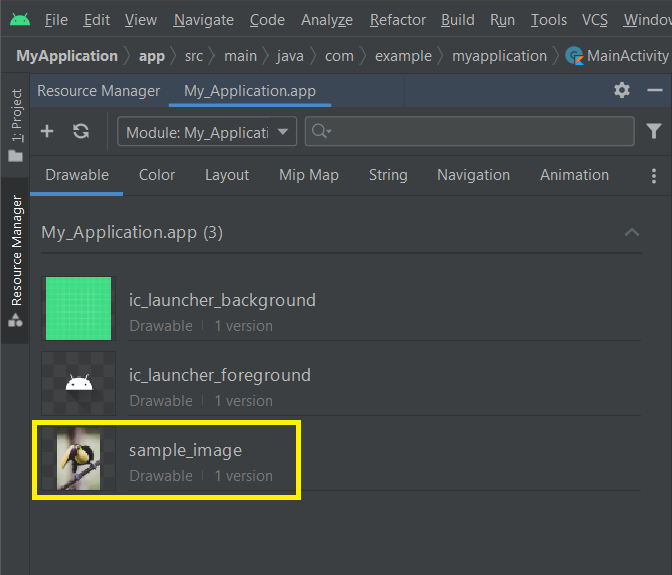
- Step 2 – Add an Image Asset to this Android project
- Step 3 – Add Image Asset to Layout File
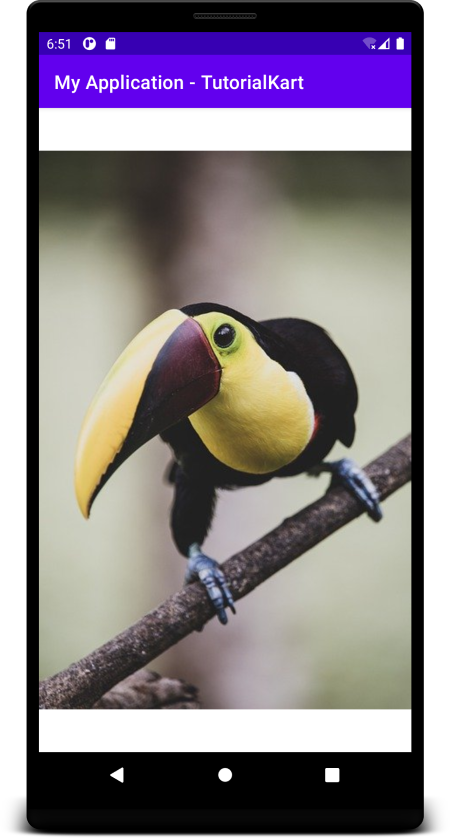
- Step 4 – Run Android Application
- More Tutorials on ImageView
- Conclusion
- Android ImageView in Kotlin with Example
- Android ImageView in Kotlin Example
- Handy ImageView Tricks
- Remove extra space above and below imageView
- Android ImageView, ImageButton using Kotlin
- Android Tutorial
- Kotlin Tutorial
- What is Android ImageView?
- ImageView XML Code
- Creating ImageView in Kotlin Code
- What is Android ImageButton?
- Multiple Screen Densities
- How to Generate Image Files for Different Screen Densities?
- Android ImageView ImageButton Kotlin Project
- XML Layout Code
- Kotlin Code
- App Output
ImageView
Общая информация
Компонент ImageView предназначен для отображения изображений. Находится в разделе Widgets.
Для загрузки изображения в XML-файле используется атрибут android:src, в последнее время чаще используется атрибут app:srcCompat.
ImageView является базовым элементом-контейнером для использования графики. Можно загружать изображения из разных источников, например, из ресурсов программы, контент-провайдеров. В классе ImageView существует несколько методов для загрузки изображений:
- setImageResource(int resId) — загружает изображение по идентификатору ресурса
- setImageBitmap(Bitmap bitmap) — загружает растровое изображение
- setImageDrawable(Drawable drawable) — загружает готовое изображение
- setImageURI(Uri uri) — загружает изображение по его URI
Метод setImageResource()
Сначала нужно получить ссылку на ImageView, а затем используется идентификатор изображения из ресурсов:
Метод setImageBitmap()
Используется класс BitmapFactory для чтения ресурса изображения в объект Bitmap, а затем в ImageView указывается полученный Bitmap. Могут быть и другие варианты.
Метод setImageDrawable()
Если у вас есть готовое изображение, например, на SD-карте, то его можно использовать в качестве объекта Drawable.
Drawable можно получить и из ресурсов, хотя такой код выглядит избыточным, если можно сразу вызвать setImageResource().
Метод setImageURI()
Берётся URI файла изображения и используется в качестве источника изображения. Этот способ годится для работы с локальными изображениями.
Загружаем Drawable через URI.
Другие методы
Также вам часто придется использовать методы, связанные с размерами и масштабированием: setMaxHeight(), setMaxWidth(), getMinimunHeight(), getMinimunWidth(), getScaleType(), setScaleType().
Масштабирование через свойство Scale Type
Для масштабирования картинки в ImageView есть свойство Scale Type и соответствующий ему атрибут android:scaleType и перечисление ImageView.ScaleType.
- CENTER
- CENTER_CROP
- CENTER_INSIDE
- FIT_CENTER
- FIT_START
- FIT_END
- FIT_XY
- MATRIX
Чтобы увидеть разницу между разными режимами, желательно использовать большую картинку, превосходящую по ширине экрана устройства. Допустим, у нас есть простенькая разметка:
Для наглядности я задал красный цвет для фона ImageView.
Режим android:scaleType=»center» выводит картинку в центре без масштабирования. Если у вас будет картинка большего размера, то края могут быть обрезаны.

Режим android:scaleType=»centerCrop» также размещает картинку в центре, но учитывает ширину или высоту контейнера. Режим попытается сделать так, чтобы ширина (или высота) картинки совпала с шириной (или высотой) контейнера, а остальное обрезается.

Режим android:scaleType=»centerInside» масштабирует картинку, сохраняя пропорции. Можно увидеть задний фон контейнера, если его размеры отличаются от размера картинки.

Режим android:scaleType=»fitCenter» (по умолчанию) похож на предыдущий, но может не сохранять пропорции.
Если выбрать режим android:scaleType=»fitStart», то картинка прижимается к левому верхнему углу и таким образом заполняет верхнюю половину контейнера.

Значение android:scaleType=»fitEnd» сместит картинку в нижнюю часть контейнера.
Режим android:scaleType=»fitXY» растягивает/сжимает картинку, чтобы подогнать её к контейнеру. Может получиться вытянутая картинка, поэтому будьте осторожны.
Последний атрибут android:scaleType=»matrix» вывел картинку без изменений в левом верхнем углу с обрезанными краями.
Атрибут android:adjustViewBounds=»true»
При использовании атрибута scaleType=»fitCenter» из предыдущего примера Android вычисляет размеры самой картинки, игнорируя размеры ImageView. В этом случае ваша разметка может «поехать». Атрибут adjustViewBounds заставляет картинку подчиниться размеру компонента-контейнера. В некоторых случаях это может не сработать, например, если у ImageView установлен атрибут layout_width=»0dip». В таком случае поместите ImageView в RelativeLayout или FrameLayout и используйте значение 0dip для этих контейнеров.
Загрузка изображения из галереи
Предположим, у вас есть на экране компонент ImageView, и вы хотите загрузить в него какое-нибудь изображение из галереи по нажатию кнопки:
Намерение ACTION_PICK вызывает отображение галереи всех изображений, хранящихся на телефоне, позволяя выбрать одно изображение. При этом возвращается адрес URI, определяющий местоположение выбранного изображения. Для его получения используется метод getData(). Далее для преобразования URI-адреса в соответствующий экземпляр класса Bitmap используется специальный метод Media.getBitmap(). И у нас появляется возможность установить изображение в ImageView при помощи setImageBitmap().
На самом деле можно поступить ещё проще и использовать метод setImageURI.
Сравните с предыдущим примером — чувствуете разницу? Тем не менее, приходится часто наблюдать подобный избыточный код во многих проектах. Это связано с тем, что метод порой кэширует адрес и не происходит изменений. Рекомендуется использовать инструкцию setImageURI(null) для сброса кэша и повторный вызов метода с нужным Uri.
В последних версиях системных эмуляторов два примера не работают. Проверяйте на реальных устройствах.
Получить размеры ImageView — будьте осторожны
У элемента ImageView есть два метода getWidth() и getHeight(), позволяющие получить его ширину и высоту. Но если вы попробуете вызвать указанные методы сразу в методе onCreate(), то они возвратят нулевые значения. Можно добавить кнопку и вызвать данные методы через нажатие, тогда будут получены правильные результаты. Либо использовать другой метод активности, который наступает позже.
Копирование изображений между ImageView
Если вам надо скопировать изображение из одного ImageView в другой, то можно получить объект Drawable через метод getDrawable() и присвоить ему второму компоненту.
Примеры
В моих статьях можно найти примеры использования ImageView.
Источник
Kotlin Android – ImageView Example
Kotlin Android – ImageView
ImageView is a View object used to display an image in Android Application.
In this tutorial, we will create an Android Application and learn how to use ImageView to display an image in this Android Application.

Syntax
The syntax of ImageView in XML layout file, to display an image resource is
Example – ImageView in Android Application
Step 1 – Crate an Android Application
Crate an Android Application with Empty Activity.
Step 2 – Add an Image Asset to this Android project
Open Resource Manager.
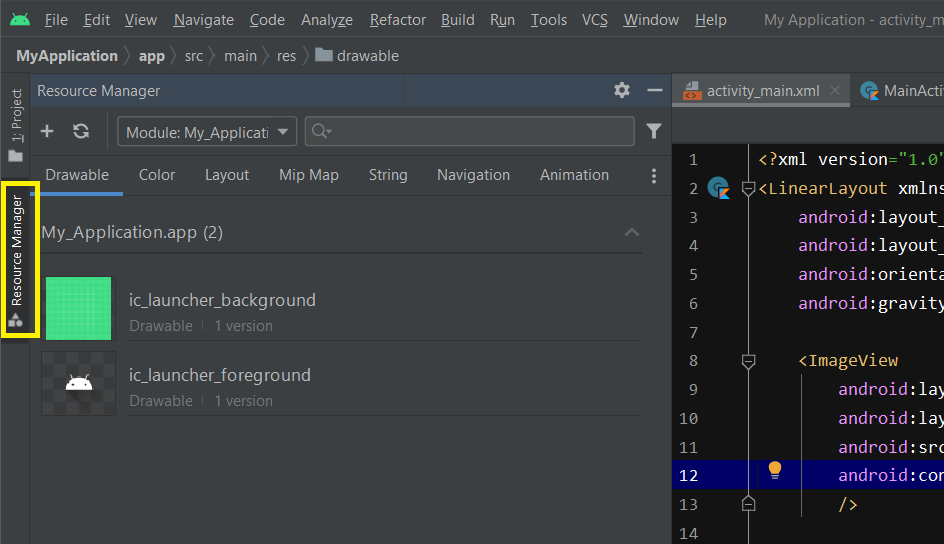
Drag and drop the image, from your local filesystem, you would like to display in this Android Application.
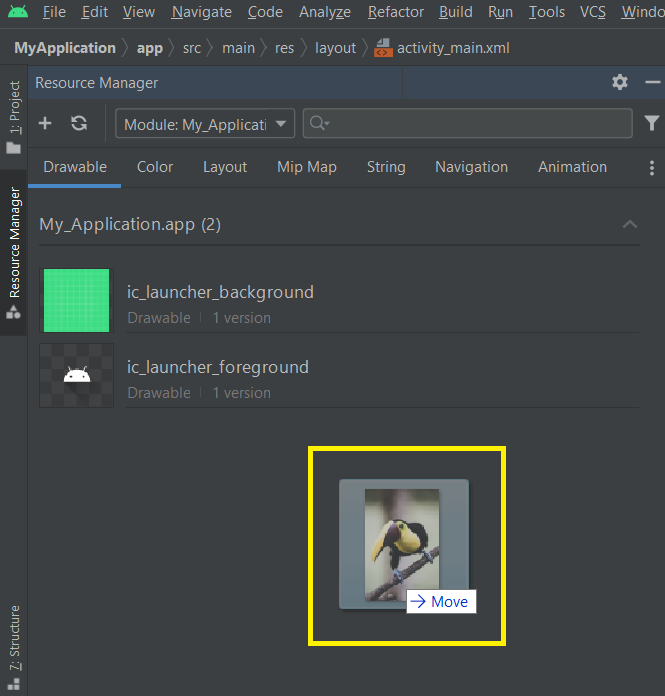
When we drop the image on the space below the existing drawables, following popup screen appears.
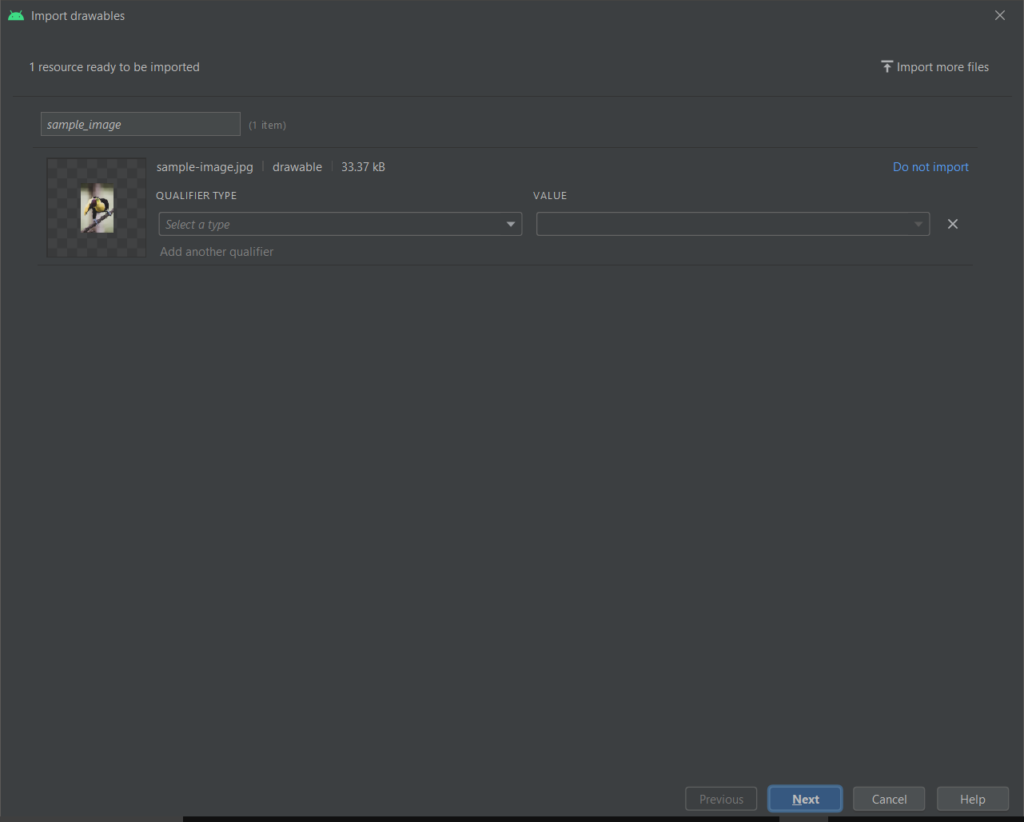
Click on Next button.

Click on Import button. The image asset would be added to the Drawable as shown in the following screenshot.
Step 3 – Add Image Asset to Layout File
Open layout file activity_main.xml, and from Resource Manager window, drag the image and drop it in the layout file wherever required.
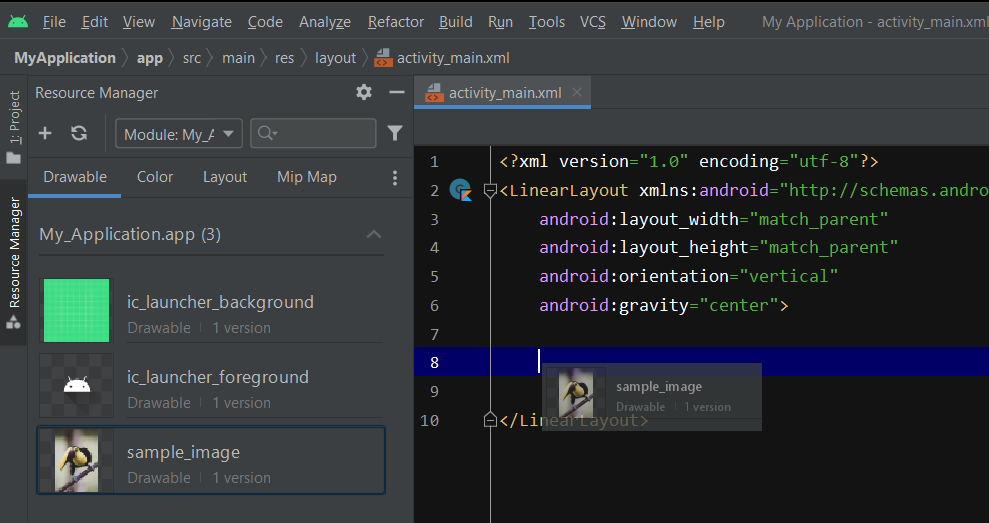
ImageView XML code would be populated as shown below.

Step 4 – Run Android Application
Run this Android Application, and you should get the output as shown in the following screenshot.
More Tutorials on ImageView
Kotlin Android – Load ImageView from URL
Conclusion
In this Kotlin Android Tutorial, we learned how to display an image via ImageView in Android Application.
Источник
Android ImageView in Kotlin with Example
In this tutorial, we will create an Android ImageView in Kotlin with the help of an example. Android ImageView extends the View class. As the name suggests ImageView is used to display an image on the screen.
The image can be bitmap or a drawable resource file. We can show images programmatically and using the xml code as well.
ImageView in Android is one of the fundamental UI widget element. It is hard to find any application that is not using images. Today we are going to learn how to add an image using ImageView in Kotlin programming.
Android ImageView in Kotlin Example
First of all, let’s set an image view using ImageView XML code. In the given XML we have an image, text and a button.
activity_main.xml
Some of the XML properties that are used in activity_main.xml
| XML Attribute | Description |
|---|---|
| android:id | Id is the unique identifier |
| android:scaleType | It is used to scale the image and set the position |
| android:src | It is used to set a drawable source file |
MainActivity.kt
In the MainActivity.kt we are implemented button click and on the button click, we are changing the image programmatically.
Run the app and see the output.
 Before Change Image Button Clicked
- After Change Image Button Clicked
 Before Change Image Button Clicked
 After Change Image Button Clicked
Handy ImageView Tricks
Remove extra space above and below imageView
You can set the image view bounds using android:adjustViewBounds=»true» property. You can also scale the image to fit x and y-direction using android:scaleType=»fitXY»
Источник
Android ImageView, ImageButton using Kotlin
Android Tutorial
Kotlin Tutorial
In this tutorial, we’ll discuss and implement ImageView and ImageButton in our android application using Kotlin code.
What is Android ImageView?
ImageView is a subclass of the View class in Android. It is used to display images onto the screen.
The images can be a bitmap or a drawable resource file.
ImageView XML Code
The basic syntax for an ImageView is:
The primary attributes of an ImageView are as follows:
- The android:src attribute is used to set a drawable resource file.
- android:background is used to set the background of the ImageView.
- The android:scaleType is used to set the cropping/fitting style of the image.
Creating ImageView in Kotlin Code
We can create an ImageView object in the following Kotlin code.
this represents the context in which the ImageView is visible. It can be activity/fragment.
To set a drawable on an ImageView programmatically we use:
What is Android ImageButton?
An ImageButton is a subclass of an ImageView. It’s a Button + ImageView. An ImageButton cannot hold text.
All the attributes for the ImageView are applicable to an ImageButton too.
Just like Buttons, on an ImageButton we can set the OnClickListener as well as the OnLongClickListener event.
For an in-depth view of the XML attributes of the ImageView and ImageButton refer to the Android ImageView, ImageButton Tutorial.
Multiple Screen Densities
Screen density is different for different types of phones. A drawable file applicable for a screen size of 4.5 inches can get blurred when seen on a screen size of 5.5 or 6 inches. Hence, in order to keep the image intact for all kinds of devices, we can create different drawable folders.
The drawable-ldpi, drawable-mdpi, drawable-hdpi, drawable-xhdpi, and drawable-xxhdpi are created for low, medium, high, extra high, and extra-extra high densities.
Running an application on the device, the Android SDK automatically detects the screen size and density and uses the appropriate image resource files from the drawable folder.
How to Generate Image Files for Different Screen Densities?
We can use Android Asset Studio to create image resources for different densities.
Alternatively, install the Android Drawable Importer plugin in Android Studio from the Preferences -> Plugins.

Go to “drawable | Batch Drawable” and import the images to have the proper image for every screen density.


Set the density type for the current image and drawables for all the densities would be generated for the file.
Android ImageView ImageButton Kotlin Project
We’ve added three sample images and used Drawable Importer to create files for each drawable density.

XML Layout Code
The code for the activity_main.xml class is given below.
We’ve used a FrameLayout. The ImageView occupies the complete screen and the ImageButton is set at the bottom of the layout.
Kotlin Code
The code for the MainActivity.kt Kotlin’s class is given below.
- In the above code, we’ve created an array of Drawables and an ArrayList of ScaleType.
- We’ve implemented the View.OnClickListener on the Activity class and set the OnClickListener on both ImageView and ImageButton.
- Thanks to Kotlin Android Extensions, we don’t need to use findViewById to hook the XML ids in our Kotlin Activity.
- We’ve used a when statement to check the type of the View that’s clicked to trigger the action.
- The ImageButton case must be kept above ImageView since every ImageButton is an ImageView. If it was kept below, the ImageButton click listener would have triggered the ImageView block in the when statement.
- On ImageButton click, we set the next drawable on the ImageView from the array.
- On ImageView click, we set the color filter over the ImageView using the colorFilter setter property. Also, we set a random scaleType on the ImageView from the arrayList by shuffling the array and taking the first element.
App Output
The output of the above application in action is given below.
The scale type changes when the ImageView is clicked.
To reduce the download size, we’ve removed the xxhdpi and xhdpi image resource files. Try building them using the Drawable Importer Plugin!
Источник


