- Christian Engvall
- Add android platform in Ionic 2
- Ionic add platform Android
- Android Studio
- Delete an Ionic platform
- Updating Ionic and Cordova
- Adding and building Android platform again
- Chapter 2: Installation
- Platform notes
- Install Ionic
- Create the project
- Configure Platforms
- Test it out
- Let’s go!
- Getting started
- Documentation
- Platform
- Usage
- Methods
- is(platformName: Platforms) => boolean
- Parameters
- Platforms
- platforms() => string[]
- ready() => Promise
- isRTL() => boolean
- isLandscape() => boolean
- isPortrait() => boolean
- width() => number
- height() => number
- url() => string
- testUserAgent(expression: string) => boolean
- Parameters
- Events
- pause
- Usage
- resize
- Usage
- resume
Christian Engvall
I write about software, app and web development.
Recent posts
Categories
Add android platform in Ionic 2
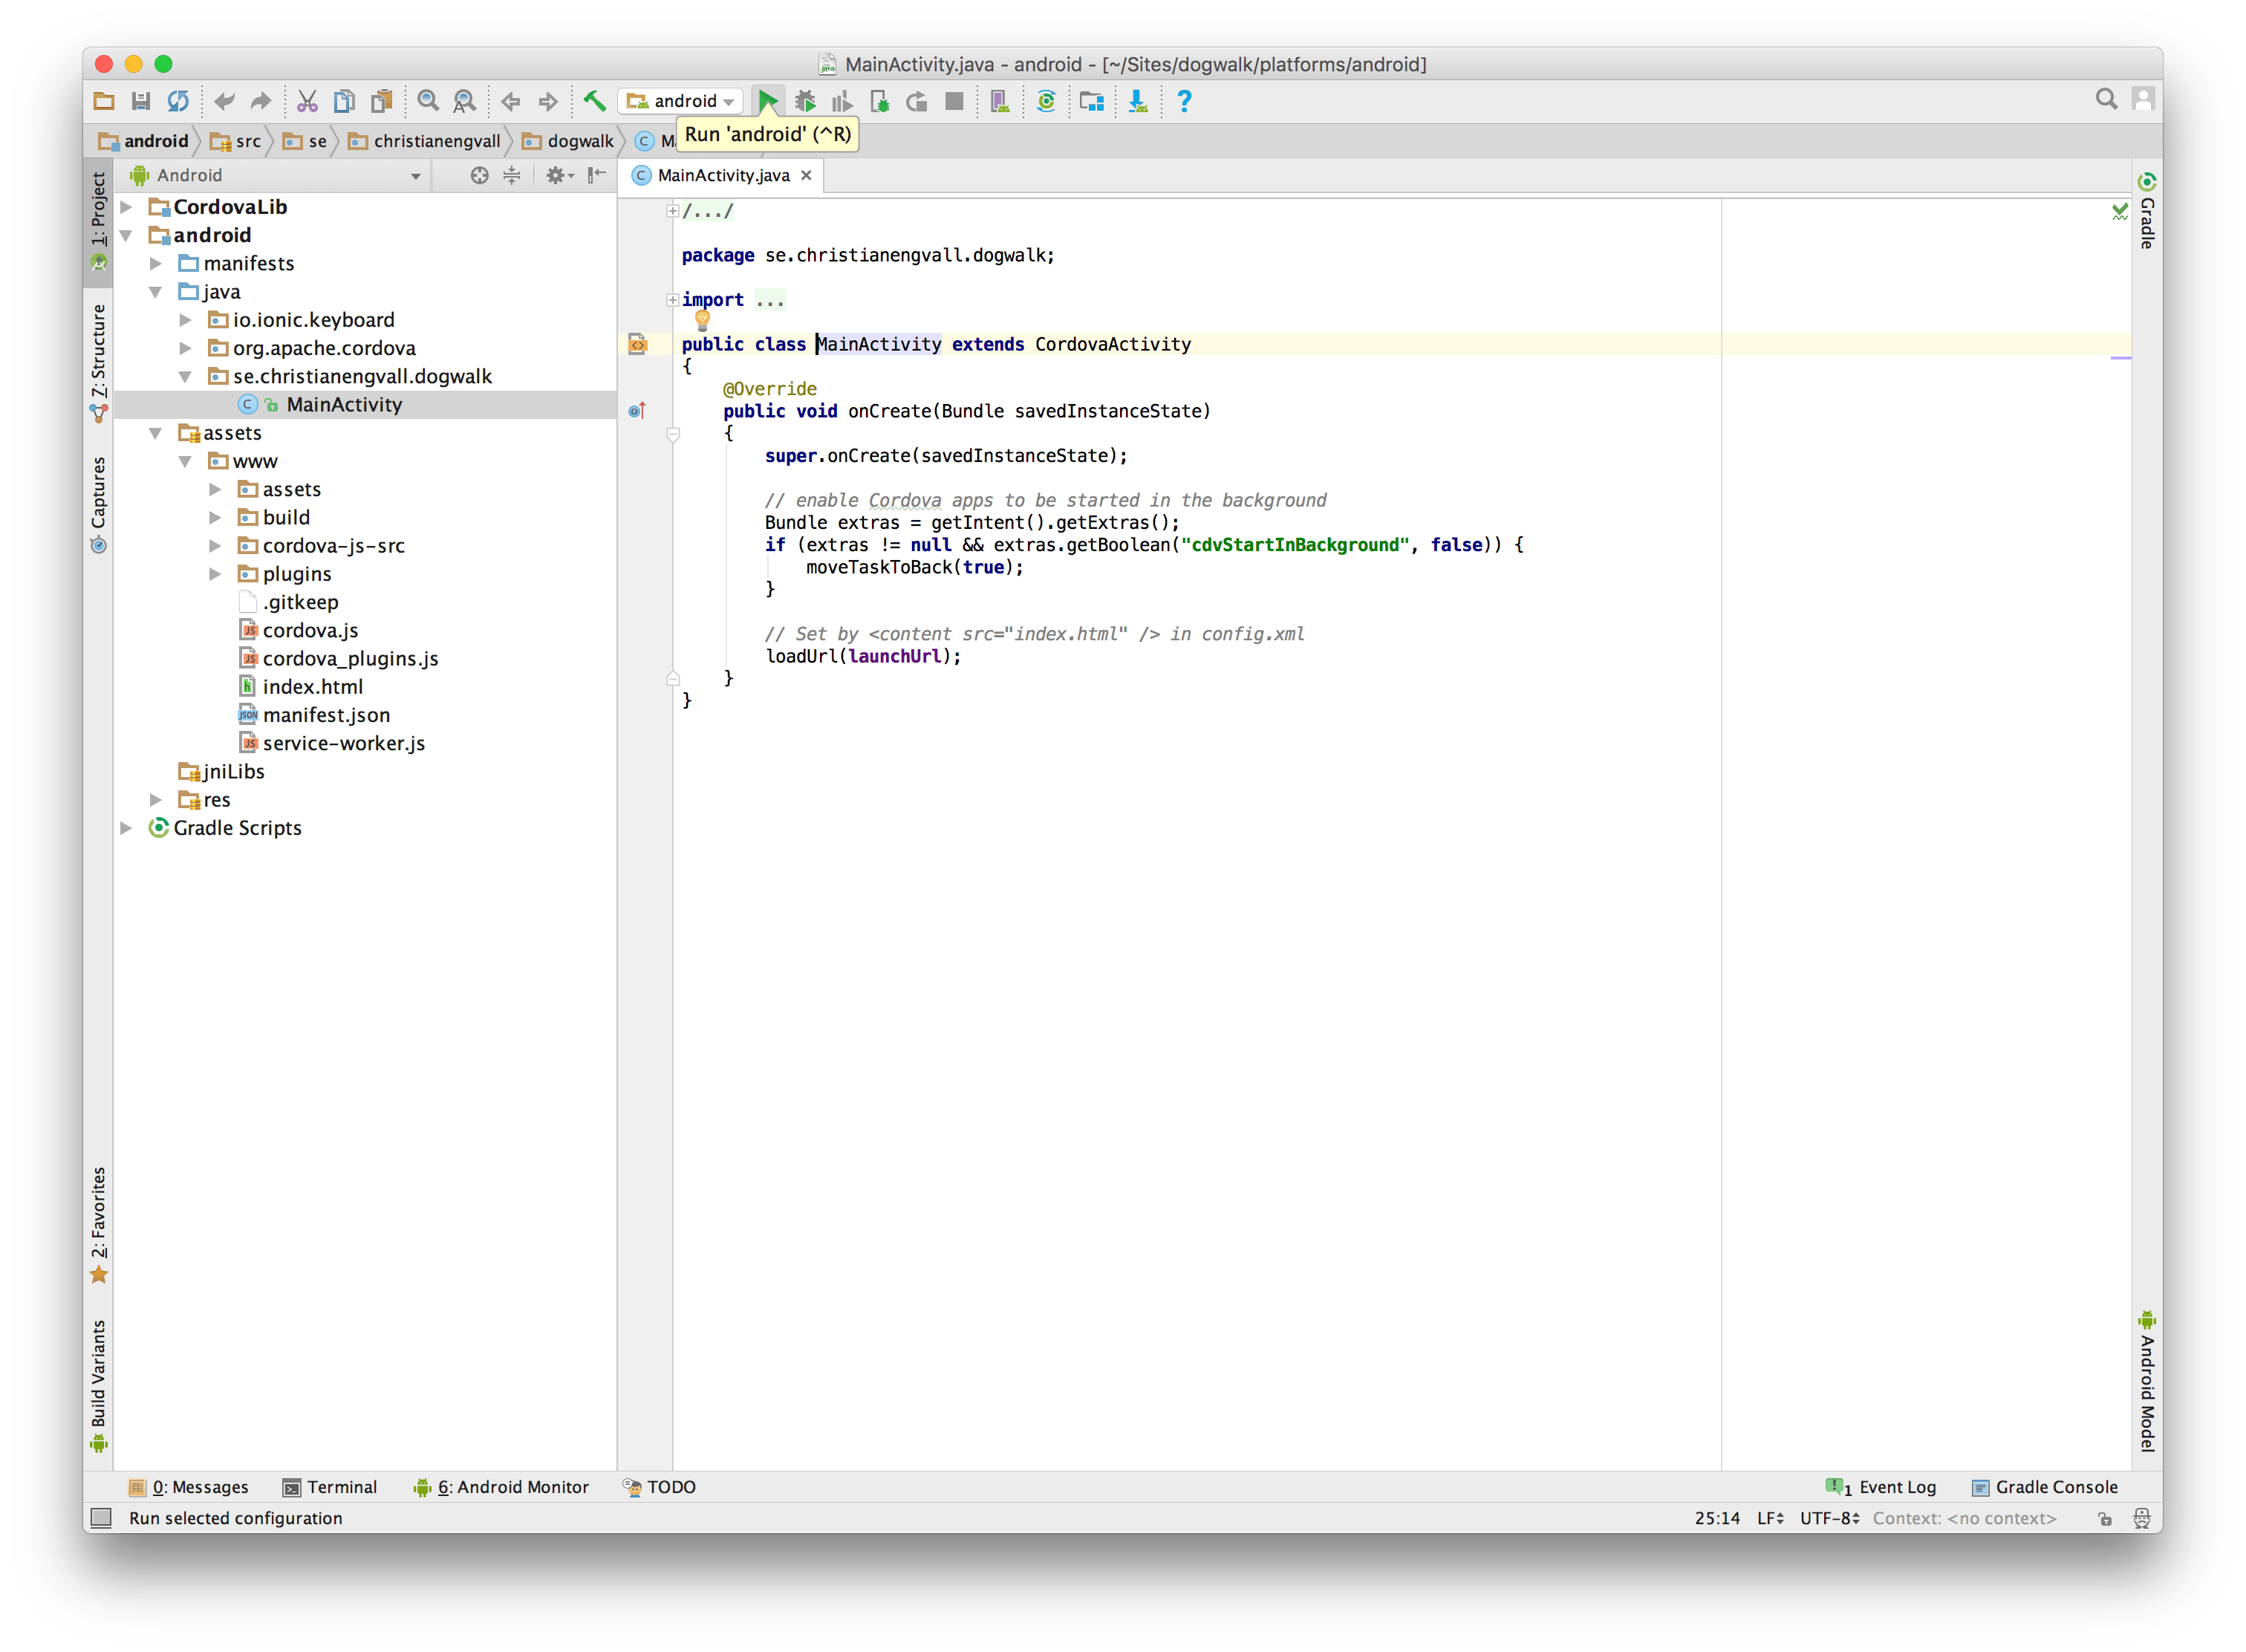
When I used the Ionic CLI to create the Dogwalk project it came with an iOS project. Now it’s time to add the Android platform.
These are the steps i took to install the Android SDK and add the Android Platform. I ran into errors, maybe you’ll get them as well, so even though this was not a smooth install maybe it helps!
Ionic add platform Android
To add the android platform to your app you run the following command in a terminal:
Since I already had the Android SDK installed from when building another project I figured I could run it directly. But i got this error:
The solution according to stack overflow was to do this:
But that didn’t work. So I installed Android Studio.
Android Studio
After installing Android Studio I got a few questions to update and install SDK-components I didn’t have. I accepted them all.
After that i opened the platforms/android project in android studio and tried to run it in a Simulator. And in this step Android Studio wanted to install a simulator. So it did install the Android_Accelerated_X86 . If you choose the other one it will be slow and not be able to start the ionic app. At least I got the error message that it couldnt find the folder android_asset.
Android Studio run app
But the simulator couldn’t open the app. At this point I figured I should delete the ionic android project and add it again. So close Android studio.
Delete an Ionic platform
To remove a platform run this command in a terminal:
The next step was to make sure i’ve got the latest Ionic and Cordova version.
Updating Ionic and Cordova
Run this terminal in a terminal:
Adding and building Android platform again
Once again run some commands in the terminal:
Источник
Chapter 2: Installation
In this chapter, we are going to walk through the process of downloading Ionic and installing all necessary dependencies for development.
Platform notes
First, we need to start with a note about minimum requirements for building your app with the current release of Ionic. Ionic targets iPhone and Android devices (currently). We support iOS 7+, and Android 4.1+. However, since there are a lot of different Android devices, it’s possible certain ones might not work. As always, we are looking for help testing and improving our device compatibility and would love help from the community on our GitHub project.
You can develop Ionic apps on any operating system you prefer. In fact, Ionic has been developed at various times on Mac OS X, Linux, and Windows. However, right now you’ll need to use the command line in order to follow this guide and you must have OS X in order to develop and deploy iPhone apps, so OS X is recommended if possible.
If you are on Windows, make sure to download and install Git for Windows and optionally Console2. You will be executing any commands in this guide in the Git Bash or Console2 windows.
First, we will go and install the most recent version of Apache Cordova, which will take our app and bundle it into a native wrapper to turn it into a traditional native app.
To install Cordova, make sure you have Node.js installed, then run
Drop sudo from the above command if running on Windows. Depending on the platforms you wish to develop for, you’ll need to install platform-specific tools. Follow the Cordova platform guides for Android and iOS to make sure you have everything needed for development on those platforms. Luckily, you’ll only need to do this once.
Linux Android note
If you are running a 64-bit version of Ubuntu, you’ll need to install the 32-bit libraries since Android is only 32-bit at the moment. $ sudo apt-get install ia32-libs If you are on Ubuntu 13.04 or greater, `ia32-libs` has been removed. You can use the following packages instead: $ sudo apt-get install lib32z1 lib32ncurses5 lib32bz2-1.0
If you are running 64-bit version of Fedora you’ll need to install some 32-bit packages: $ sudo yum install -y glibc.i686 glibc-devel.i686 libstdc++.i686 zlib-devel.i686
ncurses-devel.i686 libX11-devel.i686 libXrender.i686 libXrandr.i686
Windows note on Java, Ant and Android
Windows users developing for Android: You’ll want to make sure you have the following installed and set up.
NOTE: Whenever you make changes to the PATH, or any other environment variable, you’ll need to restart or open a new tab in your shell program for the PATH change to take effect.
Java JDK
Install the most recent Java 8 JDK (NOT just the JRE), JDK 9 is NOT currently (2017.12) supported by Cordova.
Next, create an environment variable for JAVA_HOME pointing to the root folder where the Java JDK was installed. So, if you installed the JDK into C:\Program Files\Java\jdk7 , set JAVA_HOME to be this path. After that, add the JDK’s bin directory to the PATH variable as well. Following the previous assumption, this should be either %JAVA_HOME%\bin or the full path C:\Program Files\Java\jdk7\bin
Apache Ant
To install Ant, download a zip from here, extract it, move the first folder in the zip to a safe place, and update your PATH to include the bin folder in that folder. For example, if you moved the Ant folder to c:/ , you’d want to add this to your PATH: C:\apache-ant-1.9.2\bin .
Android SDK
Installing the Android SDK is also necessary. The Android SDK provides you the API libraries and developer tools necessary to build, test, and debug apps for Android.
Cordova requires the ANDROID_HOME environment variable to be set. This should point to the [ANDROID_SDK_DIR]\android-sdk directory (for example c:\android\android-sdk ).
Next, update your PATH to include the tools/ and platform-tools/ folder in that folder. So, using ANDROID_HOME, you would add both %ANDROID_HOME%\tools and %ANDROID_HOME%\platform-tools .
Install Ionic
Ionic comes with a convenient command line utility to start, build, and package Ionic apps.
To install it, simply run:
Create the project
Now, we need to create a new Cordova project somewhere on the computer for the code for our app:
That will create a folder called todo in the directory the command was run. Next, we will go into that directory and list the contents. Here is what the outer structure of your Ionic project will look like:
If you are planning on using any version control system, you can go ahead and set it up in this new folder.
Configure Platforms
Now, we need to tell ionic that we want to enable the iOS and Android platforms. Note: unless you are on MacOS, leave out the iOS platform:
If you see errors here, make sure to follow the platform guides above to install necessary platform tools.
Android on OS X note
If you get this error: [Error: ERROR : Make sure JAVA_HOME is set, as well as paths to your JDK and JRE for java.] Then try running this command first before adding the android platform:
Test it out
Just to make sure the default project worked, try building and running the project (substitute ios for android to build for Android instead):
Android emulator note
We don’t recommend using «emulate» for Android development. Unfortunately, the default Android emulator is horribly slow and will not accurately represent a real device. Using the emulator isn’t even recommended for native Android development.
Fortunately, there are some great alternatives out there. Our favorite is a tool called Genymotion which can run an Android device as a virtual machine on your computer. It’s much faster! If you use Genymotion, you’ll use ionic cordova run instead of ionic cordova emulate as a Genymotion image appears as a physical device to the operating system.
If you chose to emulate on Android, be patient as this takes several minutes as the Android emulator is booted up. If you don’t see anything happen for a few minutes, make sure you’ve created an Android Virtual Device (AVD), and that it is using the Android SDK version 17 or above. You might have to reduce the amount of memory the AVD is using if you don’t see the emulator boot up in a minute. The platform guide above has more information. You may also want to double check that you have the sdk and platform tools in your PATH as noted in the platform guide.
The emulator takes a LONG time to boot. After about 5 or 10 minutes, you should see the default Cordova app running in the emulator: 
Of course, you can always test directly on the device, and that is the recommended way to develop on Android due to the slow emulator. To do that, substitute emulate with run and ensure you have an Android device connected to the computer.
Let’s go!
Now we are ready to start building our app, so continue on to the next chapter:
Getting started
Learn more about how Ionic was built, why you should use it, and what’s included. We’ll cover the basics and help you get started from the ground up.
Documentation
What are you waiting for? Take a look and get coding! Our documentation covers all you need to know to get an app up and running in minutes.
Code licensed under MIT. Docs under Apache 2 | © 2013-2016 Drifty Co
Источник
Platform
The Platform service can be used to get information about your current device. You can get all of the platforms associated with the device using the platforms method, including whether the app is being viewed from a tablet, if it’s on a mobile device or browser, and the exact platform (iOS, Android, etc). You can also get the orientation of the device, if it uses right-to-left language direction, and much much more. With this information you can completely customize your app to fit any device.
Usage
Methods
is(platformName: Platforms) => boolean
Depending on the platform the user is on, is(platformName) will return true or false. Note that the same app can return true for more than one platform name. For example, an app running from an iPad would return true for the platform names: mobile , ios , ipad , and tablet . Additionally, if the app was running from Cordova then cordova would be true.
Parameters
| Name | Type | Description |
|---|---|---|
| platformName | Platforms | Name of the platform. Available options are android, capacitor, cordova, desktop, electron, hybrid, ios, ipad, iphone, mobile, phablet, pwa, tablet |
Platforms
Below is a table listing all the possible platform values along with corresponding descriptions.
| Platform Name | Description |
|---|---|
| android | a device running Android |
| capacitor | a device running Capacitor |
| cordova | a device running Cordova |
| desktop | a desktop device |
| electron | a desktop device running Electron |
| hybrid | a device running Capacitor or Cordova |
| ios | a device running iOS |
| ipad | an iPad device |
| iphone | an iPhone device |
| mobile | a mobile device |
| mobileweb | a web browser running in a mobile device |
| phablet | a phablet device |
| pwa | a PWA app |
| tablet | a tablet device |
platforms() => string[]
Depending on what device you are on, platforms can return multiple values. Each possible value is a hierarchy of platforms. For example, on an iPhone, it would return mobile , ios , and iphone .
ready() => Promise
Returns a promise when the platform is ready and native functionality can be called. If the app is running from within a web browser, then the promise will resolve when the DOM is ready. When the app is running from an application engine such as Cordova, then the promise will resolve when Cordova triggers the deviceready event. The resolved value is the readySource , which states the platform that was used.
For example, when Cordova is ready, the resolved ready source is cordova . The default ready source value will be dom . The readySource is useful if different logic should run depending on the platform the app is running from. For example, only Capacitor and Cordova can execute the status bar plugin, so the web should not run status bar plugin logic.
isRTL() => boolean
Returns if this app is using right-to-left language direction or not. We recommend the app’s index.html file already has the correct dir attribute value set, such as or . W3C: Structural markup and right-to-left text in HTML
isLandscape() => boolean
Returns true if the app is in landscape mode.
isPortrait() => boolean
Returns true if the app is in portrait mode.
width() => number
Gets the width of the platform’s viewport using window.innerWidth .
height() => number
Gets the height of the platform’s viewport using window.innerHeight .
url() => string
Get the current url.
testUserAgent(expression: string) => boolean
Returns true if the expression is included in the user agent string.
Parameters
| Name | Type | Description |
|---|---|---|
| expression | string | The string to check in the user agent |
Events
pause
The pause event emits when the native platform puts the application into the background, typically when the user switches to a different application. This event emits when a Cordova/Capacitor app is put into the background but doesn’t fire in a standard web browser.
Usage
resize
The resize event emits when the browser window has changed dimensions. This could be from a browser window being physically resized, or from a device changing orientation.
Usage
resume
The resume event fires when the native platform pulls the application out from the background. This event emits when a Cordova/Capacitor app comes out from the background but doesn’t fire in a standard web browser.
Источник


