- Draw with Notes on your iPhone, iPad, or iPod touch
- Get started
- Create inline drawings
- Use Markup on your iPhone, iPad, or iPod touch
- Apps and features that use Markup
- Messages
- Photos
- Draw with Markup
- Move a drawing
- Erase or undo a drawing
- Add text, a signature, magnifier, and shapes
- How To Draw an iPhone?
- How to Markup, Write, & Draw on Photos with iPhone or iPad
- How to Markup Photos in iOS
- How to draw on your iPhone in the Photos or Notes app using the Markup tool
- Check out the products mentioned in this article:
- iPhone Xs (From $999.99 at Best Buy)
- How to draw on your iPhone in the Photos app
- How to draw on your iPhone in the Notes app
Draw with Notes on your iPhone, iPad, or iPod touch
With the tip of your finger, you can create a drawing in the Notes app.
Get started
- Make sure that your iPhone, iPad, or iPod touch has the latest version of iOS or iPadOS.
- To use the latest features of Notes, make sure you update your drawings, and set up Notes with iCloud or have notes saved on your device. Many Notes features won’t work with other email providers.

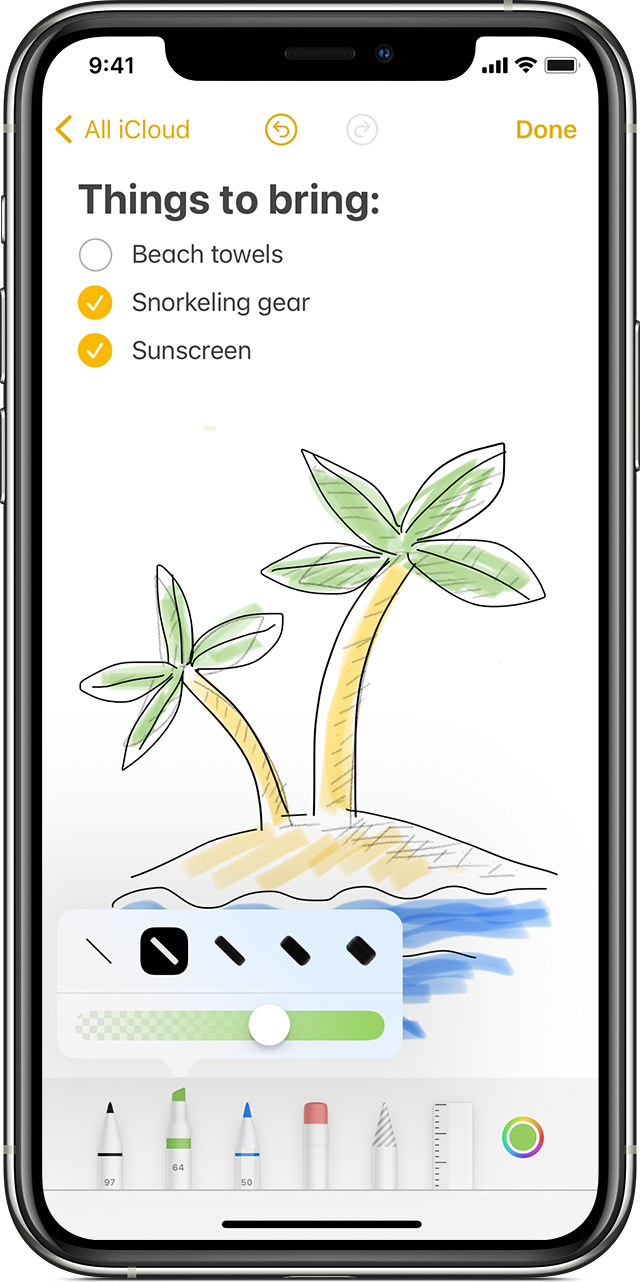
Create inline drawings
- In a note, tap the Markup button .
- Choose a color and a drawing tool, like the pencil or marker.
- Tap Done.
If you want to redo part of your drawing, tap the eraser, then tap the area that you want to erase. If you accidentally erase something, tap the Undo icon . You can also customize the thickness of your lines and the opacity of colors with the drawing tools. To make your drawing area larger or smaller, drag the yellow line at the top and bottom of your drawing to resize the area.
After you draw something, you can move it around. Tap the lasso icon  , trace a circle around the drawing that you want to move, then drag it where you want it. You can also use the Lasso to copy and paste parts of your drawing.
Источник
Use Markup on your iPhone, iPad, or iPod touch
With Markup, you can edit screenshots and photos, select different opacity and font thickness, and even add a signature to a PDF document.
Apps and features that use Markup
Here are some apps that you can use with Markup and steps to get started:
- Open Mail and tap the compose button to start a new email. Or reply to an existing email.
- Tap inside the body of your email, then tap the gray arrow icon or tap Return to open the format bar. You can also tap inside your email, then tap the cursor and select Insert Photo or Video or Add Attachment. You might need to tap the arrow icon to scroll through the options.
- Tap the Camera button or the Document button , then look for the photo or PDF that you want to attach and mark up.
- Tap the attachment, then tap the gray arrow icon . Tap the Markup button to add your markup. Tap the plus button to add a signature, text, and more.
- Tap Done, then send your email.
![]()
Messages
- Open Messages and tap the compose button to start a new conversation. Or go to an existing conversation.
- Tap the Photos button and select a photo.
- Tap the photo in the message, then tap Markup. From here, you can add a sketch to the photo, or tap the plus button for other Markup options.
- Tap Save, then tap Done.
- Tap the Send button .
![]()

Photos
- Go to Photos and select the photo you want.
- Tap Edit, then tap the Markup button . Tap the Add button to add text, shapes, and more.
- Tap Done, then tap Done again.
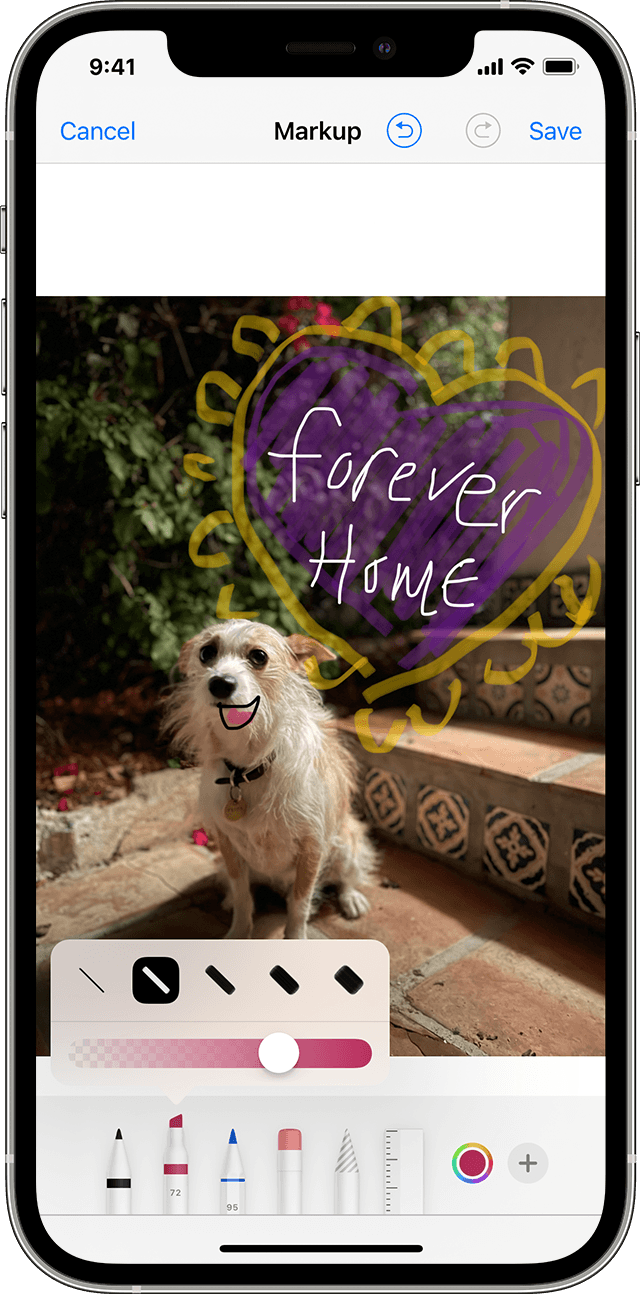
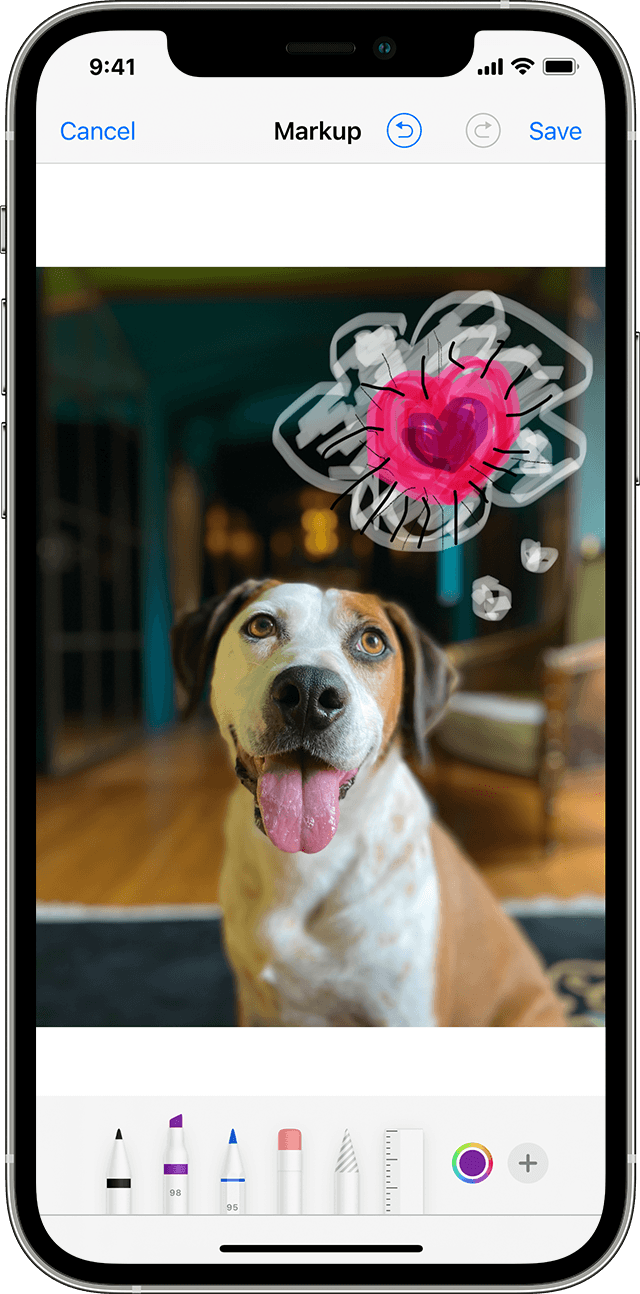
Draw with Markup
After you choose a Markup tool — like the pen, highlighter, or pencil — select a color and start drawing. Tap the same tool again to change the color opacity, or tap another tool to change the thickness. You can also tap the Color button to change color shades.
Move a drawing
After you draw something, you can move it around. Tap the Lasso button , trace a circle around the drawing that you want to move, then drag it where you want it.
Erase or undo a drawing
To redo a drawing, tap the eraser button and rub your finger across the area you want to erase. You can also undo any markup action by using the Undo button . If you accidentally undo a markup, you can shake your device and tap Redo.
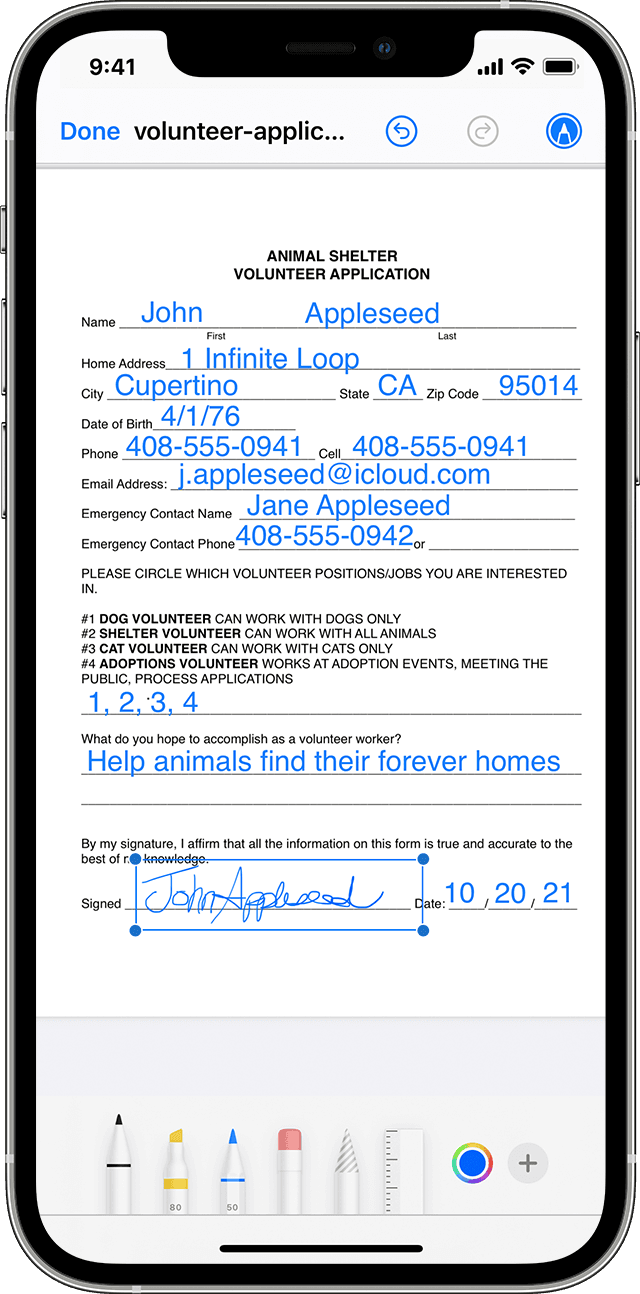
Add text, a signature, magnifier, and shapes
Tap the Add button to choose from other Markup tools:

Tap the circle to choose a different text color, then tap the formatting button to adjust the font, size, and alignment.

Quickly add or create a signature for a document.
![]()

Drag the loupe around, use the blue dot to adjust the size, and the green dot to increase or decrease the magnification level.

Tap a shape to add it to your screenshot, photo, or PDF. Drag the shape to where you want it and use the blue dots to adjust the size and shape. Use the green dots to adjust the arrow’s curve and the speech bubble’s appearance.
Источник
How To Draw an iPhone?
How to draw an iPhone? It’s very fast and easy to draw an iPhone and design iPhone user interface using the tools of ConceptDraw DIAGRAM extended with iPhone User Interface Solution.
iPhone User Interface Solution from the Software Development Area offers you the incredibly large quantity of predesigned objects that are grouped to 9 libraries.
The iPhone 6 Mockup library contains ready-to-use mockups of iPhones. All that you need for drawing iPhone is simply drag the desired mockup from the iPhone 6 Mockup library, and then design the iPhone’s interface using the objects from other libraries of iPhone User Interface Solution.
Another quick way of creating an iPhone illustration in ConceptDraw DIAGRAM is to use one of predesigned iPhone templates from ConceptDraw STORE and fill it.
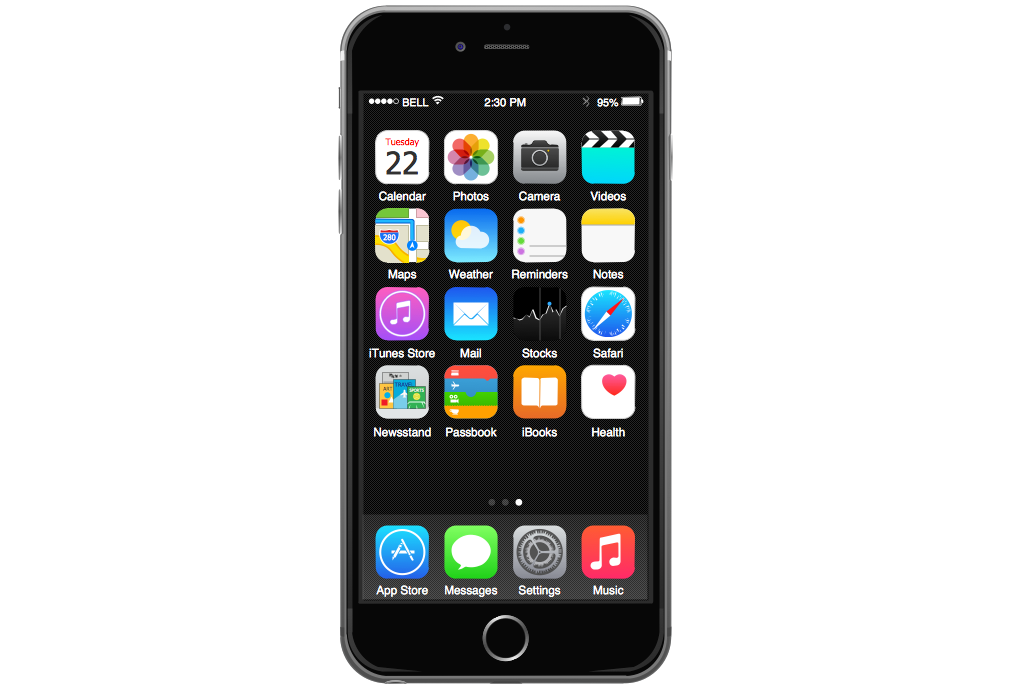
Example 1. How To Draw an iPhone
This template was created in ConceptDraw DIAGRAM using the objects from libraries of iPhone User Interface Solution and shows the iPhone Home Screen. You can see the variety of icons on the Home Screen that can be clicked for using the available applications. You can find this template in ConceptDraw STORE and use it for your needs.
Use the predesigned vector stencils, iPhone UI patterns, templates and samples from the iPhone User Interface Solution for ConceptDraw DIAGRAM to draw iPhone create your own iPhone interfaces quick and easy.
All iPhone interfaces designed with ConceptDraw DIAGRAM are vector graphic documents and are available for reviewing, modifying, and converting to a variety of formats (image, HTML, PDF file, MS PowerPoint Presentation, Adobe Flash or MS Visio).
Источник
How to Markup, Write, & Draw on Photos with iPhone or iPad

The excellent Markup ability in iOS allows iPhone and iPad users to write, draw, and markup on any photo or picture stored on their device. This offers a nice way to highlight or emphasize something on an image, and while it can be used for fun it’s equally as useful for professional users as well to annotate images.
Markup is a fantastic feature but it’s tucked away behind a nondescript button option in the photos editing features of iOS, so many users can overlook the markup ability without ever knowing it exists. If you don’t find the ability using the instructions below, you likely need to update iOS to a newer version.
How to Markup Photos in iOS
The Markup ability exists in Photos app for iPhone, iPad, and iPod touch, here’s how you can access and use this great feature:
- Open the Photos app and choose the picture you want to markup, draw, or write onto
- Tap the photo again to reveal the toolbars, and then tap the Edit toolbar button (it looks like three sliders now, it used to say “Edit”)
Now tap the “(•••)” button to show additional editing options
Choose “Markup” from the additional editing options
- Drawing (the pen icon) – draw with your finger using any of the colors shown on screen, you can also adjust the thickness of the lines
- Emphasize (the magnifying glass over a letter icon) – emphasize or magnify a portion of the picture
- Write text (the T text icon) – place text on the picture and type using the regular iOS keyboard
- Colors – choose which color to use
- Undo (the reverse arrow icon) – undo the prior markup
Once you have marked up a photo you can use your scribble, modifications, drawings, or whatever other masterpiece you have created like any other picture on an iOS device. This means you can send the marked up photo, post it to social media like Facebook, Twitter, or Instagram, email it to someone, embed in a notes app, or whatever else you want to do with it.
If you don’t see the markup ability, be sure you have updated to the latest version of iOS available. The feature was introduced natively into the Photos app in iOS after the 10.0 release and thus will not exist in prior versions. Mac users will find a similar Markup feature in Mail for Mac, and of course can use Preview app to add text or annotations to images.
The Markup and photo editing features on iOS are numerous, the same editing panel section allows you to adjust light and color of photos, rotate, straighten, crop, remove red eye, digitally sign documents in iOS from Mail app, and much more.
Know of any great uses or tricks for the Photos Markup feature in iOS? Let us know in the comments!
Источник
How to draw on your iPhone in the Photos or Notes app using the Markup tool
Without a stylus, your iPhone drawings might not come out all that well. And frankly, unless you’re a talented artist, you might not create any masterpieces drawn on an iPhone.
That said, it’s fun to draw on your iPhone, and the doodles you create can enhance a photo, charm a friend, or just amuse you creatively.
Both the iPhone’s Photos app and Notes app come with all the tools you need to create colorful sketches, and both make it easy to share your artwork with others.
Here’s how to do it.
Check out the products mentioned in this article:
iPhone Xs (From $999.99 at Best Buy)
How to draw on your iPhone in the Photos app
1. Open the photo on which you wish to draw, and make sure to duplicate it if you want to keep a copy of the original. (Duplicate the image by tapping the bottom left icon, the one with an arrow pointing up out of a box, then swiping to the word «Duplicate» on the bottom toolbar).
2. Tap the word «Edit» at the top right corner of the photo.
3. Tap the circle with three dots at the bottom of the screen.
4. Tap the «Markup» icon.
You can now select various drawing styles, from marker to pen to pencil to paintbrush. You can also choose the colors you’d like to use to draw directly on the photo.
When done, tap the yellow word «Done,» then the blue word «Done,» and the photo will be saved with your artwork added.
How to draw on your iPhone in the Notes app
1. Launch the Notes app.
2. Tap the bottom right icon of a pencil on paper.
3. Tap the icon of a pen tip in a circle.
4. Choose the type of pen, pencil, or brush by tapping on the Markup icon, select your color, and draw away.
The drawing will be saved when you tap the word «Notes» to return to the previous menu.
Источник


