- How to add Load More / Infinite Scrolling in Android using Kotlin
- Setting up Load More / Infinite Scrolling
- Linear Layout
- Grid Layout
- Staggered Grid Layout
- Android RecyclerView Load More, Endless Scrolling
- Android Tutorial
- Android RecyclerView Load More
- Project Structure
- Load more android что это
- Android Working with Load More RecyclerView and Bottom ProgressBar
- About Us
- Elementor и Ajax Load More – загрузка записей во время скрола (infinite scroll for posts)
- Полезные ссылки для работы с “Ajax Load More”:
- Как добавить ленивую загрузку записей во время скролла в Elementor?
- Стандартный шаблон вывода постов:
- Шаблон вывода сетки для плагина “Ajax Load More” на основе сетки Elementor
- Шорткод для вывода Ajax Load More
- Как сохранить CSS стили сетки?
- 3 Android RecyclerView Load More On Scroll Examples
- How To Implement Pagination In Android RecyclerView
- How To Add OnScrollListener With RecyclerView
- Simple Android RecyclerView Load More On Scroll Example
- MainActivity.kt
- RecyclerViewAdapter.kt
- Grid RecyclerView Pagination Example — Different Approach
- RecyclerViewAdapter.kt
- Retrofit Android RecyclerView Infinite Scroll Example
How to add Load More / Infinite Scrolling in Android using Kotlin
In this tutorial, I’m going to show you how to add the Load More / Infinite Scrolling feature in the RecyclerView that has a Linear, Grid or Staggered Grid Layout.
But first, let’s set up the files which are important for whatever layout you choose to implement.
Setting up Load More / Infinite Scrolling
First, let’s start by creating the layout that contains the circular progress bar we show when we load more data (progress_loading.xml):

After that, create the ScrollListener for our RecyclerView (RecyclerViewLoadMoreScroll.kt):
In this example, we set the visibleThreshold to 5, which means the circular progress bar will show up when the user sees the 5th item from the end of our downloaded data.
Next, we have to create an interface where we are calling to load more data into our RecyclerView (OnLoadMoreListener):
Also, we need to create a file (if you don’t have one already in your project) with a name Constant.kt and paste the following code:
This file contains the IDs for our Item View and Loading View, so the RecyclerView can call the right view in the right moment.
Now we go to our file RecyclerViewActivity.kt where the RecyclerView lives, and we’re going to create an ArrayList called loadMoreItemsCells.
loadMoreItemsCells contains the items we load when we show the circular progress bar (Loading View).
Also, we call the methods setRVLayoutManager() and we set our RecyclerView Layout and setRVScrollListener(), where we add the ScrollListener we created before:
But we’re not finished yet!
Now in the Recycler’s View Adapter file we’re going to add some methods that add the data we downloaded during Loading (loadMoreItemsCells) to our main ArrayList (itemsCells), and also add methods that know when to show or hide our Loading View:
Linear Layout
For a RecyclerView with Linear Layout we have to add the following methods in our RecyclerViewActivity.kt file:
That’s it! Run the project and…
Grid Layout
A RecyclerView with Grid Layout is a little bit different than the other layouts, and we have to add the following methods into our RecyclerViewActivity.kt file:
The difference in Grid Layout from the others is that we have to set the grid columns to 1 to be the full width of the recyclerView, when we want to show the Loading View.
Let’s run the project!
Staggered Grid Layout
The Layout Manager of a RecyclerView with a Staggered Layout is the same as Linear:
But it’s a little bit tricky when it comes to showing our Loading View in full width.
It doesn’t have the helper class .spanSizeLookup as the Grid Layout has. So we need to add the following code to our RecyclerView’s Adapter:
If you have any questions feel free to DM me on Twitter @johncodeos or leave a comment below!
Источник
Android RecyclerView Load More, Endless Scrolling
Android Tutorial
In this tutorial, we’ll be discussing and implementing Endless Scrolling or Infinite Scroll on RecyclerView in our Android Application. The infinite scrolling in which the next set of rows are fetched from the DB/Server while showing a loading icon is commonly seen in many applications such as Facebook, Twitter.
It’s recommended to go through this tutorial before proceeding ahead.
Android RecyclerView Load More
In order to show Loading icon at the bottom of RecyclerView while the next set of items are fetched, we need to use Multiple View Types in our RecyclerView Adapter.
How is this implemented?
Typically in a simple RecyclerView, we load elements to the adapter from a Data Structure.
In order to show the loading icon view at the bottom of the RecyclerView, we need to first add a NULL element to the end of the Data Structure.
Why NULL?
In order to differentiate that element from the rest of the elements and show a different view type row.
After adding a null, we notify the adapter the of the new element and fetch the next set of elements.
Once the next set of elements is obtained, we remove the NULL element and add the next set to the bottom of the Data Structure.
Following diagram demonstrates what actually happens in the RecyclerView and its Adapter.

Enough Talk. Let’s code.
In the following section, we’ll demonstrate Endless Scrolling on RecyclerView by populating a List of Strings and loading the next set of List after a delay using Handlers.
Project Structure

The code for the activity_main.xml layout is given below:
The layout for the rows of the RecyclerView is defined in item_row.xml file as shown below:
The layout for the loading view is defined in the item_loading.xml file as shown below:
The code for the RecyclerViewAdapter.java class is given below:
getItemViewType is where we check each element of the List. If the element is NULL we set the view type as 1 else 0.
Based on the View type we instantiate the ViewHolder in the onCreateViewHolder.
Inside the onBindViewHolder we check the type of ViewHolder instance and populate the row accordingly.
Let’s look at the MainActivity.java class where we instantiate the above Adapter.
initScrollListener is the most important method in the above code.
It’s there where we check the scrolled state of the RecyclerView and if the bottom-most item is visible we show the loading view and populate the next list.
The output of the above application in action is given below:

That brings an end to this tutorial. You can download the project from the link below:
Источник
Load more android что это
Android Working with Load More RecyclerView and Bottom ProgressBar
When scroll RecyclerView to the end to get more data and update RecyclerView. When connect to get more data load more data is in progress at bottom.
In this article I will show you how to implement Load More RecyclerView with progress bar showing at bottom of RecyclerView.
Step 1. Create a new project in Android Studio from File => New Project and fill the project details.
Step 2. Open build.gradle add «recyclerview» & «cardview» library after adding click on Sync Now.
Step 3. Now open main_activity.xml add the RecyclerView like as below.
Step 4. Now create a new recycler_view_item_row.xml file under res -> layout and modified layout as below.
Step 5. Now create another new item_progressbar.xml file under res => layout and modified layout as below.
Step 6. Now create a new RecyclerView adapter class. In my case named RecyclerViewAdapter.java and modified adapter class as below.
Step 7. Now open MainActivity.java class file and modified as below.
8. Output as below.

Camera Permission

External Storage Premission

Location Permission

Dheerendra Singh is a Mobile Developer(Android) & Web Developer(PHP) of Amisun IT Solutions, Master degree in Computer Science.
About Us
Amisun IT Solutions is an expert Software Development Company giving complete IT arrangements and going about as a seaward improvement community for abroad advancement firms.
We are an imaginative organization, situated in India that gives a progression of Web-based programming applications that have helped clients make fruitful online activities.
Our group of forward masterminds and reforming individuals tries to furnish you with the best of arrangements with flawlessness second to none. Our key concentration is dependably to furnish you with solid arrangements which are precisely planned and planned with stringent quality principles. .
Источник
Elementor и Ajax Load More – загрузка записей во время скрола (infinite scroll for posts)
Всё началось с того что при реализации очередного проекта, необходимо было сделать ленивую подгрузку записей во время скролла страницы вниз. Но уникальность случая заключалась в том, что заказчику необходимо было сохранить внешний вид выводимых записей именно в том виде в котором была создана сетка вывода постов. Ну а сетка вывода постов была реализована при помощи конструктора страниц Elementor (если быть точнее при помощи виджета в Elementor “Записи”). Несмотря на то что на сайте был установлен Elementor-PRO версии, реализовать штатными средствами ленивую подгрузку мне так и не удалось. К сожалению плагин при создании страницы архива позволяет реализовать только постраничную пагинацию. На счастье через несколько минут “Google’ния” я наткнулся на вот этот замечательный пост, который познакомил меня с отличным плагином “Ajax Load More”:
Воспользуйтесь переводчиком страницы в Google Chrome, и прочтите данный пост до конца, в нем объяснены основы работы с плагином. В данном посте мы остановимся подробнее на реализации “infinite scroll” для записей в Elementor.
Полезные ссылки для работы с “Ajax Load More”:
Загрузить плагин можно по ссылке ниже:
Как добавить ленивую загрузку записей во время скролла в Elementor?
Судя по тому что Вы здесь, Вам необходимо сделать так чтобы во время скола страницы записи (или сетка записей) подгружались автоматически, давайте начнем реализацию задуманного.
Будем считать что Вы прочитали пост по ссылке выше и установили плагин “Ajax Load More”, дабы не останавливаться на деталях.
Стандартный шаблон вывода постов:
На всякий случай оставлю здесь стандартный шаблон вывода.
Шаблон вывода сетки для плагина “Ajax Load More” на основе сетки Elementor
В начале возьмем к примеру вывод сетки (с которой у меня и родился данный пост) как на скриншоте ниже:
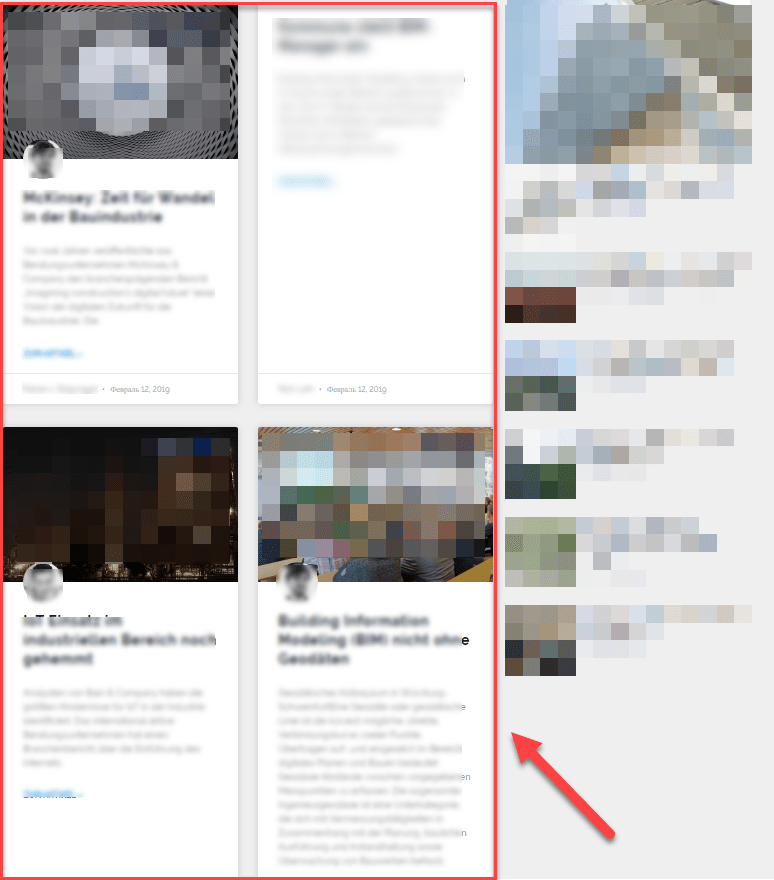
Сори за размытости но так как сайт является не моим, и доступным в интернете естественно я не могу отобразить контент сетки. Уверен из увиденного Вам и так будет ясно что перед Вами сетка постов созданных в Elementor. Теперь нам необходимо внешний вид постов данной сетки перенести в шаблоны плагина Ajax Load More.
К счастью сетка созданная конструктором страниц очень качественна, и реализуется при помощи css. Поэтому при тщательном исследовании Вашего вывода сетки постов Вы обнаружите сходство Вашего HTML кода и шаблона предоставленного мной ниже. При создании шаблона необходимо правильно подготовить вывод для одного поста из сетки. Вот мой вариант вывода поста для сетки в две колонки:
Все что Вам останется, это применить свои правки. Данный шаблон (с своими правками) необходимо применить на странице:
Шорткод для вывода Ajax Load More
Переходим созданию шорт кода :
Как работать с созданием шорткода для ленивой загрузки уверен Вы разберетесь и без меня, обилие настроек для бесплатной версии плагина мягко говоря поражает. Я же приведу ниже полный код верстки (обертки шорткода) вместе с получившимся шорткодом:
В данном коде обратите внимание на эти классы:
elementor-grid-2 elementor-grid-tablet-2 elementor-grid-mobile-1
Для вывода сетки неотличимой от двух колонок, Вам необходимо будет установить соответствующие цифры например для вывода сетки в три колонки, место elementor-grid-2 примените класс elementor-grid-3 . Ну и т.д..
HTML обертка вокруг шорт кода очень важный элемент, если разместить шорт код вне обертки магия сетки не сработает.
Теперь когда у Вас есть шаблон вывод и шорт код, Вам остается применить шорткод с оберткой (код выше) в виджете “Shortcode” вашей страницы созданной при помощи плагина Elementor.
Как сохранить CSS стили сетки?
Если Вы удалите виджет с сеткой записей (тот самый который был создан в элементоре), автоматически все стили примененные в редакторе Elementor исчезнут, для того чтобы не терять время на перенос стилей, я предлагаю сделать следующее. Для моего примера, я оставил в виджите записей две новости, чтобы стили сгенерированные элементором остались в теле страницы, а в шорткоде ленивой загрузки указал параметр offset= «2» который позволяет сделать пропуск первых 2 постов.
Обратите внимание на класс Вашей обертки, в моем примере это класс elementor-element-6ba59dc именно данный класс отвечает за стили которые Вы применили к виджету “Записи”. Он всегда будет уникальным вот его и нужно применить место моего elementor-element-6ba59dc . Соответственно оставляя вывод нескольких постов в виджите мы будем уверены что элементор применит стили ранее Вами добавленные.
К сожалению при обновлении настроек вывода сетки записей данный класс необходимо будет переназначать снова.
Источник
3 Android RecyclerView Load More On Scroll Examples
This post contains affiliate links. If you use these links to buy something I may earn a commission. Thanks.”
We are using lots of apps that load data while we scrolling. Facebook, Instagram, and more apps using this technique. This technique helps users to wait less time.
So if you are planning to make an app like that, using RecyclerView. Then this post is for you.
In this post, You will learn how to use Load More on Scroll or pagination or endless scrolling or infinite scroll or whatever you call, with RecyclerView.
Before that, I recommend reading our RecyclerView Tutorial Guide.
This post is not dealing with the pagination library.
How To Implement Pagination In Android RecyclerView
In this post, I am going to talk about two methods, that implement pagination in RecyclerView. But in both methods, we will use scroll Listener with RecyclerView to listen to scroll events. When RecyclerView scrolls, onScrolled() method gets called.
So first learn how to add OnScrollListener with Recyclerview.
How To Add OnScrollListener With RecyclerView
Simple Android RecyclerView Load More On Scroll Example
Let’s make a linear list Using RecyclerView and add an endless scroll feature.
After the implementation of scroll listener, we should do the following
- we use findLastCompletelyVisibleItemPosition() to get the position of last visible item.
- Use a variable which checks progressbar loading or not
- If last item reached and progressbar not loading, loadmore() gets called. Using Handler, we add “load” in list.
- When adapter checks list, ProgressBar gets added.
- Next data chunks received, ProgressBar gets removed and data got added.
- For showing different View types. here
- Data row
- ProgressBar
Make use of getViewType() method in RecyclerView.Adapter.
MainActivity.kt
- It’s better to use Handler.post() or RecyclerView.post() while updating adapter when RecyclerView measures.
- findLastCompletelyVisibleItemPosition() returns only completely visible Item’s position, So make sure your last view is fully visible.
- 2500 milliseconds — delay time
RecyclerViewAdapter.kt
- getItemViewType(int position) method returns VIEW_TYPE_PROGRESS, if data is «load». Otherwise, it returns VIEW_TYPE_DATA.
- Based on ViewType, In onCreateViewHolder layout will get inflated.
Grid RecyclerView Pagination Example — Different Approach
Now we will make a Grid RecyclerView with pagination. Sometimes we need to load data before the last item loads.
For that purpose, you can make use of this approach.
Okay, what we do in this approach.
we define 3 variables, visibleThreshold, lastVisibleItem, and totalItemCount.
- visibleThreshold : limit of items that user want to see before loading next items
- lastVisibleItem : just like name, last visible item position in adapter
- totalItemCount : No.of items in adapter
- Make ProgressBar width to maximum using setSpanSizeLookup() method
RecyclerViewAdapter.kt
Retrofit Android RecyclerView Infinite Scroll Example
In this example, we will load data from the internet using Retrofit2. You can download PHP(data.php) code from the Source Code link shown at the top.
I am using Android Studio 3.5.
Let’s create a project.
In choosing your project window, click on «Empty Activity» and click Next.
Name: RetrofitRecyclerViewLoadMoreEx
I am going to use AndroidX library, so make sure you tick on the androidx.* artifacts.
That’s your choice, but I recommend to use this one.
Click «Finish«.
add below dependencies
- Gson converter : It helps to serialize and deserialize JSON data.
Источник


