- Автомобильная магнитола Quad Core Android 4.4.4 для Mercedes-Benz W211. Прогресс!
- Технические характеристики
- Переговоры
- Доставка
- Вспоминаем былые времена
- Разбор полетов
- Минусы
- Плюсы
- Mercedes Benz W211 Radio Removal and Install Android W211 Navigation Head Unit
- Mercedes Benz W211 Radio Removal and Install Android W211 Navigation Head Unit
Автомобильная магнитола Quad Core Android 4.4.4 для Mercedes-Benz W211. Прогресс!
- Цена: $314.74 + доставка (Взял за $350 — $50 рефанд)
- Перейти в магазин
Многих при покупке китайского мафона останавливают некоторые предубеждения, мол, «made in China» говно, которым нельзя осквернять чистокровного арийца, «лагать будет», звучание не торт, дешево смотрится, кнопки на руле перестанут работать и т.д.
Так вот, возьму на себя роль Адама Сэвиджа из «Разрушителей легенд» и постараюсь развенчать или подтвердить эти мифы.
Технические характеристики
Переговоры
Продвец попался очень неразговорчив.
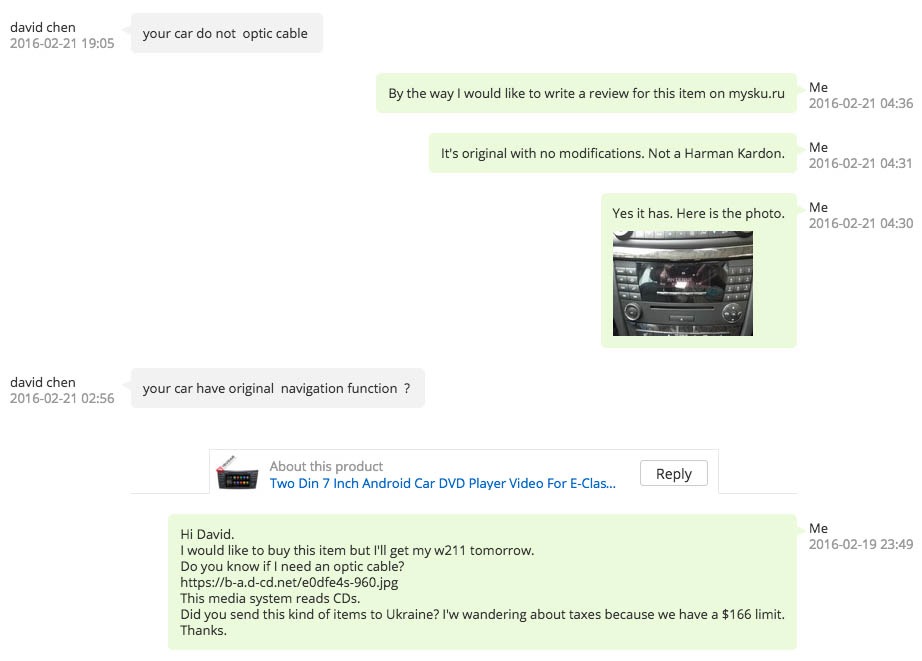
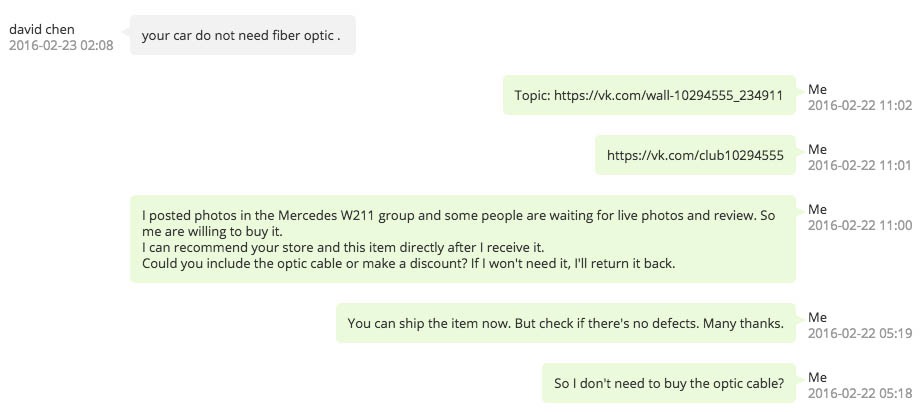
Боялся, что не получится подключится к акустике и надо будет покупать оптический кабель за $40. К счастью, он оказался ненужным. Усилителя у меня нет, комплектация Classic, никакого Harman Kardon или прочей ереси.
Доставка
Несмотря на молчаливость продавца, посылка в Украину дошла довольно быстро (16 дней), да еще и таможню прошла без проблем, а я-то уже морально готовился оплачивать ввозную пошлину
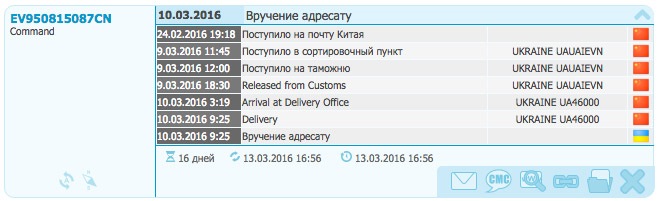
Отправляли через EMC, доставили прямо к дверям.
Вспоминаем былые времена
Не все, что сделано в Китае — говно. Китайцы идут впереди планеты всей, с каждым годом выпуская все более качественную продукцию. Например, разница между 2din-магнитолами 4-хлетней давности и последним поколением колоссальная.
Наверное, есть такие, кто помнят уродские операционные системы, сделанные на коленке криворукими китайскими подростками-программистами в подвалах Донгуаня, которые пытались скопировать интерфейс HTC Sense и iOS одновременно. Вот пример этого убожества:
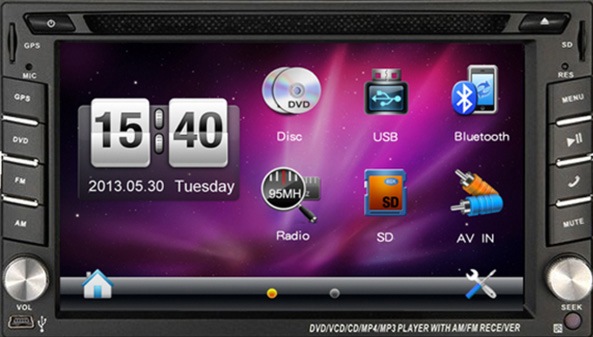
Даже сейчас на eBay и Aliexpress полно этого мусора, по этому лучше покупать только те магнитолы, в описаниях которых четко написано «Android x.x.x» (желательно, последней версии). Рекомендую обратить внимание на устройства с 4-х ядерным процессором. 2-х ядерные устарели и на них ценник обычно ниже. Уверен, Octa-Core не за горами 🙂
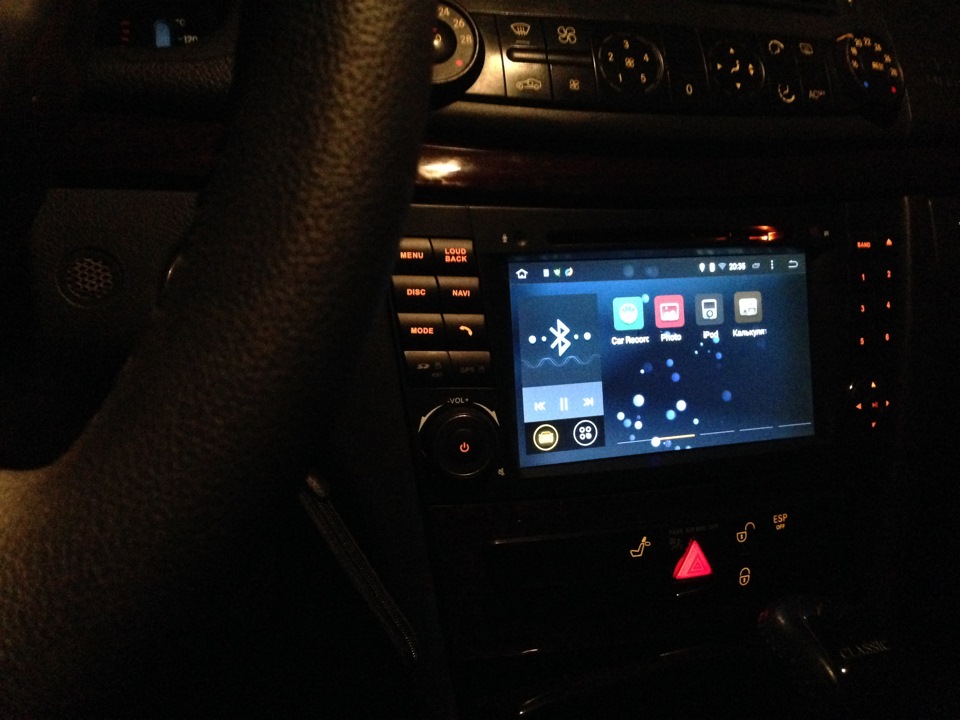
Разбор полетов
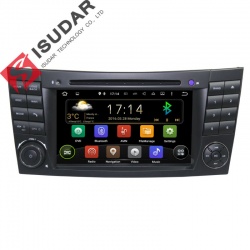
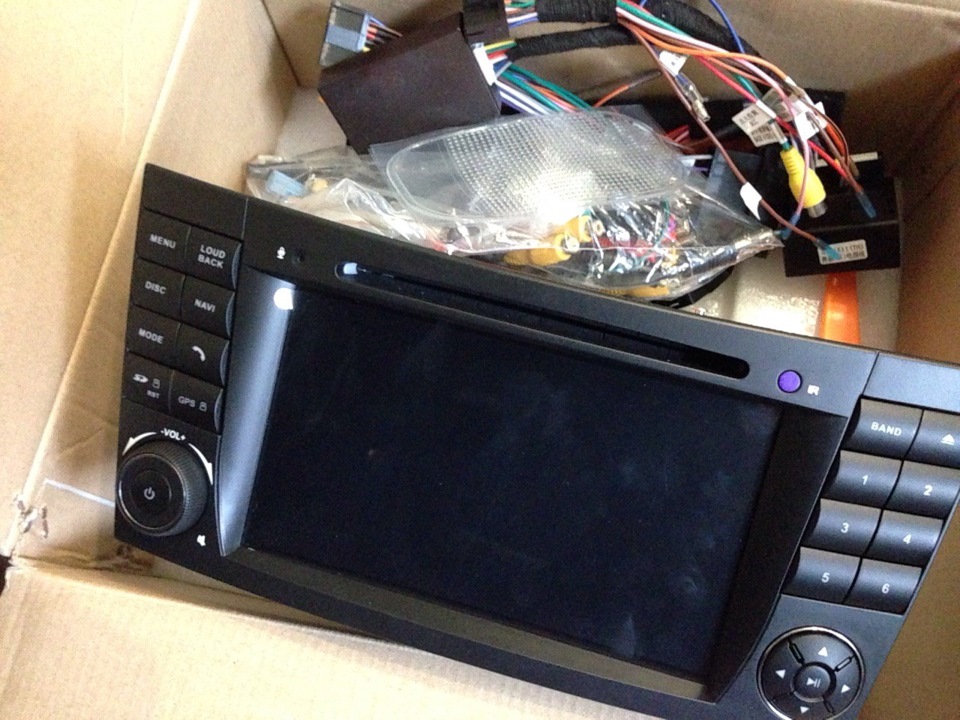
Вот, собственно, и сама магнитола, во всей красе:

Android 4.4.4 здесь не простой, а золотой со специальной оболочкой, предназначенной для автомобиля, с удобным управлением.
Что касается качества cборки, все на хорошем уровне, ничего не скрепит, пластик, конечно, дешевле на ощупь, кнопки не имеют такого четкого и приятного хода, как в оригинальном COMAND, регулятор громкости имеет более четкий и тугой ход, что мне тоже не понравилось, но это придирки.
Еще одна придирка — цвет подсветки кнопок управления немного отличается от обычного бежевого. Совсем немного, я уже привык. На фото это увидеть сложно.
Экран отличный. Во-первых, 1024*600 на 7′ это уже что-то, никаких пикселей не видно даже вблизи. Во-вторых, от емкостный, а не резистивный, то есть, поддерживает несколько нажатий (10, вроде) и на него не надо давить, что бы он сработал. Правда, зимой придется ездить без рукавиц.
Но не обошлось без ложки дегтя. GPS-антенна упорно не хотела находить спутники и определять местонахождение.

Пришлось открывать спор. Потребовал $50, так как тогда еще не знал, в чем проблема, а срок защиты покупателя почти истек. Неразговорчив продавец молча вернул $50. На следующей недели я поменял GPS-антенну и… О ЧУДО!
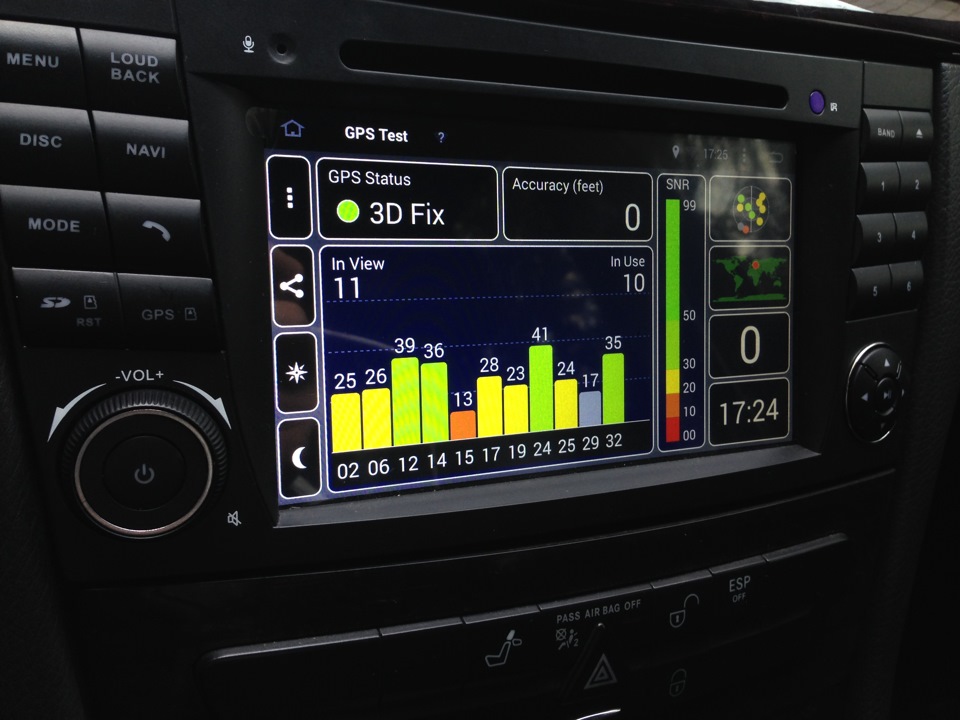
Навигация начала идеально работать, точность высокая. Пробовал Navitel, iGO и Maps.me.

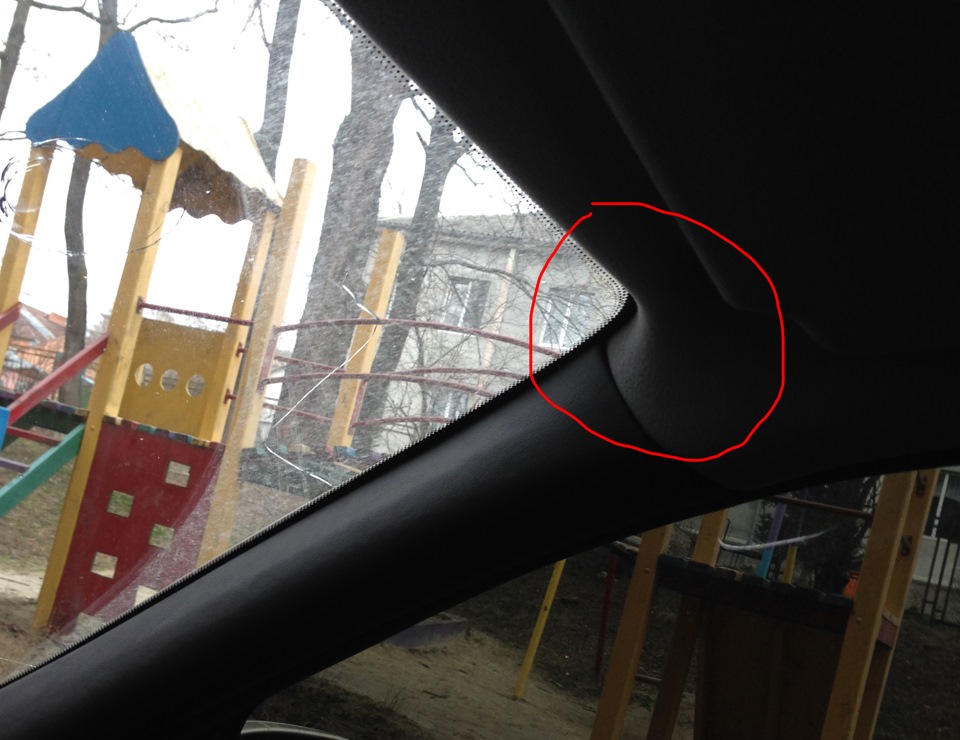
Саму антенну разместили в потолке под обшивкой.
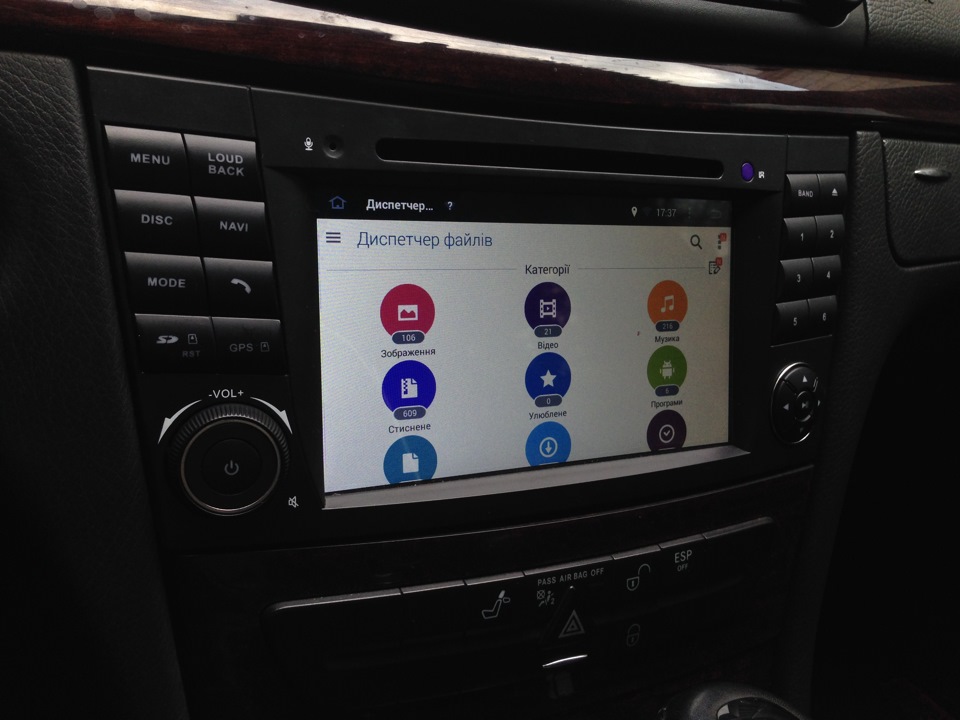
Файловая система открытая, первым делом установил первый лучший Filemanager:
Wi-Fi антенна хорошо ловит сигнал, никаких замечаний у меня к этому нет.
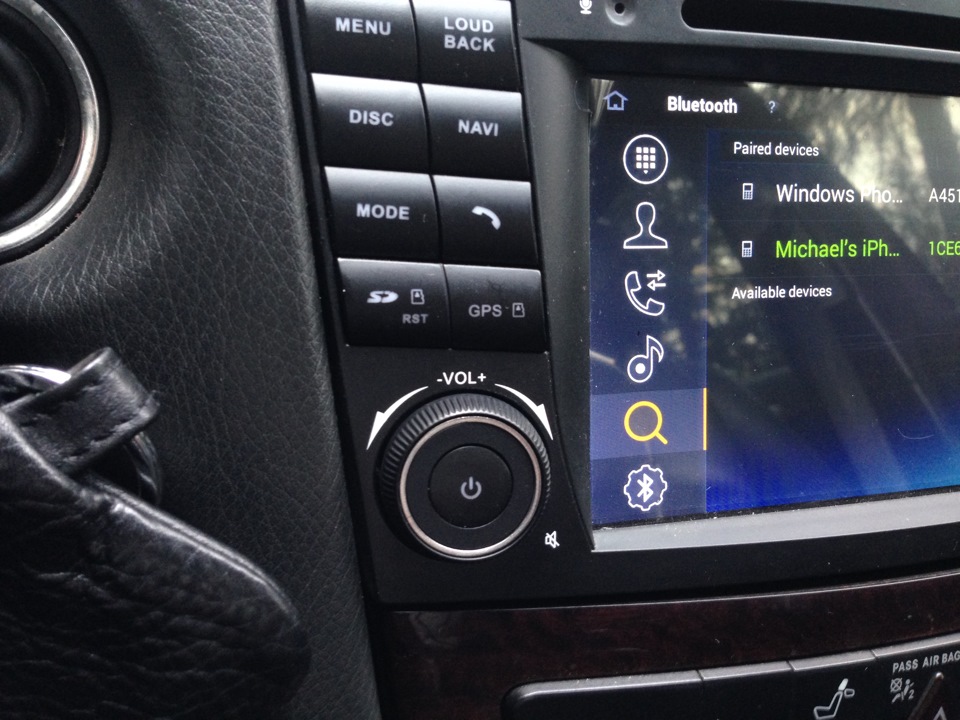
Синхронизация с телефоном приятно удивила, музыка воспроизводится мгновенно, треки можно переключать с помощью кнопок на руле. Качество, правда, не очень. Bluetooth все-таки.
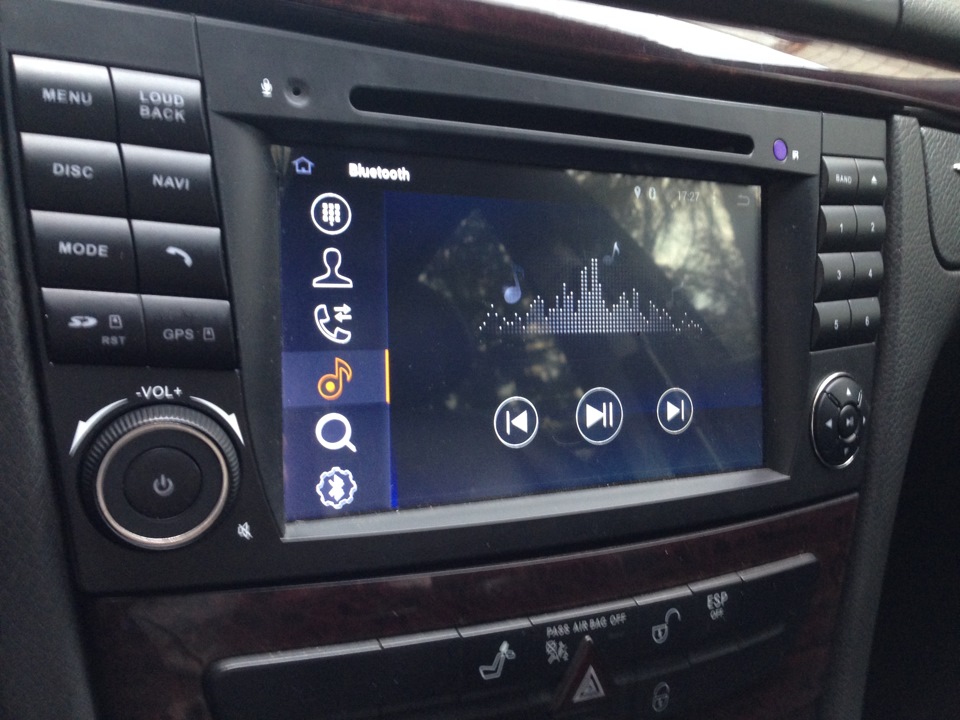
Звонилка тоже работает без нареканий. Некоторые знакомые говорят, что меня хорошо слышно, другие, что отдаленно + небольшой шум от движения самой машины.

Магнитола может помнить множество устройств, которые к ней подключались.
Основная функция, которой я пользуюсь 95% времени:
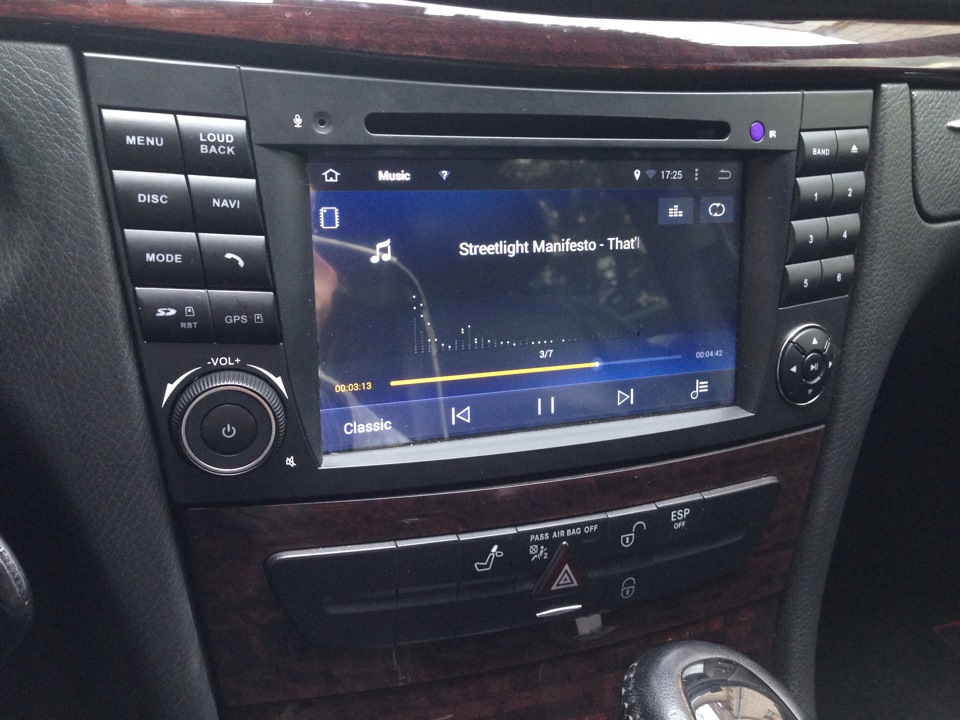
К качестве звучания абсолютно никаких претензий нету. Даже кажется, что оно улучшилось. Но повторяю, у меня обычная штатная акустика из комплектации Classic. Если у вас аудио от Harman Kardon, скорее всего потребуется докупить специальный оптический кабель. И не могу гарантировать, что качество не ухудшится.
Качество звучания, конечно, по видео не определишь, но зато можно посмотреть, как осуществляется управление с руля и что выводиться на экранчик панели приборов.
USB-хаб из комплекта живет в бардачке, очень удобно. Флешки читает, естественно. Купил 3g-модем, но еще не было времени настроить.
AUX-разьема нету, но я и не вижу смысла им пользоваться, только лишние провода.
Вообщем, магнитола очень порадовала, денег ни капли не жалею. Надеюсь, этот обзор поможет определиться тем, кто хочет поменять свою магнитолу, но боится или не знает, стоит ли заказывать творение Поднебесной.
Минусы
Плюсы
Источник
Mercedes Benz W211 Radio Removal and Install Android W211 Navigation Head Unit
If you don’t like the factory UI because it’s old, slow and not modern looking, and would like to add navigation system, then you can upgrade the factory Mercedes-Benz E-Class W211 radio with a new modern Android navigation multimedia aftermarket head unit now.
How does the new Android Mercedes Benz W211 Android navigation head unit look like?

It has been upgraded with latest Android 10 system, 8-Cores high speed CPU processor, 32GB ROM and 4GB RAM .
The W211 aftermarket head unit supports steering wheel controls, Apple Carplay, Android Auto, WiFi, Mirror-Link, navigation, USB, DVD player and more.
Learn more features, price and order it here:
This post will teach you how to remove the factory w211 radio and install the new Android w211 head unit.
Firstly you should prepare a plastic installation pry tool, if you don’t have you can use a flat screw driver instead.
In order to remove the factory radio you can try the following steps:


After the factory Mercedes W211 radio removed, you can start to install the new Android head unit.
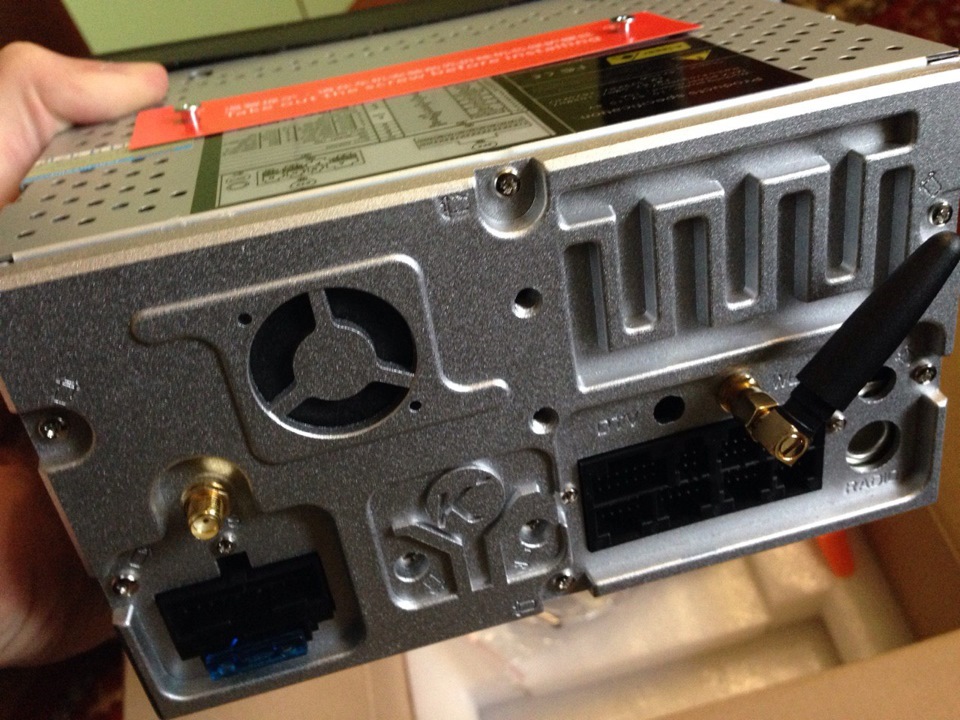
Most Mercedes-Benz E-Class W211 comes with fiber optic amplifier in the trunk, please note the new Android head unit does not support fiber optic amp, so you need to use a long cable B5 connect speakers directly in the trunk. You can check the plug behind the factory radio so that you can know if there are fiber optic cables there, the above picture shows the fiber optic cables so this car has fiber optic amplifier.
If your car does not have fiber optic amp, you just need to use one of the short power cables as below:

There’s a wiring diagram at the bottom of the unit, so you can see how to connect all plugs behind.


Note: another long radio antenna cable is also included, for the car with fiber optic amplifier, you should use the long radio antenna cable.
The next step is to run the long cable to the trunk for w211 with fiber optic amp, a professional mechanic can do it for you easily. You can run the long wires under the carpet along the door frames, removed the back seat to get access to the trunk, and hid the wires behind the cover panel in the trunk.
How to connect plugs in the trunk?
Firstly you need to find out the exact location of your fiber optic amplifier in the trunk.

The fiber optic amp is located behind a metal bracket as below, so you need to remove a screw in order to see the amp:


CANBUS decoder should connect to the power cable with a small white plug, the CAN-BUS decoder is used to support steering wheel controls.

Important note if there’s no power on the unit after installation
If there’s no power on the radio after installation, please check the CAN plug, you may plug the wrong CAN plug in the trunk , the right plug goes in with a click and a solid connection. The wrong plug is loose and wants to fall out.

Regularly the right CAN plug is shown as above at right, 99.9% possibilities. If the unit still can not turn on, you can try the other CAN plug. And check if your car’s fuse was burned, you can measure the voltage from the yellow wire and see if it’s 12V.
You can also take some photos for us to check for you, our email is sales@dvdgpsnav.com
How to connect rear view camera with this Mercedes-benz W211 Android navigation?
- Firstly you should connect the power to the camera with 12V reverse light.
- There’s a black RCA cable included to connect the video cable from the camera:

- There’s another loose BACK wire from the long cable, you should connect it with 12V+ reverse light, this is the trigger line.
Note: You don’t need to connect the other BRAKE wire. - After installation of the camera, if the camera does not work well after you put in reverse gear, firstly please check all wires/cables connections, you can take some pictures for us to check for you. If the screen shows no signal or the backup display not stable when reversing, the problem is from the voltage from your reverse light, we have a solution, you can connect a relay with the camera, for more information about the relay, you can also contact us, we can send you more pictures about the relay and the connection.


Источник
Mercedes Benz W211 Radio Removal and Install Android W211 Navigation Head Unit
If you don’t like the factory UI because it’s old, slow and not modern looking, and would like to add navigation system, then you can upgrade the factory Mercedes-Benz E-Class W211 radio with a new modern Android navigation multimedia aftermarket head unit now.
How does the new Android Mercedes Benz W211 Android navigation head unit look like?
It has been upgraded with latest Android 10 system, 8-Cores high speed CPU processor, 32GB ROM and 4GB RAM .
The W211 aftermarket head unit supports steering wheel controls, Apple Carplay, Android Auto, WiFi, Mirror-Link, navigation, USB, DVD player and more.
Learn more features, price and order it here:
This post will teach you how to remove the factory w211 radio and install the new Android w211 head unit.
Firstly you should prepare a plastic installation pry tool, if you don’t have you can use a flat screw driver instead.
In order to remove the factory radio you can try the following steps:
After the factory Mercedes W211 radio removed, you can start to install the new Android head unit.
Most Mercedes-Benz E-Class W211 comes with fiber optic amplifier in the trunk, please note the new Android head unit does not support fiber optic amp, so you need to use a long cable B5 connect speakers directly in the trunk. You can check the plug behind the factory radio so that you can know if there are fiber optic cables there, the above picture shows the fiber optic cables so this car has fiber optic amplifier.
If your car does not have fiber optic amp, you just need to use one of the short power cables as below:
There’s a wiring diagram at the bottom of the unit, so you can see how to connect all plugs behind.
Note: another long radio antenna cable is also included, for the car with fiber optic amplifier, you should use the long radio antenna cable.
The next step is to run the long cable to the trunk for w211 with fiber optic amp, a professional mechanic can do it for you easily. You can run the long wires under the carpet along the door frames, removed the back seat to get access to the trunk, and hid the wires behind the cover panel in the trunk.
How to connect plugs in the trunk?
Firstly you need to find out the exact location of your fiber optic amplifier in the trunk.
The fiber optic amp is located behind a metal bracket as below, so you need to remove a screw in order to see the amp:
CANBUS decoder should connect to the power cable with a small white plug, the CAN-BUS decoder is used to support steering wheel controls.
Important note if there’s no power on the unit after installation
If there’s no power on the radio after installation, please check the CAN plug, you may plug the wrong CAN plug in the trunk , the right plug goes in with a click and a solid connection. The wrong plug is loose and wants to fall out.
Regularly the right CAN plug is shown as above at right, 99.9% possibilities. If the unit still can not turn on, you can try the other CAN plug. And check if your car’s fuse was burned, you can measure the voltage from the yellow wire and see if it’s 12V.
You can also take some photos for us to check for you, our email is sales@dvdgpsnav.com
How to connect rear view camera with this Mercedes-benz W211 Android navigation?
- Firstly you should connect the power to the camera with 12V reverse light.
- There’s a black RCA cable included to connect the video cable from the camera:
- There’s another loose BACK wire from the long cable, you should connect it with 12V+ reverse light, this is the trigger line.
Note: You don’t need to connect the other BRAKE wire. - After installation of the camera, if the camera does not work well after you put in reverse gear, firstly please check all wires/cables connections, you can take some pictures for us to check for you. If the screen shows no signal or the backup display not stable when reversing, the problem is from the voltage from your reverse light, we have a solution, you can connect a relay with the camera, for more information about the relay, you can also contact us, we can send you more pictures about the relay and the connection.
Источник


