- Android — Sending SMS
- Example
- Using Built-in Intent to send SMS
- Intent Object — Action to send SMS
- Intent Object — Data/Type to send SMS
- Intent Object — Extra to send SMS
- Example
- Как сделать API на любое Android приложение. На примере WhatsApp
- Анализ ситуации.
- 1. Официальный API
- 2. Сторонний сервис. Подключение через WhatsApp WEB
- 3. Ручной режим
- Решение
- Отправка сообщения
- Приём сообщений
- Плюсы, минусы, доработка и планы
- Overview
- Android automatic SMS verification — Google’s SMS retriever API
- Message Format
Android — Sending SMS
In Android, you can use SmsManager API or devices Built-in SMS application to send SMS’s. In this tutorial, we shows you two basic examples to send SMS message −
Built-in SMS application
Of course, both need SEND_SMS permission.
Apart from the above method, there are few other important functions available in SmsManager class. These methods are listed below −
| Sr.No. | Method & Description | |||||||||||||||||||||||||||
|---|---|---|---|---|---|---|---|---|---|---|---|---|---|---|---|---|---|---|---|---|---|---|---|---|---|---|---|---|
| 1 |
| Step | Description |
|---|---|
| 1 | You will use Android Studio IDE to create an Android application and name it as tutorialspoint under a package com.example.tutorialspoint. |
| 2 | Modify src/MainActivity.java file and add required code to take care of sending sms. |
| 3 | Modify layout XML file res/layout/activity_main.xml add any GUI component if required. I’m adding a simple GUI to take mobile number and SMS text to be sent and a simple button to send SMS. |
| 4 | No need to define default string constants at res/values/strings.xml. Android studio takes care of default constants. |
| 5 | Modify AndroidManifest.xml as shown below |
| 6 | Run the application to launch Android emulator and verify the result of the changes done in the application. |
Following is the content of the modified main activity file src/com.example.tutorialspoint/MainActivity.java.
Following will be the content of res/layout/activity_main.xml file −
Here abc indicates about tutorialspoint logo
Following will be the content of res/values/strings.xml to define two new constants −
Following is the default content of AndroidManifest.xml −
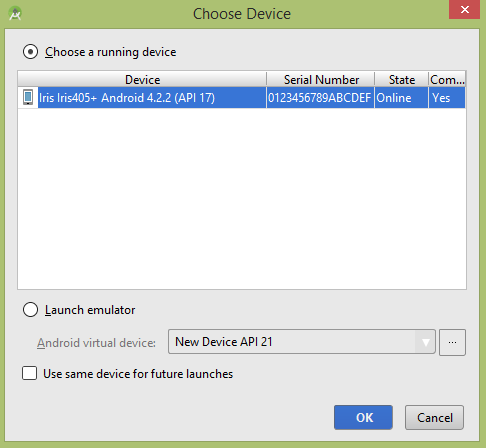
Let’s try to run your tutorialspoint application. I assume you have connected your actual Android Mobile device with your computer. To run the app from Android studio, open one of your project’s activity files and click Run  icon from the toolbar. Before starting your application, Android studio installer will display following window to select an option where you want to run your Android application.

Now you can enter a desired mobile number and a text message to be sent on that number. Finally click on Send SMS button to send your SMS. Make sure your GSM/CDMA connection is working fine to deliver your SMS to its recipient.
You can take a number of SMS separated by comma and then inside your program you will have to parse them into an array string and finally you can use a loop to send message to all the given numbers. That’s how you can write your own SMS client. Next section will show you how to use existing SMS client to send SMS.
Using Built-in Intent to send SMS
You can use Android Intent to send SMS by calling built-in SMS functionality of the Android. Following section explains different parts of our Intent object required to send an SMS.
Intent Object — Action to send SMS
You will use ACTION_VIEW action to launch an SMS client installed on your Android device. Following is simple syntax to create an intent with ACTION_VIEW action.
Intent Object — Data/Type to send SMS
To send an SMS you need to specify smsto: as URI using setData() method and data type will be to vnd.android-dir/mms-sms using setType() method as follows −
Intent Object — Extra to send SMS
Android has built-in support to add phone number and text message to send an SMS as follows −
Here address and sms_body are case sensitive and should be specified in small characters only. You can specify more than one number in single string but separated by semi-colon (;).
Example
Following example shows you in practical how to use Intent object to launch SMS client to send an SMS to the given recipients.
To experiment with this example, you will need actual Mobile device equipped with latest Android OS, otherwise you will have to struggle with emulator which may not work.
| Step | Description |
|---|---|
| 1 | You will use Android studio IDE to create an Android application and name it as tutorialspoint under a package com.example.tutorialspoint. |
| 2 | Modify src/MainActivity.java file and add required code to take care of sending SMS. |
| 3 | Modify layout XML file res/layout/activity_main.xml add any GUI component if required. I’m adding a simple button to launch SMS Client. |
| 4 | No need to define default constants.Android studio takes care of default constants. |
| 5 | Modify AndroidManifest.xml as shown below |
| 6 | Run the application to launch Android emulator and verify the result of the changes done in the application. |
Following is the content of the modified main activity file src/com.example.tutorialspoint/MainActivity.java.
Following will be the content of res/layout/activity_main.xml file −
Here abc indicates about tutorialspoint logo
Following will be the content of res/values/strings.xml to define two new constants −
Following is the default content of AndroidManifest.xml −
Let’s try to run your tutorialspoint application. I assume you have connected your actual Android Mobile device with your computer. To run the app from Android studio, open one of your project’s activity files and click Run icon from the toolbar. Before starting your application, Android studio will display following window to select an option where you want to run your Android application.
Select your mobile device as an option and then check your mobile device which will display following screen −
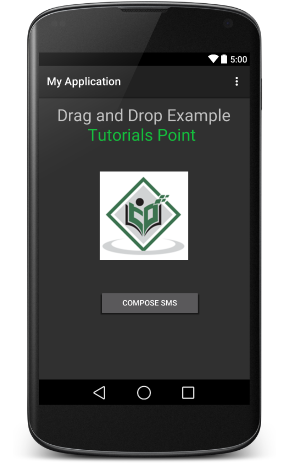
Now use Compose SMS button to launch Android built-in SMS clients which is shown below −
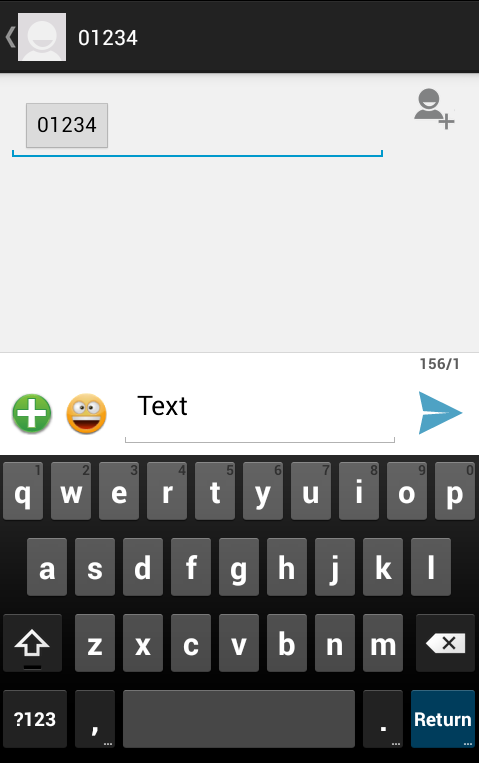
You can modify either of the given default fields and finally use send SMS button to send your SMS to the mentioned recipient.
Источник
Как сделать API на любое Android приложение. На примере WhatsApp
Анализ ситуации.
Казалось, требуется всего лишь отправлять и принимать сообщения. А столько подводных камней…
1. Официальный API
Официального API в релизе тогда ещё не было. Но Facebook успел прислать ссылку на форму, для подключения официального API, находящегося в тестировании.
2. Сторонний сервис. Подключение через WhatsApp WEB
Рассматривал вариант «серого» способа, использование неофициального сервиса, который отправляет сообщения через WEB интерфейс, подключается сканированием QR кода.
Но это зависимость от чужого API, в любой момент может всё отвалиться, да и передавать чужому сервису номера клиентов не хотелось. А ещё писать под чужой авторский API, да ещё который придётся переписывать, при переезде на другой сервис, тоже такое себе удовольствие.
Ну и ещё требуется держать телефон включенным (хотя некоторые сервисы за доп плату решали эту проблему 🙂
3. Ручной режим
Посадить человека, пускай копипастит сообщения клиентам. Шутки шутками, а из этой идеи родилось решение!
Решение
Отправка сообщения
 Есть такая программка для автоматизации действий под Android, называется Tasker, одна из первых подобных программ. Но я в ней не разобрался с первого раза… Поискал аналоги, наткнулся на программу Automagic. В ней события, действия и ветвления рисуются как блок схема.
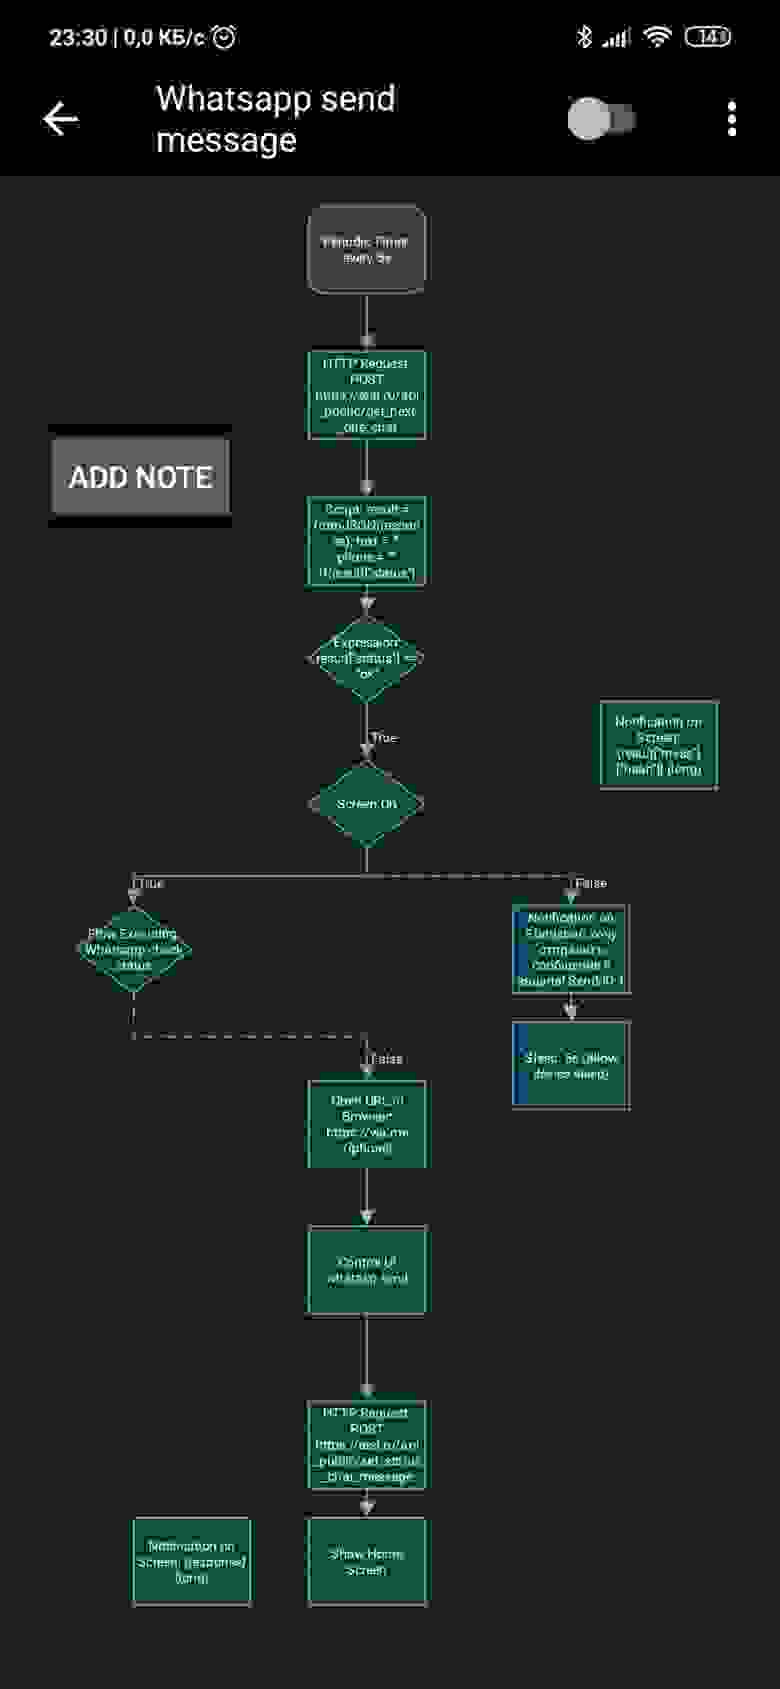
И вот в ней я то и придумал решение, root права нам не нужны. Получилось методом научного тыка нарисовать скрипт отправки сообщения, далее буду называть поток, так именуется каждый отдельный нарисованный алгоритм в данной программе. А теперь разберём его работу:
- Каждые 5 секунд периодичным таймером генерируется событие и передаётся следующему блоку.
- Блок HTTP Request спрашивает у сервера, есть ли в очереди следующее сообщение, которое нужно отправить? Бэкенд написан на PHP.
- Парсим ответ сервера JSON.
- Если от сервера в ответе пришла метка, что нужно отправить сообщение, идём дальше.
- Проверяем, включен ли экран устройства, если нет, отправляем уведомление, с целью разбудить телефон. Если же экран включен, и не выполняется другой поток, проверяющий статус, доставлено ли сообщение, то:
- Генерируем ссылку и открываем её, что бы инициировать диалог с полученным от сервера номером телефона в WhatsApp’е
- Самое интересное. Блок Control UI. В нём в виде кода реализована логика проверки успешности открытия чата (проверка регистрации в мессенджере), вставка текста в окно ввода и клацанье по кнопке Отправить.
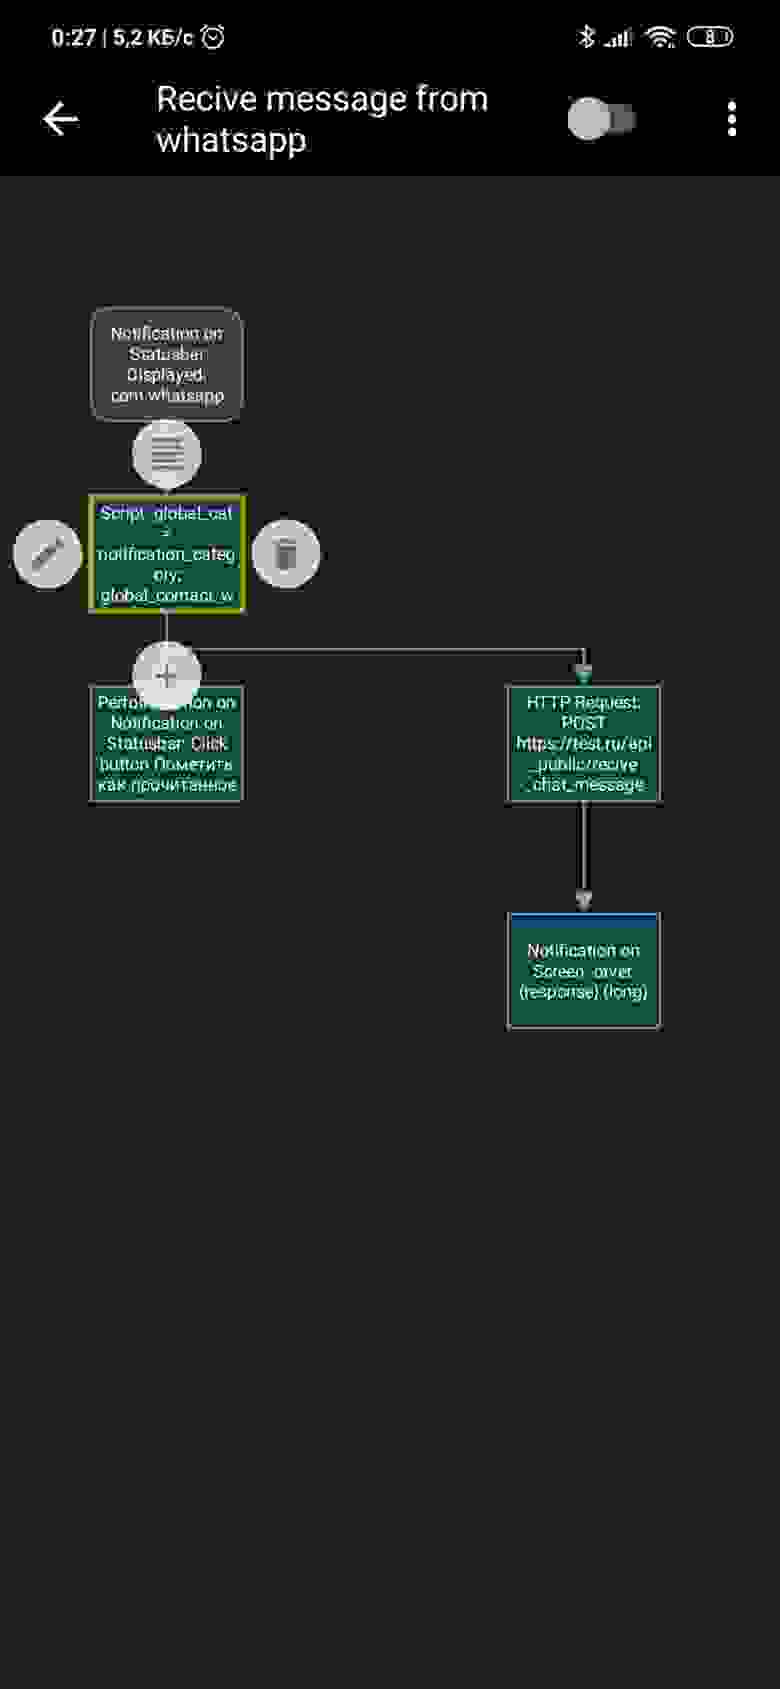
Приём сообщений
Принимать сообщения на много проще. Ставим событие на уведомление от мессенджера. Как только приходит уведомление, помечаем его прочитанным, и отправляем его на сервер как есть. Тот уже спарсит адресата и текст.
Плюсы, минусы, доработка и планы
Основную функцию отправки сообщения алгоритм выполняет отлично. Так как не используется WEB интерфейс, схватить баню от мессенджера тут меньше рисков, как мне кажется. Арендовал слабенький виртуальный сервер, установил туда Android и перенёс всё.
На отправку одного сообщения новому контакту уходит
5 сек. Для проверки доставки и прочтения сообщения, разработал отдельный поток, но он в черновом варианте и иногда не срабатывает. Поэтому о нём позже.
В данный момент не реализована функция приёма медиа сообщений (фото, аудио, вложения), но это можно выгружать из WhatsApp, используя кнопку поделиться сообщением в будущем.
Чуть позже хочу сверху виртуальной машины, где запущен мессенджер, написать SIP транк, через который можно будет звонить через WhatsApp как через SIP ^.^ что может сэкономить расходы на связь.
Ещё хочу делать скриншоты аватарок и отправлять их на сервер, для прикрепления миниатюры к контакту в CRM системе.
Ну и вообще самое интересное: Данный способ обёртывания в API подойдёт почти для любого приложения под Android 🙂
Всё изначально разрабатывал и запускал на Android 9, xiaomi mi 9 se, root прав нет.
UPD:
Пример на Python3.8 в качестве бекенда доступен на GitHub, доработан алгоритм ловли уведомлений и код отправки из комментариев от ivan909020
Источник
Overview
The Nearby Messages API is a publish-subscribe API that lets you pass small binary payloads between internet-connected Android and iOS devices. The devices don’t have to be on the same network, but they do have to be connected to the Internet.
Nearby uses Bluetooth Low Energy to communicate a unique-in-time pairing code between devices. The server facilitates message exchange between devices that detect the same pairing code. When a device detects a pairing code from a nearby device, it sends the pairing code to the Nearby Messages server for validation, and to check whether there are any messages to deliver for the application’s current set of subscriptions.
Nearby Messages is unauthenticated and does not require a Google Account.
The exact mechanism for data exchange may vary from release to release. The following sequence shows the events leading to message exchange:
A publishing app makes a request to associate a binary payload (the message) with a unique-in-time pairing code (token). The server makes a temporary association between the message payload and the token.
The publishing device uses Bluetooth Low Energy to make the token detectable by nearby devices. The publishing device also uses Bluetooth Low Energy to scan for tokens from other devices.
A subscribing app associates its subscription with a token and uses Bluetooth Low Energy to send its token to the publisher, and to detect the publisher’s token.
When either side detects the other’s token, it reports it to the server.
The server facilitates message exchange between two devices when both are associated with a common token, and the API keys used by the calling apps are associated with the same project in the Google Developers Console.
Except as otherwise noted, the content of this page is licensed under the Creative Commons Attribution 4.0 License, and code samples are licensed under the Apache 2.0 License. For details, see the Google Developers Site Policies. Java is a registered trademark of Oracle and/or its affiliates.
Источник
Android automatic SMS verification — Google’s SMS retriever API

As time passes android is getting better in all means for example security, from Android M google has provided the users to have control over permissions like Read SMS, Storage, Contacts, etc. Now Google allows only one app at a time to read and manage your messages i.e only your default messenger app of your choice(I think it was the most necessary step).
As Google is preventing apps to read SMS it has introduced SMS Retriever API to give access to the messages received from there servers to continue with tasks like Autofill OTP, e.t.c.
Message Format
Before getting into action you should know the new format of OTP messages introduced by Google. Have a look at the format
By a glance at the format, you might have an idea. let me explain it briefly,
there two conditions we should follow
- The message should start with , that will indicate this is an OTP message to the system.
- The message should end with Hashcode generated using command prompt or AppSignatureHelper class, Based on this hashcode system will pass the message to the respective app. how to generate hashcode will be explained in the following steps.
The image below represents how SMS Retriever API works
Источник


