- Complete Guide on Sending Push Notifications on Android — Using Firebase
- Setup Repository, ViewModel and View
- New message from android
- Android Notification & Data Messages From App Server Using Firebase Cloud Messaging
- Table of Contents
- Firebase Cloud Messaging Message Types
- Notification message in JSON format
- Data message in JSON format
- Notification and data message in JSON format
- Handling FCM Messages in Android
- Android Project Set up — Client of FCM
- Sending Messages from App Server to Firebase Cloud Messaging Server
- Getting access token
- Adding access token to http request header
- Creating and sending JSON message
- Android Firebase Cloud Messaging Example
- Notification message
- Data message
- Sending FCM Message from App Server Example
- AndroidManifest
- FirebaseMessagingService
- JobService
Complete Guide on Sending Push Notifications on Android — Using Firebase

Holla! 👋, I will explain how to send push notifications on android using Firebase Cloud Messaging .
Push notifications are messages that pop up on a users device. A user can see these notifications without having to be on the app. This is important for users retention.
WHAT WE ARE BUILDING
We are simply going to build an app that lets a user input a message and send a push notification to that user containing that message. Simple! 😄
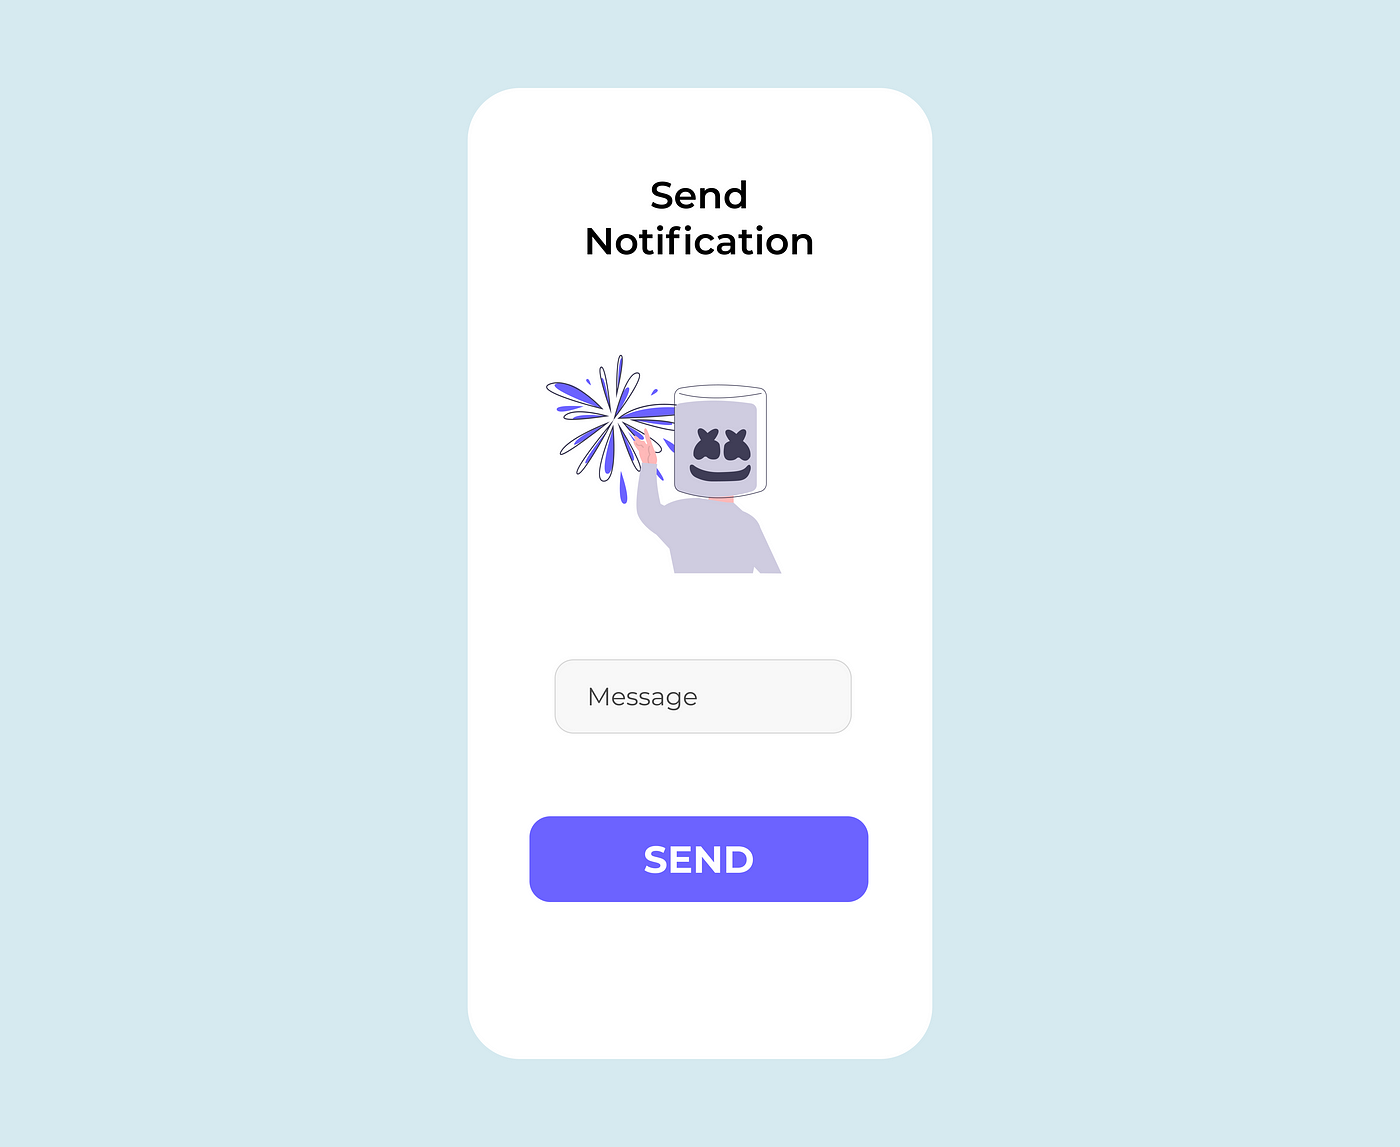
This is how the final app will look like

OnClick of that button
- Push Notification is sent to the user which contains the message you inputted

- Firebase (Cloud Messaging)
- Kotlin (For Android)
- NodeJS (Backend)
- Android Studio IDE
- Set up android studio
- Set up firebase project
- Add dependencies
- Set up Hilt And Retrofit
- Set Up Firebase Cloud Messaging
- Build view
- Setup Repository ViewModel and View
- Set up our backend with NodeJS
Alright, lets see each of them, one by one
SET UP ANDROID STUDIO
- First download android studio and install.
- Create A New Project — Choose Empty Activity
- Name your project anything, I named mine Firebase Notification Android
- Click Finish
We are using MVVM architectural pattern for this project
- Create 7 new packages name them — di , firebase , helper , model , view , viewmodel , network
- Move MainActivity to the view package
SETUP FIREBASE PROJECT
- Go to https://console.firebase.google.com/
- Sign in and click on Add Project
- Enter the name of your project — Name it anything,
- Click Continue
- On the Google Analytics page, Click Continue
- Choose a Google Account — Select Default Account For Firebase
- Click Create Project
- You will see — “ Your new project is ready ”
- Click Continue
Congrats, you have successfully created a firebase project. Now, lets link the project with our android app
Connecting Firebase With Android
- On your console home page click on the Android Logo

- Android Package Name — Go to your Manifest.xml , copy the package and paste it there, it should be something like this — com.name.firebasenotificationandroid
- App Nickname — Put anything there
- Debug Signing Certificate — Go to Android Studio , Click on gradle — Tasks — Android — signingReport — Copy the SHA-1 key and paste

- Click on Register App
- Download google-services.json and paste in you project folder app directory

- Add all the necessary firebase dependencies
- Sync project and you are done 👏
This app makes use of coroutines, hilt, retrofit, cloud messaging etc.
- Open your build.gradle(app) file and add them
Open build.gradle(project) add hilt class path
- Create 2 new class under di package name them — AppModule and MyApplication
- AppModule — This class is used to perform injection to types such as interfaces and classes from external libraries which we do not own e.g Retrofit.
- MyApplication — This class extends Application class. This will generate all the needed hilt codes and serve as a dependency container. It should look like this.
- Finally, go to your Manifest.xml file, in the application tag add android:name=”.di.MyApplication”
- Under helper package, create a class called EndPoints
EndPoints — A class where our base url and all api calls endpoint resides
- Under model package, create a class name AuthResponse
AuthResponse — A class that models the response gotten from the server so we can take proper action
- Under the network package, create an interface called ApiService and 2 new classes, name them — ApiDataSource , BaseDataSource
ApiService — An interface where we will make a Post Request to our server to save a user’s name and notification token.
ApiDataSource- A class that exposes the ApiService so that we can use it in our repository
We are done with retrofit and hilt.
SET UP FIREBASE CLOUD MESSAGING
- Under firebase package, create a new class — MyFirebaseMessagingService — This class extends FirebaseMessagingService that handles messages, recieving notifications in foreground, receiving data payload, sending up stream messages
- Under helper create an object — Utility
Utility — A utility class with a function that builds our notification — Handling stuffs such as — action when a user taps on the notification, customizing look of notification e.t.c
- Open Manifest.xlm , before the closing application tag, add this
- Add a default notification icon,color and channel, add to manifest.xml within the application tag
That should be all for configuring cloud messaging
Open main_activity.xml and use this code
Okay, now we have our not so beautiful view and everything set up, now lets set up our repository and viewmodel.
Setup Repository, ViewModel and View
- Open viewmodel package, create 2 new classes — MainRepo and MainViewModel
MainRepo — This class serves as a source of data for our viewModel to consume.
MainViewModel — This class communicates with the repository, the result from the api call is then returned as a LiveData (Lifecycle aware) which is then observed by our view (MainActivity)
Here’s what this class does
- Get the views through ViewBinding
- Initialize the views
- Listen to click even on the button
- Communicate with viewModel to register the user
- Observe the data from the viewModel and display appropriate messages
SET UP NODEJS BACKEND
- Go to your firebase console, click settings icon -> Project settings

- Switch to Service Account tab, Click Generate new private key
- Confirm and download it
- Now create a folder in your pc, navigate to that folder with your terminal
- npm init and fill in all required details. This will create a package.json file
- npm i firebase-adminon your terminal to install firebase dependency
- Also npm i express and npm i bodyparser
- Create a config file
Okay, we are done. Take a deep breath! 😫
This is a link to the complete project, please check it out
Источник
New message from android
Android Notification & Data Messages From App Server Using Firebase Cloud Messaging
December 13, 2017
If your Android app relies on app servers for data and functionality, instead of android app contacting app server at a specified regular intervals, server can notify events or data changes to android using Firebase cloud messaging (FCM).
This way of app servers notifying client or android apps has advantages compared to client contacting app server at a regular intervals. It reduces the use of android device resources including computing power and consumption of network bandwidth as communication between server and client happens only when there is a change in data or an occurrence of an event at server.
Table of Contents
Firebase Cloud Messaging Message Types
Firebase Cloud Messaging supports two types of messages, notification message and data message. The difference between them is that with data message you can send your own data elements in the message where as with notification message you have to use predefined elements.
As names suggest, notification message type is used to send notifications which will be displayed as notifications in the notification bar. FCM automatically handles notification messages and your app can also process it and customize it. Data message type is used to send data to client. Your app has to process it and take further action. There is restriction of 4kb on the size of message that can be sent to client.
Notification message in JSON format
Data message in JSON format
Notification and data message in JSON format
Note that in the data message, only name and value pairs are allowed under data element, meaning data element can’t have hierarchical data or JSON array.
App server can send a generic message to multiple clients using Firebase topic. Client apps which listen to the topic will get the message sent by the app server. In this post, the example shows how to send messages to a topic from server app and how client apps can register to a topic and handle the messages.
Using FCM, app server can send messages to a specific client or device using firebase generated registration key. To know how to send user or device specific message, please read sending device specific message from app server to FCM server and handling the message on android.
Handling FCM Messages in Android
Notification messages are handled automatically when receiving android app is in background and notification is displayed. On taping the notification, app’s launcher activity is started.
If notification needs to be displayed when receiving app is in foreground, the app needs to provide FirebaseMessagingService service implementing its callback onMessageReceived to process notification messages.
To handle the data messages in foreground and background, app needs to provide FirebaseMessagingService service implementing its callback onMessageReceived. Data can be retrieved from RemoteMessage object passed to onMessageReceived method.
If message contains both data and notification and app is in foreground, onMessageReceived callback is called. If message contains both data and notification and app is in background, notification is displayed in notification bar and data is passed as extras in the intent to launcher activity.
Android Project Set up — Client of FCM
To make your android app as client of firebase cloud messaging server to handle and process messages, you need to follow below steps.
- Login to Firebase console.
- Add project to Firebase by clicking add project link on main screen of Firebase console.
- To install Firebase SDK, go to project overview section in Firebase console, click add-Firebase to android project and follow steps to generate google-services.json. Download the file and save it in your project under app folder.
- Add below entry to bottom of app level gradle build file.
- Add below entry to project level gradle build file in dependencies element.
- Add Firebase cloud messaging library to app level build file.
- Enable Firebase cloud messaging API in Google developers console.
- Create android service extending FirebaseMessagingService and implementing onMessageReceived, see example below to know how to handle and process messages.
- Add the service to mainfest file.
Sending Messages from App Server to Firebase Cloud Messaging Server
Firebase cloud messaging server delivers to client app the message sent from the app server. App server can send message to FCM server using various protocols. Below example app I created shows how to send messages to FCM server from app server using HTTP v1 protocol.
Authentication and authorization of the app server to use firebase service can be done using short-lived access token. In order for your app server code to get the access token, it needs private key associated with a service account which is either owner or editor.
To get private key in Firebase console, go to settings, then service accounts and click Generate New Private Key. The Json file contain key gets downloaded. You need to store it securely.

To get access token using the private key in your app server code, you need to use Google API Client library. Below are the maven and gradle dependencies which you need to add to your app server project.
Getting access token
GoogleCredential can be used to get access token using private key downloaded from firebase console.
Adding access token to http request header
You can use any http library to send message request to FCM server. Http request header should contain access token.
Creating and sending JSON message
Android Firebase Cloud Messaging Example
I’ll show the use of Firebase cloud messaging using an example app. The app displays coupons in recycler view retrieved from SQLite database using ROOM. When latest coupons are available, app server sends notification and data messages to FCM server. The android app receives and processes the messages, stores latest coupons data in SQLite database on the device and displays notifications. Since LiveData is used, as data changes in SQLite database, change will be reflected in UI.
Notification message

Data message

Sending FCM Message from App Server Example
AndroidManifest
FirebaseMessagingService
JobService
Since log running task can’t be run in FirebaseMessagingService, firebase job scheduler is used to process FCM data messages.
Источник


