- 6 Best iPhone to Android Data Transfer Apps to Transfer Data Wirelessly
- Part 1: Best iPhone to Android Transfer Apps on computer
- MobileTrans — Phone Transfer
- Part 2: Best iOS to Android Apps on mobile devices
- 1. Google Drive
- 2. SHAREit
- 3. Move to Android
- 4. Samsung Smart Switch
- 5. FileTransfer
- 6. DropBox
- How to switch from iPhone to Android: Sync your contacts, photos, and more!
- How to transfer from iPhone to Android
- The easy way: All-in-one tools
- Samsung Smart Switch Mobile
- How to switch using Google Drive backups
- How to transfer contacts from iPhone to Android
- How to transfer contacts from iPhone to Android manually
- How to transfer contacts from iPhone to Android using the cloud
- How to transfer calendar from iPhone to Android
- How to transfer photos from iPhone to Android
- How to transfer music from iPhone to Android
6 Best iPhone to Android Data Transfer Apps to Transfer Data Wirelessly


Transferring data between iPhone and Android devices has now become easier than ever before because of the data transfer apps. The best part of the data transfer apps is that you can transfer your iPhone data to Android wirelessly.
In this guide, we have discussed the best iOS to Android transfer app that offers the fastest speed while transferring the data.
Part 1: Best iPhone to Android Transfer Apps on computer
The MobileTrans — Phone Transfer is the best iOS to Android transfer software. With one click, you can easily switch data between two devices.
MobileTrans — Phone Transfer
Best iPhone to Android transfer software on PC
- • Transfer up to 17 kinds of data including contacts, photos, messages, apps, music, notes, videos, and more.
- • Support 8000+ mobile devices running Android, iOS & Windows system.
- • Move safely without resetting devices or deleting original data.
- • Designed for non-tech savvy people, super easy and fast.
Below, there is a detailed guide on how to transfer data from iPhone to Android using MobileTrans software:
Step 1: First, you need to install the MobileTrans software on your computer. After installing and launching the software, connect your both device to the computer. Then, select the “Phone Transfer” option from the software dashboard.
![]()
Step 2: Thereafter, choose the file that you want to transfer and click on the «Start” button.
![]()
Step 3: Within a few minutes, your selected data will be transferred or copied to the target device which is Android.
![]()
Part 2: Best iOS to Android Apps on mobile devices
1. Google Drive
Google has made it very easier to move iOS data to an Android device by launching the Google Drive app. Google Drive is one of the most ultimate ways to transfer data from iPhone to Android app. You can easily switch data from iOS to Android within a few minutes by using Google Drive.
![]()
Features:
- Storage Space: The Google Drive provides 15 GB of free storage space to users to store media files.
- Powerful search: Its search engine is very effective and gives you the desired results that you type in its search box.
- Collaboration: You can easily share your documents with others by quickly inviting others and share members can also edit, and view any file.
- Secure: The best feature of Google Drive is security. The data that you will save to it will always be safe and secure from any malware or virus.В В
Supported Data Types:
- It supports General files such as archives, audio, images, text, and videos.
- It supports Adobe files such as Autodesk AutoCAD, Photoshop, PDF, and many others.
- It also supports Microsoft files such as Excel, Word, PowerPoint, and XML.
Advantages:
- Once saving files to Google Drive, you can access them from any other devices.
- It offers a keyword search option which makes the search easier.
Disadvantages:
- The only disadvantage of the Google drive is that its uploading and the downloading speed is very low.
2. SHAREit
The SHAREit is another good iOS to Android transfer app. It is widely used by many people to share various types of data. It has gained huge popularity just because of the high transfer speed. It has remarkable features that make this app very useful and versatile.
![]()
Features:
- Media Player: The app comes with a powerful media player where you can manage and enjoy your favorite music.
- Offline: You do not need internet access for transferring data with the help of a SHAREit app.
- Superfast: It can transfer files with the a speed of 20 Mbps which is faster than Bluetooth.
Supported Data Types:
It supports almost every data type such as PDF, images, videos, GIF, Vector image, audio, and many others.
Advantages:
- It can transfer a wide range of file types.
- It works with various operating systems such as Android, iOS, and Windows.
Disadvantages:
The app does not work properly with the low storage mobile devices.
3. Move to Android
The Move to Android is iPhone to Android transfer app. This app can transfer only messages. Due to this reason, it is not a widely used and popular app. However, it can transfer text messages very effectively from the iPhone to Android.
![]()
Features:
- Backup: The Move to Android app also provides an option for easy backup and restore data.
- Supported Data Types: It supports only one data type which is text messages.
Advantages:
The app transfers text messages quickly and efficiently.
Disadvantages:
- It supports only one data type.
- It does not provide proper instructions for using an app.
4. Samsung Smart Switch
The Samsung Smart Switch is also one of the best wireless transfer apps. It is a free iPhone to Android app available on the Google play store. You can also move data from your old iOS/Android device to a Samsung device with the help of it.
![]()
Features:
- Cross-Platform: It can transfer data from various mobile platforms such as iOS, Windows, Blackberry, and Android to Samsung.
- USB cable: Through USB cable, you can easily switch various types of data between two devices.
- Supported data types: It supports contacts, messages, images, documents, app data, call logs, music, calendar, and many others.
Advantages:
- The source device can be both iOS devices and other Android devices apart from Samsung devices such as HTC, Sony, Motorola, and many others.
Disadvantages:
- The destination devices must be Samsung.
- To transfer data between two devices, 500 MB data should be free on both devices.
5. FileTransfer
With the help of the FileTransfer app, you can easily and quickly transfer the data from one device to another. It is compatible with many operating systems such as Mac, Windows, Android, and iOS.
![]()
Features:
- Transfer up to 17 kinds of data including contacts, photos, messages, apps, music, notes, videos, and more.
- Move safely without resetting devices or deleting original data.
- Support 8000+ mobile devices running Android, iOS & Windows systems.
Advantages:
- It a free app for transferring data from the iPhone to Android without the USB cable.
- It is easy to operate and install on the device.
Disadvantages:
- It is not a cloud storage service.
- It can send or receive only 5 MB of data at one time.
6. DropBox
The DropBox is a cloud storage service. You can save your important media files to DropBox and then, you can access them from everywhere. Because of this, it is also considered as iPhone to Android transfer app.
![]()
Features:
- Share: After saving the files, you can even share saved media files with others. You can share small as well as big files.
- Invite: It also offers the invite option for easy collaboration among your team members.
- Connectivity: You can also integrate your Dropbox account with other apps such as Gmail.
- Supported Data Types: The Dropbox supports data types such as documents, images, videos, presentation, audio, text, link, and archive.
Advantages:
- The DropBox offers free 2 GB free storage space.
- It is a completely free app.
Disadvantages:
- Sometimes, security issues develop while transferring the data through DropBox.
The iPhone to Android transfer app helps you to easily switch data from your iPhone to your Android device. You can use any of the above-mentioned data transfer apps as each app works efficiently.
Here is also a video for you
Источник
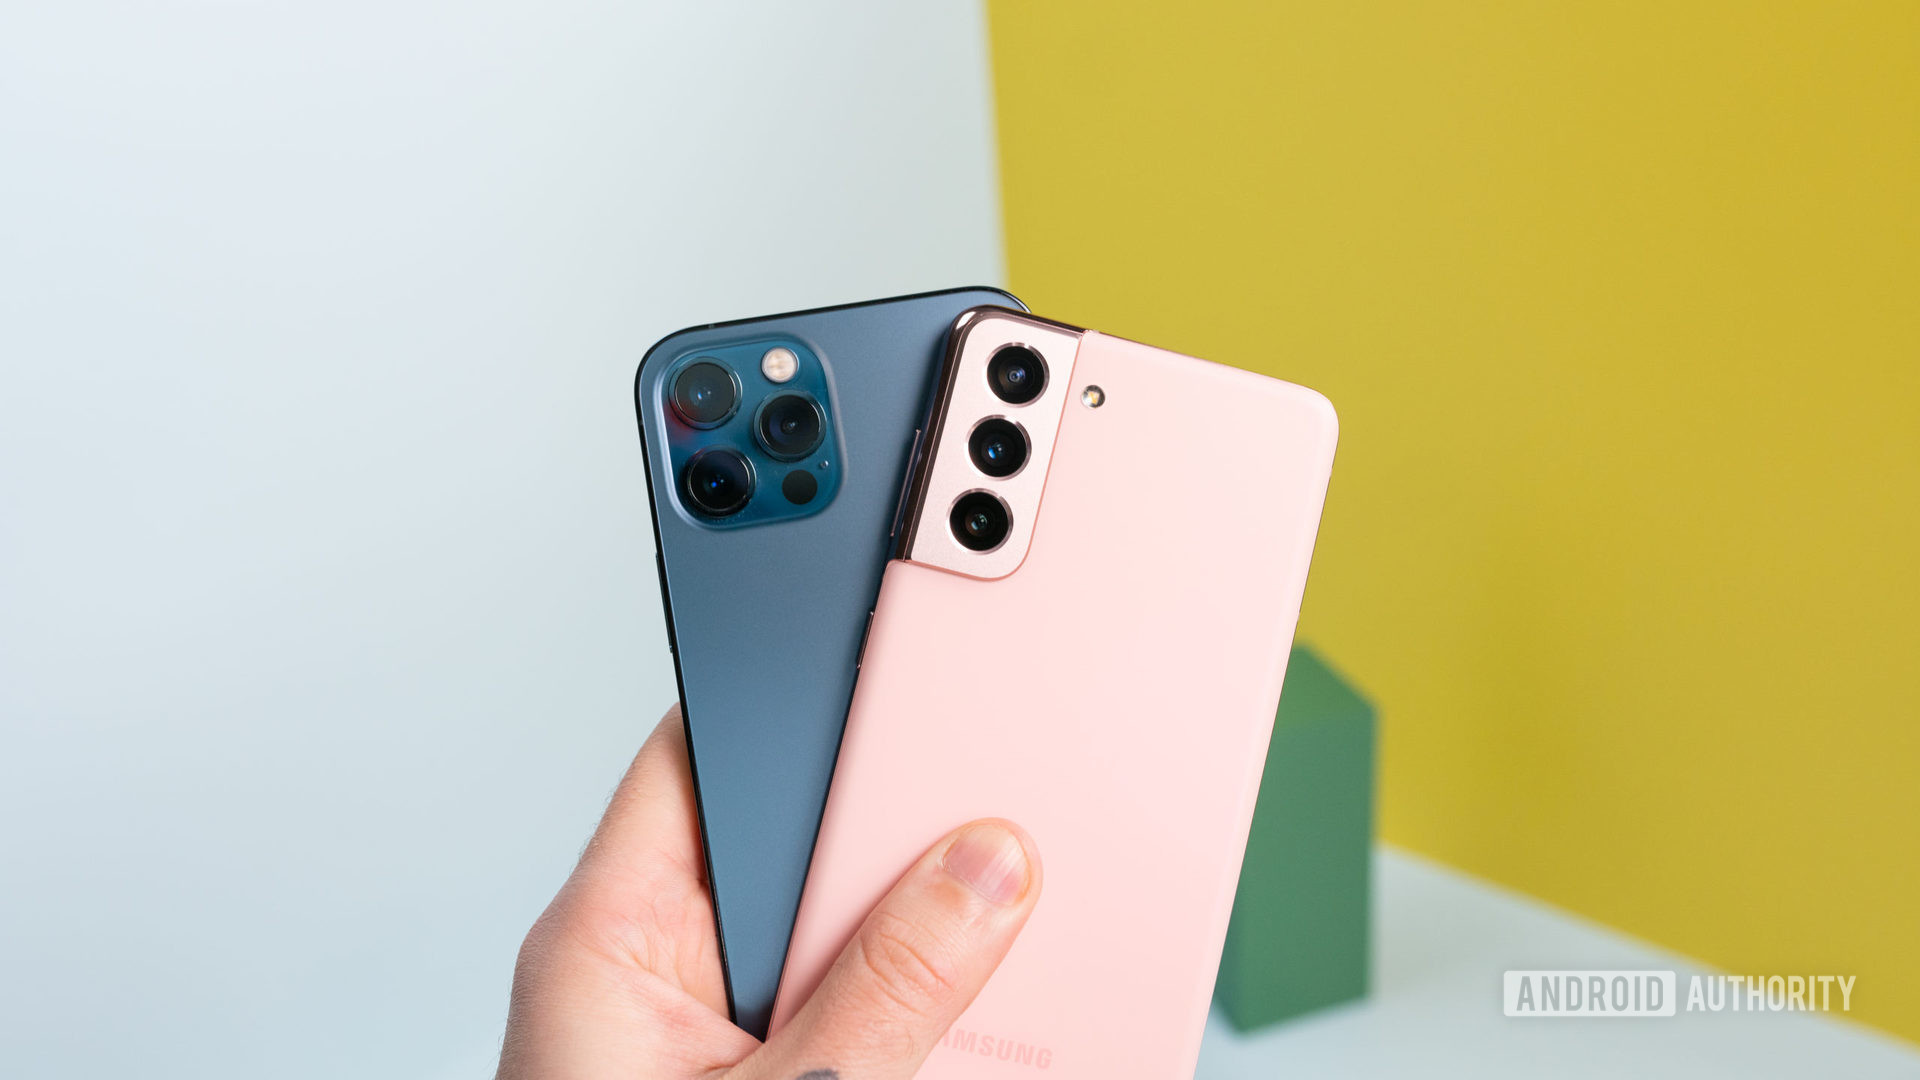
How to switch from iPhone to Android: Sync your contacts, photos, and more!
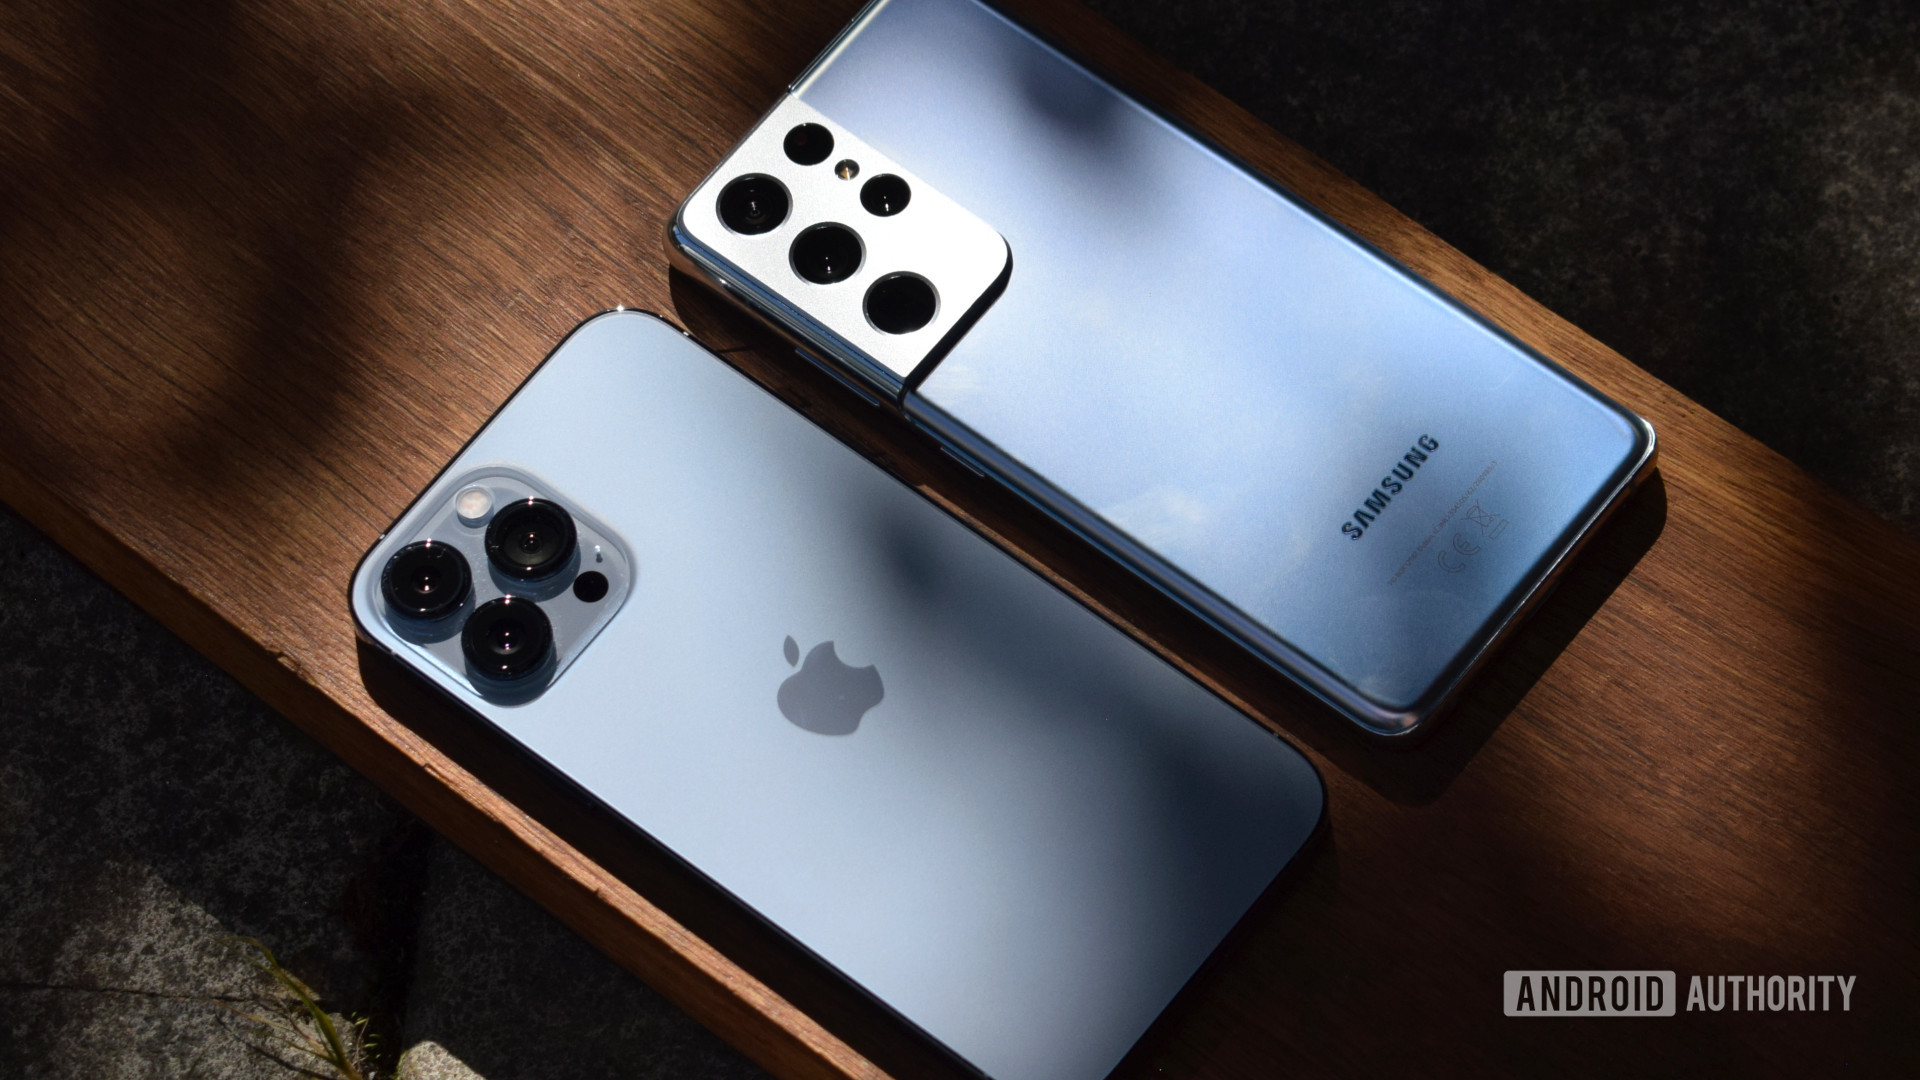
Did you get a shiny, brand-new Android phone? Welcome to the team! You’ll love it here. But how do you get started? Switching from iPhone to Android can be a convoluted process, or it can be easy, depending on your steps.
This tutorial will show you the best ways to transfer all your data from an iPhone to an Android device. First, we’ll cover the easy ways, which may or may not work depending on your phone. Then we’ll cover more specific tasks that will work for anyone switching from iOS to Android. If you’re looking to check out the best Android apps available, you should also check our favorites!
How to transfer from iPhone to Android
The easy way: All-in-one tools
Samsung Smart Switch Mobile

If you’re not too tech-savvy and have a Samsung phone, you’re in luck. Samsung Galaxy phones have an all-in-one tool called Smart Switch to switch from iPhone to Android quickly and easily.
This will quickly transfer your contacts, bookmarks, photos, videos, and more. It works both wirelessly via Wi-Fi or with an OTG cable.
How to switch from iPhone to Android with Smart Switch:
- Update your iPhone’s software as much as you can.
- Open iCloud on your iPhone and backup your data to the cloud.
- Download Samsung Smart Switch on your Samsung phone.
- Open the Smart Switch app on your new Galaxy phone.
- Read and agree to any terms and conditions.
- Tap Receive data, then select iPhone/iPad.
- A cable connection works best, but if you can’t, you can also do it wirelessly.
- Tap Get data from iCloud instead, then log into your iCloud account.
- Once logged in, tap Import to begin the transfer.
How to switch using Google Drive backups
Those without a Samsung Galaxy phone are not out of options. You can transfer your data using a backup on Google Drive. It’s slightly more complicated than the steps above, and you won’t get as much data, but it’s still better than doing everything manually. Once you finish the process, make sure you disable iMessage and Facetime to avoid losing any future messages and calls on your new phone.
How to switch from iPhone to Android with Google Drive:
- Charge and turn on both phones.
- Install Google Drive on your iPhone.
- Open the app and log into your Google Account.
- Tap Settings, then Backup. Pick what you want to back up, then Start Backup.
- It’s recommended to turn off both iMessage and Facetime, so you don’t miss any messages during the transfer.
- Once finished, sign in to your Google Account on the new phone and restore from the backup.
How to transfer contacts from iPhone to Android
One of the first things you’ll want to do when switching from iPhone to Android is transferring your contacts. How straightforward this process is will highly depend on your previous practices for syncing contacts. Are you synchronizing your contacts to your Google account? If so, getting your contacts on your brand new Android smartphone is a breeze! All you have to do is enter your Google account details. All your saved numbers will be automatically downloaded.
If you don’t sync your contacts with Google, you will have to work a little harder. The easiest way would probably be to use iCloud to get a .vcf file and then import that to your Android phone (or Google Contacts).
How to transfer contacts from iPhone to Android manually
How to download a .vcf file of your contacts:
- On your iPhone, go to your Settings app and then your profile at the top.
- Tap iCloud and toggle on Contacts. Your contacts will upload to Apple’s cloud services shortly.
- Use a browser to go to iCloud.com and log in with your Apple ID.
- Select Contacts and then click on the gear icon in the lower-left corner.
- Click Select all.
- Click the gear again and select Export vCard. When the .vcf file downloads, you can import that file to your Google Contacts or straight to your phone.
How to import contacts into Google Contacts:
- Go to contacts.google.com and click Import, then Go to old contacts.
- Click the More button and select Import.
- Select the file you downloaded, and you are done.
How to import contacts into an Android phone:
- Transfer the .vcf file into your phone using any method, such as transferring via a microSD card or by hooking up your phone to your PC.
- Open your Contacts app and tap the 3-line menu button.
- Go into Settings.
- Select Import.
- Pick .vcf file and press OK.
- Pick which account you want the contacts saved to.
- Find the file and select it. Now let the phone work its magic, and you’re done!
How to transfer contacts from iPhone to Android using the cloud
Additionally, you can transfer contacts from iPhone to Android using Google Contacts. People might think syncing to Google Contacts is an Android-exclusive feature. This isn’t the case, but it requires a bit of tinkering in the settings. Let us show you how it’s done.
How to transfer contacts from iPhone to Android using Google Contacts:
- On your iPhone, open the Settings app.
- Go to Accounts & Passwords.
- Hit Add Account.
- Select Google and sign in to the Google account you’ll use with your new Android phone.
- Switch the Contacts toggle on.
- Hit Save.
- Now contacts will automatically sync from your iPhone to Google Contacts. In turn, they will also sync to your Android device.
How to transfer calendar from iPhone to Android
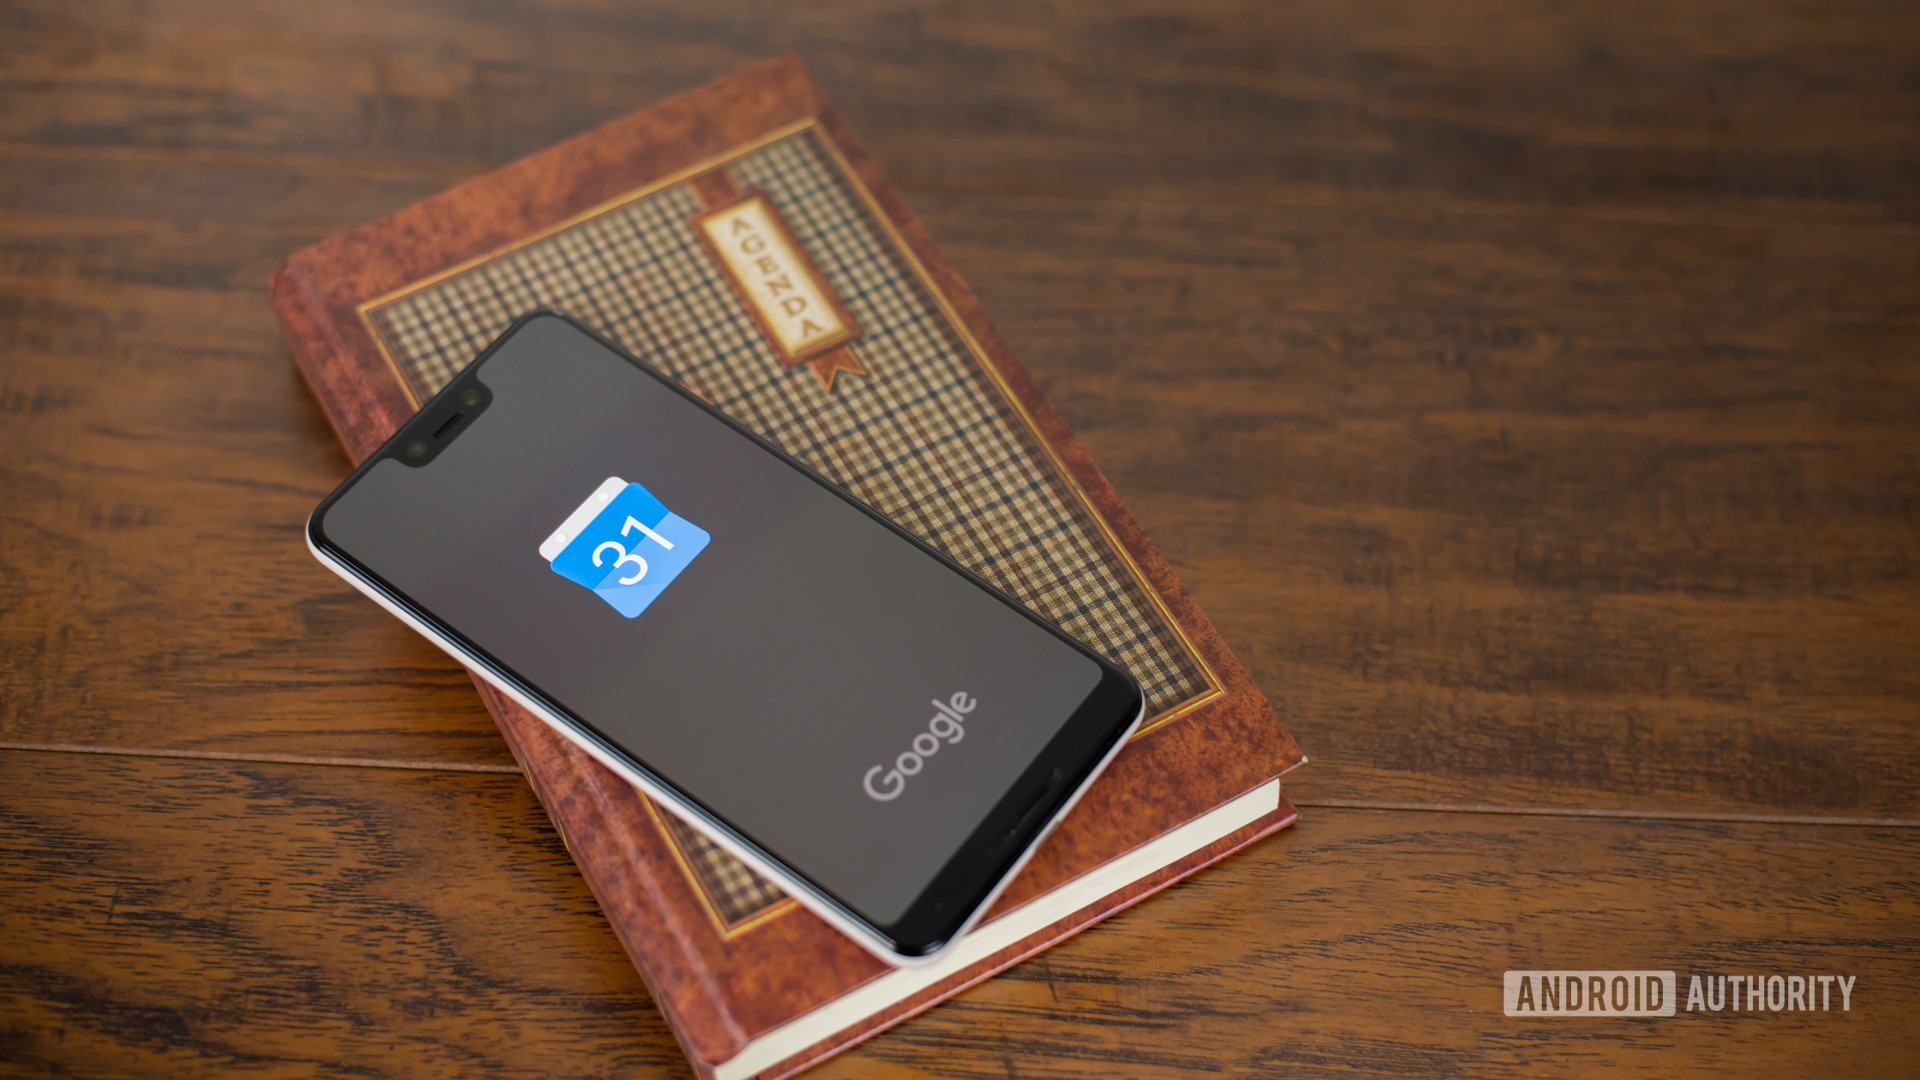
Just as it was with Contacts, your calendar can also be synced to your Google account, but that will only be convenient if you did it from the beginning. You don’t want to manually add all your calendar entries, so we will show you how to transfer all your calendar events in a batch. Oh, and we will use iCloud once again.
How to transfer iCloud calendar to Google Calendar:
- On your iPhone, go to Settings.
- Select Passwords & Accounts.
- Select Gmail if present, otherwise select Add Account to add your Google account.
- In the Gmail section, make sure the Calendars toggle is switched on (green).
- This will sync all your calendars automatically. Done!
How to transfer calendar entries manually:
- On your iPhone, go to your Settings app and tap your profile at the top.
- Tap iCloud and toggle on Calendars. Your iPhone will now sync your local calendar files to iCloud.
- Use a browser to access iCloud.com and log in with your iCloud account.
- Click the Calendar icon to open the Calendar interface.
- On the left pane, click the Share Calendar button beside the calendar that you want to export.
- In the popup balloon, tick Public Calendar and copy the sharing URL that appears below it.
- On a new web browser tab or window, paste the copied URL.
- Change webcal in the URL to http and press the Enter key to open the address. Your Web browser will download a file with random characters as a file name. This file is actually a copy of your iCloud Calendar entries.
- Save the file to a convenient folder on your computer. You may rename the file for convenience and add the .ics extension (e.g., calendar.ics ).
- Open and login to Google Calendar on your Web browser.
- On the left pane of the Google Calendar interface, click the plus button to the right of Other Calendars and select Import.
- Select the exported calendar file that you downloaded from iCloud. You can also choose the destination Google calendar (if you have more than one) in the same dialog.
- Click the Import button to upload the file. Once importing is finished, you should see the imported entries in the Google Calendar web interface. The new entries will also be synced to your Android device.
How to transfer photos from iPhone to Android
Switching from iPhone to Android doesn’t mean you have to leave behind all those precious photos. It would be horrible to lose them in the process of switching to Android, right? You could probably do things the old way and manually transfer files like a caveman. Or you can be a bit savvier and take advantage of the excellent cloud storage services we now have access to.
It’s possible to backup your photos to Drive, Dropbox, or your service of choice, but Google’s Photos app is the easiest. Photos lets you upload unlimited high-quality images and sync them across smartphones. And yes, it’s available for both Android and iOS.
How to transfer photos via the Photos app:
- Download the iOS Google Photos app.
- During set-up, the app will ask if you want to backup your photos. Go ahead and turn the feature on.
- Your photos will begin uploading. This will use a substantial amount of data, so be sure to connect to a Wi-Fi network.
- When all images are uploaded to Google Photos, pull out your Android phone and download the Photos app from the Google Play Store.
- Go through the set-up process. Your images will be there.
The best part about using the Google Photos app is that now you can access your images from any device you download the app to.
How to transfer photos manually via a PC:
- Connect your iPhone to your PC via USB cable. Do the same for your Android phone.
- On your Windows PC, open My Computer.
- You should be able to see two new drives or entries under Portable Devices. One is for your iPhone storage (usually labeled “Apple iPhone” or “[Your Name] ‘s iPhone” or something similar), and the other is for your Android. If you don’t see them, try installing the phone drivers.
- Open the iPhone’s storage in a new window.
- Open your Android’s storage in a new window.
- On the window for your iPhone’s storage, locate the folder named DCIM. You will find your photo folders inside that folder.
- Select the photos that you want to transfer. Then, drag them from the iPhone images folder and drop them onto your Android images folder.
How to transfer music from iPhone to Android

When switching from iPhone to Android, you can always transfer your music the old-fashioned way by manually moving files from phone to phone. That said, it’s probably easier to upload your tunes to YouTube Music. Of course, this is given that you have all your music on your computer.
We will assume you are using iTunes for obvious reasons. Make sure to go to iTunes and download any music you may have purchased from your phone and isn’t saved locally. If you don’t mind staying within the Apple ecosystem, you can also upload your library to Apple Music using iCloud. You can then access it with the Apple Music app on Android.
That said, we recommend using YouTube Music since it ties to your Google Account seamlessly. Note that both YouTube Music and Apple Music have a limit of 100,000 songs, so you may have to cut the list down if you have more than that.
After doing that, upload all your music to YouTube Music. This will sync across all Android devices, but the only main issue is that if the file is not downloaded, you will use up data while playing it. Make sure to pin or download songs you want to hear offline.
How to transfer music via YouTube Music:
- Download your music library to your PC or Mac.
- Navigate to music.youtube.com in a web browser.
- Log into your Google Account.
- Click on your Profile, then select Upload music.
- Select the music to upload and wait for it to complete.
How to transfer music using iTunes on a PC:
- Open iTunes.
- Go to your Library and select all the songs you want to transfer to your Android phone.
- Right-click and select Copy.
- Connect your Android device to your computer and find the folder where music is stored.
- Paste all your music into said folder.
Of course, most people no longer store music locally. If you use Spotify, YouTube Music, Pandora, or any others, you can download the Android app and sign in to your account. The coolest part is that you can even continue using Apple Music, which is available straight from the Google Play Store.
Источник


