- Annotation Processing for Android
- Our example
- Defining the annotation
- The annotation processor
- Datamodel
- Generating code
- Registering and applying the processor
- Conclusion
- How to find out which app hogs CPU on your Android
- Use built-in resources
- Use 3rd-party apps
- Conclusion
- How long do chipmakers support their processors for Android updates?
- HiSilicon
- Qualcomm
- MediaTek and Samsung
- Are Android processor makers to blame for poor OS update support?
Annotation Processing for Android

May 15, 2017 · 7 min read
Annotation processors allow you to generate code based on the annotations in your source at compile time. In this post I’ll explain how it works based on a small example in an Android project.
To get a feeling of what you can do with annotation processing, here are some popular libraries using it:
Many libraries use annotation processors to get rid of repetitive boilerplate code. Sometimes it is also used as an alternative to reflection, because reflection often has more runtime overhead compared to generated code.
Our example
We’ll replicat e a small bit of functionality of Butterknife as an example: A @BindView annotation that can be applied to fields. In the end, we want to be able to write an activity like this:
The @BindView annotation saves us from manually having to call findViewById for every view and casting it, like so:
The generated code will look like this:
For each activity we will generate a bind method that makes the findViewById calls. In order to be able to set fields of the activity that have package visibility, this class will need to live in the same package as the activity, therefore we will generate one ViewBinder class per package, with a bind method for each activity in that package.
In the next sections, we will define the annotation, before writing the actual processor and applying it to the project. You can find the finished example project at GitHub.
Defining the annotation
We will define the BindView annotation in a separate module, so other modules can include it and use the annotation.
In Android Studio, just hit Ctrl+Shift+A to bring up the “Find action by name” dialog and choose “New Module…” to create a java library module. I’ve called the module “bindview-api”.
Inside that new module we’ll declare the annotation:
@Retention(RetentionPolicy. SOURCE) means that the annotation will only be available during compilation time. We don’t need to keep the annotation around after we’re done processing the source.
@Target(ElementType. FIELD) means that this annotation can only be applied to fields. If you try to apply it to other things, like a method or a class, you’ll get a compile error.
To use that annotation in our app module, we’ll have to add a dependency to it in the app module’s build.gradle file:
By using the provided scope the annotation class will not end up in the packaged apk — it will only be available during compilation time.
Now we can go ahead and annotate our fields with the @BindView annotation, but of course it doesn’t do anything yet. Time to write the annotation processor itself!
The annotation processor
Annotation processors have to implement the javax.annotation.processing.Processor interface. The javax.annotation package is not available in android, so we have to create a new java library module (which you’d want to do anyway). I’ll call this module “bindview-processor”.
Since the processor runs during the compilation, and not on your android device, you can actually use java 8 features in the annotation processor by setting the java version in the module’s build.gradle:
In this module we create a new class, BindViewProcessor , as a subclass of AbstractProcessor . There are three methods of interest that we’re going to need to implement:
- getSupportedAnnotationTypes declares which annotations this processor is able to handle as a set of fully qualified classnames
- getSupportedSourceVersion returns the latest source version supported by the processor. Just returning latestSupported() is good pratice here
- process is where we’re going to inspect the annotated elements and generate our code. This method should return true to indicate that the annotations have been claimed by this processor
Datamodel
Before we start outputting generated code we need to know what to generate, so we’ll first build up a data model describing which views we need to bind to what fields.
To find the fields annotated with the annotation we can use roundEnvironment#getElementsAnnotatedWith , which returns a Set of Elements:
Element is a model of a language-level program element — such as a class, a method, a field, a local variable, and so forth. All elements in this set are annotated by the BindView annotation, and since it can only be applied to fields those elements represent the fields (they are instances of VariableElement ).
For each field we’ll record the name, type, and id of the view that is bound to it:
With element.getAnnotation(BindView.class) you can get the access the annotation on the field and read its value (the view’s resource ID).
If you have an annotation with a field of type Class , then you might get a TypeMirrorException when trying to read that field. This happens because the annotation processor runs during compilation and the class you’re trying to access might not even be fully compiled yet. Through the exception you’ll get access to a TypeMirror object which reflects some properties of the type. For the same reason, element.asType() returns a TypeMirror :
element.asType() returns a mirror of the field’s type, and element.getSimpleName() gives us the name of the field.
We’ll record this information in a class called ViewBinding :
We’ll also need to organize the view binding objects according to their package and class.
The syntactical element enclosing the field is the containing class. Classes are types, so they are instances of TypeElement .
We’ll record the view binding information in our datastructure, grouped by package and class.
Generating code
Now that we’ve constructed a model of our bindings we can generate code based on that model. For this we’ll be using JavaPoet, a library by Square which helps with generating java source code.
The method generateBinderClasses will return a Set of JavaFile models. We want to generate a ViewBinder class per package, so we iterate over the packages in our model and create the TypeSpec for each package. TypeSpec is JavaPoet’s model for types like classes.
We create a final class with a private constructor, so that it can’t be instantiated or subclassed. For each class in our model for that package, we generate a bind method and add it to the class.
The generateBindMethod creates a public, static method named bind with a parameter named target of the type of the enclosing class of the fields we want to bind. For each view binding we add a statement using JavaPoet’s template language. $T refers to a type, and will automatically manage imports for us. $N refers to the name of another model element, and $L is for literals.
Finally, we have to output the generated classes to files:
Filer is an interface provided by the processingEnv inherited from AbstractProcessor . It allows you to create source files, resources and class files. JavaPoet’s JavaFile has a convenient writeTo(Filer) method that we can use.
Messager is another interface from the processingEnv . It can be used to output notes, warnings and errors during compilation. If we’re unable to write a file, we print an error message using the Messager , which also aborts build.
Registering and applying the processor
The annotation processor needs to be registered as a service so that the compiler can pick it up and execute it. This is done by adding the class to a new file at
bindview-processor/src/main/ resources/META-INF/
services/javax.annotation.processing.Processor .
For each annotation processor in the module you want to register, the fully qualified pathname of each class needs to be added as a separate line. We only have a single annotation processor, so the entire contents of the file is:
Finally we can apply the annotation processor to our app:
The annotationProcessor scope applies the annotation processor of that module during compilation. The processor class itself will not be accessible from the app.
You might find some libraries that use the apt scope. android-apt is a gradle plugin that made using annotation processors in Android Studio easier before that functionality was integrated to the android gradle build tools. Nowadays, it’s recommended to use the annotationProcessor scope instead.
If we build the app now, the annotation processor will run, and we’ll be able to use the generated ViewBinder classes to bind our views.
Conclusion
In this post, we built a simple Annotation Processor! The actual Butterknife, which this example is based on, is of course much more complete and complex, but this post covered the basics of annotation processing.
You can check out the example project at GitHub, and you can dive deeper by checking out the libraries mentioned at the beginning of the post.
Источник
How to find out which app hogs CPU on your Android
Even though most users are focused on RAM usage, this is, in fact, something that shouldn’t bother you except in extreme cases. What is of bigger importance is CPU activity, as it is a vital factor in device performance, battery consumption, and even overheating. But ways to check on CPU usage on Android are rather scarce. Today, we are going to show you a few ways to check CPU usage on Android, with third-party apps or system resources. Learn more about this below.
It’s important to know that we are here covering system-wide CPU usage as Google prohibits access to hardware usage of apps. So there’s hardly a way you can find out what’s the per-app usage. There are some alternatives, like rooting your device and installing certain modules that overwrite system limitations, but it can be a lot for a regular user to grasp and quite a cumbersome task if you are not sure what exactly you are doing.
Use built-in resources
They are limited but should provide you with a basic insight into the background doings of certain apps. The readings are mostly oriented toward the battery usage, but you can enable the CPU activity toggle. But, firstly, let’s make an important distinction.
For example, if you play demanding, graphically intensive games and your last registered CPU activity is high, that’s OK. However, if idle CPU spikes, you should consider taking some measures concerning third-party apps that work in the background. Limiting or uninstalling them is not the worst of ideas.
If you’re not sure how to enable CPU on your Android device, follow these instructions:
- Navigate to Settings.
- Open About and navigate to Build number.
- Click 7 times on the number to enable Developer options in Settings.
- Get back to Settings and open newly unlocked Developer options.
- Locate the Monitoring pane below and enable Show CPU usage.
Now, you’ll be informed of the CPU activity in real-time. With that, you should be able to locate and disable certain background apps from hogging on your CPU immensely.
If you’re uncertain how to forcibly disable apps, follow the instructions below:
- Open Settings.
- Tap Developer options.
- Tap Running services or Processes.
- Stop suspicious apps.
Have in mind that this is effective only before the restart. With the new restart, there’s a chance that the app process you terminated will emerge again like the phoenix from ashes.
Because of that, you should take into consideration uninstalling the troubling app. Also, if you’re sure that the CPU usage is not showing unusual spikes, you can easily disable the on-screen CPU monitoring and continue using your device just like before.
Use 3rd-party apps
Now, let’s move to a real deal. Most modern smartphones come with built-in maintenance tools. However, most of the time, they’re not properly suited for advanced readings, but rather for the cache cleanup and all kinds of tools that are not of much use. Antivirus apps are not really all that important or useful on Android.
Therefore, the best way to check CPU usage on Android is through specialized third-party apps. Here are the top 3 picks:
Droid Hardware Info
- Most readings and system information just a few taps away.
- Access to camera and other sensors for detailed information.
- A bit limited feature-wise when compared to some other solutions.
You can download Droid Hardware Info, here.
TinyCore
- Well-designed and small in size as you would expect.
- It more looks like a built-in tool since it integrates into the system and provides you with readings in real-time.
- Stats-bar is well placed and informative.
- Low system footprint.
- As same as most similar solutions, TinyCore is somehow underwhelming when compared with the premium version, especially when it comes to customization.
- No advanced readings in the free version.
You can download TinyCore from this link.
CPU-Z
Pros:
- Probably the best CPU monitoring app you can obtain for free.
- Mirrors most of the features available on the PC version of the app.
- Supports most of the available handsets.
Cons:
- It’s not as attractive visually as some other apps.
- Too many ads. Including video ads with pop-ups and all that jazz that can drive you mad and diminish the overall experience.
CPU-Z can be downloaded by following this link.
Conclusion
Have in mind that these tools are there just for monitoring. They are just a first step. Once you’ve learned the cause of the CPU spikes, you must manually navigate and terminate and eventually uninstall the CPU-hogging apps.
That should conclude our list and instructions. Thank you for reading and follow us on Twitter and Facebook. We certainly hope that you’ll find those helpful. Also, don’t forget to offer your opinions, questions, or suggestions in the comments section below.
Editor’s note: This article was originally published in May 2019. We made sure to revamp it for freshness and accuracy.
Источник
How long do chipmakers support their processors for Android updates?

The Fairphone 2 made news earlier this month after it received an Android 9 Pie beta update. That doesn’t sound like anything to boast about at first — it’s not even the latest version of Android, after all — but it is when you remember that the phone launched in 2015, touting Android 5.1 Lollipop.
Fairphone noted that Qualcomm stopped supporting the Snapdragon 801 chipset inside the Fairphone 2 after Android 6.0 Marshmallow. In fact, the company essentially had to work with the team behind the LineageOS custom ROM to whip up the update itself.
It seems fairly incredible that the company had to jump through so many hoops to get Pie working. Fairphone may be a niche brand, but when you consider the horrible reputation that Android phones have in terms of updates compared to iPhones, it really drives home the fact that there is almost always zero guarantee of a phone continuing to receive updates after two or three years on the market.
Is it on the chipset provider though, as Fairphone suggests? What are they doing about Android updates? Here’s what kind of update commitments we should expect from the various chip designers.
HiSilicon

Huawei told Android Authority that its HiSilicon chip division supports its Android processors for “two to three years.” We asked the firm to clarify this statement (e.g. do flagships get three years of updates, while budget SoCs get two years?), and will update the article accordingly.
It’s worth noting that 2017’s Huawei Mate 10 series and 2018’s P20 flagships have recently received Android 10, lining up with the two to three-year pledge. But budget-tier devices like the P20 Lite aren’t scheduled to get the update (despite launching alongside the P20 series), and it’s presumed that many older Y series phones won’t get EMUI 10.
Qualcomm

Qualcomm is the biggest Android processor provider around, so all eyes are on it to adequately support its silicon. But what should you expect then?
“Our mobile platforms which support Android receive at minimum three versions of Android during their lifetime [roughly equivalent to three years of support – ed]. In many cases a fourth, fifth, or even sixth version is provided based on customer and market demand,” the firm told Android Authority.

“We also provide support services for OEMs who want to add another Android version or to (those) who wish to extend security patching,” the company added. Furthermore, Qualcomm also noted that it has its own bug bounty program and internal vulnerability testing, while publishing any issues discovered internally.
Despite Qualcomm’s pledge that up to six Android version updates can be provided, 2016’s Google Pixel still topped out at four major OTAs. It’s worth keeping in mind that the Pixel series offers stock Android, which should enable a much easier update process.
MediaTek and Samsung

We’ve asked both MediaTek and Samsung for comment regarding update commitments for their chipsets. They didn’t get back to us by the time of publication.
MediaTek phones have had a reputation for not delivering on updates, although this can at least be partially attributed to second-string budget brands often using these chipsets. For what it’s worth, most of the devices on our list of best MediaTek phones have either received a major Android update or are getting one. But again, the firm hasn’t told us about its commitment to updates for Android phone processors in the long term.
Samsung’s Exynos chipsets are largely found inside the firm’s Galaxy phones, and its two-year-old flagships have generally received Android 10. The firm generally does a decent job of updating its recent budget wares too, and even the two-year-old Galaxy J6 and Galaxy A7 2018 are receiving Android 10.
Furthermore, the company still supports older devices with monthly or quarterly security updates, with even the Galaxy A5 2017 (released in January 2017) still receiving quarterly patches. You can check out the supported phones over here.
Are Android processor makers to blame for poor OS update support?
The truth is, chipmakers are only part of the equation when it comes to delivering on Android system updates. OEMs also play a big part in the process, as they have to roll together updates from Google, the Android processor provider, their own teams, and other sources in order to push out the final update.
Manufacturers and their network partners also have to test the Android update or security patch to ensure that there are as few bugs as possible. This testing process can add more time to the update’s release cycle, which is why many enthusiasts try to opt for unlocked phones rather than carrier-branded models.
Thankfully, Google is making the Android update process a little easier with features like Project Treble and Project Mainline. Project Treble essentially redesigns the underlying Android framework to enable faster and easier updates. Meanwhile, Project Mainline makes it possible for some updates to be delivered via the Play Store (e.g. media codecs, networking components), bypassing carrier testing entirely.
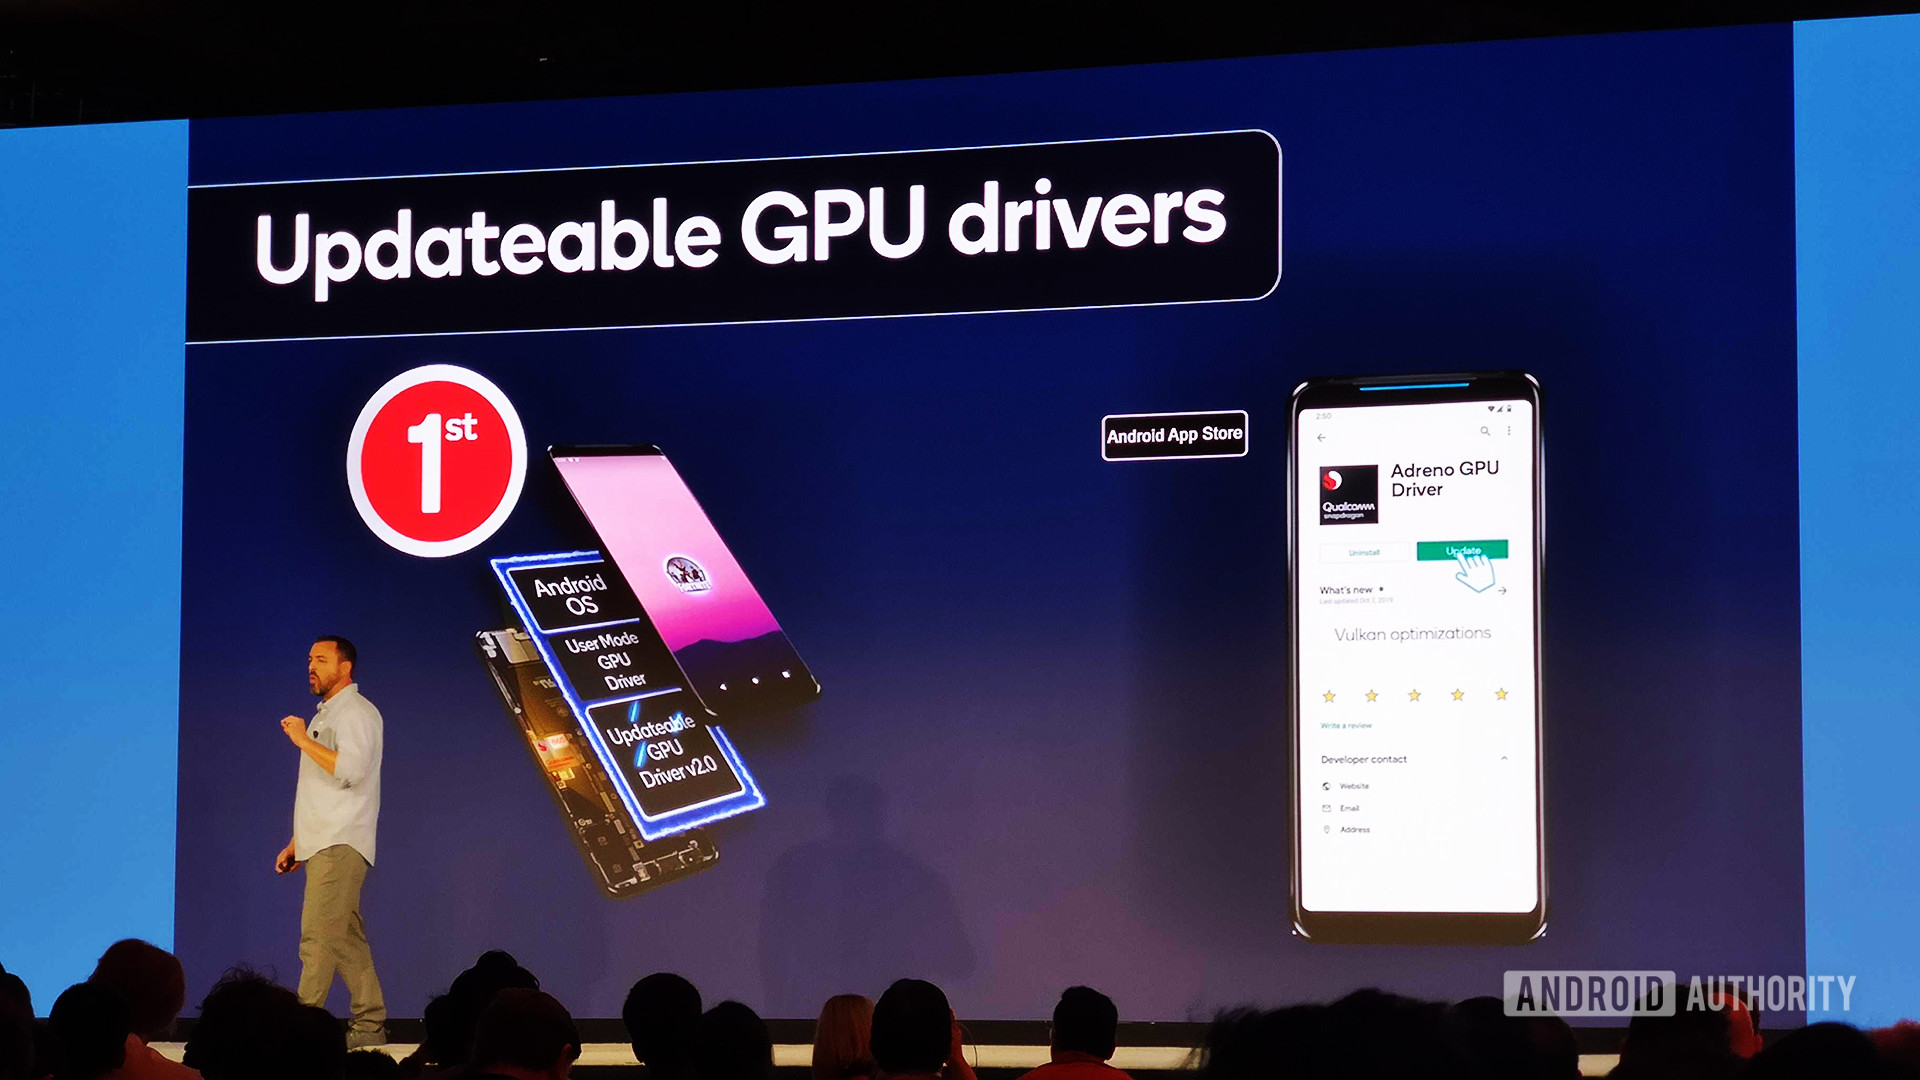
Chipmakers are also using Project Mainline to enable GPU driver updates via the Play Store. Qualcomm and Arm have both announced their participation in this endeavor, which should drastically cut down on the amount of time it takes to get bug fixes and performance optimizations onto a phone. Update: GPU driver updates via the Play Store are independent of Project Mainline, according to XDA’s Mishaal Rahman.
Another rarely mentioned factor in Android updates is the Linux Long-Term Support (LTS) kernel branch. The Linux kernel is at the heart of Android, but the LTS branch used was generally supported for two years only. Fortunately, this support period was extended to six years back in 2017, removing another obstacle for long-term Android update support.
It’s clear that chipmakers definitely have a role to play in Android updates (or the lack thereof). But with companies like Qualcomm offering up to six updates and Google seeking to move some updates to app stores, manufacturers can’t afford to hide behind their hardware and software partners.
That’s all we know about chipmakers and their commitments to Android updates for various processors. You can check out more mobile tech coverage via the list below.
Источник


