- How to replace the iPhone 5s battery
- What you need to DIY replace an iPhone 5s battery
- 1. Power off your iPhone 5s
- 2. Remove the two security screws on both sides of the dock connector
- 3. Remove the display assembly
- 4. Replace the battery
- 5. Replace the display assembly
- 6. Replace the dock connector screws
- 7. Test the new battery
- iPhone Battery & Power Repair
- iPhone battery replacement
- iPhone battery replacement pricing — United States
- Your repair options
- iPhone power issues
- How to replace your iPhone’s dying battery — and whether it’s worth it
- iPhone battery replacement under warranty
- If your iPhone is a recent model
- The smart battery case
- Consider a trade-in
- Non-Apple iPhone battery replacements
How to replace the iPhone 5s battery

A bad battery can severely diminish how long you can go on a full charge. If you own an iPhone 5s and either didn’t opt for AppleCare or just prefer doing things on your own in order to save some money, a DIY battery replacement isn’t terribly difficult. Not only that, buying the battery on your own and replacing it costs a fraction of what you’ll pay for an out of warranty repair. So if you’ve been experiencing less than stellar battery life, we can help you replace your iPhone 5s’ battery in under 30 minutes!
What you need to DIY replace an iPhone 5s battery
You’ll need some tools and parts in order to repair your iPhone 5s. iMore recommends using only quality and genuine parts from a reputable supplier like iFixYouri. They have quality parts, tools, and much more for all your repair needs.
- Replacement iPhone 5s battery
- Suction cup
- 5-point security screwdriver
- Standard #000 Phillips screwdriver
- Spudger tool
- Razor blade
- iSesamo Opening tool (not necessary but awesome for prying up cables and getting under adhesive)
1. Power off your iPhone 5s
Before performing any repair on any device, always remember to power it off. Simply hold down on the Power button until you see Slide to Power off. Once you’re sure your iPhone 5s is turned off, proceed to the next section.
2. Remove the two security screws on both sides of the dock connector
There are two security screws that secure the screen to the frame and they sit on each side of the dock connector. Use your 5-point security screwdriver to remove them. They are both the same size so it’s okay if you mix them up.
3. Remove the display assembly
- Place your suction cup slightly above the Home button assembly and secure it to the screen.

- Holding the iPhone in place with one hand, gently pull upwards on the suction cup until you free the bottom of the screen but do NOT pull up all the way at this point as a cable running to the Touch ID sensor is still connected. You only want to separate the screen about an inch at this point.
- Now that you have a clear view of the cables, use the pointed edge of your spudger tool in order to carefully remove the metal shield covering the Touch ID cable.
- Make sure you don’t lose the metal guard that covers the Touch ID connector.
- Again, use the pointed edge of your spudger tool in order to disconnect Touch ID.
- You can now safely swing the display up more in order to see where it is connected to the board.
- Remove the four screws holding down the shield that covers the display cables. To do this, use your #000 screwdriver.
- Once all four screws are removed, carefully remove the shield and set it aside.
- Now use your spudger tool in order to remove the three cables shown in the image below. You’ll need to remove the two off to the far right in order to reveal the third and final cable, which sits below them.
- The display assembly should now be free from the body of the phone. Go ahead and set the display assembly aside.
Note: We used the suction cup method here but note that if you can’t get a firm grip with a suction cup, you can use a razor blade or the iSesamo opening tool. Carefully work your way around the bottom of the phone between the frame and display assembly with a razor blade or the iSesamo Opening Tool until you can gently pry up using the flat end of your spudger tool. We recommend using plastic razor blades if you can find them since they won’t cause damage to the finish of the iPhone’s frame.
4. Replace the battery
- Remove the two screws holding down the battery cable using your #000 Phillips screwdriver.
- Gently lift the battery shield out of your iPhone 5s and carefully set it aside.
- Use your spudger tool to carefully pry up the battery cable.
- Along the bottom of the battery above the dock, there is an adhesive tab. Use the pointed end of your spudger tool to unfold it.
- Pull on the tab at both sides just enough to where you can use scissors to put a cut in the center.
- Starting on the left side of the iPhone 5s battery, carefully start pulling the adhesive. It should start coming loose from underneath the battery. You’ll hear a creaking/cracking noise. This is normal and is just the adhesive pulling up from the casing.
- Slowly and carefully pull sideways and along the left hand side of the battery. Take care not to tear any components. At the same time, don’t pull too quickly or the adhesive tab will tear, making it hard to get the rest of it out.
- Perform the same action along the right side of the iPhone 5s battery. Take tremendous care not to snag cables or the logic board. Pull away from the logic board.
- Keep a finger or two over the battery as it may come with the adhesive when you’re done removing it.
- Once both sides of the adhesive strip are removed, simply lift the old battery out of your iPhone 5s.
- Your new replacement battery should have adhesive pre-installed on the back of the battery. If it doesn’t, use two strips of double-sided tape that are a little shorter than the length of the battery. This will work just fine.
- Place the new battery in your iPhone 5s.
- Replace the battery cable on the logic board.
- Replace the battery shield and the two screws you removed earlier.
5. Replace the display assembly
- Reconnect the three cables shown in the image below, starting with the cable to the far left, which sits underneath the other two.
- Replace the display shield using the four screws and your #000 Phillips screwdriver.
- Re-connect the Touch ID cable to the logic board. The easiest tool to help you do this is the pointed end of the spudger tool.
- Replace the Touch ID shield that sits over the cable.
- Carefully line up the top of the display into the top of the frame.
- Snap down the display until it clicks into place.
If the display doesn’t want to go back down, do NOT force it. Instead, be sure that the top is lined up correctly and that you aren’t snagging any cables. There should be no resistance when snapping it back into place. If there is, you aren’t lining it up correctly.
6. Replace the dock connector screws
Use your 5-point security screwdriver to replace the two dock connector screws that sit on either side of the dock.
7. Test the new battery
After you’ve finished assembling your iPhone 5s, it’s safe to turn it on. In order to test the new battery, perform the following steps:
- Fully charge your iPhone 5s and make sure it doesn’t get any warmer than usual, as that could be a sign of a defective battery
- Monitor usage over the first few days with the replacement battery to make sure your battery life has improved
If all of the above checked out okay, you’re good to go!
Источник
iPhone Battery & Power Repair
iPhone battery replacement
If your iPhone is covered by warranty, AppleCare+, or consumer law, we’ll replace your battery at no charge. Not sure if you’re covered? Check if you have AppleCare+ by entering your iPhone serial number.
If your iPhone has any damage that impairs the replacement of the battery, such as a cracked screen, that issue will need to be resolved prior to the battery replacement. In some cases, there may be a cost associated with the repair.
See the chart below for battery replacement pricing for all iPhone models.
iPhone battery replacement pricing — United States
| iPhone model | In-warranty or with AppleCare+ | Out of warranty |
|---|---|---|
| iPhone X, iPhone XS, iPhone XS Max, iPhone XR, iPhone 11 Pro Max, iPhone 11 Pro, iPhone 11, iPhone 12 Pro Max, iPhone 12 Pro, iPhone 12, iPhone 12 mini, iPhone 13 Pro Max, iPhone 13 Pro, iPhone 13, iPhone 13 mini | $ 0 | $ 69 |
| iPhone SE (2nd generation), iPhone SE, iPhone 6, iPhone 6 Plus, iPhone 6s, iPhone 6s Plus, iPhone 7, iPhone 7 Plus, iPhone 8, iPhone 8 Plus, and all other eligible models | $ 0 | $ 49 |
These prices apply only to battery repairs made by Apple. Pricing offered by Apple Authorized Service Providers may vary. We’ll add a $ 6.95 shipping fee if your repair requires shipping and isn’t covered under warranty or AppleCare+. All fees are in USD and exclude local tax.
Your repair options
Send in for repair
Avoid waiting for an appointment or traveling to a store. We can send you a box right away to collect your iPhone. Arrange a shipment to an Apple Repair Center and we’ll replace your battery and deliver your iPhone back to you in 3-5 business days.
Bring in for repair
Make an appointment at an Apple Store or one of our Apple authorized service locations. We’ll try to fix your iPhone during your visit. In more complex cases, we might need to send it to an Apple Repair Center. If we do, your iPhone will be ready for pickup in 3-5 business days.
To protect your data, learn how to get your iPhone ready for service.
iPhone power issues
Some iPhone power issues are caused by factors other than the battery. If you can’t turn on your iPhone, follow these steps to see if the issue resolves.
We’ll test your iPhone to see if it has a battery issue or a different power issue. If your iPhone has a non-battery power issue, we’ll give you the repair price after we determine the cause. To identify your issue and set up service, start a service request.
Источник
How to replace your iPhone’s dying battery — and whether it’s worth it
— Jan. 13th 2020 12:27 am PT
Modern lithium ion batteries are brilliant. They’re energy-dense, charge quickly, and rarely explode. However, they’re not perfect by a long shot. Unfortunately, modern smartphones such as the latest iPhones don’t have everlasting batteries. So if your iPhone battery has given up the ghost, is it worth the hassle and expense of replacing it and getting a new one installed?
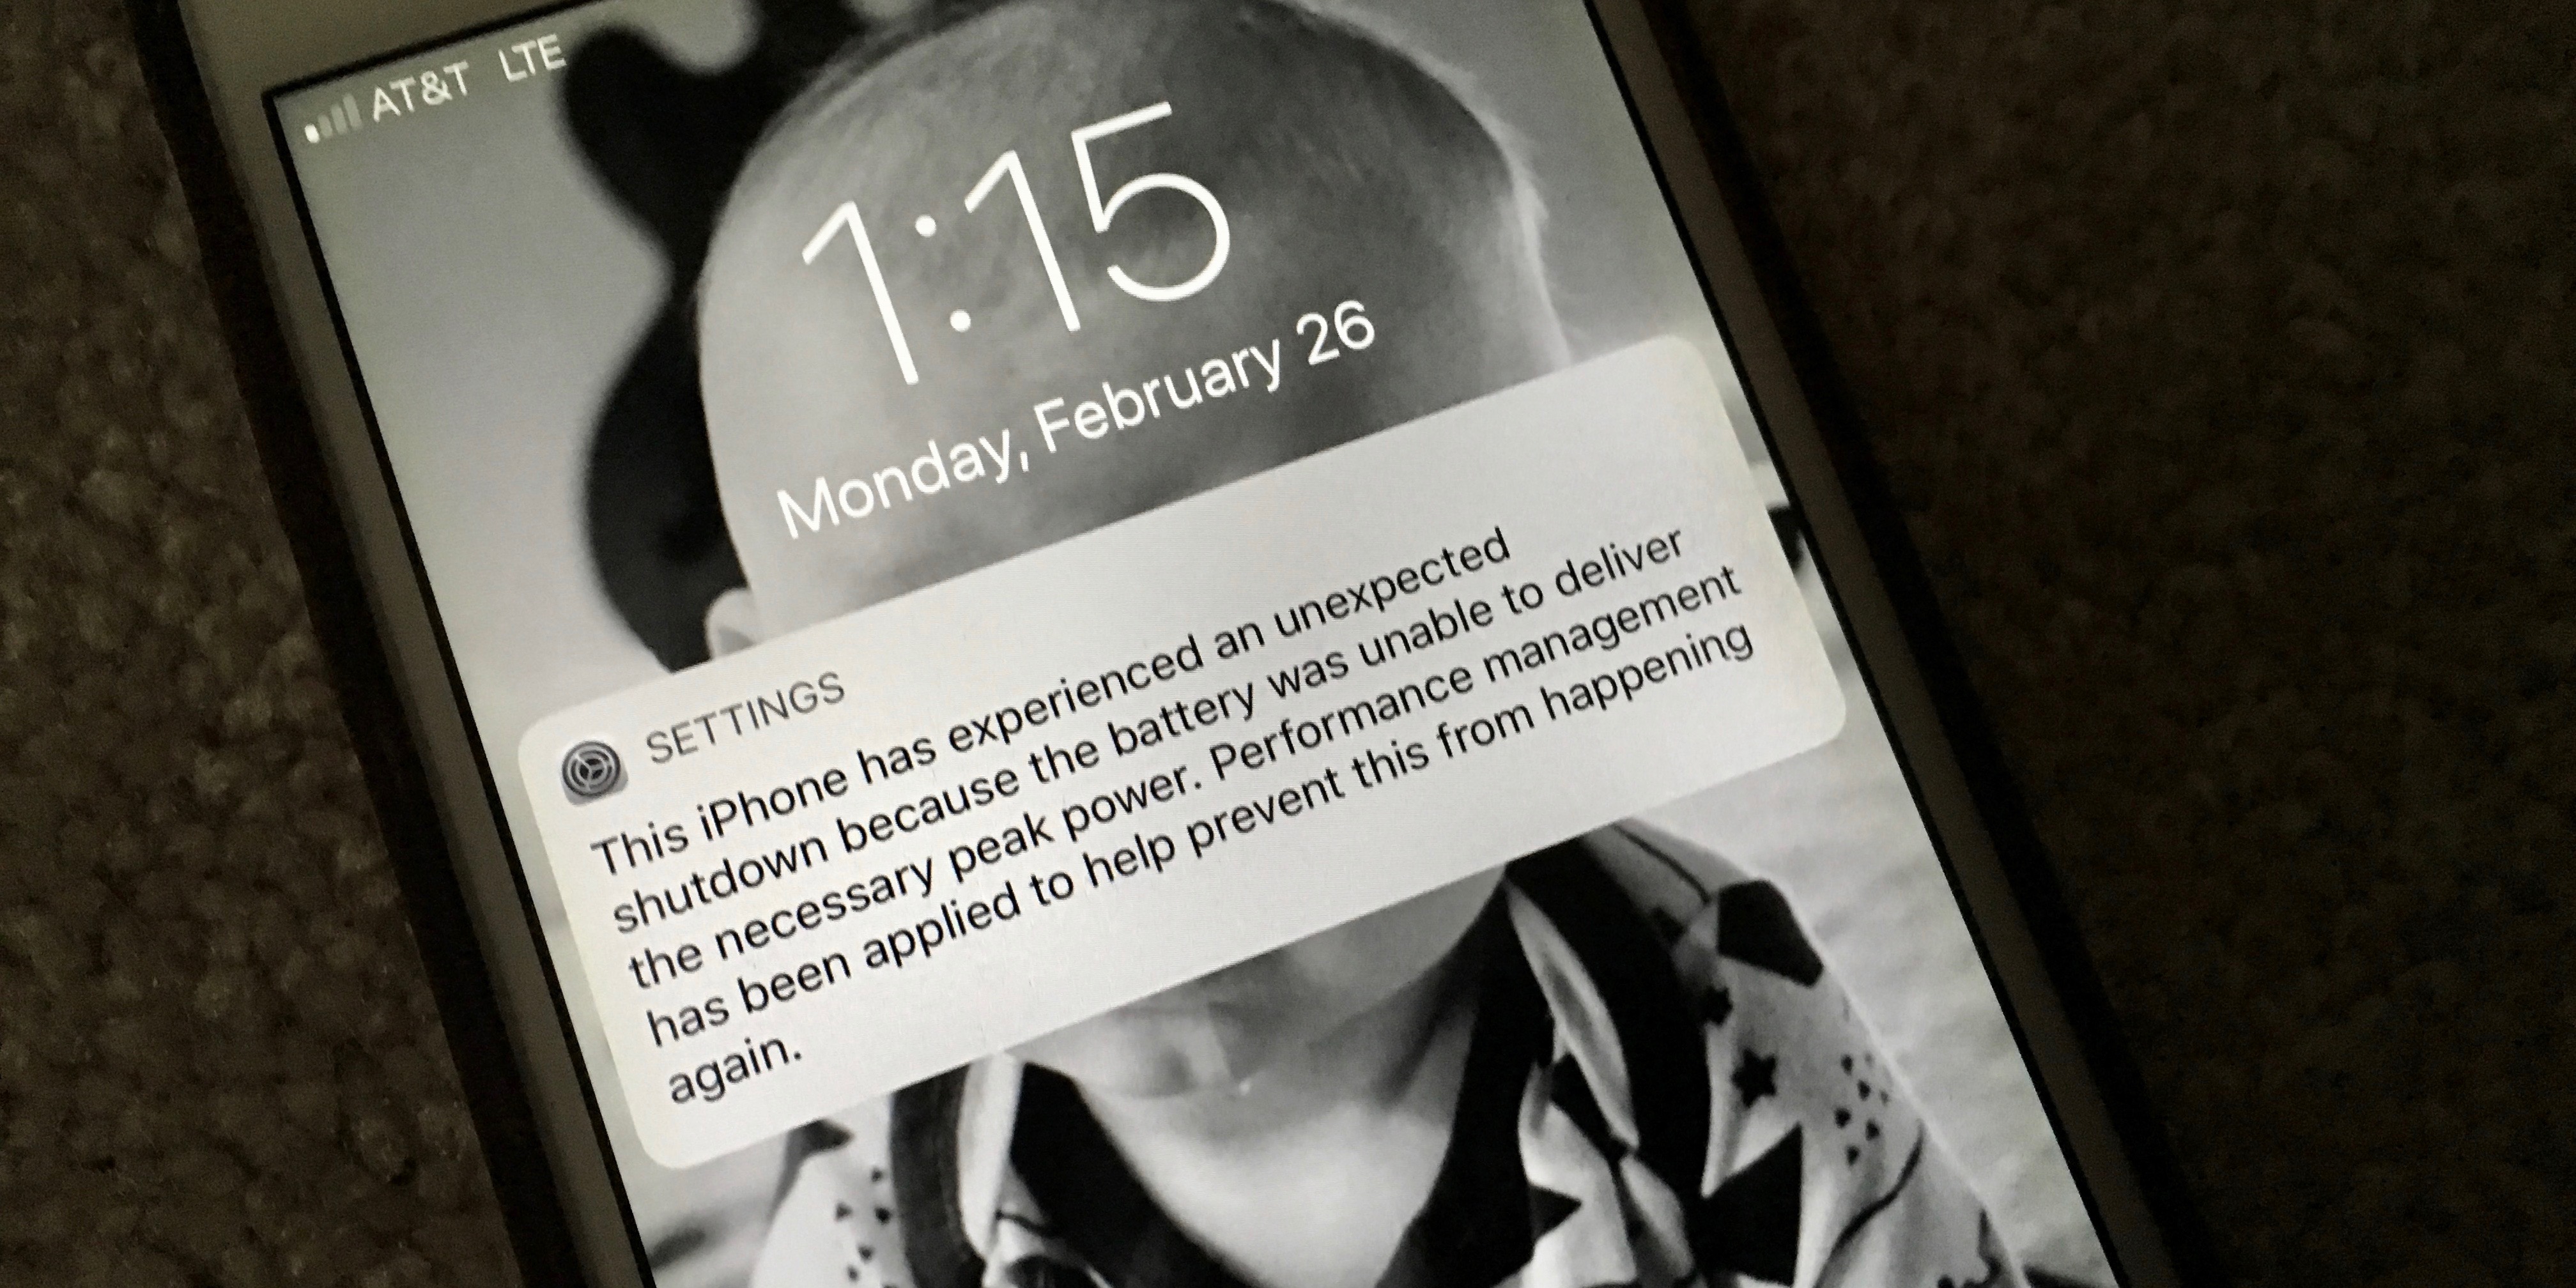
It’s probably worth taking a minute to talk about when a battery needs replacement. With each charge cycle, lithium batteries begin to lose some part of their original capacity. At some point, this can progress to the extent that your device doesn’t last long enough to be of practical use. Lithium ion batteries also lose some of their ability to provide peak voltage and power. This is why Apple throttles iPhones with poor battery health, to prevent shutdowns that result from a battery that can’t output enough power. In either case, putting a brand-new battery into your phone is an option.
iPhone battery replacement under warranty
If your phone is still under warranty — the default Apple warranty lasts a year and covers damage and issues that aren’t your fault — and the battery has degraded, it’s a no-brainer to ask Apple for a free replacement. Apple says that a 20% capacity loss after 500 full charge cycles is normal. If your phone battery has more capacity loss in less time, you may be eligible for a free replacement. It’s worth heading to an Apple Store to find out, at least!
If your iPhone is a recent model

Even if your phone is no longer under warranty, it may still be perfectly fine in terms of performance. In fact, if your phone is being throttled due to battery health, getting a replacement will breathe new life into it. Apple’s fees for new battery installations is pretty reasonable, and certainly much cheaper than buying a new phone. So in this case, it’s definitely worth it.
If you have an iPhone newer than the iPhone X, Apple charges $69 for an out-of-warranty replacement battery. If you have an older device, going back to the iPhone SE, you’re going to be paying Apple $49.
The smart battery case
If the only issue with your iPhone battery is capacity, and not throttling, you might want to consider simply getting something like the smart battery case to tide you over to your next new phone instead of replacing it. It’s actually more expensive than getting the battery replaced by Apple — especially since the iPhone throttling saga has seen Apple reducing their asking price for the procedure.
However, for people who don’t have a backup phone laying around, a battery case could be the way to go. It’s also worth considering that the case’s capacity is added onto your remaining battery capacity, which may add up to more battery power than a fresh internal battery would have.
Consider a trade-in

If your iPhone is getting to the point where its performance simply isn’t going to keep up with the times, you might want to consider a trade-in instead of a battery replacement. You probably won’t get much for an iPhone in need of battery replacement in a direct sale. However, Apple might offer you a fair bit of cash for your old phone to put a significant dent in the price of a newer model. You can also try trading your phone in through our own trade-in partner MyPhones Unlimited, and check out our full iPhone trade in guide for more options.
Non-Apple iPhone battery replacements
Third-party iPhone batteries are a murky gray area at best. Third-party batteries from established brands with good support networks are probably safe enough. Generic batteries of unknown provenance? They can be downright dangerous.
That’s not the only factor to consider, either. iPhones are tricky to open and work on. With Apple’s very reasonable replacement prices these days, it’s probably worth spending the small price difference and having the original manufacturer poke around your phone’s insides. Given how little money it wold save you, third-party battery replacements are probably not worth it.
FTC: We use income earning auto affiliate links. More.

Источник


