- Windows Subsystem for Androidв„ўпёЏ
- Set up your development environment
- Prerequisites
- Install the Amazon Appstore
- Settings app
- Input compatibility considerations for Windows devices
- Keyboard input
- Mouse input
- Window management and resizing
- Minimum screen requirement
- Letter & pillar boxing
- Additional resizing considerations
- Test and debug
- Enable developer mode in Windows Settings
- Connect to the Windows Subsystem for Android for debugging
- Connect to a test device
- Debug your app
- VM lifecycle considerations
- VM Properties
- Security
- Amazon Appstore
- Troubleshooting issues with Amazon Appstore
- Building Universal APKs
- Uninstalling Windows Subsystem for Android
- Wine для Android. Запускаем настольные Windows-приложения на своем смартфоне и планшете
- Содержание статьи
- Xakep #214. Приручаем WAF’ы
- Рабочий стол
- Тесты приложений
- Настройки
- Проблемы
- Заключение
Windows Subsystem for Androidв„ўпёЏ
Windows Subsystem for Androidв„ўпёЏ enables your Windows 11 device to run Android applications that are available in the Amazon Appstore.
If you’re a developer interested in targeting Windows desktop devices and optimizing for the Windows operating system, this guide is for you. Learn how to:
- Set up your development environment, including prerequisites, installing the Amazon Appstore, and using the Settings app.
- Handle input compatibility considerations for Windows devices, such as: keyboard input, mouse input, and window management and resizing.
- Test and debug your app on a Windows 11 device.
- Submit apps to the Amazon Appstore: Your app must be available in the Amazon Appstore to run on Windows 11 devices.
Set up your development environment
To test your Android app in the Windows desktop environment, a bit of set up will be required.
Prerequisites
Windows Subsystem for Android is currently only available through preview via the Beta and Dev Channels of the Windows Insiders Program (Windows 11 Build 22000.xxx series) in the U.S. only.
Your device also must meet specific Windows 11 requirements. Check the «Windows Subsystem for Android» section under «Feature-specific requirements» on the page: Find Windows 11 specs, features, and computer requirements.
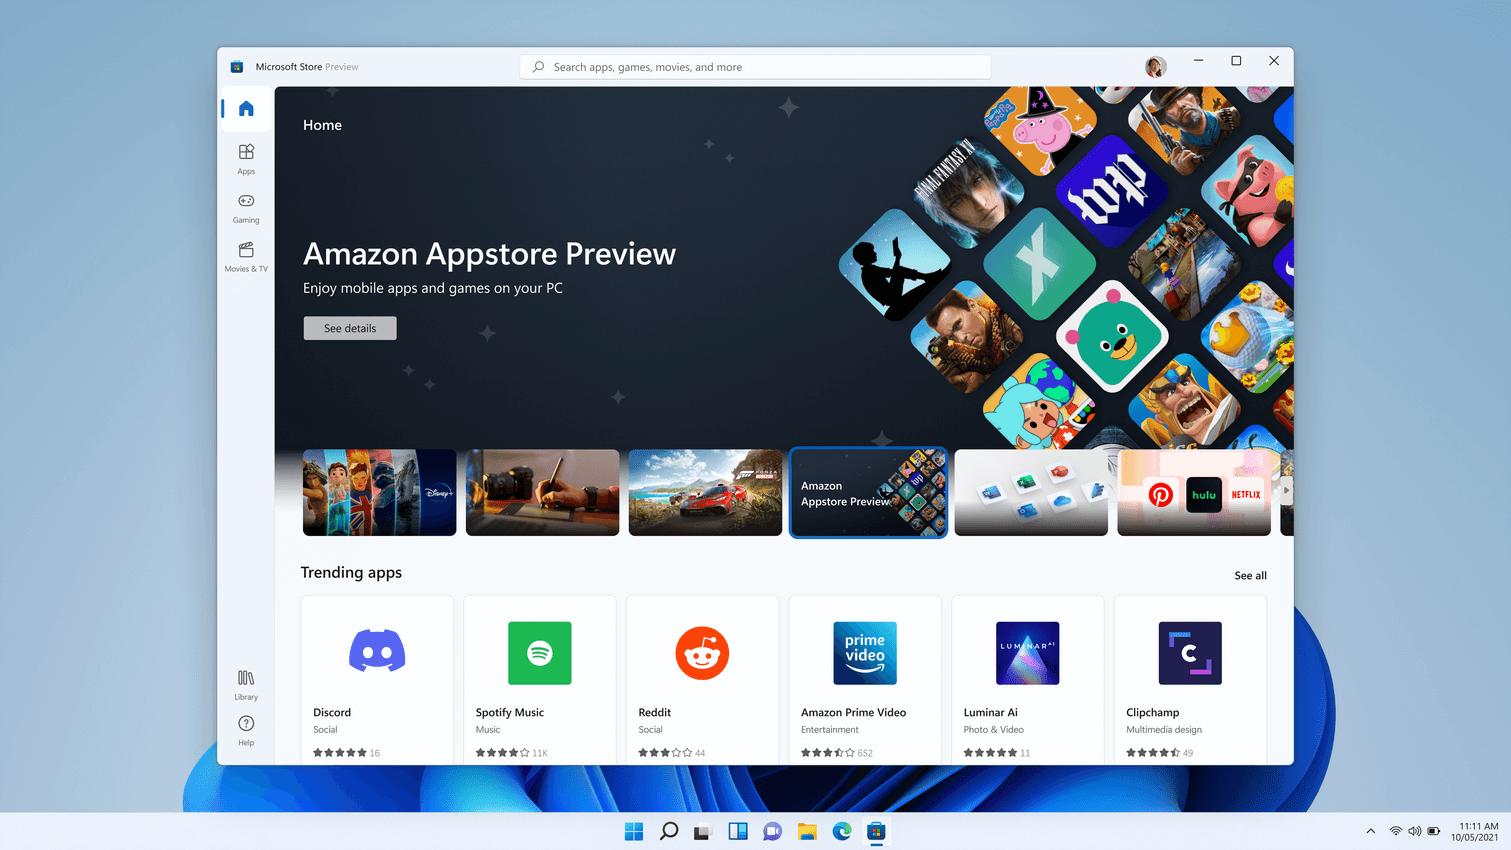
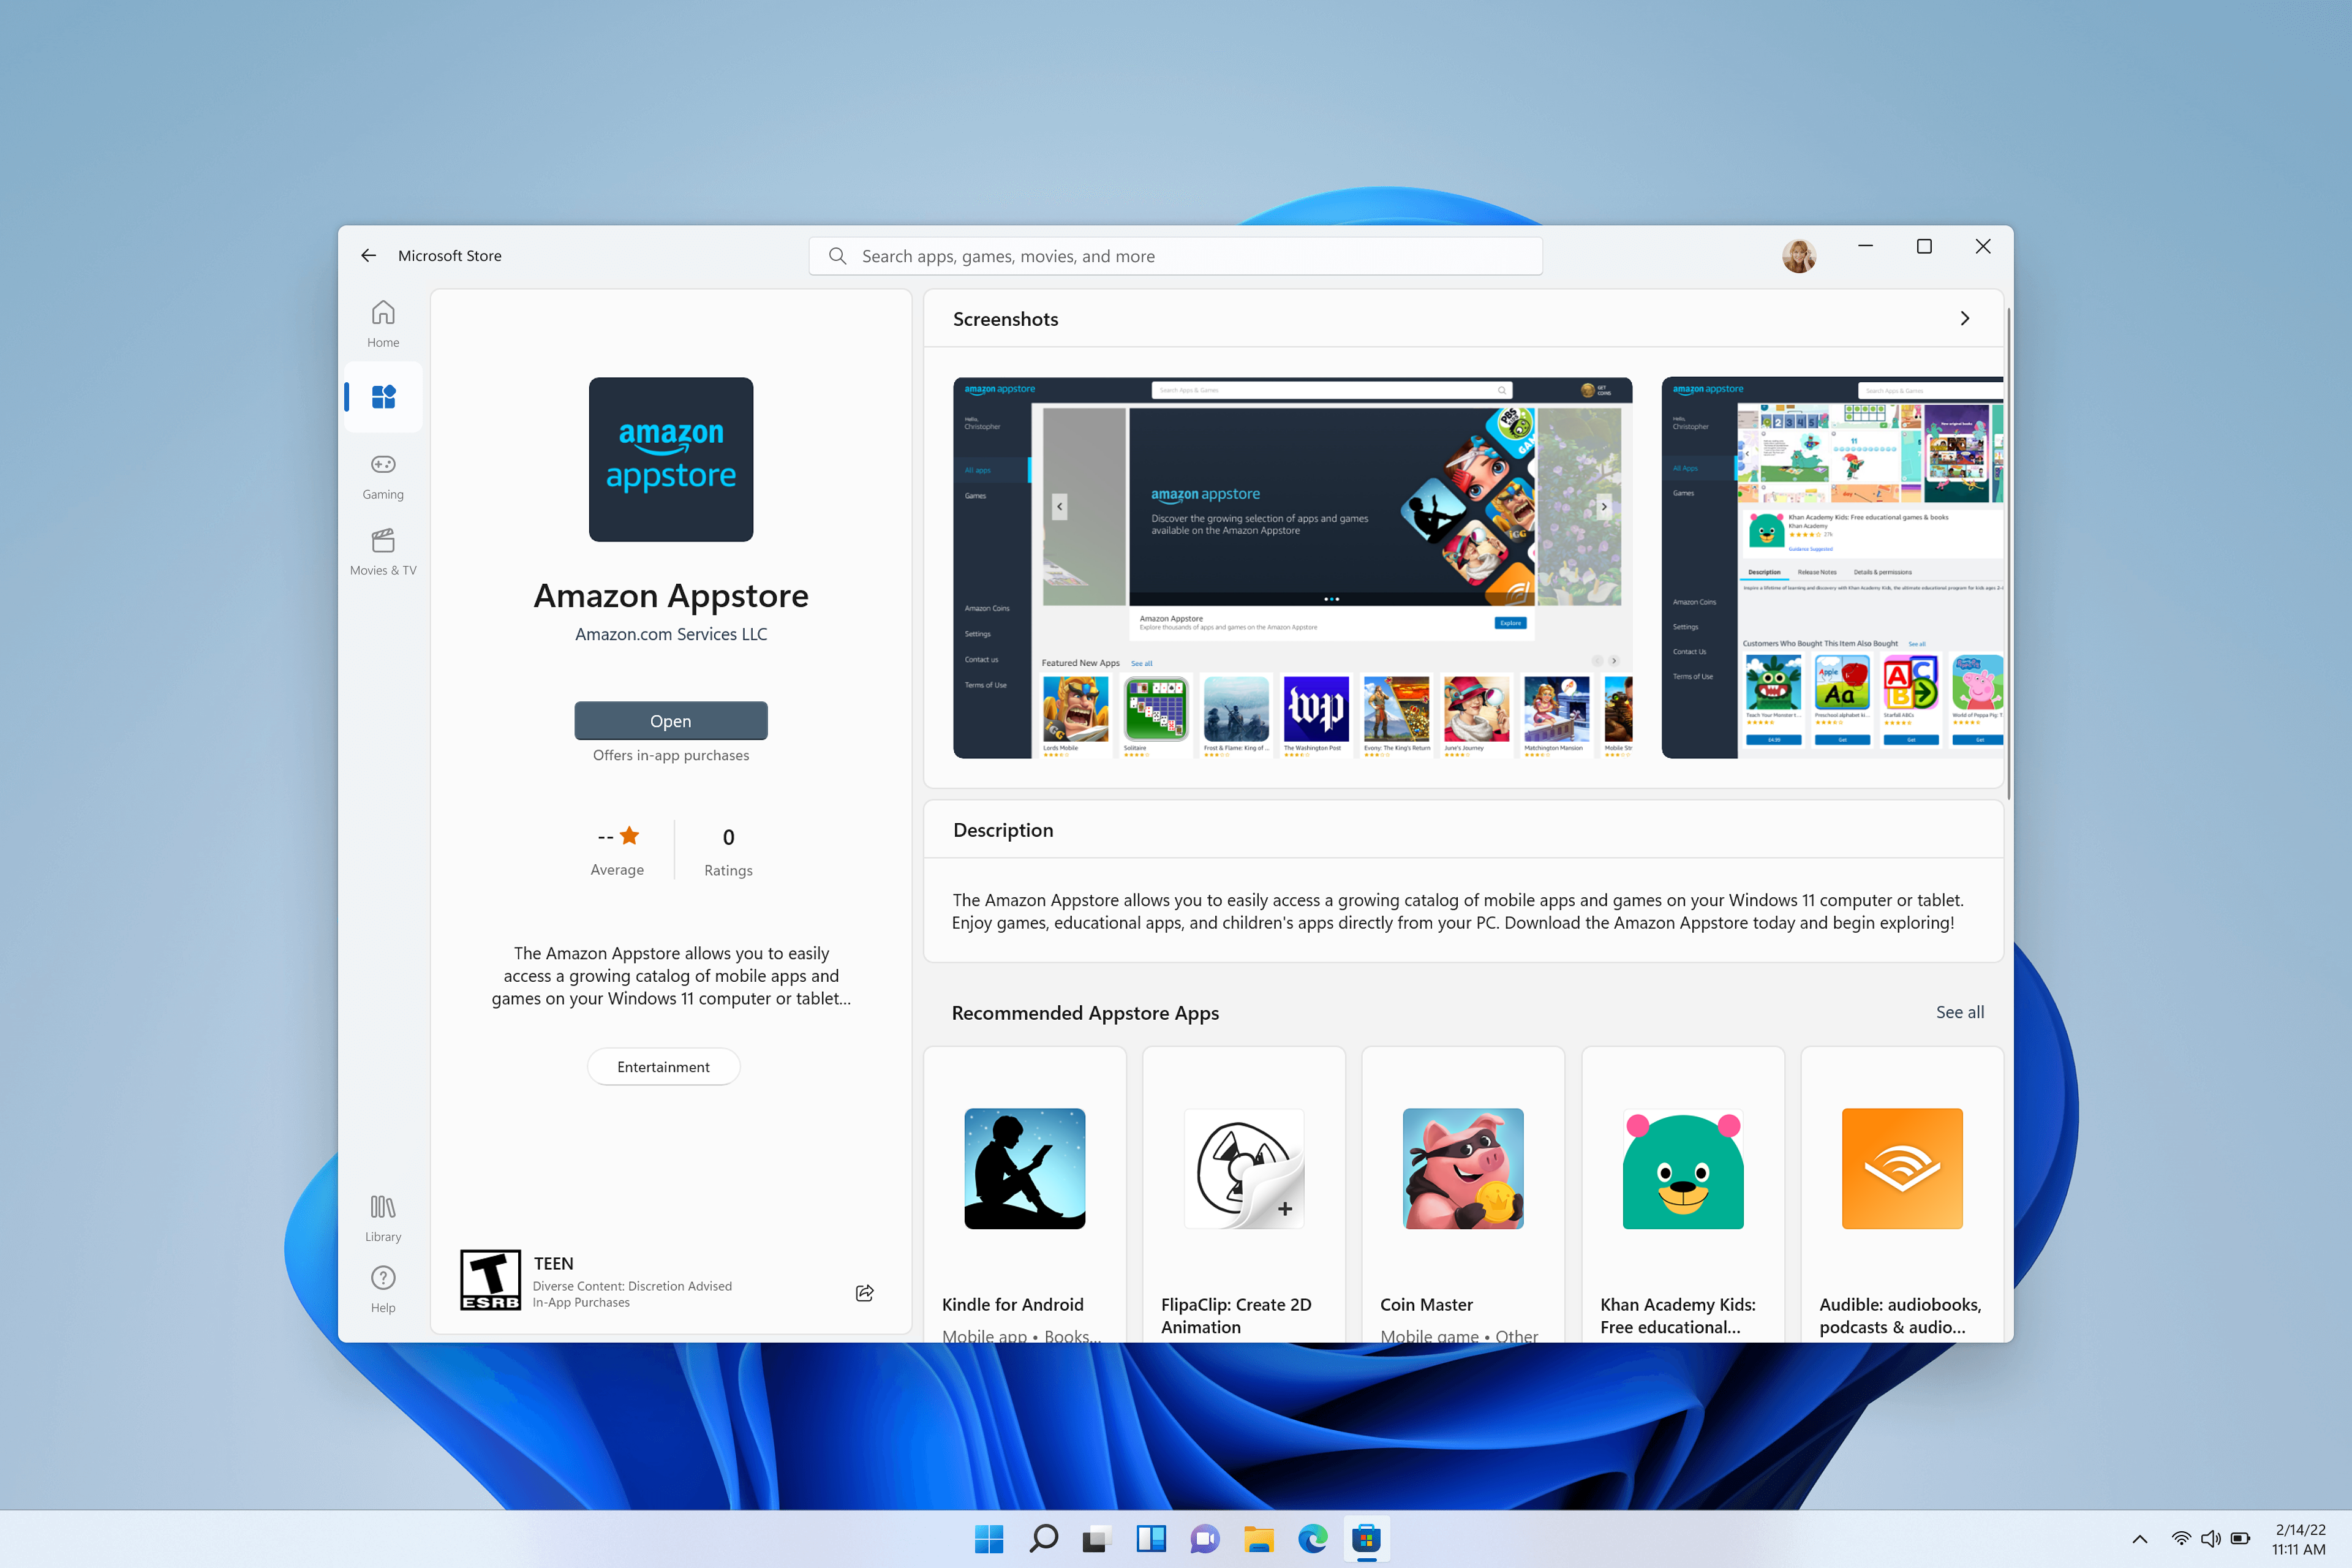
Install the Amazon Appstore
The Microsoft Store will automatically install Windows Subsystem for Android (running Android 11) silently in the background when either of the two following user actions are taken:
- Install the Amazon Appstore from the Microsoft Store.
- Install an Android or Amazon app from the Microsoft Store for the first time, which will also install the Amazon Appstore.
The Amazon Appstore will then appear in the Windows 11 Start menu and be available on search, offering a curated catalogue of Android apps.
Selecting Get will begin the installation of the app. The app will also appear in Windows Start, Search and in the Windows Programs list.
Settings app
To access the Windows Subsystem for Android Settings app, go to: Start > All Apps > Windows Subsystem for Androidв„ўпёЏ. The Settings app can be used to adjust the following settings:
Subsystem Screen Reader
If touch input isn’t working, make sure the Subsystem Screen Reader is turned off. For more info, see Microsoft Support: Accessibility on Windows Subsystem for Android.
Subsystem resources
As needed: When this is selected, the subsystem will open when a mobile app is opened. Since the subsystem needs to open first, the mobile app might take a little longer to open. Mobile apps opened after the first one might not be affected.
Continuous: The subsystem is always ready to open apps. Since it’s always open in the background, it will use more of your PC’s memory and processing power.
Enable developer mode
To test and debug your app on a Windows 11 device, you will need set Developer Mode to On.

Input compatibility considerations for Windows devices
There are a few unique input behaviors to consider that will likely require updates to your Android app code, designed for handheld devices, to be compatible when running on a Windows desktop device via the Amazon Appstore.
Keyboard input
For text input fields handled by an on-screen virtual keyboard input method (or IME), such as EditText , apps should behave as expected. (EditText class in the Android docs).
For keystrokes that cannot be anticipated by the framework, apps will need to handle the behavior themselves. If this is already implemented in-app, no extra work is required.
As an example, some games may already support movement facilitated via keyboard, through w a s d keys, alongside touch input.
The following are keyboard inputs that developers should consider code updates for when building for Windows 11 devices:
- Enter Key
- Arrow-key and Tab-key Navigation
- Change Selected Item Highlight Color
- Ctrl-based Shortcuts
Learn more about how to optimize for these keyboard input scenarios on desktop devices by following the Android documentation:
Mouse input
Developers should consider updating code for the following mouse inputs when building for Windows devices:
- Right Click
- Tooltips / Hover Text
- Hover Effects
- Mouse Scroll Wheel Action
- Drag and Drop
Mouse input, similar to keyboard input, must follow the official Android app guidelines. This means using the InputDevice class paired with the SOURCE_MOUSE constant. Learn more about how to optimize for these mouse input scenarios on desktop devices by following the Android documentation:
Window management and resizing
Unlike traditional mobile form factors, Android apps running on Windows 11 can be freely resized, should be responsive in their resizing, and can be snapped using Windows actions/gestures.
Minimum screen requirement
Windows 11 enforces a minimum screen requirement of 720p resolution (1280×720) with a >9” screen.
Letter & pillar boxing
When the aspect ratio of a window size does not align between the device screen sizes that window is being displayed on, the result may be Letterboxing (the window is wider than it is high, or horizontally longer) or Pillarboxing (the window is more narrow than it is wide, or vertically longer). The result is bars being placed on the sides of the window in order to center it. These bars may be light- or dark-themed depending on the system settings selected. This will only occur as necessary when the Android app is snapped or maximized, allowing Android apps to take advantage of the rich snapping features in Windows and integrate into the windowing model.

Additional resizing considerations
The following should also be considered when updating an Android app to run on a Windows 11 device with respect to window management and resizing:
- Initial launch size
- Window dimensions
- Content bounds
- Free form resizing
- Screen Orientation
Learn more about how to optimize for window resizing scenarios on desktop devices by following the Window Management guide in the Android docs.
Test and debug
To test and debug your app on a Windows 11 device using the Windows Subsystem for Android the following set up steps are required.
Enable developer mode in Windows Settings
You must first enable developer mode in Windows Settings. There are three ways to enable developer mode:
- Open the Windows Subsystem for Android Settings app. Once open, select Enable Developer Settings.
- Search for “Developer Settings” in Windows search.
- Navigate to Settings > Privacy and Security > For developers > Developer mode.
Connect to the Windows Subsystem for Android for debugging
To connect to the Windows Subsystem for Android VM for debugging, you have two options:
Recommended Method:
- Use localhost for connecting to debugging. The IP address of the localhost is: 127.0.0.1:58526 . Windows Subsystem for Android must be running in order to connect, the best way to launch Windows Subsystem for Android is by launching an Android app that was installed with the Amazon Appstore.
- To connect to the localhost address of Windows Subsystem for Android, enter: adb connect 127.0.0.1:58526
Alternative Method: Use the Windows Subsystem for Android Settings app to get the IP address.
- Launch the Settings app. (Use Windows Search to select and launch.)
- The IP address will be displayed under the IP address section. If there is no IP address being displayed, launch an Android app that was installed using the Amazon Appstore, then select Refresh on the IP address button in the Settings app.
Now that you have the IP address to connect to the Windows Subsystem for Android VM, connect using adb connect:
Connect to a test device
To connect to a test device (with Windows Subsystem for Android installed) on the same network from Windows/Mac:
On the test device (where Windows Subsystem for Android is installed) open a PowerShell window and identify the IP address of the test device by running the command:
Using the debugging device terminal where Android Studio and the Android SDK is installed (Mac/Windows), enter the command:
The can be found in the output of «ipconfig» from the test device. You can also deploy and debug apps from Android Studio.
To use Android Debug Bridge (ADB) to connect your development workstation directly to your Android device so you can install packages and evaluate changes, see Android Debug Bridge in the Android Open Source Project docs.
Debug your app
While apps should be installed using the Amazon Appstore, debugging an Android app on a Windows device is possible using an APK (Android application package) and adb (Android Debug Bridge).
To debug an APK using adb:
Follow the steps to connect to the Windows Subsystem for Android VM above.
Install the APK using the adb install command: adb install app-debug .apk
A successful “app installed” notification will appear in the Windows notification menu and the app will launch once selected.
VM lifecycle considerations
Windows Subsystem for Android utilizes a virtual machine (VM) which provides compatibility with the AOSP framework and devices like keyboards, mice, touch, pen, etc.
There are three possible states for the VM running apps with Windows Subsystem for Android:
- Running
- Lightweight Doze: Activated after no app activity for 3 minutes. Deactivated by user activity or an app notification.
- Not Running: Activated after no app activity for 7 minutes.
Transitions between these states are triggered by user activity, such as launching or interaction with the Android app or an app notification. Android apps are paused and then stopped when their window is minimized.

VM Properties
The properties for the Windows Subsystem for Android VM are listed below. Hardcoding these values is not recommended as that could cause future incompatibilities.
| Property | Value |
|---|---|
| Build.MANUFACTURER | Microsoft Corporation |
| Build.MODEL | Subsystem for Android |
| Build.VERSION.SDK_INT | 30 |
| Build.BOARD | windows |
Security
Windows Subsystem for Android performs per-file encryption that is software-based.
Both Windows kernel-mode drivers and Windows applications running at medium integrity level (IL) can inspect arbitrary Android containers and Android app memory. There are no plans to add detection for cheats/macro/bot/suspicious behaviors detection in the short-term.
Developers querying getSecurityLevel will get SECURITY_LEVEL_SW_SECURE_CRYPTO . Learn more about getSecurityLevel in the Android API Reference guide.
Amazon Appstore
In order to be available on a Windows 11 device, an Android app must be published to the Amazon Appstore. Currently, only a small set of apps selected by Microsoft and Amazon are available.
Developers should refer to the Amazon Device Targeting guidance for information on targeting APKs to specific devices.
Troubleshooting issues with Amazon Appstore
If you encounter issues specific to the Amazon Appstore on Windows, try the following troubleshooting steps:
- Select Windows search from the Windows task bar.
- Search for “Amazon Appstore” and right-click on the Amazon Appstore icon.
- Select “App Settings” in the dropdown options.
- Select “Storage and Cache” and click both “Clear Storage” and “Clear cache”.
- Go back and select “Force Stop”.
- Close the Amazon Apptore Settings window.
- Relaunch the Amazon Appstore.
For further troubleshooting steps relating to the Windows Subsystem for Android Settings app or to leave feedback using Feedback Hub, see Troubleshoot mobile apps on Windows.
Building Universal APKs
Windows Subsystem for Android utilizes Intel Bridge Technology to emulate ARM applications on x86 based processors. ARM applications will of course run on ARM based processors natively. The emulation layer will induce a performance overhead – for optimal performance, please submit your application for both the x86-64 and ARM64 architectures.
Uninstalling Windows Subsystem for Android
You can uninstall the Windows Subsystem for Android, but note that all associated apps will also be uninstalled.
- Uninstalling the Amazon Appstore will uninstall the Windows Subsystem for Android and all other Amazon apps.
- Uninstalling an Amazon Appstore app will only uninstall the app (same behavior as Windows apps).
- Uninstalling the Windows Subsystem for Android will uninstall the Amazon Appstore and all Amazon apps.
Источник
Wine для Android. Запускаем настольные Windows-приложения на своем смартфоне и планшете

Содержание статьи
Wine, позволяющий запускать приложения для Windows в Linux и UNIX-системах, существует уже более двадцати лет. Последние версии Wine справляются с этой задачей настолько хорошо, что с его помощью можно работать с большинством популярных приложений и играть почти во все игры, поддерживающие DirectX 9. Недавно появился Wine для Android — коммерческая версия CrossOver. И мимо этого события мы, конечно, не могли пройти.
Wine — это рекурсивный акроним Wine Is Not an Emulator («Wine — не эмулятор»). И это действительно правда: Wine — это альтернативная написанная с нуля реализация Win32 API. CrossOver — коммерческая версия Wine, которая предназначена для запуска преимущественно Microsoft Office и игр для Windows на UNIX-совместимых системах и предоставляет все необходимые для этого оптимизации и настройки совместимости. В CrossOver приложения зачастую работают стабильнее и требуют меньше разбирательств с настройками. Другими словами, CrossOver — это улучшенный Wine. И дорогой: разработчики просят за него 50 долларов.
В 2013 году один из разработчиков Wine Александр Жюльяр (Alexandre Julliard) в рамках саммита Free and Open source Software Developers’ European Meeting продемонстрировал предварительную версию программного обеспечения для мобильной операционной системы Android, дающую возможность запускать разнообразные Windows-приложения. Портативных устройств с процессором Intel x86 и Android на борту тогда практически не было, поэтому проект был интересен исключительно как proof of concept.
Однако на этом история не закончилась. В октябре 2015 года компания CodeWaves открыла регистрацию на тестирование CrossOver для Android, куда я с радостью записался. Релиз планировался на конец 2015 года. Но ни в конце 2015-го, ни в начале 2016 года не было никаких вестей. Бета-версия появилась лишь 25 августа 2016 года и пока доступна только тестировщикам. Причем сразу в версии для Android и для устройств с Chrome OS (в которых есть Play Market).
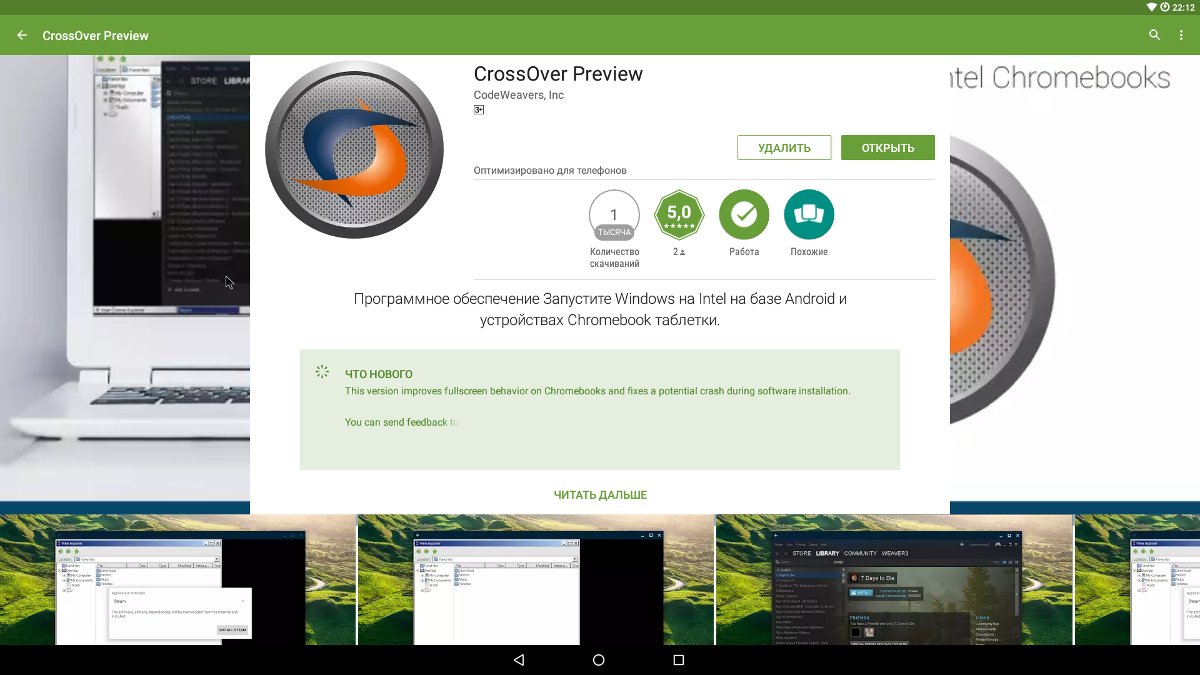 CrossOver в Google Play
Xakep #214. Приручаем WAF’ы
Итак, в этой статье мы посмотрим, что же собой представляет CrossOver для Android.
Характеристики тестового компьютера:
- Процессор: Intel Core i5 4200H
- Видеопроцессор: Intel HD Graphic 4600
- Оперативная память: 8 Гбайт (1600 МГц)
- Диск: SSD ADATA Premier Pro SP920 256 Гбайт (под Android выделено 22 Гбайт)
- ОС: CyanogenMod 13.0 Android x86_64 rc1
- CrossOver: 15.5.0 alpha4
Рабочий стол
Сразу после запуска перед нами предстает рабочий стол с синим фоном. Внизу кнопка «Пуск», в левом верхнем углу красуется надпись CrossOver, а в правом верхнем — главная кнопка Install Application. После нажатия на нее откроется окно с выбором приложения. Причем в самом списке только четыре программы: Steam, MS Office 2007 и 2010, WinZip 14.0, что ввергает в уныние. Но достаточно снять галочку с Only know-good applications, как перед нами предстанет список из более чем сотни программ и игр.
 Рабочий стол
Многие из них можно установить через кнопку Install, но некоторые все-таки придется загрузить отдельно. В списке можно найти довольно интересные игры: Bioshock Infinite, Tomb Raider 2013, Star Wars: Battlefront, World of Tanks, Dota 2, Batman Arckham City. Из программ есть Adobe Photoshop CS3, Adobe Acrobat Reader XI, Autocad 2013, Total Commander. По ссылкам находятся те версии, которые должны обязательно заработать.
Все программы запускаются в окнах. Но при желании их можно свернуть в строку задач, как в Windows. Есть и трей, некоторые программы могут туда сворачиваться и работать в фоне. Количество одновременно запущенных приложений, по всей видимости, ограничивается объемом оперативной памяти устройства.
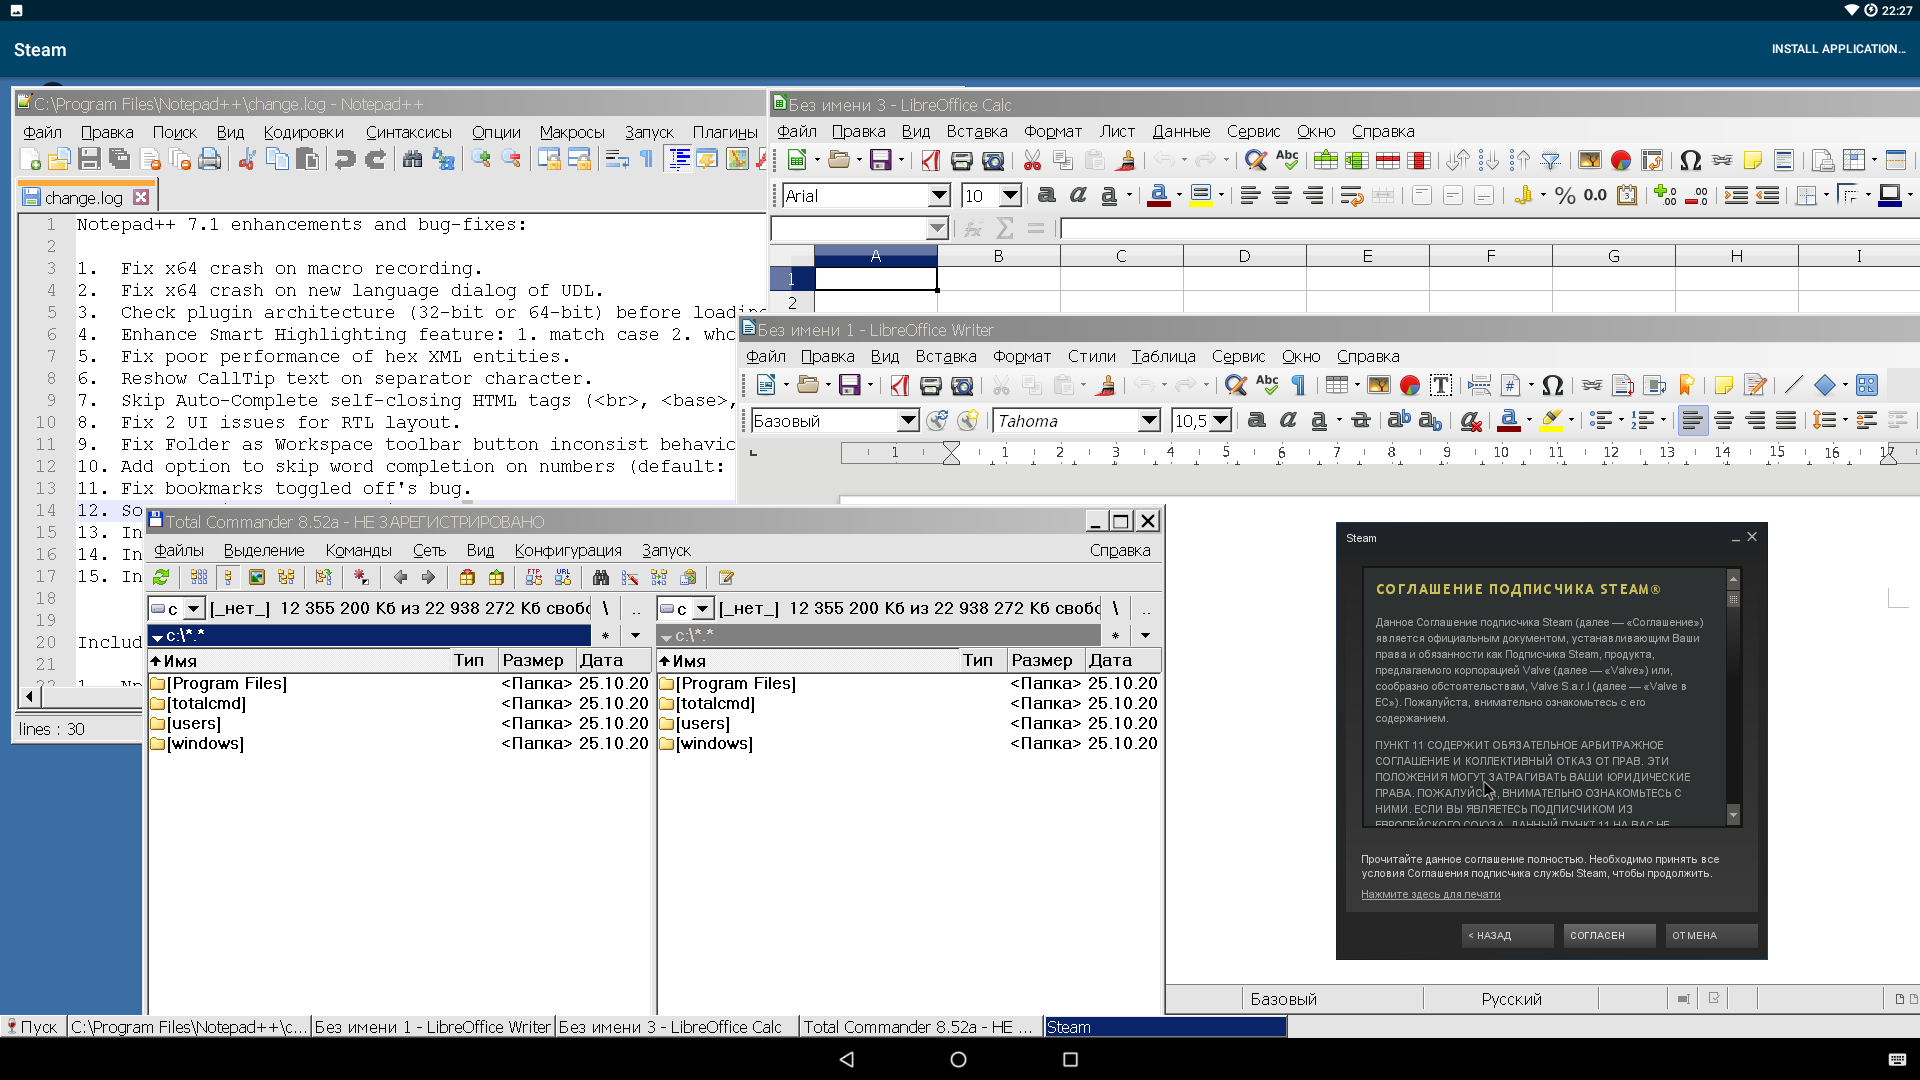 Все приложения запускаются в отдельных окнах
Интеграция с ОС Android просто прекрасна. К примеру, можно открыть браузер, запустить в нем ролик YouTube, нажать кнопку «Домой», и воспроизведение продолжится в фоне. Буфер обмена общий. Можно скопировать текст в приложении Android и вставить в текстовый редактор, запущенный в CrossOver.
Если перейти в «Пуск → Панель управления», то там мы найдем интересные пункты:
- Игровые контроллеры. Настройка джойстиков и переключение между ними.
- Параметры интернета. Настройка домашней страницы для браузера (самого браузера в CrossOver нет, но есть HTML-движок, который могут использовать приложения для показа веб-страниц), управление историей, кешем, файлами cookies. Тут же есть управление сертификатами и настройки безопасности для разных типов интернет-соединений.
- Установка/удаление программ. Название говорит само за себя.
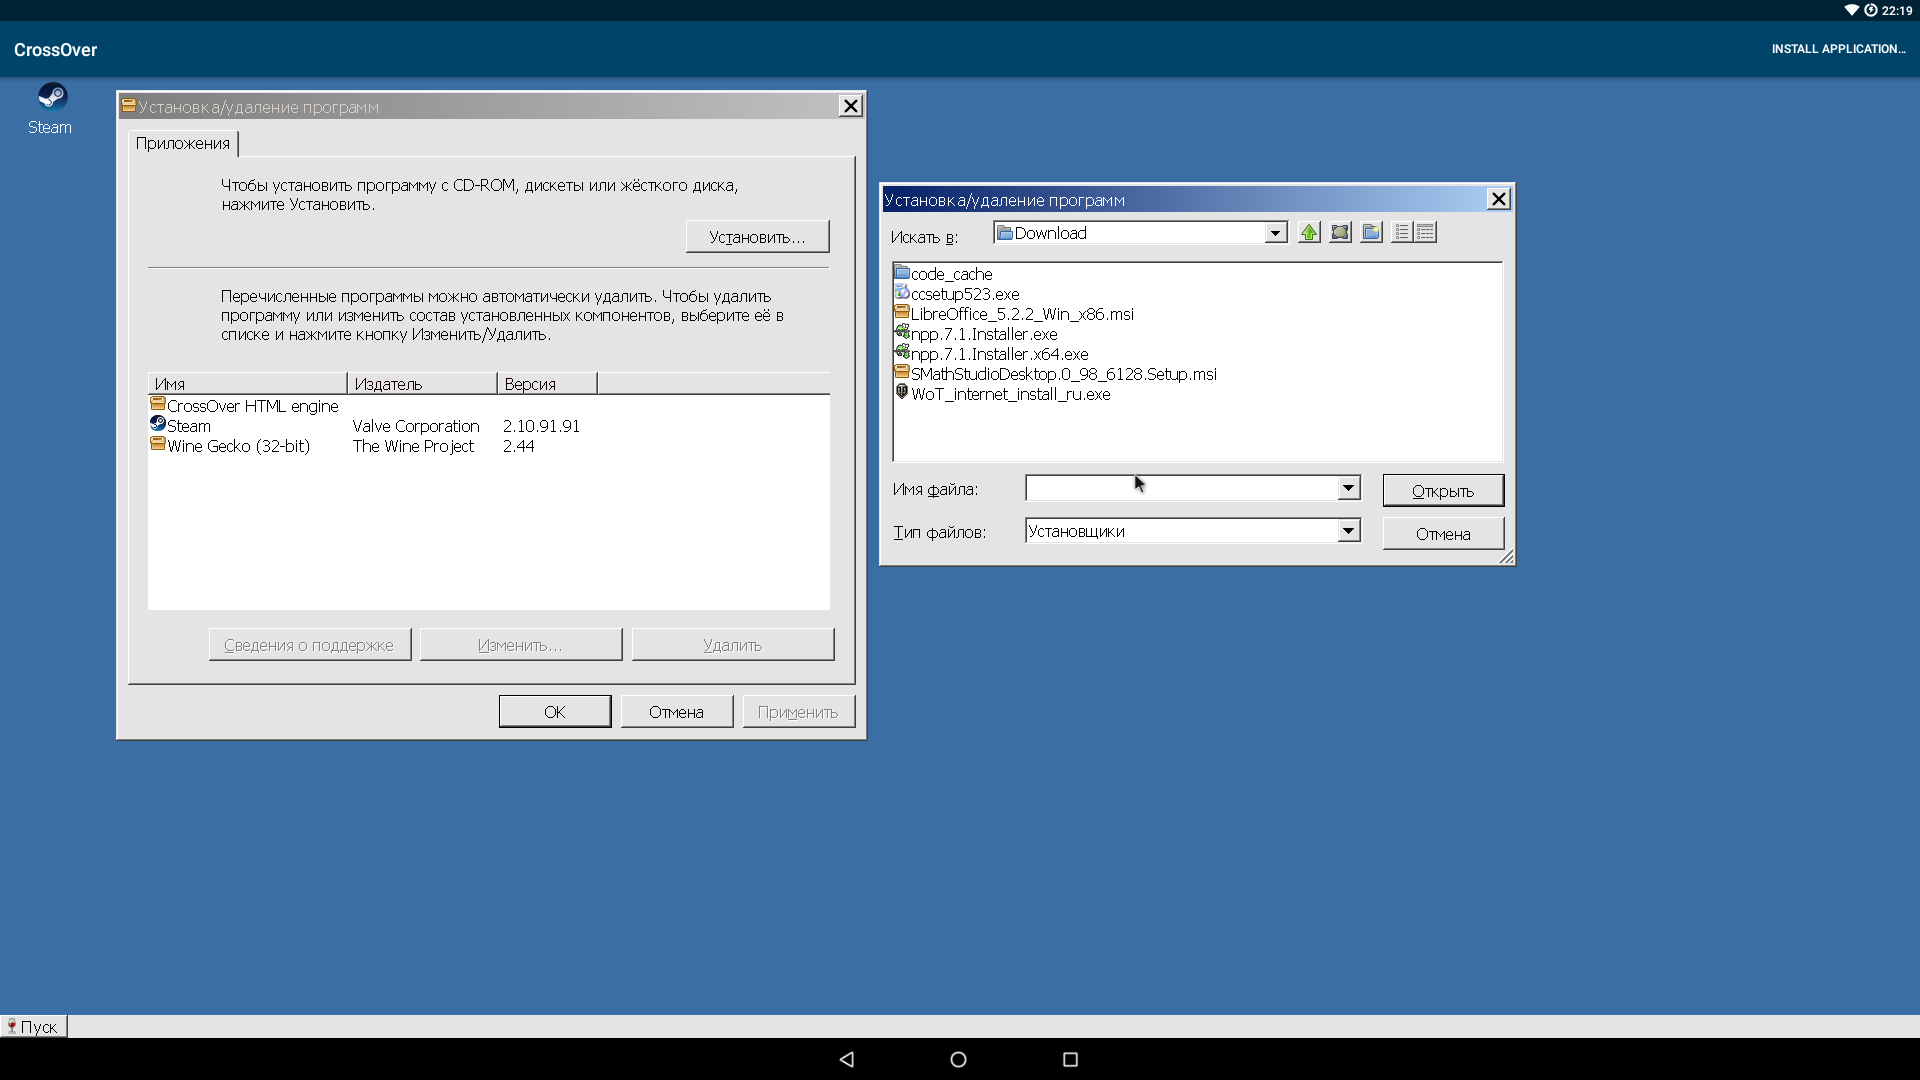 Установка и удаление программ
Команда «Пуск → Запустить. » делает то же самое, что нажатие Win + R в самой Windows, то есть открывает строку запуска. Команда regedit откроет редактор реестра (да, тут есть полноценный реестр), cmd откроет командную строку (bat-файлы работают), explorer — примитивный файловый менеджер.
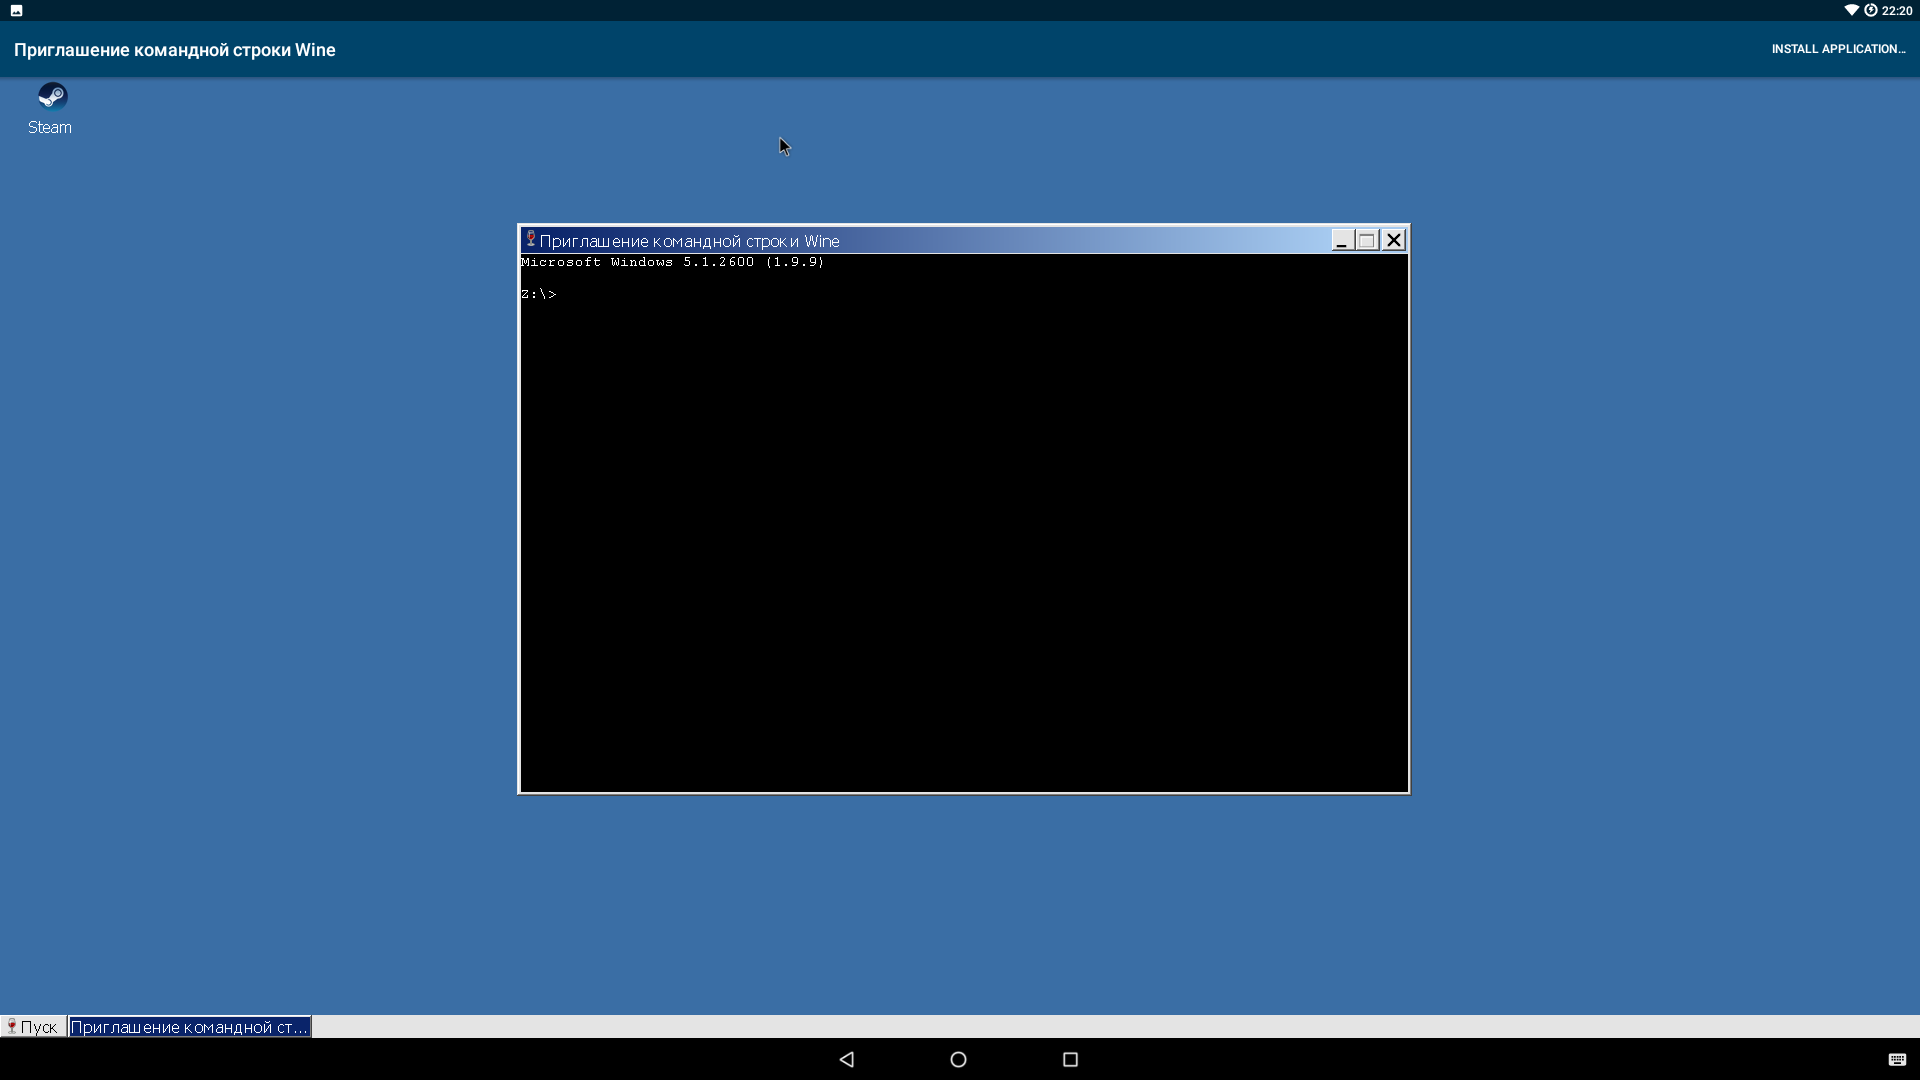 Командная строка
 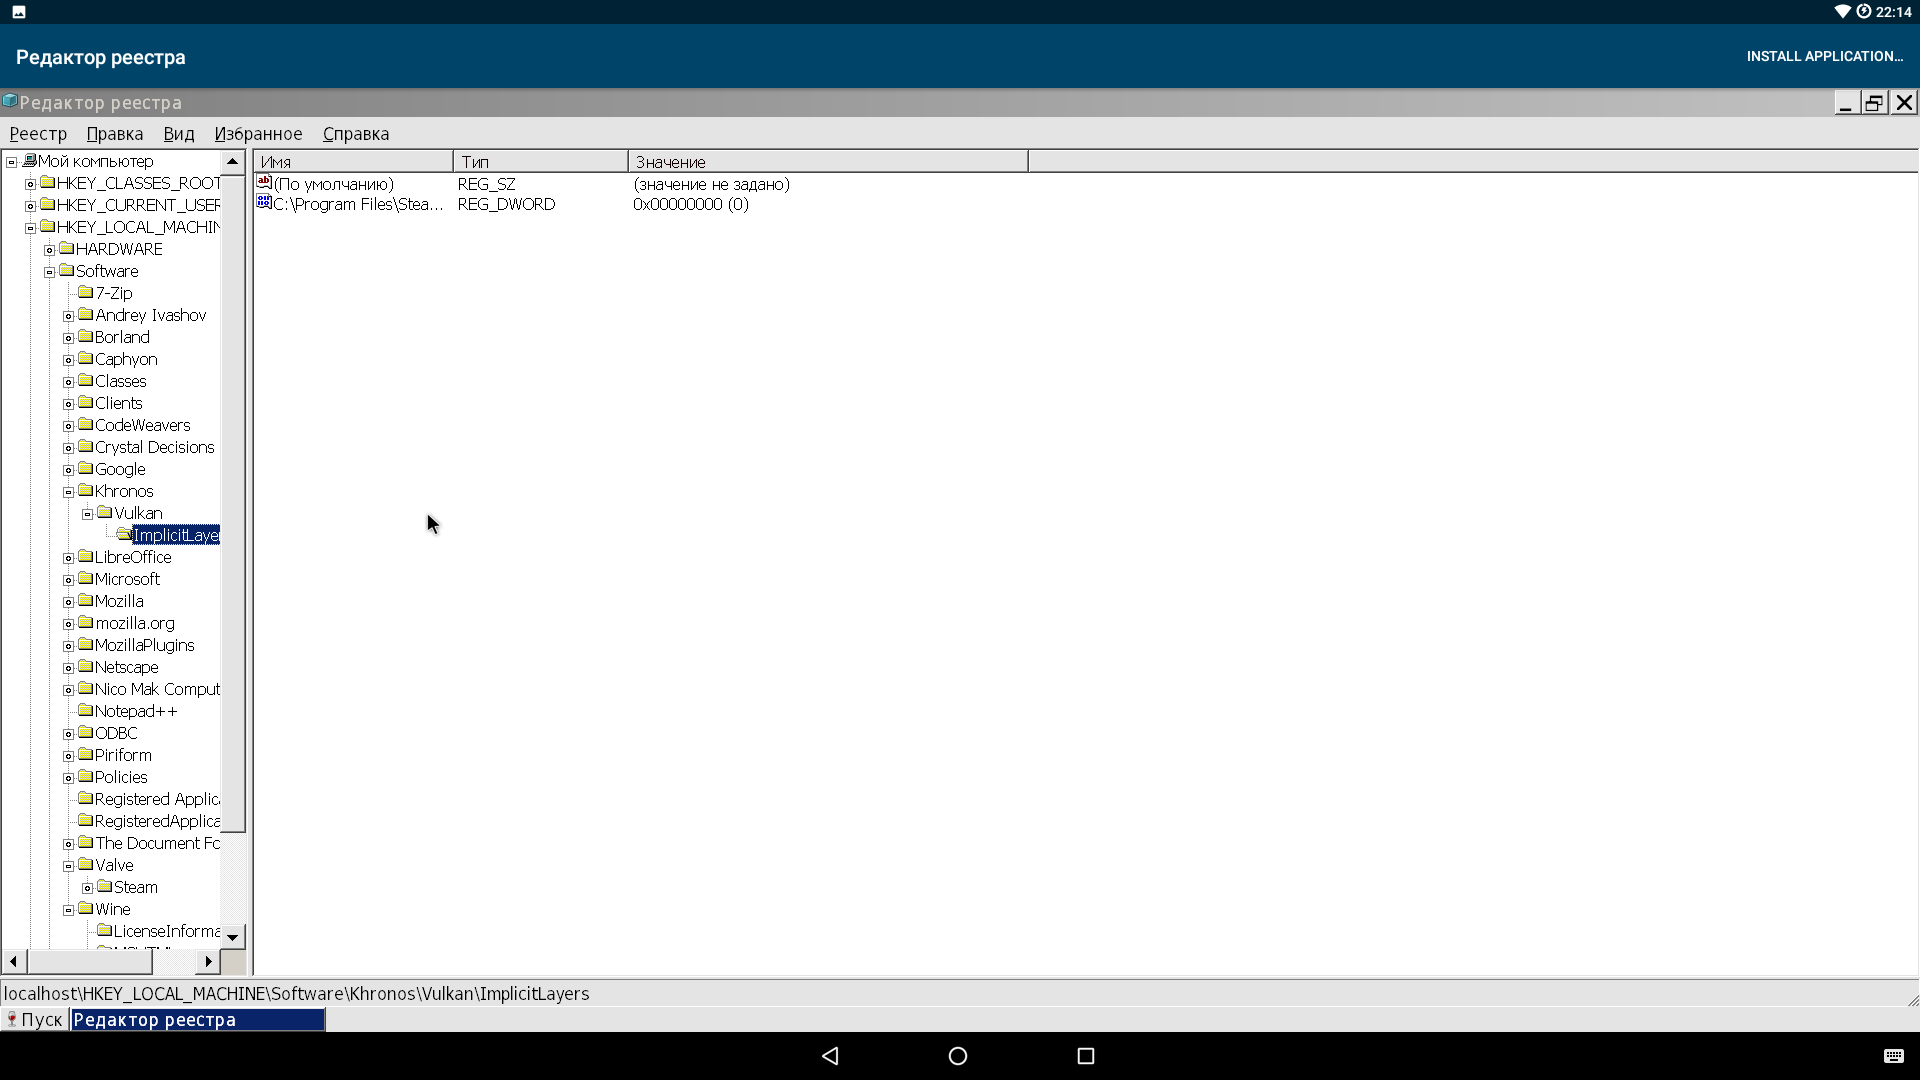 Редактор реестра
Тесты приложений
- Steam. CrossOver предлагает его установить сразу после запуска. Работает прекрасно, без подвисаний и лагов. Можно посмотреть, загрузить, купить любую игру. Какие из них заработают — большой вопрос. Так что придется пробовать.
- Notepad++. Версию x64 установить не получилось. Поддержки x64-программ тут нет. А вот версия для Windows x32 встала, как на Windows. Никаких проблем ни с плагинами, ни с настройками. Только вот на устройствах с очень маленьким сенсорным экраном будут серьезные сложности с управлением.
- SMath Studio. Требует NET Framework 2.0, после установки которой успешно запускается, хоть и имеет проблемы с графикой: не отображаются математические знаки и сетка. Но все вычисления можно выполнять.
- Total Commander. Версию с официального сайта запустить не удалось. А вот версия из репозитория CrossOver (к сожалению, это не самая свежая 8.52а) заработала прекрасно.
- GPU-Z и CPU-Z не заработали.
- AIDA64 выдала ошибку при установке.
- CCleaner. Версию с сайта (5.36) установить не удалось, но из репозитория прекрасно встала версия 3.16.166 (она там единственная) и даже нашла кое-какой мусор.
- Firefox версии 47.02 прекрасно работал, однако после обновления до 49-й версии перестал запускаться.
- LibreOffice. Последняя версия с официально сайта установилась и заработала без каких-либо проблем.
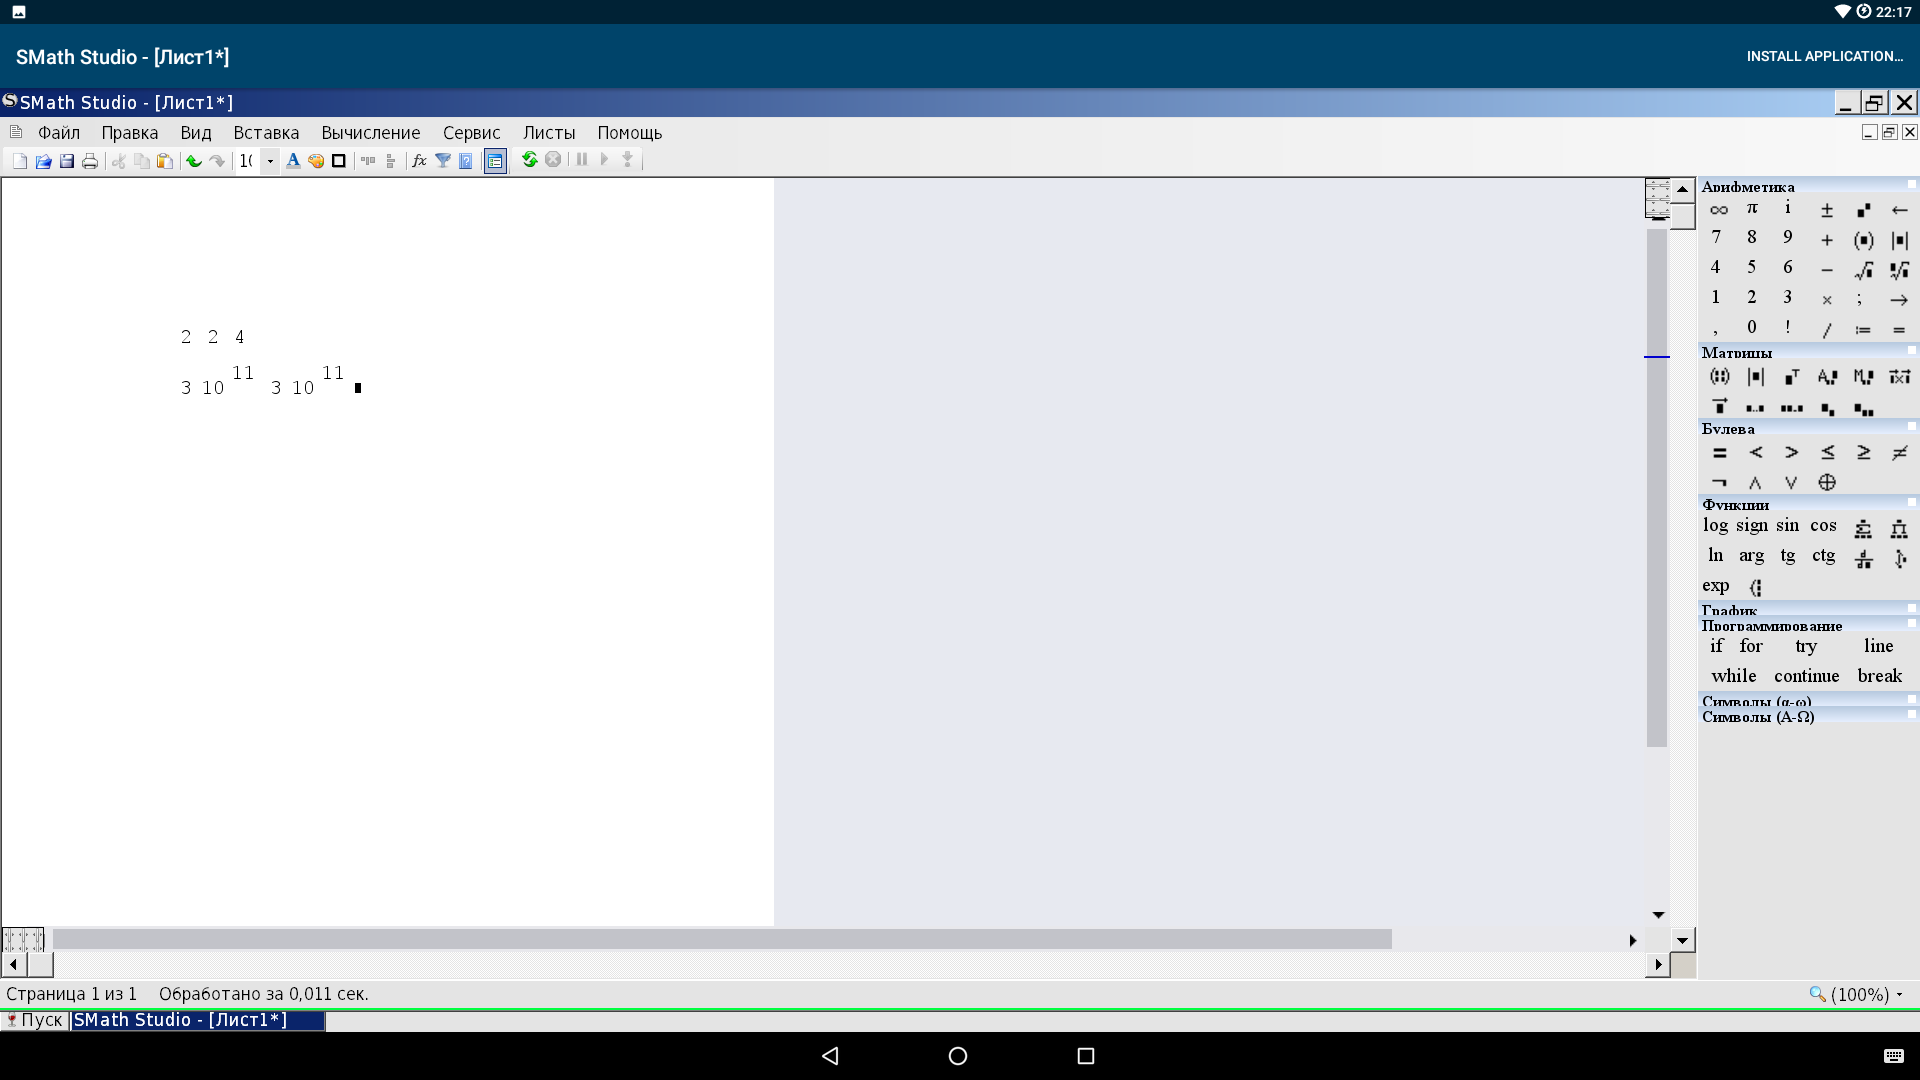 SMath Studio
Официально заявлена поддержка MS Office 2010. А в репозитории можно найти даже версию 2013 года (основываясь на опыте, скажу, что 2016-й офис вряд ли заработает). Также пока что не заработает Mathcad, Wolfram Mathematica и другие сложные и сильно интегрированные в систему приложения.
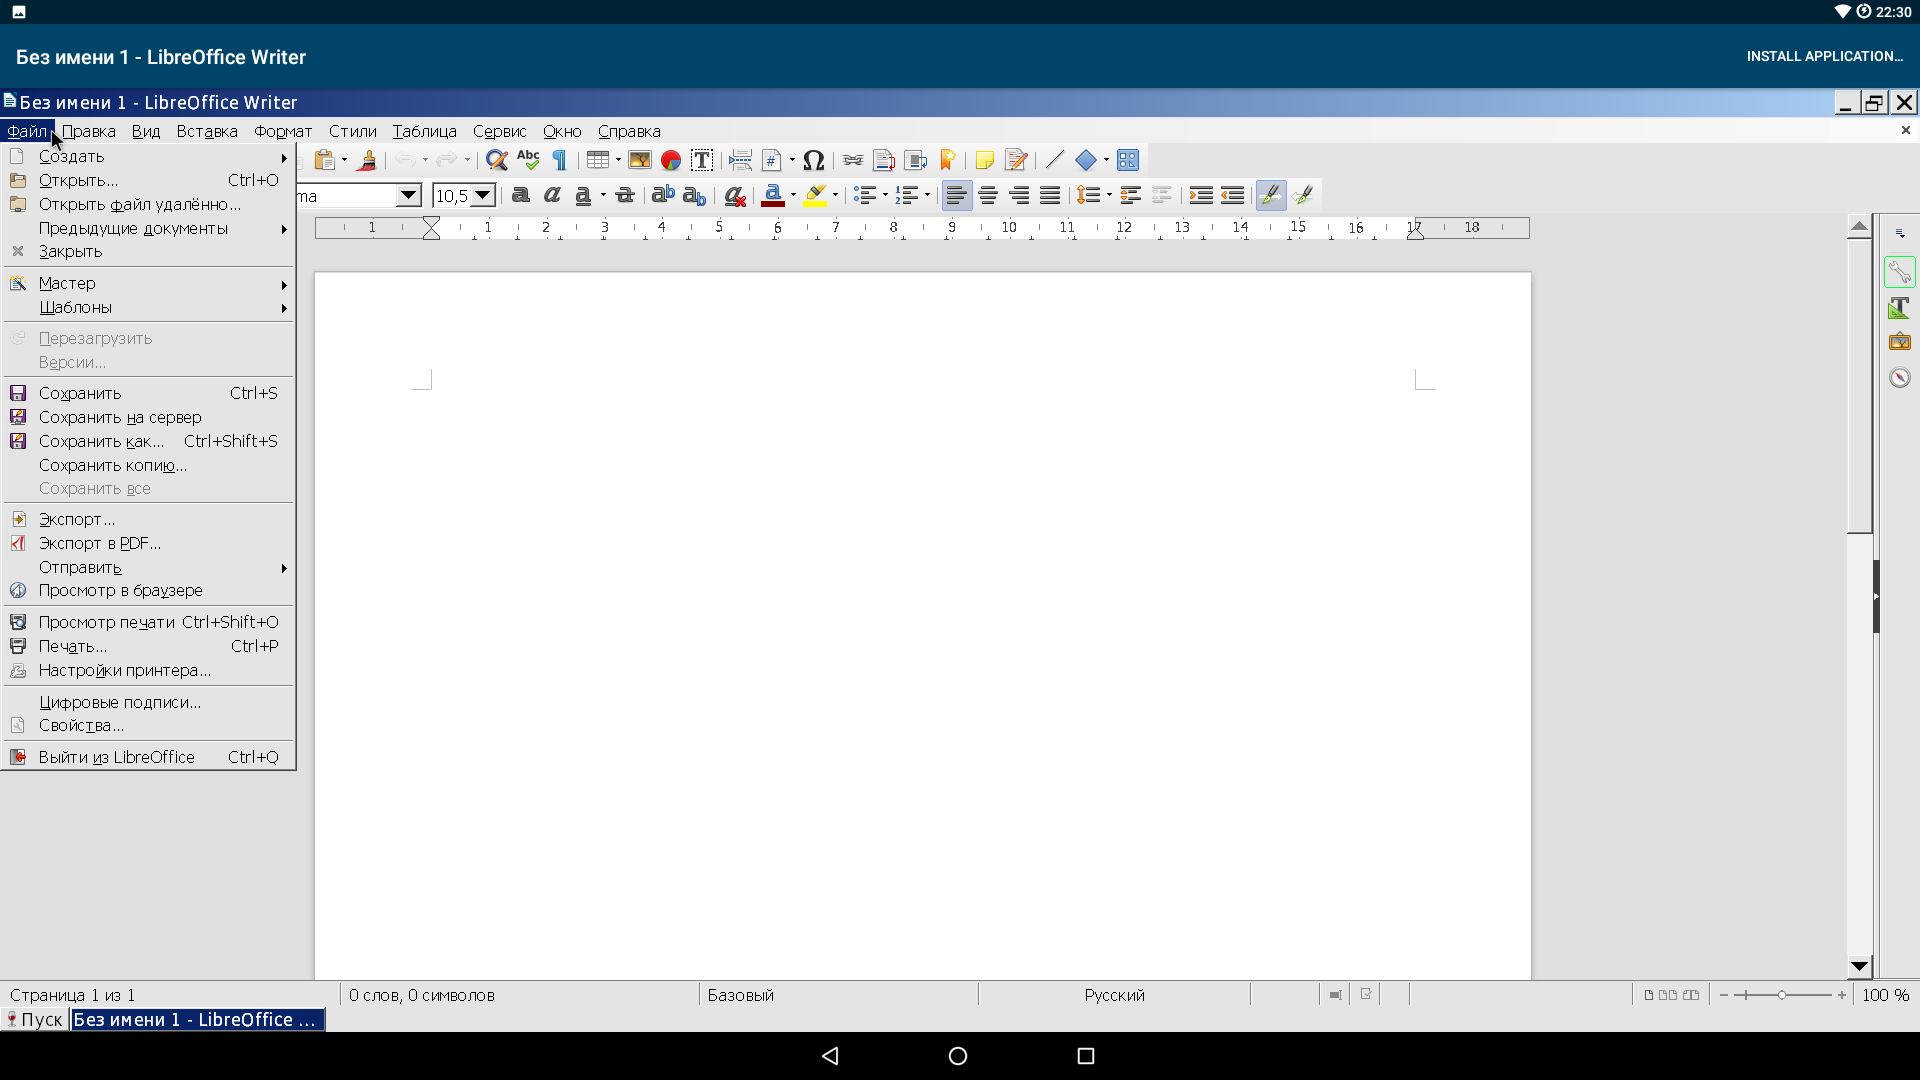 LibreOffice
WOT Blitz из Steam запустить не удалось, хотя нативная версия игры для Android работала прекрасно. Установщик десктопной версии World Of Tanks тоже не удалось запустить. А версия, предлагаемая для установки самим CrossOver, предназначена для европейского сервера. Кстати, даже в ней мне не удалось найти в инсталляторе кнопку «Установка».
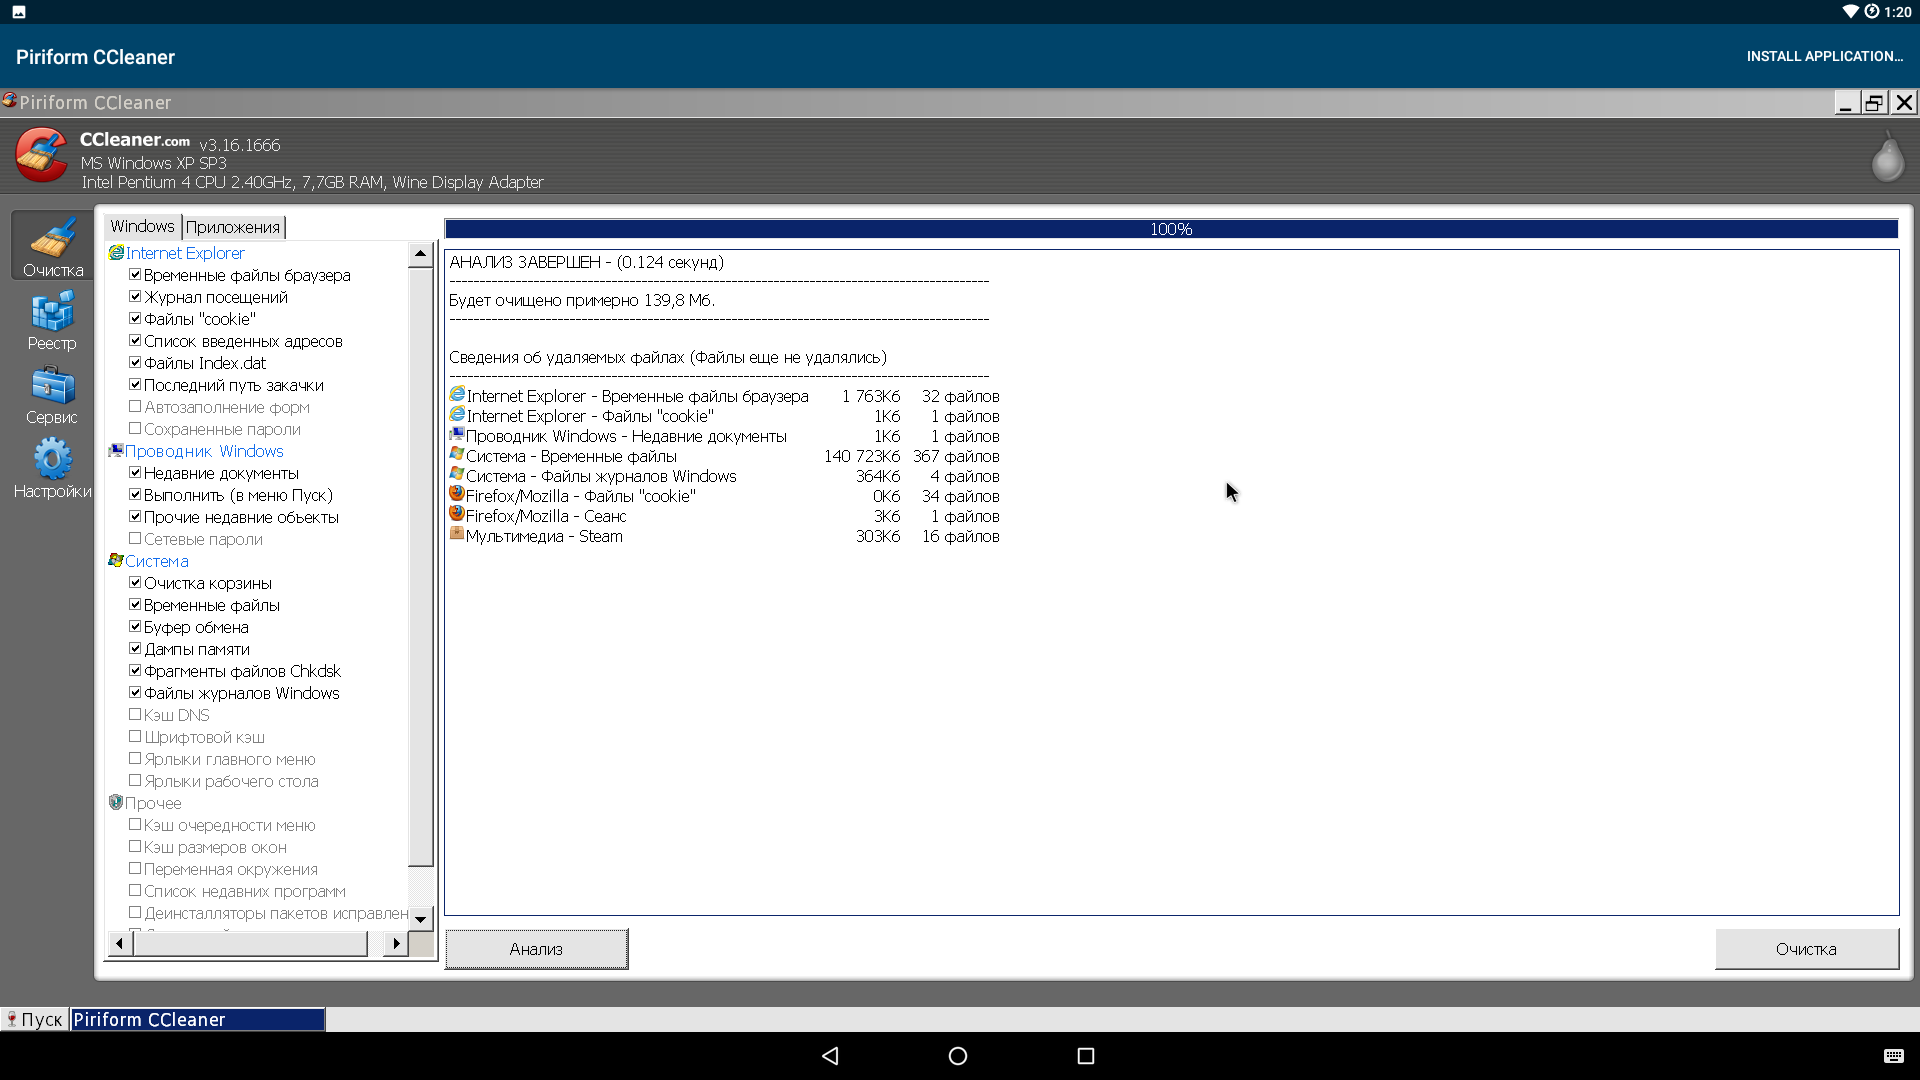 CCleaner
Настройки
Открыть настройки можно, если последовательно кликнуть на «Пуск → Builtin Tools → Wine Configuration». Тут все точно так же, как в стандартном Wine для Linux:
- Приложения. Здесь можно выбрать версию ОС Windows, которую CrossOver передаст приложению для своей идентификации. Выбор доступен как для каждого приложения по отдельности, так и для всех сразу. Поставить можно все версии от Windows 2.0 до Windows 10! По умолчанию установлена Windows XP. После переключения на Windows 10 перестал работать Steam. Других изменений замечено не было. Настройки версии Windows можно применять отдельно для каждого приложения.
- Библиотеки. Настройки стандартных DLL-библиотек Windows. Для каждой библиотеки доступен выбор из двух версий «Встроенная (Wine)» и «Сторонняя (Windows)». Смысл здесь в том, что встроенные библиотеки Wine нередко реализованы не полностью и могут быть несовместимы с некоторыми приложениями. В этом случае можно скачать родную библиотеку Wine, положить ее в виртуальную папку C:\windows и выбрать эту библиотеку как стороннюю. Узнать о том, какие библиотеки могут требовать те или иные приложения и игры, можно в базе совместимых приложений Wine.
- Графика. Тут есть настройки шрифта, перехвата мыши окнами, а также некоторые другие параметры графики.
- Вид и интеграция. Тут есть настройки тем (правда, во встроенном каталоге тем вообще нет). А еще тут можно самостоятельно настроить множество параметров, например цвет рабочего стола, рамки окна, шрифт. Фактически это инструмент для создания собственных тем. Также тут можно поменять папки, используемые для документов, музыки, картинок, видео. По умолчанию они очень интересно интегрированы с Android-окружением. Даже менять не хочется.
- Диски. Создание и редактирование виртуальных дисков. По умолчанию есть диск C (системный, находится где-то внутри самого приложения) и диск Z, который ссылается на корневой каталог (/). Так что, если необходимо установить приложение с карты памяти, нужно открывать папку Z:\sdcard .
- Аудио. Настройка устройств ввода и вывода звука и проверка их работы.
 Настройки графики
Также в меню Builtin Tools можно найти:
- Command Shell — командная строка. Правда, в ней нет почти никаких функций;
- Notepad — блокнот из Windows;
- File Explorer — примитивный файловый менеджер.
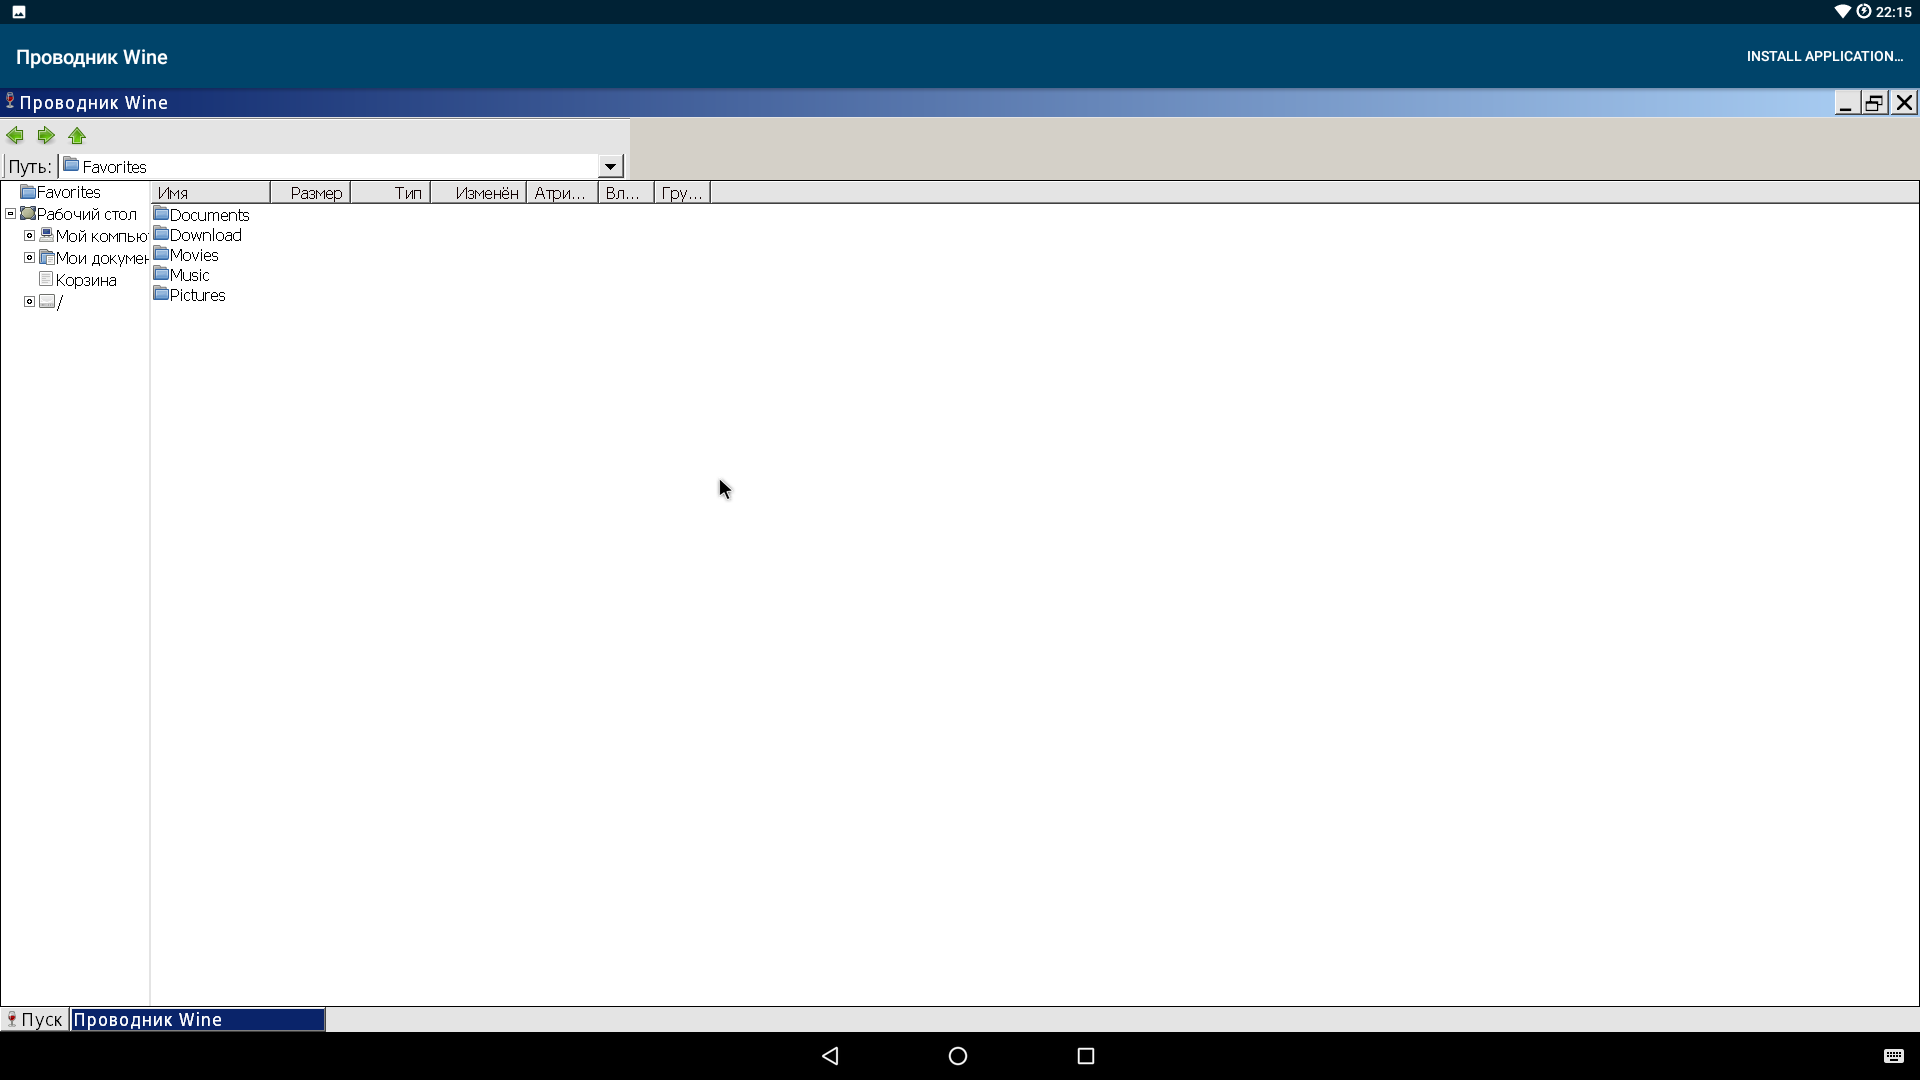 Файловый менеджер
Проблемы
- Запуск CrossOver возможен только на процессорах x86. Так что даже самые мощные устройства на ARM в пролете.
- Нет поддержки x64-программ, несмотря на то что версия Android для x64-процессоров существует.
- Отсутствует поддержка полноэкранного режима для всех приложений (неизвестно, как убрать строку с названием CrossOver и пунктом перехода в репозиторий приложений).
- Поддержка только DirectX 9. В ближайшем будущем разработчики обещают добавить поддержку DirectX 10 и 11. А вот DirectX 12 вряд ли вообще будет доступен в ближайшие годы.
- Объем памяти — тот же MS Office занимает около 3 Гбайт на диске. А если поставить Adobe Photoshop, Audition, Mathcad, то места останется слишком мало. Даже в аппарате с 32 Гбайт памяти.
- Большинство программ, доступных через каталог CrossOver, на английском языке и/или представляют собой европейские версии без русской локализации, привязанные к евросерверам.
- Нет диспетчера задач. Это несколько затрудняет управление процессами.
- Эмуляции джойстика, как, к примеру, на эмуляторах игровых приставок, нет. Так что на устройствах с сенсорным экраном без джойстика вряд ли получится во что-то поиграть.
- Многооконный режим работает только в пределах CrossOver. Так что оптимизации для Remix OS и Chrome OS пока еще нет.
Заключение
Проект Wine для Android сейчас, к сожалению, вряд ли сможет заменить устройства на базе десктопной Windows. Но некоторые полезные и интересные приложения запустить получится. Проект все еще в стадии закрытого бета-теста, так что к релизу, я думаю, многие недочеты будут устранены, а список работающих программ расширится в несколько раз. Также можно надеяться, что в релиз войдет поддержка DirectX 10/11 и Vulkan API.
Омрачает картину только то, что на мобильном устройстве от десктопных приложений не так уж и много толку. А играть в игры получится только при наличии джойстика или мыши с клавиатурой. Еще больше масла в огонь подлила компания Intel, когда ушла с рынка смартфонов.
Источник


