Building and Deploying a Rust library on Android
Following on from the last post on getting a Rust library building on iOS, we’re now going to deploy the same library on Android.
In order to do Android development, we’ll need to set up our Android environment. First we need to install Android Studio. Once Android Studio is installed, we’ll need to install the NDK (Native Development Kit).
Open Android Studio. From the toolbar, go to Android Studio > Preferences > Appearance & Behaviour > Android SDK > SDK Tools . Check the following options for installation and click OK .
Once the NDK and associated tools have been installed, we need to set a few environment variables, first for the SDK path and the second for the NDK path. Set the following envvars:
If you do not already have Rust installed, we need to do this now. For this we will be using rustup. rustup installs Rust from the official release channels and enables you to easily switch between different release versions. It will be useful to you for all your future Rust development, not just here. rustup can also be used in conjunction with HomeBrew .
The next step is to create standalone versions of the NDK for us to compile against. We need to do this for each of the architectures we want to compile against. We will be using the make_standalone_toolchain.py script inside the main Android NDK in order to do this. First create a directory for our project.
Now let’s create our standalone NDKs. There is no need to be inside the NDK directory once you have created it to do this.
Create a new file, cargo-config.toml . This file will tell cargo where to look for the NDKs during cross compilation. Add the following content to the file, remembering to replace instances of
with the path to your project directory.
In order for cargo to see our new SDK’s we need to copy this config file to our .cargo directory like this:
Let’s go ahead and add our newly created Android architectures to rustup so we can use them during cross compilation:
Now we’re all set up and we’re ready to start. Let’s create the lib directory. If you’ve already created a Rust project from following the iOS post, you don’t need to do it again.
cargo new cargo sets up a brand new Rust project with its default files and directories in a directory called rust . The name of the directory is not important. In this directory is a file called Cargo.toml , which is the package manager descriptor file, and there is be a subdirectory, src , which contains a file called lib.rs . This will contain the Rust code that we will be executing.
Our Rust project here is a super simple Hello World library. It contains a function rust_greeting that takes a string argument and return a greeting including that argument. Therefore, if the argument is “world”, the returned string is “Hello world”.
Open cargo/src/lib.rs and enter the following code.
Let’s take a look at what is going on here.
As we will be calling this library from non-Rust code, we will actually be calling it through a C bridge. #[no_mangle] tells the compiler not to mangle the function name as it usually does by default, ensuring our function name is exported as if it had been written in C.
extern tells the Rust compiler that this function will be called from outside of Rust and to therefore ensure that it is compiled using C calling conventions.
The string that rust_greeting accepts is a pointer to a C char array. We have to then convert the string from a C string to a Rust str . First we create a CStr object from the pointer. We then convert it to a str and check the result. If an error has occurred, then no arg was provided and we substitute there , otherwise we use the value of the provided string. We then append the provided string on the end of our greeting string to create our return string. The return string is then converted into a CString and passed back into C code.
Now let’s create our Android project.
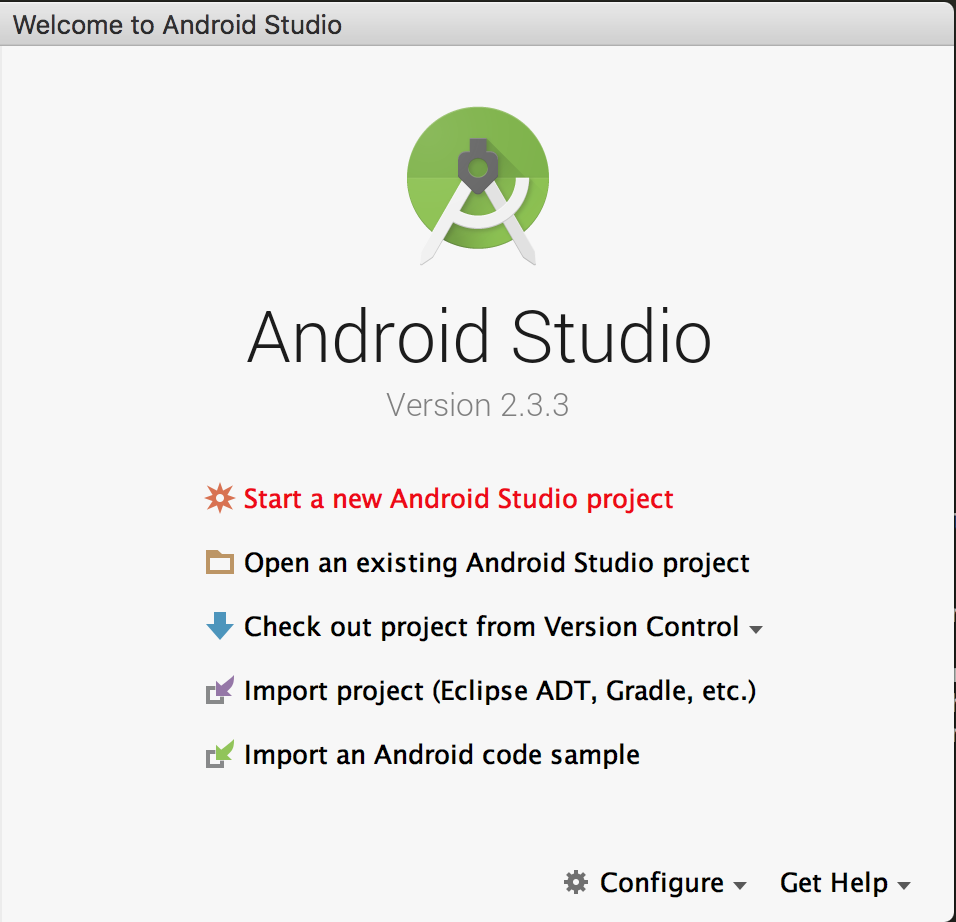
Open Android Studio and select Start a New Android Project from the options.
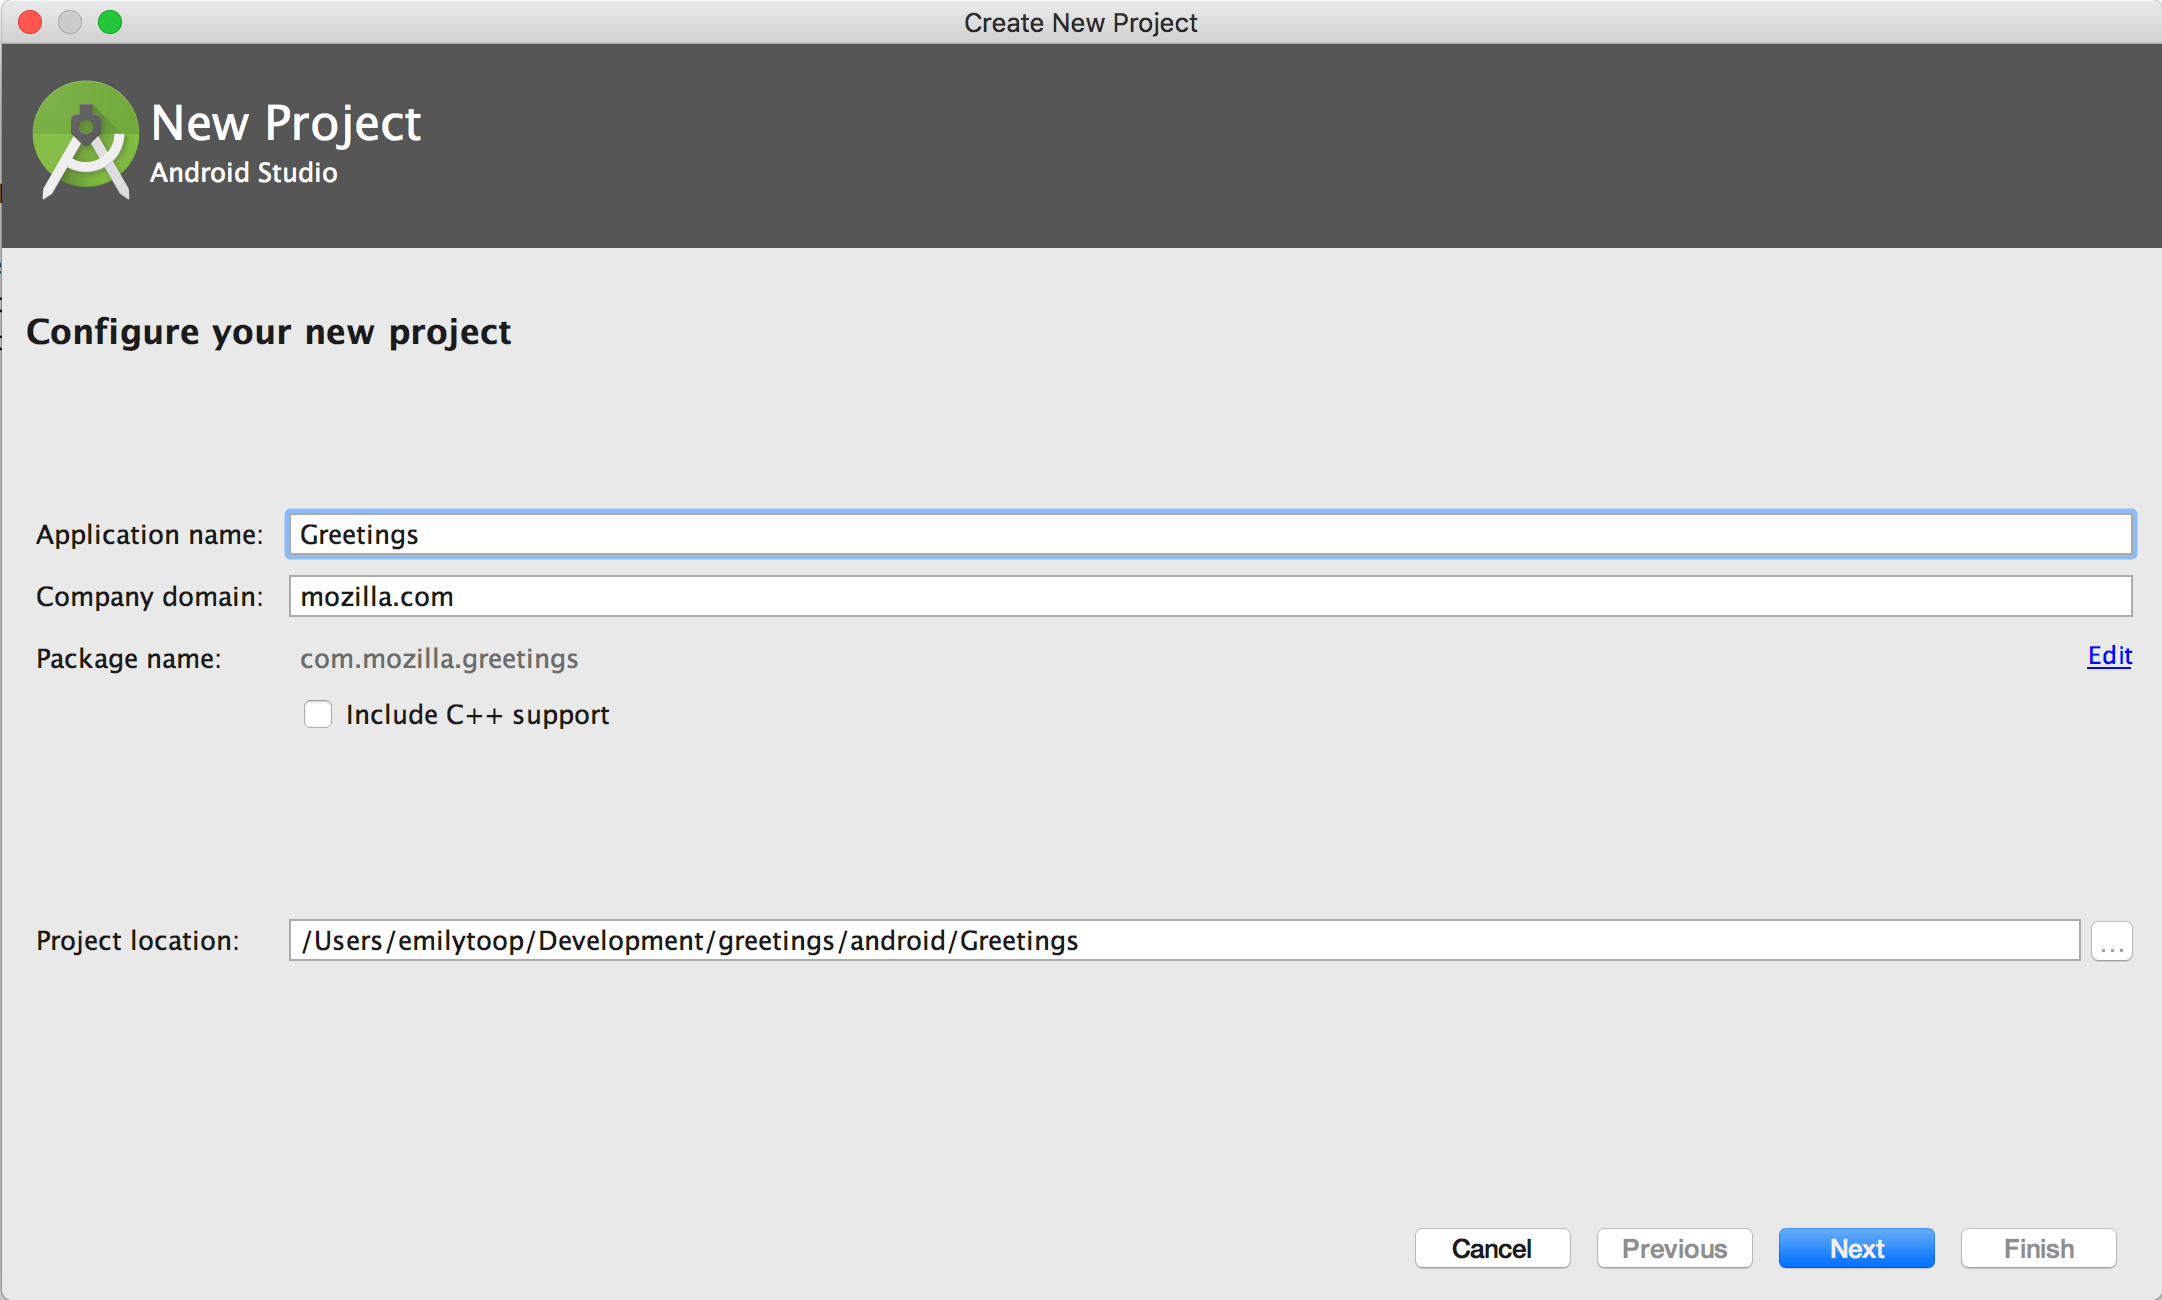
On the next screen, type a project name of Greetings into the Application name field, choose your Company domain and select the android directory we created earlier as the Project location . This will create your Android project inside greetings/android/Greetings . Click Next .
On the next screen, make sure the Phone and Tablet option is selected. Click Next .

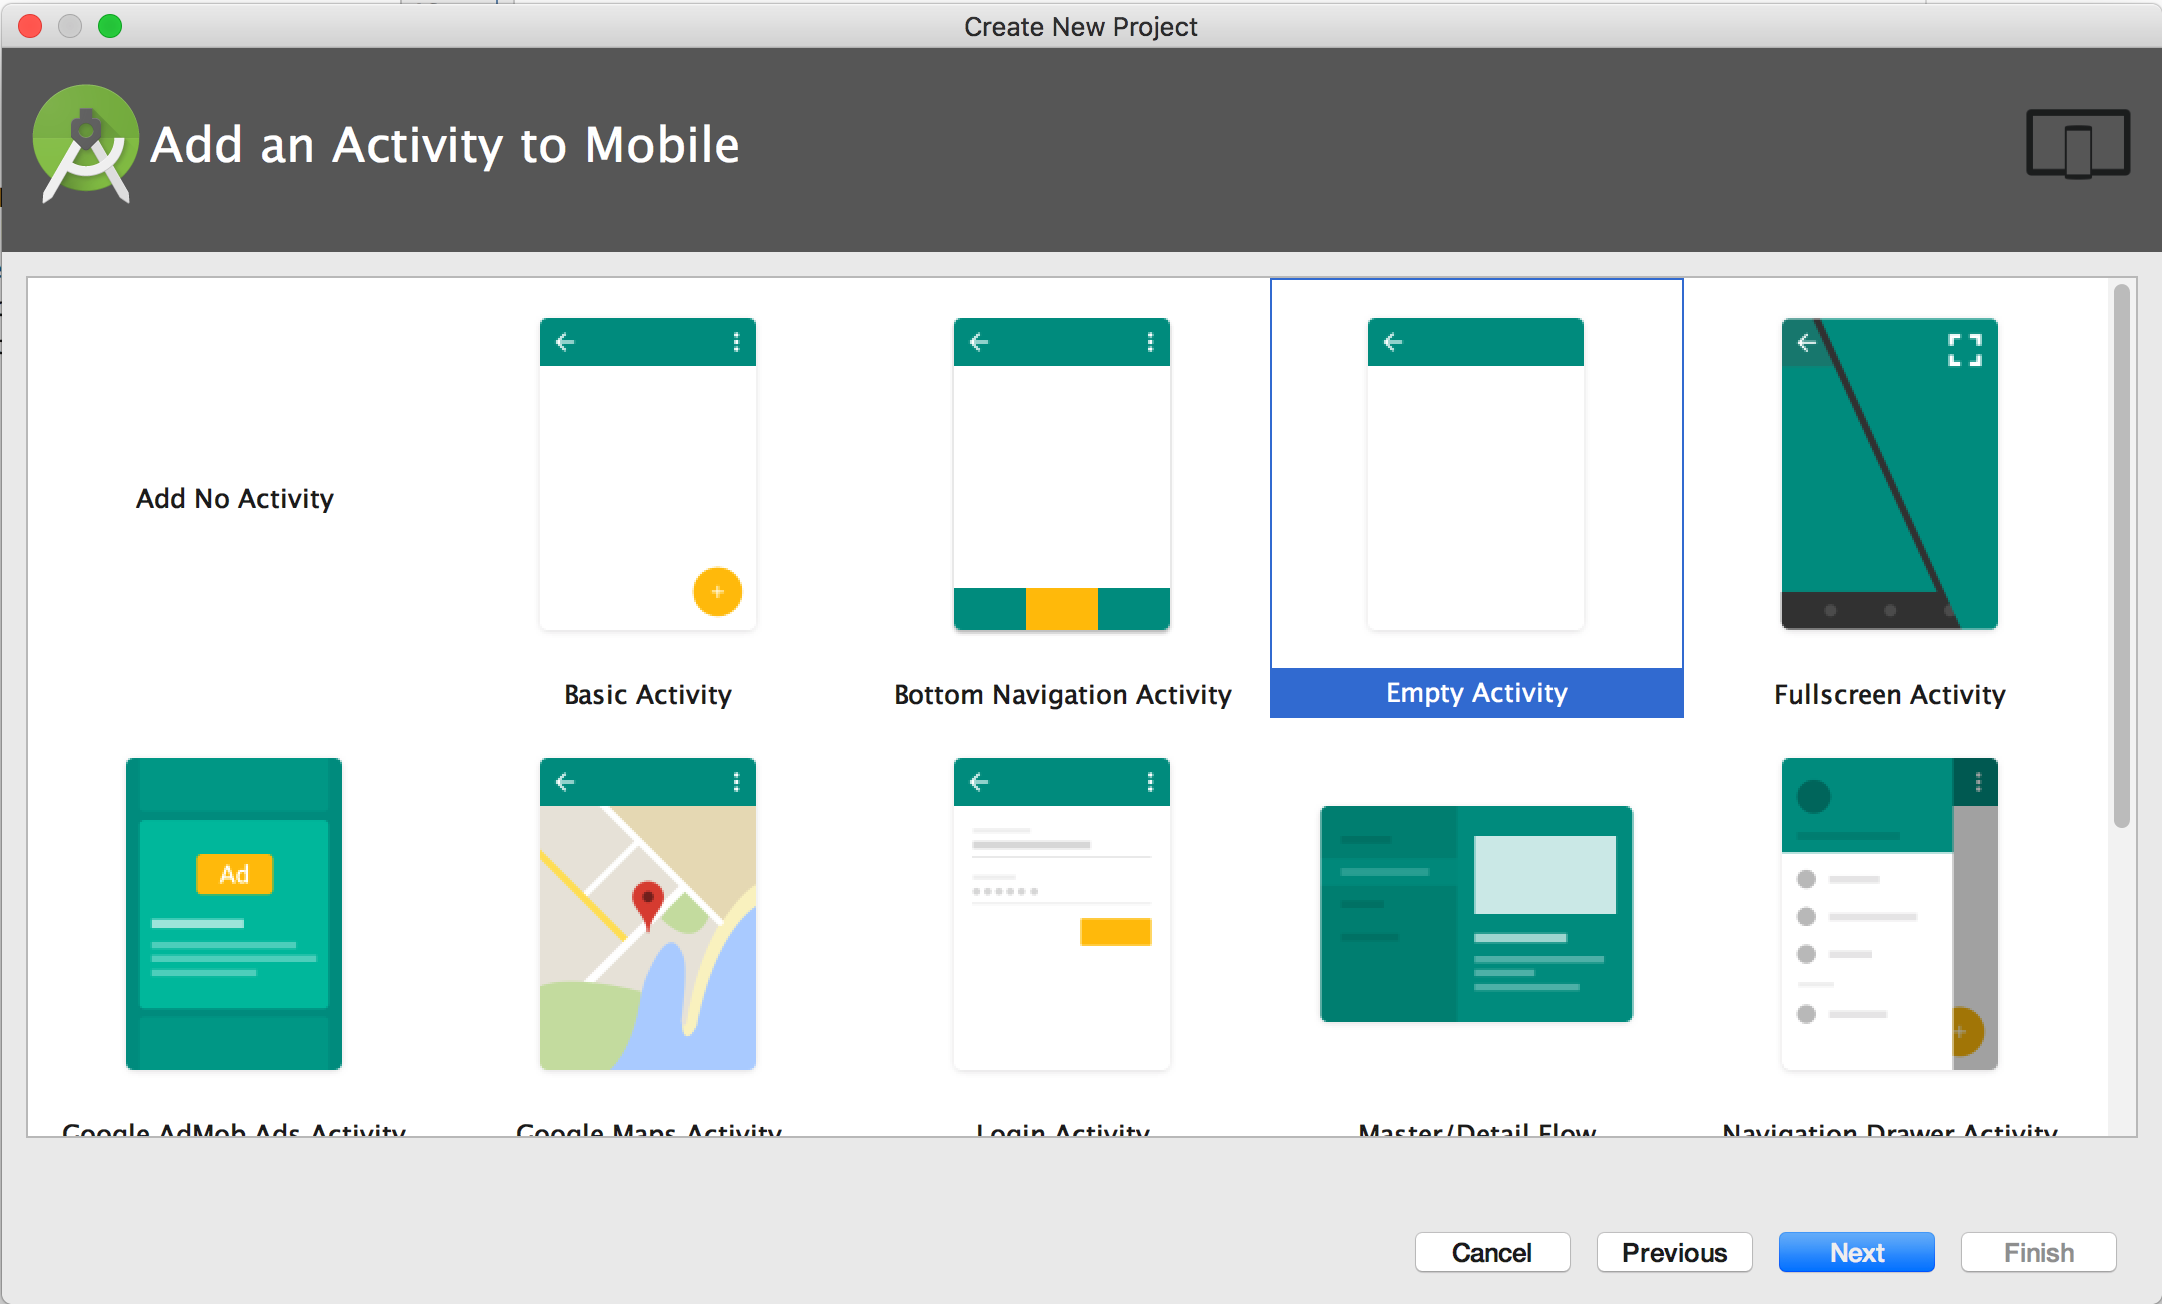
Now we will be asked to choose a starting activity. Select the Empty Activity option and click Next .
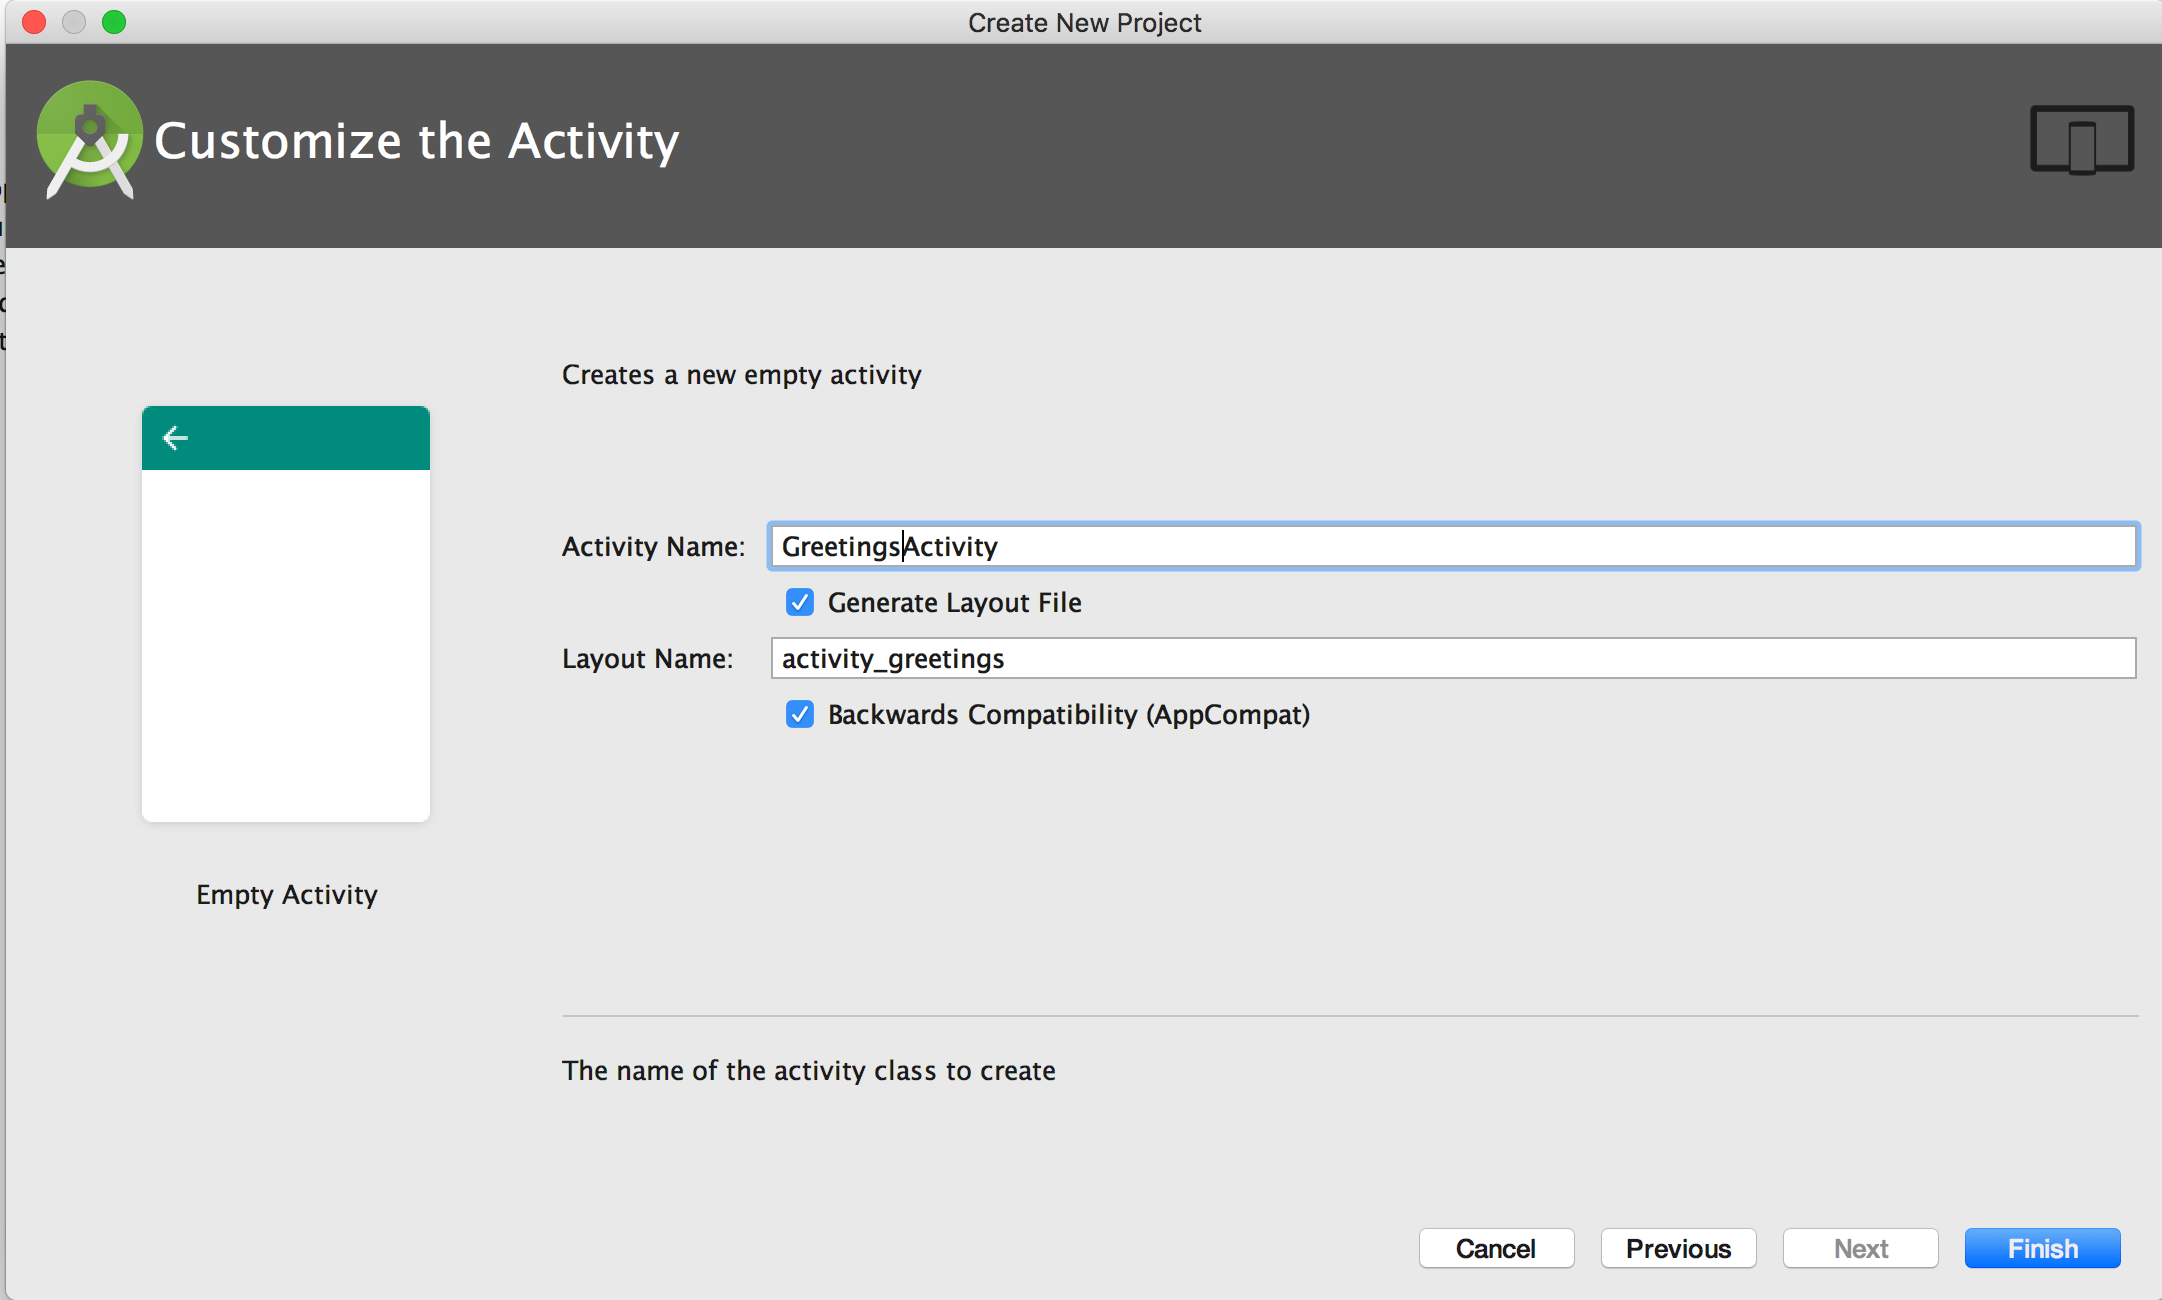
Name your Activity and layout on the following screen, calling the activity GreetingsActivity and the layout activity_greetings . Click Finish .
As with iOS, we’re going to create a wrapper class to wrap the C API and JNI bindings. In the project explorer on the left hand side of the studio window, ensure that app > java > .greetings is highlighted then go to File > New > Java Class . Name your class RustGreetings and click OK .

In your new class file, add the following code. Here we are defining the native interface to our Rust library and calling it greeting , with the same signature. The sayHello method simply makes a call to that native function.
Instead of creating C header that will be used as a bridge as we did when we wanted to integrate with Swift, for Android we want to expose our functions through JNI. The way that JNI constructs the name of the function that it will call is Java_ _ _ . In the case of the method, greeting that we have declared here, the function in our Rust library that JNI will attempt to call will be Java_com_mozilla_greetings_RustGreetings_greeting . This is the reason why we created our Android project and Java wrapper class before adding any JNI code to the Rust library. We needed to know what the domain, class and function name were before we could construct the right JNI function name in Rust. Let’s head back over to our Rust project and create the partner code.
Open cargo/src/lib.rs . At the bottom of the file add the following code:
The first line here #[cfg(target_os=»android»)] is telling the compiler to target Android when compiling this module. #[cfg] is a special attribute that allows you to compile code based on a flag passed to the compiler.
The second line, #[allow(non_snake_case)] , tells the compiler not to warn if we are not using snake_case for a variable or function name. The Rust compiler is very strict — this is one of the things that makes Rust great — and it enforces the use of snake_case throughout. However, we defined our class name and native method in our Android project using Java coding conventions which is camelCase and UpperCamelCase and we don’t want to change this or our Java code will look wrong. Given the way that JNI constructs native function names, we need to tell the Rust compiler to go easy on us in this instance. This flag will apply to all functions and variables created inside this module that we are creating, called android .
After declaring that we need the jni crate, and importing some useful objects from it, we can declare our function. This function needs to be marked unsafe because we will be dealing with pointers from a language that allows null pointers, but our code doesn’t check for NULL . This situation would never happen in Rust only code as the Rust compiler enforces memory safety. By marking the function as not memory safe, we are alerting other Rust functions that it may not be able to deal with a null pointer. extern defines the function as one that will be exposed to other languages.
As arguments, along with the JString that our Java function declaration said that we will be providing, we also need to take an instance of the JNIEnv and a class reference (which is unused in this example). The JNIEnv will be the object we will use to read values associated with the pointers that we are taking as argument.
Next, we read the string in from the JNIEnv and convert it into a C pointer to pass to rust_greeting . The result of that function is another C pointer, which we then need to convert to a back into a String. Using the JNIEnv transfers the ownership of the object to Java, but there is still a reference hanging around held by our Rust code. That memory will be freed as world_ptr goes out of scope. Then we return our String.
We declared that we needed the jni crate, that means we need to include the crate in the Cargo.toml file. Open it up and add the following between the [package] and [lib] declarations.
We also need to tell the compiler what type of a library it should produce. You can specify this in the Cargo.toml file’s [lib] section:
We are now ready to build our libraries. Unlike with iOS, there is no handy universal Android library that we can make so we have to create one for each of our target architectures. We can then create symlinks to them from the Android project. You will need to use absolute paths to your libraries here, not relative ones, otherwise Android Studio will not be able to follow the link. Navigate to your cargo directory and run the following commands:
Now, head back to Android Studio and open GreetingsActivity.java . We need to load our Rust library when the app starts, so add the following lines below the class declaration and before the onCreate method.
This looks for a library called greetings.so inside the jniLibs directory and picks the correct one for the current architecture.
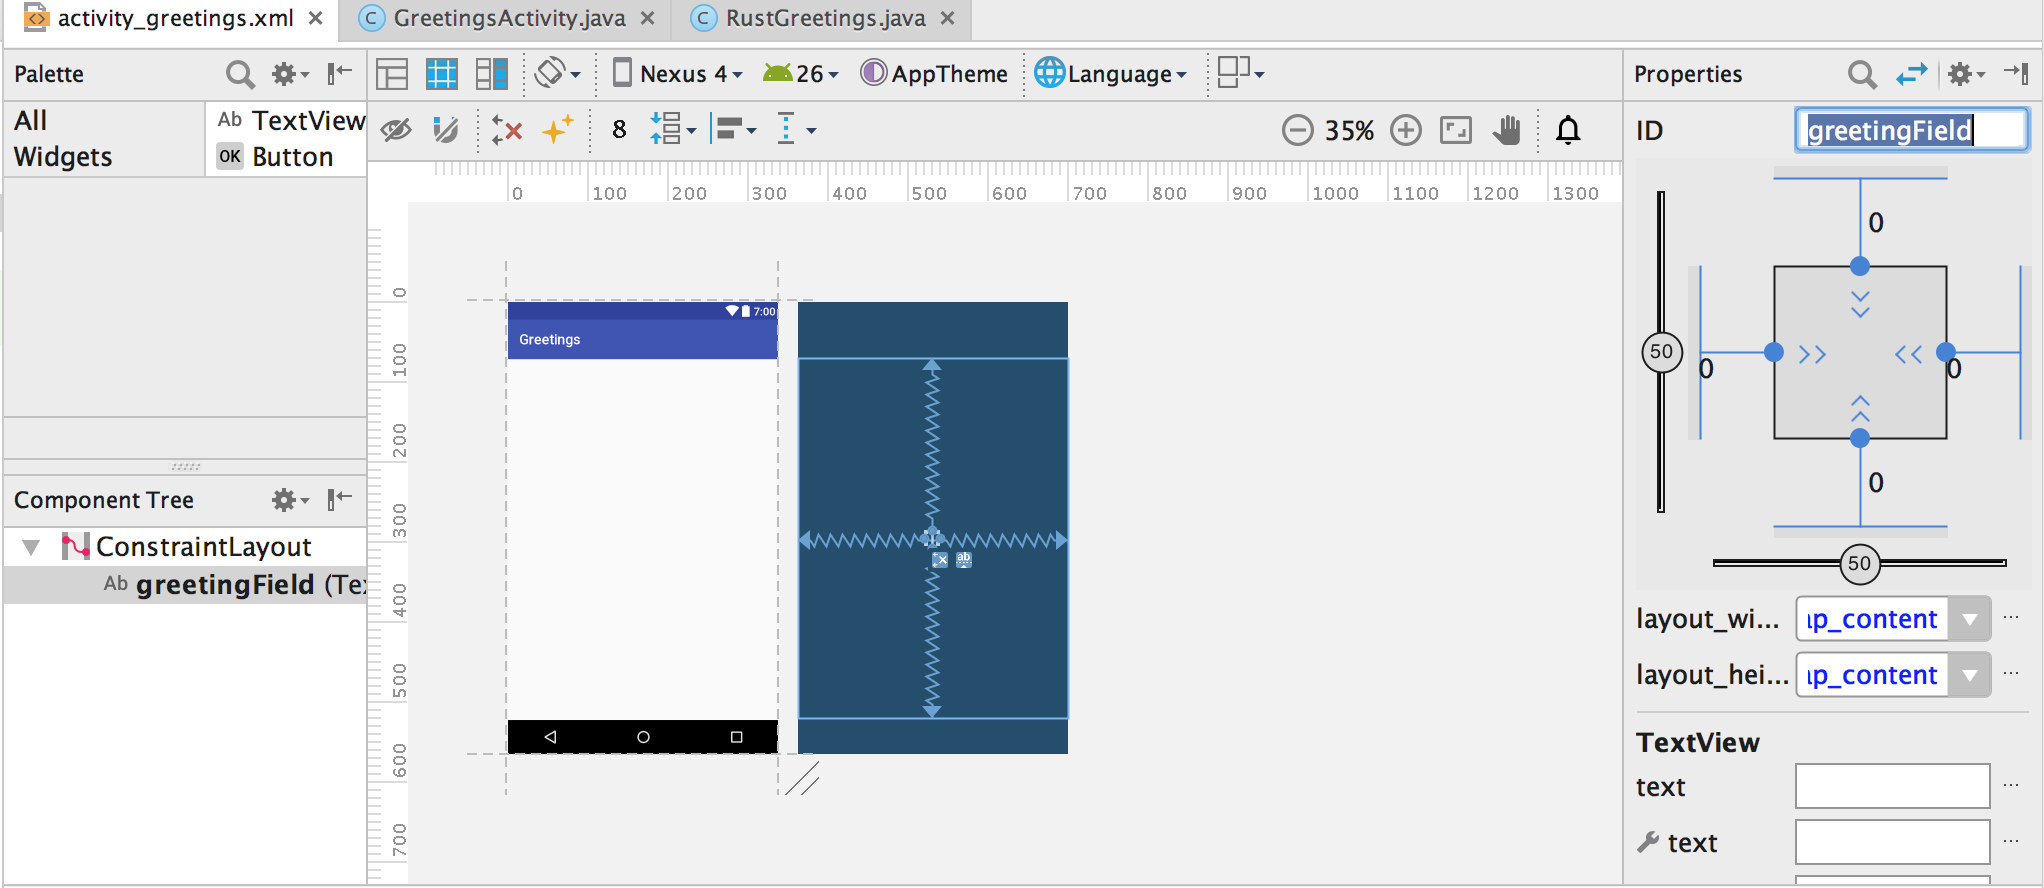
Open res/layout/activity-greetings.xml . In the Component Tree panel, highlight the TextField and open the Properties panel. Change the ID in the Properties panel to greetingField . This is how we are going to refer to it from our Activity.
Reopen GreetingsActivity.java and amend the onCreate method to call our greetings function and set the text on the greetingField TextField to the response value.
Build and run the app. If this is your first time in Android Studio, you may need to set up a simulator. When choosing/creating your simulator pick one with API 26. When the app starts, Hello world will be printed on your screen.
Источник
Rust on Android

You may have heard of rust, it’s a systems programming language designed for memory safety and speed. Built by Mozilla to power the next generation high performance cross platform software. If you haven’t already I suggest having a look at the great learning material, but keep in mind that can take a while to get into and appreciate so I suggest writing more than just a hello world.
If you’re an Android developer you may be asking yourself how and why you would make use of rust on Android. This article will mostly cover the how. As to why, the most compelling reason for us at Visly is that it enables us to share code between Android and iOS in a performant and safe manner, in a language much easier to work with than C++.
Getting set up
Before we get started we need to make sure we have the rust toolchain set up. We will assume you already have a working Android toolchain, if not you should download Android Studio and set it up according to any other Android guide. One thing to make sure is that you have set up your $ANDROID_HOME environment variable. With a typical install on macOS this should be set to
Next we have to make sure rust is installed on our system. Rustup makes this a simple one-liner.
You can validate rust was successfully installed and located in your PATH by running rustc —version . Once rust is installed on your system we need to make rust aware of how to build for the supported Android architectures. Rust can build binaries for all sorts of architectures but not by default. To add the appropriate architectures run the following command.
Next we have to set up some standalone toolchains to build rust for Android’s various supported architectures. These only need to be installed once for your system and not multiple times for each project, so instead of installing them to the project folder we will install them in our home directory.
Finally we have to tell rust about these toolchains. Append the following to
/.cargo/config , creating the file if it doesn’t already exist.
Hello World
Let’s build a small hello world app using rust! We’ll start by creating our rust library and later move on to creating our Android Studio project.
This will create a basic rust library managed by cargo , the rust equivalent to gradle, which we will later make use of in our Android Studio project. The —lib flag instructs cargo that we want to create a library, not an executable binary. Within the newly created project folder you will find Cargo.toml which much like a build.gradle file defines metadata for your library as well as any dependencies. You’ll also find a src folder which contains our rust source code. The src folder only contains lib.rs which itself only contains a sample test function. We can start by removing everything in this file and replacing it with the following.
We start off with telling rust that this file will only be used when targeting Android with #[cfg(target_os=”android”)] and because JNI required CamelCase function names which are not standard on Rust we also allow that with #[allow(non_snake_case)] . There are a couple other things to notice here, because we are interfacing with Kotlin we have to make use of C calling conventions and JNI, this means we have to tell rust not to mangle any names (with #[no_mangle] ).
We then define a basic function which constructs a new string given an input string. A lot is happening there as we need to transform the string from a jni string to a C string to a rust string and back. The rust jni and ffi libraries make this fairly safe though and later on we will link to some patterns we use in Visly to make this easier. In a larger application this is not much of an issue as the glue code between Kotlin and Rust can be kept fairly small.
We also need to update our Cargo.toml to add a dependency on the jni library as well as define the name of the final binary and how to compile it.
Now the last thing to do before we are ready to move onto our Android Studio project is build our library for our supported targets.
Android Studio
Time to start a new Android Studio project and test this out in a simulator. Start by going through the standard project setup, we’ll be using Kotlin but you can use Java if you want as well. We will name the project android saving it next to our rust library at the root of rust-android-example .

Open up MainActivity.kt and paste the following code. We declare an external function hello which tells Android to look for a native library function named Java_example_com_android_MainActivity_hello . Before we can call this function we have to load our library using System.loadLibrary .
At this point the app should compile however it will crash as soon as we run it. That’s because we haven’t yet included the native library in our project. Let’s copy it in.
Now we can re-build and re-run our app and we should see “Hello World” written out in Logcat. Congrats! You have manage to compile and run Rust code on Android.
Automating the process
Automating this process of copying over binaries is actually pretty easy with a simple bash script.
Now save this as rust-android-example/install.sh and just run the script after any updates to your rust code to compile and install it into your Android Studio project. If you want to get fancy you can add this as a build step in your gradle file so it is automatically run any time you build your Android Studio project.
Next steps
While the code above works, it isn’t super easy to work with. In a larger project we want a way to encapsulate the ugly bits of interacting with Rust from Kotlin and vice versa. In a later post I’ll cover the patterns we adopted when building Visly to simplify this.
The final code for this tutorial and a great starting point if you plan on using rust on Android can be found on GitHub. If you have any questions or comments feel free to tweet at me.
Источник


